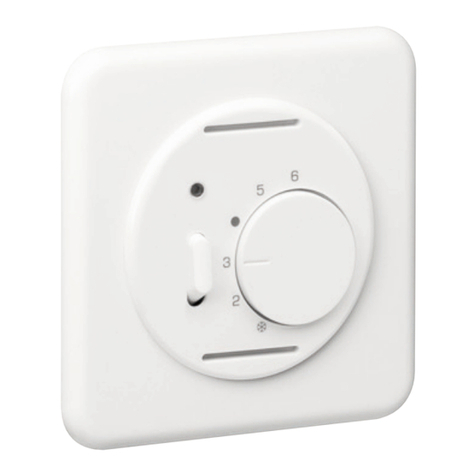
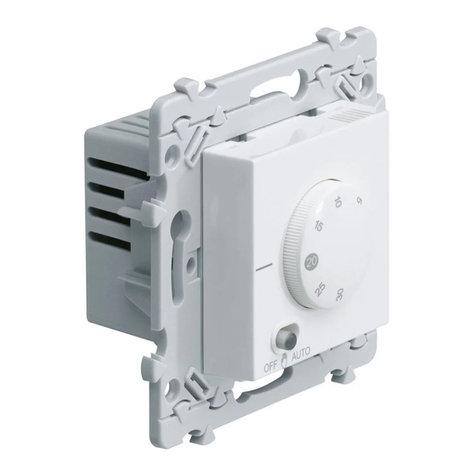
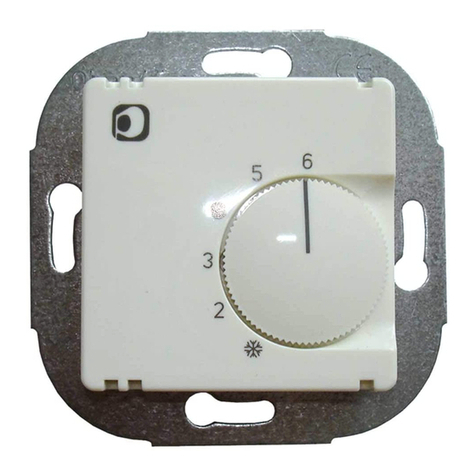
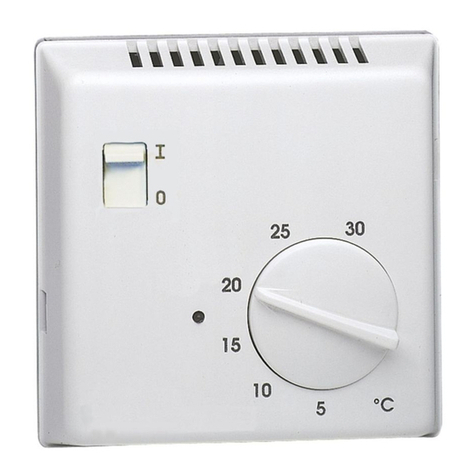
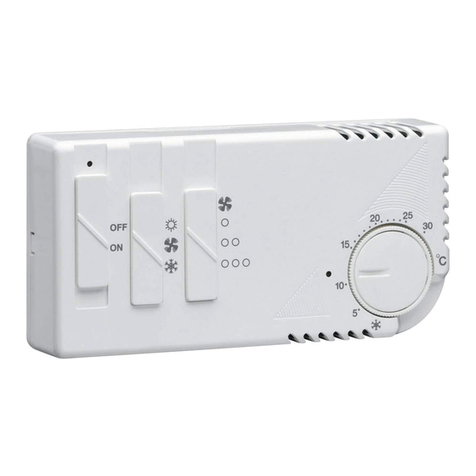
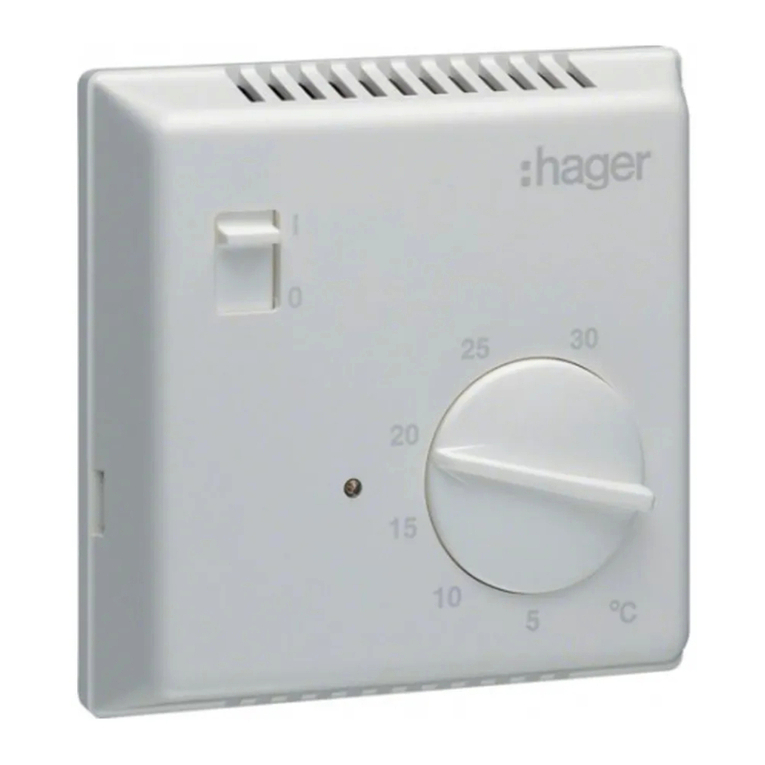
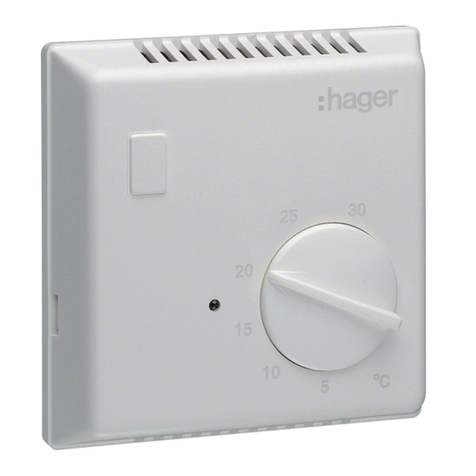
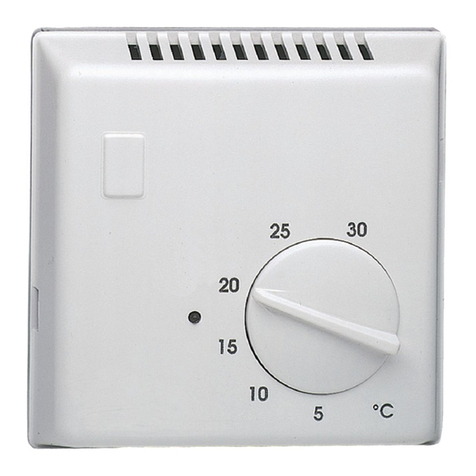
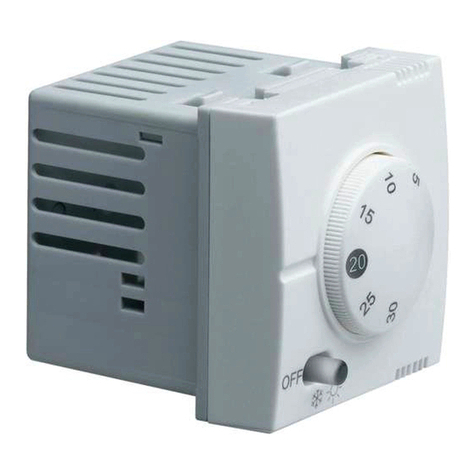
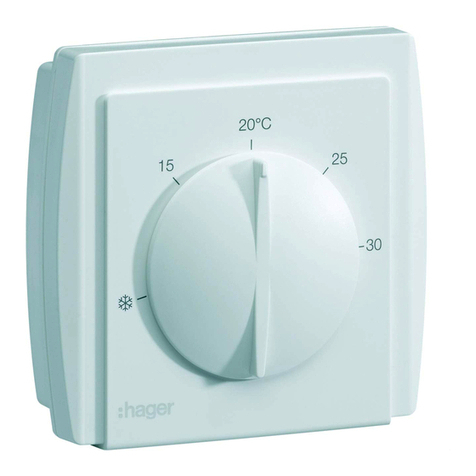
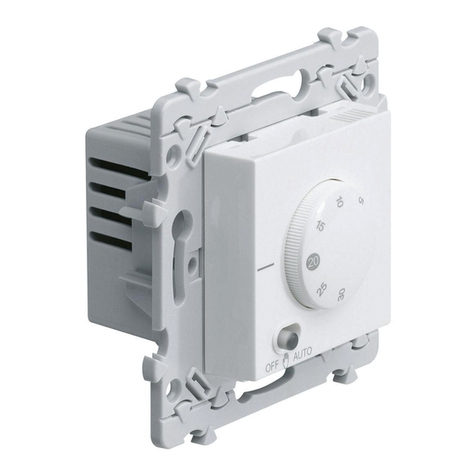
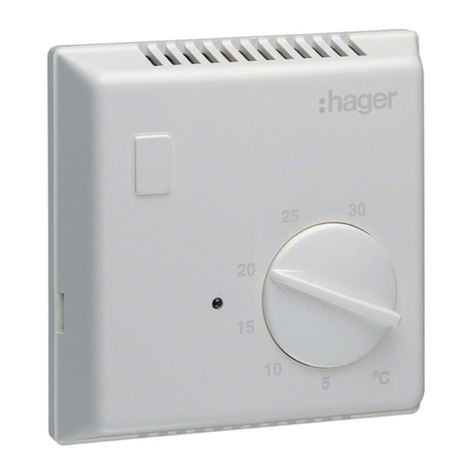
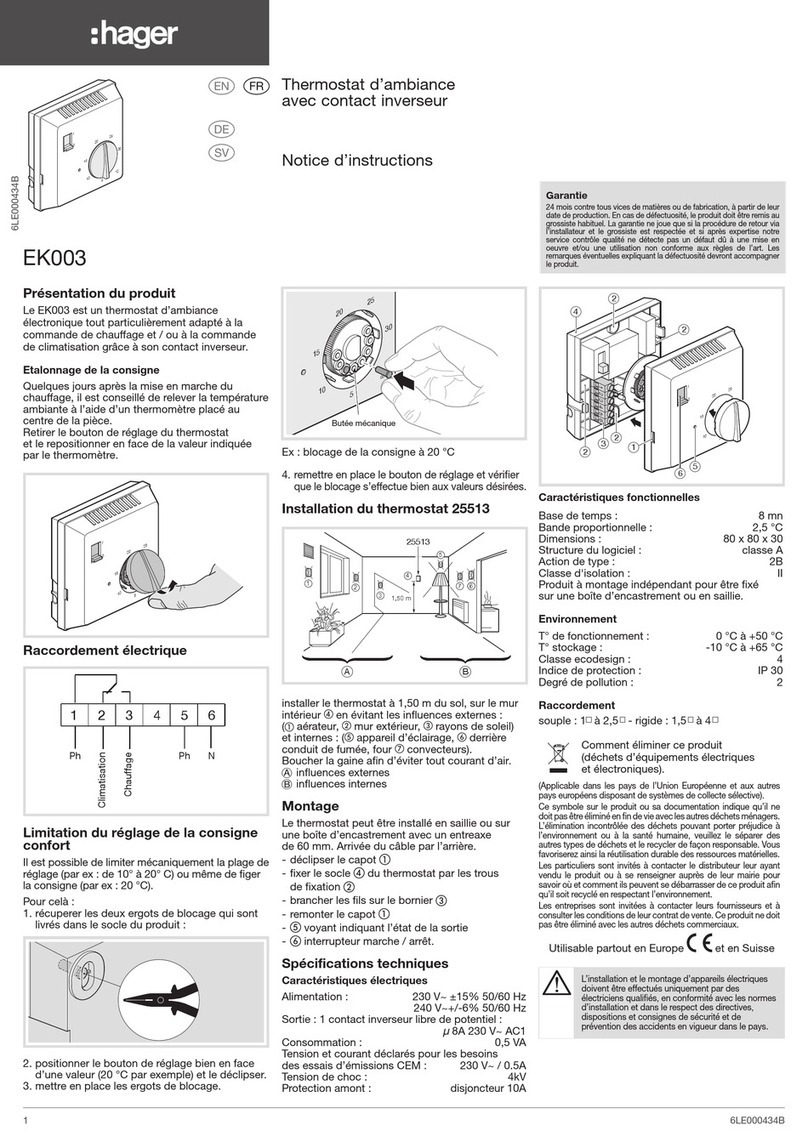
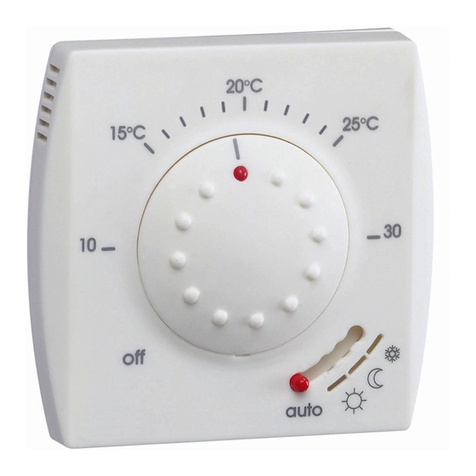
hager kallysta WK310 User manual

Installation (a)
It has to be installed ideally at about 1,5 m from
the floor, on an inside wall, sheltered from direct
sun radiation and from all thermal disturbance,
such as lighting lamp, television, heating pipe,
draught (see installation layout “a”).
Description (b)
Temperature adjustment button
Scale limitation lug
Wheel (blue and red)
Change-over switch OFF / (reduced) / ON
Temperature pointer
The switch lights up when the heating / air
conditioning system is in operation.
Electrical connection (c)
Connect heating or air-conditioning system
between terminals 2 & 3 "NO". The control logic is
automatically reversed in air-conditioning mode !
Changing operation mode,
air-conditioning or heating (d)
The product is delivered with thermostat set to
"heating" mode.
Follow instructions below to switch to "air-
conditioning" mode (d):
For starting, switch OFF and set the
temperature to "minimum stop" position
➀Switch ON.
➁Set the temperature to "maximum stop".
➂Switch OFF.
➃Set the temperature to "minimum stop".
➄Switch ON.
At the end of the sequence, the switch blinks
3 times to signal the change of mode. If the
time between the various steps exceeds 15
sec, the sequence shall be run again starting
from step.
Checking the operation mode
Heating mode: if the room temperature is below
the temperature set, the switch indicator shall
be on (and conversely in air-conditioning mode).
Limitation of the temperature range (e)
The temperature range can be reduced as follows:
1- Remove the temperature adjustment
button
2- Lift the limitation lug
3- Adjust the red wheel to define the maxi
desired temperature
4- Adjust the blue wheel to define the mini
desired temperature
5- Put back the lug
6- Put back the button
Electrical data
- Supply voltage: 230 V, 50 Hz
- Adjustment range: +5°C up to +30°C
- Operating temperature: 0°C up to 50°C
- Storage temperature: -20°C up to +60°C
- Output relay 8 A cos φ = 1
- Temperature accuracy ± 0,5°C
- Class II
- Degree of protection: IP 21
- Connection capacity: 1 x 2,5 mm2
- The operating mode is stored indefinitely
- : Reduced = -3°C heating /
+3°C air-conditioning
Recommendations
This device shall be installed solely by a
professional installer. Use only genuine parts.
Never use the product with external protection
devices removed.
6W 5102.c
WK792x
¢
£
§
¶
ß
•
ON
25
5
15
10
30
20
25
5
15
10
30
OFF
20
ON
25
5
15
10
30
OFF
20
ON
25
5
15
10
30
20
1
2
4
5
3
(d)
WK310
WK310
1,50 m
(a)
A
D
C
B
E
(b) (e)
N
L
123NL
NO
L
WK310
(c)
0
Installation (a)
Le thermostat d’ambiance doit être installé à
environ 1,5 m du sol, sur un mur intérieur, à l’abri du
rayonnement solaire direct et de toute perturbation
thermique telle que lampe d’éclairage, téléviseur,
tuyau de chauffage, courant d’air (voir schéma
d’installation “a”).
Description (b)
Bouton de réglage de température
Ergot de limitation d’échelle
Disque (bleu et rouge)
Commutateur OFF / (réduit) / ON
Pointeur de température
Le commutateur devient lumineux lorsque le
chauffage / la climatisation est en fonction.
Raccordement électrique (c)
Connecter le chauffage ou la climatisation entre les
bornes 2 & 3 "NO". La logique de commande est
automatiquement inversée en mode climatisation !
Modification du mode de fonctionnement,
climatisation ou chauffage (d)
Le thermostat est livré en mode “chauffage”.
Pour passer en mode “climatisation” suivre la
séquence décrite en (d) :
Pour débuter, placer le commutateur sur OFF
et la température en “butée minimale”.
➀Placer le commutateur sur ON.
➁Régler la température en “butée maximale”.
➂Placer le commutateur sur OFF.
➃Régler la température en “butée minimale”.
➄Placer le commutateur sur ON.
A la fin de la séquence, le commutateur clignote
3 fois pour signaler le changement de mode.
Si plus de 15 secondes s’écoulent entre les différentes
étapes il faut recommencer la séquence à l’étape
Vérification du mode de fonctionnement
Mode chauffage : si température ambiante inférieure
à température de consigne alors le voyant du
commutateur est allumé (inversement en mode
climatisation).
Limitation de la plage de température (e)
La plage de température peut être réduite de la
façon suivante :
1- Enlever le bouton de réglage de température
2- Soulever l’ergot de limitation
3- Ajuster le disque rouge afin de définir la
température maximale désirée
4- Ajuster le disque bleu afin de définir la
température minimale désirée
5- Replacer l’ergot
6- Replacer le bouton
Caractéristiques techniques
- Tension d’alimentation : 230 V, 50 Hz
- Plage de réglage : +5°C à +30°C
- Température d’utilisation : 0°C à 50°C
- Température de stockage : -20°C à +60°C
- Relais de sortie 8 A cos φ = 1
- Précision de température ± 0,5°C
- Classe II
- Indice de protection : IP 21
- Capacité de raccordement : 1 x 2,5 mm2
- Mode de fonctionnement mémorisé indéfiniment
- : Réduit = -3°C chauffage / +3°C climatisation
Recommandations
Appareil à installer uniquement par un professionnel
habilité. N’utiliser que les pièces d’origine.
Ne pas utiliser le produit sans les protections
externes.
Notice d’instructions
Thermostat d’ambiance
électronique
FR
User instructions
Electronic room
thermostat
GB
Installation (a)
Er solle in einem Abstand von ungefähr 1,5 m vom
Boden und an einer Innenwand liegend installiert
werden. Geschützt von direkter Sonneneinstrahlung
und jeglicher thermischen Störung, wie z.B. Leuchte,
Fernseher, Heizungsrohr, Luftzug, anbringen (siehe
Installationsplan “a”).
Beschreibung (b)
Temperaturregelungsknopf
Begrenzung des Einstellbereiches
Scheibe (blau und rot)
Umschalter OFF / (Absenkung) / ON
Temperatureinstellungsmarkierung
Der Umschalter leuchtet, wenn die Heizung/
Klimaanlage aktiviert ist.
Elektrischer Anschluss (c)
Heizung bzw. Klimaanlage zwischen den Klemmen
2 & 3 "NO" anschließen. Im Modus Klimaanlage
wird die Steuerungslogik automatisch umgekehrt !
Betriebsart “Heizung/Klimaanlage”
ändern (d)
Das Thermostat wird mit der Werkseinstellung
“Heizung” ausgeliefert. Zum Umschalten in den
“Klima-Modus” ist die unter (d) beschriebene
Sequenz zu beachten:
Erster Schritt: Schalter auf OFF stellen
und Temperatur auf “Min.” (Anschlag) stellen.
➀Schalter auf ON stellen.
➁Temperatur auf “Max.” (Anschlag) stellen.
➂Schalter auf OFF stellen.
➃Temperatur auf “Min.” (Anschlag) stellen.
➄Schalter auf ON stellen.
Nach Abschluß dieser Sequenz signalisiert der
Schalter durch dreimaliges Blinken, daß der
Betriebsartwechsel vollzogen ist. Sollten zwischen
den unterschiedlichen Schritten der Sequenz über
15 Sekunden verstreichen, ist die Sequenz ab
Schritt neu zu beginnen.
Betriebsart überprüfen
Heizmodus: Unterschreitet die Raumtemperatur den
Sollwert, leuchtet die Kontrollleuchte am Schalter
auf (im Klima-Modus geschieht dasselbe umgekehrt).
Begrenzung des Temperaturbereiches (e)
Der Temperaturbereich kann wie folgt eingestellt
werden:
1- Temperaturregelungsknopf entfernen
2- Stift anheben
3- Zur Festlegung der maximal gewünschten
Temperatur, rote Scheibe einstellen
4- Zur Festlegung der minimal gewünschten
Temperatur, blaue Scheibe einstellen
5- Stift wiedereinsetzen
6- Knopf wiedereinsetzen.
Elektrische Daten
- Betriebspannung: 230 V, 50Hz
- Einstellbereich: +5°C bis +30°C
- Gebrauchstemperatur: 0°C bis 50°C
- Lagerungstemperatur: -20°C bis +60°C
- Schaltleistung 8 A cos φ = 1
- Schalttemperaturdifferenz ± 0,5°C
- Schutzklasse II
- Schutzart: IP 21
- Anschlusskapazität: 1 x 2,5 mm2
- Die eingestellte Betriebsart bleibt zeitlich
unbegrenzt gespeichert
- : Absenkung = -3°C Heizung / +3°C Klimaanlage
Empfehlungen
Einbau und Montage dürfen nur durch eine
Elektrofachkraft erfolgen. Ausschließlich Original-
Ersatzteile verwenden. Gerät keinesfalls ohne die
äußere Schutzverkleidungen einsetzen.
Bedienungsanleitung
Elektronischer
Raumthermostat
DE
0
A
B
C
A
B
C
A
B
C
E
D
A
B
C
E
D
A
B
C
E
D
A
B
C
A
B
C
A
B
C
A
B
C
0
0
0
0
0
WK310
kallysta
16W 5102.c

Hager 01.2010
6W 5102.c
Installazione (a)
Il termostato per ambienti va montato a circa 1,5 m
dal suolo, su un muro interno, al riparo dai raggi
solari diretti e da qualsiasi perturbazione termica
quali lampade d’illuminazione, televisori, tubi di
riscaldamento, correnti d’aria
(vedasi schema d’impianto “a”).
Descrizione (b)
Bottone di regolazione della temperatura
Perno di limitazione di scala
Disco (blu e rosso)
Commutatore OFF / (ridotta) / ON
Puntatore di temperatura
Il commutatore diventa luminoso quando
il riscaldamento / la climatizzazione funziona.
Cablaggio elettrico (c)
Collegare il riscaldamento o la climatizzazione fra i
terminali 2 & 3 "NO". La logica di comando è
automaticamente invertita in modalità climatizzazione !
Modifica della modalità di funzionamento,
climatizzazione o riscaldamento (d)
Il termostato viene fornito in modalità “riscaldamento”.
Per passare in modalità “climatizzazione” seguire la
sequenza descritta in (d):
Per iniziare, posizionare il commutatore su OFF e
la temperatura su “arresto minimale”.
➀Posizionare il commutatore su ON.
➁Regolare la temperatura su “arresto massimale”.
➂Posizionare il commutatore su OFF.
➃Regolare la temperatura su “arresto minimale”.
➄Posizionare il commutatore su ON.
Alla fine della sequenza il commutatore lampeggia
3 volte per segnalare il cambio di modalità.
Se passano più di 15 secondi fra le varie tappe
occorre ricominciare la sequenza alla tappa
Verifica della modalità di funzionamento
Modalità riscaldamento: se la temperatura ambiente
è inferiore alla temperatura di consegna allora la
spia del commutatore è accesa (inversamente in
modalità climatizzazione).
Limitazione del campo di temperatura (e)
Il campo di temperatura può venire ridotto come segue:
1. Rimuovere il bottone di regolazione della
temperatura
2. Sollevare il perno di limitazione
3. Adattare il disco rosso onde stabilire la
temperatura massima desiderata
4. Adattare il disco blu onde stabilire la
temperatura minima desiderata
5. Ripristinare il perno
6. Ripristinare il bottone
Caratteristiche
- Tensione d’alimentazione: 230 V, 50 Hz
- Campo di regolazione: +5°C à +30°C
- Temperatura d’utilizzo: 0°C à 50°C
- Temperatura di stoccaggio: -20°C a +60°C
- Relè d’uscita 8 A cos φ = 1
- Precisione di temperatura ± 0,5°C
- Classe II
- Indice di protezione: IP21
- Capacità di raccordo: 1 x 2,5 mm2
- Modalità di funzionamento memorizzato indefinitamente
- : Ridotta = -3°C riscaldamento /
+3°C climatizzazione
Raccomandazioni
Apparecchio da installare unicamente da un
professionista abilitato. Utilizzare solo i pezzi d’origine.
Non utilizzare il prodotto senza le protezioni esterne.
Istruzioni d’uso
Termostato elettronico
per ambienti
IT
Installatie (a)
De thermostaat kan het best op ongeveer 1,5 m
van de vloer in een binnenmuur worden
aangebracht, buiten bereik van direct zonlicht of
andere thermische invloeden zoals lampen, een
televisietoestel, verwarmingspijpen en tocht
(zie installatieschema “a”).
Beschrijving (b)
Temperatuurregelknop
Begrenzing van het instelbereik
(van de thermostaatsokkel te scheiden)
Schijf (blauw en rood)
Schakelaar OFF / (verminderd) / ON
Instelstreep
Wanneer de verwarming of de klimaatbeheersing
werkt is de schakelaar verlicht.
Elektrische aansluiting (c)
Sluit de verwarming of de airconditioning aan
tussen de poolklemmen 2 & 3 "NO".
De bedieningslogica word in airconditioningmodus
automatisch omgezet !
Wijziging van de werkingswijze,
airconditioning of verwarming (d)
De thermostaat wordt in “verwarming” modus
geleverd. Om over te gaan in “airconditioning”
modus, volgt u de in (d) beschreven handelingenreeks:
Om te beginnen zet u de schakelaar op OFF
de temperatuur op “minimale aanslag”.
➀Zet de schakelaar op ON.
➁Stel de temperatuur in op “maximale aanslag”.
➂Zet de schakelaar op OFF.
➃Stel de temperatuur in op “minimale aanslag”.
➄Zet de schakelaar op ON.
Aan het einde van de reeks knippert de schakelaar
3 keer om de moduswijziging te signaleren.
Wanneer de tijd tussen de verschillende stappen
meer dan 15 seconden duurt, moet u de reeks
opnieuw beginnen bij stap
Controle van de werkingswijze
Verwarmingmodus: als de kamertemperatuur
lager is dan de consignetemperatuur, is de led
van de schakelaar aan (in airconditioningmodus
is dit omgekeerd).
Begrenzing van het instelbereik (e)
Het temperatuurbereik kan als volgt worden
ingesteld:
1. Temperatuurregelknop verwijderen
2. Stift uittrekken
3. Gewenste maximum temperatuur met de
rode schijf instellen
4. Gewenste minimum temperatuur met de
blauwe schijf instellen
5. Stift weer aanbrengen
6. Knop terugplaatsen.
Technische gegevens
- Voedingsspanning: 230 V, 50Hz
- Instelbereik: +5°C tot +30°C
- Gebruikstemperatuur: 0°C tot +50°C
- Opslagtemperatuur: -20°C tot +60°C
- Schakelstroom 8 A cos φ = 1
- Schakeltolerantie ± 0,5°C
- Veiligheidsklasse II
- Veiligheidsnorm: IP21
- Aansluitcapaciteit: 1 x 2,5 mm2
- Werkingswijze onbeperkt gememoriseerd
- : Verminderd = -3°C verwarming /
+3°C airconditioning
Aanbevelingen
Het apparaat mag uitsluitend worden geïnstalleerd
door bevoegd personeel. Gebruik alleen
oorspronkelijke onderdelen. Gebruik het product
niet zonder de uitwendige beschermingen.
Gebruiksaanwijzing
Elektronische
kamerthermostaat
NL
Instalación (a)
El termostato ambiental debe ser instalado a 1,5 m
del suelo más o menos, en una pared interior, al
abrigo de los rayos solares directos y de toda
perturbación térmica, como por ejemplo lámparas,
televisión, tubo de calefacción, corriente de aire
(ver el esquema de instalación “a”).
Descripción (b)
Botón de ajuste de la temperatura
Guía de límite de escala
Disco (azul o rojo)
Conmutador OFF / (reducido) / ON
Indicador de temperatura
El conmutador se enciende cuando la calefacción / la
climatización está activa.
Conexión eléctrica (c)
Conectar la calefacción o la climatización entre los
terminales 2 & 3 "NO". La lógica de mando se
invierte automáticamente en modo climatización.
Modificación del modo de funcionamiento,
climatización o calefacción (d)
El termostato viene en modo "Calefacción". Para
pasar al modo "Climatización" ejecute la secuencia
indicada en (d):
Para comenzar, coloque el conmutador en OFF y
la temperatura en "tope mínimo".
➀Coloque el conmutador en ON.
➁Ajuste la temperatura en “tope máximo”.
➂Coloque el conmutador en OFF.
➃Ajuste la temperatura en “tope mínimo”.
➄Coloque el conmutador en ON.
Al final de la secuencia el conmutador parpadea
3 veces para confirmar el cambio de modo.
Si el paso entre las etapas toma más de 15 segundos
se deberá reanudar la secuencia en la etapa
Verificación del modo de funcionamiento
Modo calefacción: si la temperatura ambiental es
inferior a la temperatura de consigna el testigo del
conmutador se enciende (y lo contrario en el modo
climatización).
Limitación del margen de temperatura (e)
Para reducir el margen de temperatura siga las
instrucciones siguientes:
1. Retire el botón de ajuste de la temperatura
2. Alce el guía de limitación de la temperatura
3. Ajuste la temperatura máxima deseada con el
disco rojo
4. Ajuste la temperatura máxima deseada con
el disco azul
5. Baje el guía de limitación de la temperatura
6. Instale de nuevo el botón de ajuste de la
temperatura
Características
- Tensión de alimentación: 230 V, 50 Hz
- Margen de ajuste de la temperatura: +5°C a +30°C
- Temperatura de almacenamiento: -20°C a +60°C
- Temperatura de uso: 0°C a 50°C
- Relé de salida 8 A cos φ = 1
- Precisión de la temperatura ± 0,5°C
- Clase II
- Indice de protección: IP21
- Capacidad de conexión: 1 x 2,5 mm2
- El Modo de funcionamiento queda memorizado
permanentemente
- : Reducido = -3°C calefacción / +3°C climatización
Recomendaciones
Este aparato debe ser instalado por un profesional
cualificado. Utilice exclusivamente respuestos de
origen. No use el producto sin las protecciones
externas.
Instrucciones de uso
Termostato ambiental
electrónico
ES
A
B
C
E
D
A
B
C
E
D
A
B
C
E
D
B
A
C
B
A
C
B
A
C
B
A
C
B
A
C
B
A
C
0
0
0
0
0
0
WK310
kallysta
¢
£
§
¶
ß
•
WK792x
ON
25
5
15
10
30
20
25
5
15
10
30
OFF
20
ON
25
5
15
10
30
OFF
20
ON
25
5
15
10
30
20
1
2
4
5
3
(d)
WK310
WK310
1,50 m
(a)
A
D
C
B
E
(b) (e)
N
L
123NL
NO
L
WK310
(c)
0
26W 5102.cHager SAS - 132 bld d’Europe - BP 78 - 67 212 Obernai cedex (FRANCE) - Tél. +333 88 49 50 50 - www.hagergroup.net
This manual suits for next models
1
Other hager Thermostat manuals

hager
hager Flash 25620 User manual

hager
hager kallysto WUC70 User manual

hager
hager 25113 User manual

hager
hager tebis tx460 User manual

hager
hager EK052 Installation instructions

hager
hager EK051 User manual

hager
hager WE310 User manual

hager
hager EK510 User manual

hager
hager EK004 User manual

hager
hager EK760 User manual

hager
hager 58102 User manual

hager
hager EK570 User manual

hager
hager WS310 systo User manual

hager
hager 25501 User manual

hager
hager EK530 User manual

hager
hager 58102 User manual

hager
hager EK053 User manual

hager
hager EK005, 25505 User manual

hager
hager 25614 Installation instructions

hager
hager 54185 User manual