manuals.online logo
Brands
  1. Home
  2. •
  3. Brands
  4. •
  5. Haier
  6. •
  7. Air Conditioner
  8. •
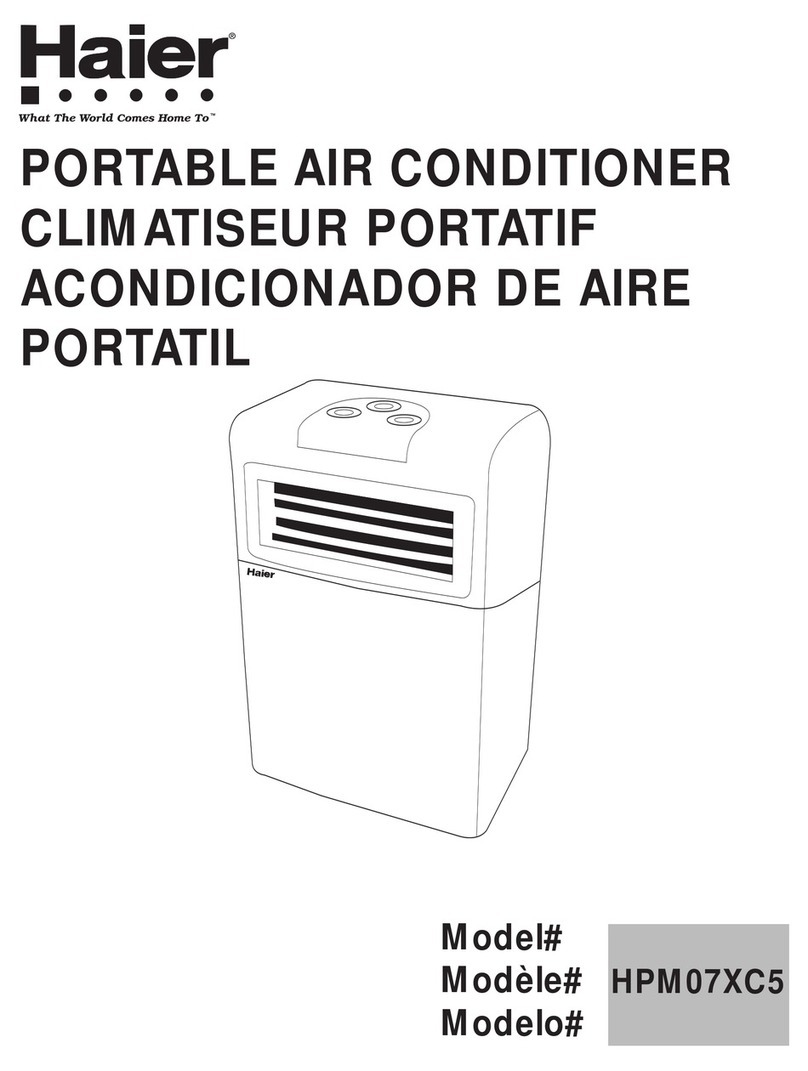
  9. Haier HWF05XCA User manual

Haier HWF05XCA User manual

This manual suits for next models

12

Other Haier Air Conditioner manuals

Haier HPRB07XC7 User manual

Haier

Haier HPRB07XC7 User manual

Haier ESA415J-W User manual

Haier

Haier ESA415J-W User manual

Haier HSU-18LV03 User manual

Haier

Haier HSU-18LV03 User manual

Haier 10515690 User manual

Haier

Haier 10515690 User manual

Haier HSM09RU03, HSM12RU03, 2HUM18R0 User manual

Haier

Haier HSM09RU03, HSM12RU03, 2HUM18R0 User manual

Haier HSU09VHJ User manual

Haier

Haier HSU09VHJ User manual

Haier HSU-09LF03 User manual

Haier

Haier HSU-09LF03 User manual

Haier FCB-051BCN2A Building instructions

Haier

Haier FCB-051BCN2A Building instructions

Haier SUPER MATCH AS25S2SF1FA-BC User manual

Haier

Haier SUPER MATCH AS25S2SF1FA-BC User manual

Haier AS142AHAIA User manual

Haier

Haier AS142AHAIA User manual

Haier AS35TADHRA-CL User manual

Haier

Haier AS35TADHRA-CL User manual

Haier AB142ACBBA User manual

Haier

Haier AB142ACBBA User manual

Haier HW-09CN03 User manual

Haier

Haier HW-09CN03 User manual

Haier AB122ACEAA User manual

Haier

Haier AB122ACEAA User manual

Haier 2HUM18HC03 User manual

Haier

Haier 2HUM18HC03 User manual

Haier HSU09VHJ User manual

Haier

Haier HSU09VHJ User manual

Haier HSU-09RUG03 User manual

Haier

Haier HSU-09RUG03 User manual

Haier HSM09HRA03 User manual

Haier

Haier HSM09HRA03 User manual

Haier HSU-12CR03-Y User manual

Haier

Haier HSU-12CR03-Y User manual

Haier HSU-09HEA03 User manual

Haier

Haier HSU-09HEA03 User manual

Haier HSU-18RK03-R2 User manual

Haier

Haier HSU-18RK03-R2 User manual

Haier HSU-30HEA13 User manual

Haier

Haier HSU-30HEA13 User manual

Haier H2SM-18R04 User manual

Haier

Haier H2SM-18R04 User manual

Haier HSU-12CW03 User manual

Haier

Haier HSU-12CW03 User manual

Popular Air Conditioner manuals by other brands

Fujitsu ASYG 09 LLCA installation manual

Fujitsu

Fujitsu ASYG 09 LLCA installation manual

York HVHC 07-12DS Installation & owner's manual

York

York HVHC 07-12DS Installation & owner's manual

Carrier Fan Coil 42B Installation, operation and maintenance manual

Carrier

Carrier Fan Coil 42B Installation, operation and maintenance manual

intensity IDUFCI60KC-3 installation manual

intensity

intensity IDUFCI60KC-3 installation manual

Frigidaire FAC064K7A2 Factory parts catalog

Frigidaire

Frigidaire FAC064K7A2 Factory parts catalog

Sanyo KS2432 instruction manual

Sanyo

Sanyo KS2432 instruction manual

LG MultiV Series installation manual

LG

LG MultiV Series installation manual

CLIMAVENETA a-CHD U-2T 606+2209 OPERATING AND INSTALLATION Manual

CLIMAVENETA

CLIMAVENETA a-CHD U-2T 606+2209 OPERATING AND INSTALLATION Manual

Midea EWK06CW5 user manual

Midea

Midea EWK06CW5 user manual

Pioneer FAB Series installation manual

Pioneer

Pioneer FAB Series installation manual

SPT WA-1511S user manual

SPT

SPT WA-1511S user manual

Mitsubishi Electric Mr.Slim MSZ-A24NA operating instructions

Mitsubishi Electric

Mitsubishi Electric Mr.Slim MSZ-A24NA operating instructions

Mitsubishi Electric PUHZ-RP50VHA4 Service manual

Mitsubishi Electric

Mitsubishi Electric PUHZ-RP50VHA4 Service manual

Panasonic CS-S18HKQ Service manual

Panasonic

Panasonic CS-S18HKQ Service manual

Panasonic CS-E15NKE3 operating instructions

Panasonic

Panasonic CS-E15NKE3 operating instructions

Gree GWH18TC-K3DNA1B/I Service manual

Gree

Gree GWH18TC-K3DNA1B/I Service manual

Friedrich ZoneAire Compact P08SA owner's manual

Friedrich

Friedrich ZoneAire Compact P08SA owner's manual

Daikin R32 Split Series installation manual

Daikin

Daikin R32 Split Series installation manual

manuals.online logo
manuals.online logoBrands
  • About & Mission
  • Contact us
  • Privacy Policy
  • Terms and Conditions

Copyright 2025 Manuals.Online. All Rights Reserved.

Haier
What The World Comes Home To ''_
RoomA_rC_di#_ey
Centre1
Control
Reedie_tre_tien_beforeie_tefliego
@fl F87Z-33Z_3639fer qne#ieeseepertseed_ereices
tiretesin_tre_tien_eventdepreceder_FieeteRetiee.
Peerteete_qeeetioae_eecereeetleepi#cesst Pee#etiee,cempeeezie _-877o337o363_o
Lee_ee_ne_re_deneeantesdeine_e_ere_eperete
O010543027 U_eee_ e#_-877-337o3_3eei tieeepre_e_te__ebrerep_et;teeoeet"
Thank You for buying a dependabb, energy saving and easy to operate
HALERroom air condifionen This manual contains usefuJinformation for
you to maintain, operate, in4aH and safely use your room air conditioner.
Your air conditioner deans, cools and dehumidifies the air in your room to
provide you with the ultimate Jevd of comfort.
Please read instructions carefuJJybefore using the producL AJso, do not
Forget to fiJl out and maiUthe Product Registration Card
Record Your Mo(JeJand $eriaJ Number.
For aHyour service calls during the warranty period the foJlowing
information will be needed_ Attach the sales receipt to this guide and keep
for future reference. This information can be obtained from the serial pJate,
which is on your air conditioner. This is either on the cabinet (side or back)
or you may have to remove the front grille to bcate iL
Modal Number: ..............................................................
Serial Number: ...............................................................
Date of Purchase: ...........................................................
Dealer's Name: ..............................................................
Dealers Address: ............................................................
Dealers Phone Number: ...................................................
?AOLE
RECEPTACLE ANO FUSE TYPES
RATEDVOLTS 125/60 250/60
AMPS 1S 2.0 15 20 30
WALL OUTLET
_USE S(ZE ) 520 _ _520 _ 30
r_mMEDE_Y FUSE
(c_ ¢it_u_ br_k_r) Pmug P|ug pmug
1)Air conditioner must be connected to proper dectricaJ outlet with the
correct dectricaJ supply. (see table)
Proper grounding must be ensured to reduce the risk of shock and fire.
DO NOT CUT OR REMOVE THE GROUNDING PRONG. Jfyou do
not have a three-prong electric receptacle outlet in the wall, have a
certified dectrician install the proper receptacle. The wdJ receptacle
MUST be properly grounded.
Do not use if power cord is frayed or otherwise damaged_
Also avoid using it if there are cracks or abrasion damage
along the lengfh, plug or connector.
DO NOT USEAN ADAPTER OR AN EXTENSION CORD.
When installing your air conditioner in a window, make sure the window
is strong enough to hdd the wright of the air conditioner.
You also want to secure and correctly install your air conditioner properly
to prevent it from falling. Extra brackets and or support may be required
depending on your window.
6) Do not block airflow inside or outside the air conditioner with blinds,
drapes, protective covers, shrubs or bushes_
7) Becareful of sharp edges on the front and rear fins of the unit that could
cut and cause serious injury.
8) Becareful when lifting the air conditioner to install or remove the uniL
Always usetwo or more people for this.
9) Always unplug the dr conditioner before servicing it or moqng it.
2
English
PAGE
A Word Fro_ Haier 1
Product Reglstratlon 1
Safety Precautions 2
Warnings 4
£UectrlcaU Safety 4
Tips 5
Energy $avlng Gulde 5
Features 6
Operatlng Gulde 7-8
Normal Operating Sounds 7
Operating Instructions 7o8
Uns_Hattions 9- ! 8
PartsSupplied 10
TooJs 1 1
Stepsfor installation 19
CUean and Care Guide 20
TroubUeshootlng _:1o22
Warranty Jnf@rmati@n :23
i ¸¸¸%¸¸
FoJJowingthe safety messages is very important.
These messages can save you from being injured or kiJJed.
Warning symboJsaJert you to be carefuJ and means Danger. AJways
foJJowinstructions to be safe and reduce chances of iniury or deatk
Warning and Danger signs wiJJprecede safety messages.
Grounding: This room air conditioner mustbe grounded.
Grounding reducesthe risk of dectric shockby
providing an escapewire for the eJectriccurrent.
Thepower cord hasa grounding wire with a
grounding pJug.PJugit into an outJetthat is
properJyinstdJedand grounded_
WARNUNG: improperuseof thegrounding
pJugcan resuJtin a risk of eJectricshock.
CaJJa qualified dectridan if you don't understand
thegrounding instructionsor if you are not
sureif theair conditioner is properJygrounded.
Jfthe waJJoutbt is not grounded, pJeasecontactan
eJectridanto haveit repJacedwith a properJy
grounded outJet.
Do not, under any circumstances, cut or remove the
third (ground) prong from the power ¢@rdo
Adapter PUug: We strongJyadvise against using an adapter pJug.
4
eAirConditionersaredesignedforuseinadoublehungwindowor
throughthewallinstallationonly_(Asapplicableinyourmodel)
• Whileinstallingunitbesure to flit air conditioner 1/4 degree ouhvard to
have the water drip outside the house_
o Install the unit on the north side as normalmythat is the shaded side. This
will enhance _heoperation of your unit.
_e Window has to be strong for installation_ Extra brackets and or support
may be required depending on your window. (Brackets and Supports
not induded in all models)
o Measure the window before installing, if the window is bo big for the
unit you may require professional installation,
_e Use correct electric voltage and proper ampere for the unit to run
effectively.
_® Only let a certified electrician do any modifications to your electrical
outlet,
Use a dedicated line for the operation of your air conditioner to avoid
the possibiJih/of an electrical surge,
e When installing your air conditioner make sure to seal all areas where
there is a possibilib, of air bakage,
Airflow should not be blocked inside either by curtains, drapes or
furniture or outside by shrubs or bushes_
• Do not needbssly use on ebctrical light or other appliances that
produce heat,
Keep the vent dosed on the air conditioner when in the coomingfunction.
Keep the blinds and the drapes drawn on all the other windows.
While cooking use an exhaust fan in the kitchen to remove the excess
heat produced_
Always usethe correct BTU size air conditioner to cool the room to
affain optimum efficiency.
4-way
airflow
iiiJiiii_i _iiiiiiii_
_iiiiiiii_
iiiJiiiiiiiii
iiiJiiiiiiiii
easy
access
filters
sHide°out
chassis
(AH features not on ohmmodels)
control
pand
1° Temperature Set Knob
This knob adjusts the temperatureof the ain
Higher thesetting the coobr theair temperature.
with this knob you can setthe temperatureto your
desired comfort bveL Min, Cod being thewarmest
and Max. Cod being the cddest
2. Functlor_ S_e_Knob
with this knob you can cantrd thefan speedas
well as the cooling speed,There are 3 knob
positionson theA!C for you to selectfrom. LO will
circulate air at the lowestvelocity MED at the
middle levd and HJwill circulate at themaximum.
You have 2 FanOnly speedsto choosefrom HI and
LO.
This feature heJpsyou to exhaustany stale
unwanted air in the room and draw fresh outside
air in the room. To cirdate the air, bring the lever
to theopen position. (Thelever should be in the
closed mode to avoid lossof cool air to theoutside.)
4° 4 Way A_r Fmow
Theseair directional buvers let you control the
direction of the airflow in your required direction
Theairflow can be directed
up -down -right side- left side
5.smldoOotChossis(ootiooJmmodoJ0)
your air conditioner becomesmore versatiJewith
this feature You have the option to insiaJlthe unit in
a window or a wall.
6. Window |nstaJJ Kito
Enabbsyou to installthe air conditioner in a
doubb hung window Extra brackets or support
may be needed depending on your window
English
©pe o tiHg B@ ds
FoJJowingsoundsare normaJJyheard during the operation of an air conditioner.
*Thermostatclicks.As the thermostatcycleson/off you will
hear this sound.
Cod airflow movementas dictated by the set fan speed
®Water sounds.This is normaJsinceyour air conditioner actsas a
dehumidifier aJso.Thusyou wiJJhear water soundsfrom water drops
falling on the condensen
o As the refrigerant flows through the inner seaJedtubing a
rushing noise may be heard.
RattJingor vibrating noisesmay be heard due to poor waJJ
or window instoJJation.
High pitch compressor soundmay be hear&
LO
A/C
OFF MED
A/C
HR HI
FAN A/C
fig, # 1
FUNCTmON SET
5 6
4
2
1
MIN COOL 10MAX COOL
TEMPERATURE SET 7
E e/i h
After instaJJingyour air conditioner, pJugit into the proper
dectricd outRetin the wall
1) SelectMed. A/C on the FunctionSetknob_
2) SettheTemperatureSetknob at the mid JeveJsetting. ThiswiJJturn on
your air con@ionen
3) Youcan setthe thermostatfrom Min Cod to Max Cool Min Cod being
thewarmest Max Cod being the cddest_
4) Your air conditioner has 1 or 2 Fanspeedsdepending on your modal
purchased and 3 A/C settings_
5) If your air conditioner has a Ventcontrol make sure that it is on dose.
Leaveit open onJyif you need to recycle the stale room dn By Jeavingit
dosed you will retain the cod air in the room_
6) Letyour air conditioner run for a few minutesbefore adiusting to the
desired settings.
7) Remember the compressor of your air conditioner wiH riot work
when the temperature goes bdow 65°F.
8) AJsowhen you shut off the air conditioner wait for 3 minutesbefore
turning it on again. This is the compressorcycle time_
9) If you haveany trouble in operating your air conditioner please refer to
theTrouble Shooting section_
English
Beforeyou install your air conditioner checkthe following:
The unit is free of aHobstructions inside and outside the room e.g. drapes,
curtains, furniture, pRants,shrubs,bushes,trees,other structureslike building,
garage etc.Air conditioner musthave dear unobstructed airflow through the
condenserto remove the heal
2) Thewindow is strong enough to hold the weight of the air condifionen
Extra brackets or supportsmay be needed depending on your windows.
(Bracketsor Supports not provided in all modds/
3) Thewindow siJJand track are strong enough to hold the weight of the
air conditioner.
4) ThewaJJis strong enough to hdd the unit. Extra brackets or supports may be
needed depending on thewall (Bracketsor Supports not provided in dJ modds).
5)
A 71
Asl
Ag)
There is adequate and proper power suppJynear theair conditionen
DO NOT useadapter pJugs.
DO NOT useextension cords.
DO NOT cut or removethe ground prong_
DO NOT modify the pJugor thedectrkaJ waJJoutJetin any way.
if pbg does not fit the dectrical outJethavea certified dectrician do the
necessarychange.
A10) DO NOT connectelectrical power to the unit before installation.
_11) DO NOT useif power cord isworn out, frayed or otherwise damaged.
Avoid using if there are cracks or abrasion damage along the Jength,
pJugor connectiom
] 2) DO NOT install into any existing cabinet or sleevewhich does not haveside
and top air vents, g