manuals.online logo
Brands
  1. Home
  2. •
  3. Brands
  4. •
  5. Haier
  6. •
  7. Water Heater
  8. •
  9. Haier EI35M(AE) Guide

Haier EI35M(AE) Guide

Other Haier Water Heater manuals

Haier Sea-ox KingFCD-JTLD245 User manual

Haier

Haier Sea-ox KingFCD-JTLD245 User manual

Haier FCD-JTHC100A-III (E) User manual

Haier

Haier FCD-JTHC100A-III (E) User manual

Haier FCD User manual

Haier

Haier FCD User manual

Haier DSF80B E User manual

Haier

Haier DSF80B E User manual

Haier ES10V-E1

Haier

Haier ES10V-E1

Haier QBJ1-130A User manual

Haier

Haier QBJ1-130A User manual

Haier Little Sea-ox FCD-JTHC80A-III (E) User manual

Haier

Haier Little Sea-ox FCD-JTHC80A-III (E) User manual

Haier HP200M1-U1 Specification sheet

Haier

Haier HP200M1-U1 Specification sheet

Haier HP80M5 Specification sheet

Haier

Haier HP80M5 Specification sheet

Haier ES100V-G1 User manual

Haier

Haier ES100V-G1 User manual

Haier Little Sea-ox FCD-JTHC80-III (E) User manual

Haier

Haier Little Sea-ox FCD-JTHC80-III (E) User manual

Haier Little Sea-ox FCD-JTSA50-III User manual

Haier

Haier Little Sea-ox FCD-JTSA50-III User manual

Haier FCD-SHX200A30 User manual

Haier

Haier FCD-SHX200A30 User manual

Haier FCD-8 User manual

Haier

Haier FCD-8 User manual

Haier FCD-JLD245 User manual

Haier

Haier FCD-JLD245 User manual

Haier HP200M3 Specification sheet

Haier

Haier HP200M3 Specification sheet

Haier ES25HH1 (R) User manual

Haier

Haier ES25HH1 (R) User manual

Haier GV100RNF User manual

Haier

Haier GV100RNF User manual

Haier ES15V-SD User manual

Haier

Haier ES15V-SD User manual

Haier ES50V-F1(EU) User manual

Haier

Haier ES50V-F1(EU) User manual

Haier Little Sea-ox FCD-JTSA50-III User manual

Haier

Haier Little Sea-ox FCD-JTSA50-III User manual

Haier FCD-JTHC100A-III User manual

Haier

Haier FCD-JTHC100A-III User manual

Haier ES10V-Q1 User manual

Haier

Haier ES10V-Q1 User manual

Haier GV270REMB User manual

Haier

Haier GV270REMB User manual

Popular Water Heater manuals by other brands

clage German pool CEX13 operating instructions

clage

clage German pool CEX13 operating instructions

Noritz proTough NR98SV installation manual

Noritz

Noritz proTough NR98SV installation manual

DeDietrich KALIKO TWH 200 EV Installation and service manual

DeDietrich

DeDietrich KALIKO TWH 200 EV Installation and service manual

veito FLOW Installation and operating instructions

veito

veito FLOW Installation and operating instructions

ICI Caldaie COSMOGAS AGUATANK 150 Instructions for installation, use and maintenance manual

ICI Caldaie

ICI Caldaie COSMOGAS AGUATANK 150 Instructions for installation, use and maintenance manual

Savio Laser 11 A Instruction manual for installation and use

Savio

Savio Laser 11 A Instruction manual for installation and use

Kenmore 153.582400 Use & care guide

Kenmore

Kenmore 153.582400 Use & care guide

STIEBEL ELTRON Eltronom SHU 5 S Operating and installation instructions

STIEBEL ELTRON

STIEBEL ELTRON Eltronom SHU 5 S Operating and installation instructions

clage E-Mini Series Operating and installation instructions

clage

clage E-Mini Series Operating and installation instructions

Solar SunX 317365-002 instruction manual

Solar

Solar SunX 317365-002 instruction manual

Bradford White EF Series Service manual

Bradford White

Bradford White EF Series Service manual

Dimplex ECSd125-580 Installation and user instructions

Dimplex

Dimplex ECSd125-580 Installation and user instructions

Dux 32FCR6N installation manual

Dux

Dux 32FCR6N installation manual

Noritz N-132M Owner's guide and installation manual

Noritz

Noritz N-132M Owner's guide and installation manual

TESY GCV7/4S 10047 Instructions for use and maintenance

TESY

TESY GCV7/4S 10047 Instructions for use and maintenance

A.O. Smith Gphe 50 instruction manual

A.O. Smith

A.O. Smith Gphe 50 instruction manual

Rinnai REP199i Installation and operation manual

Rinnai

Rinnai REP199i Installation and operation manual

Toyotomi Oil Miser OM-148 (Type D) Operation and maintenance instructions

Toyotomi

Toyotomi Oil Miser OM-148 (Type D) Operation and maintenance instructions

manuals.online logo
manuals.online logoBrands
  • About & Mission
  • Contact us
  • Privacy Policy
  • Terms and Conditions

Copyright 2025 Manuals.Online. All Rights Reserved.

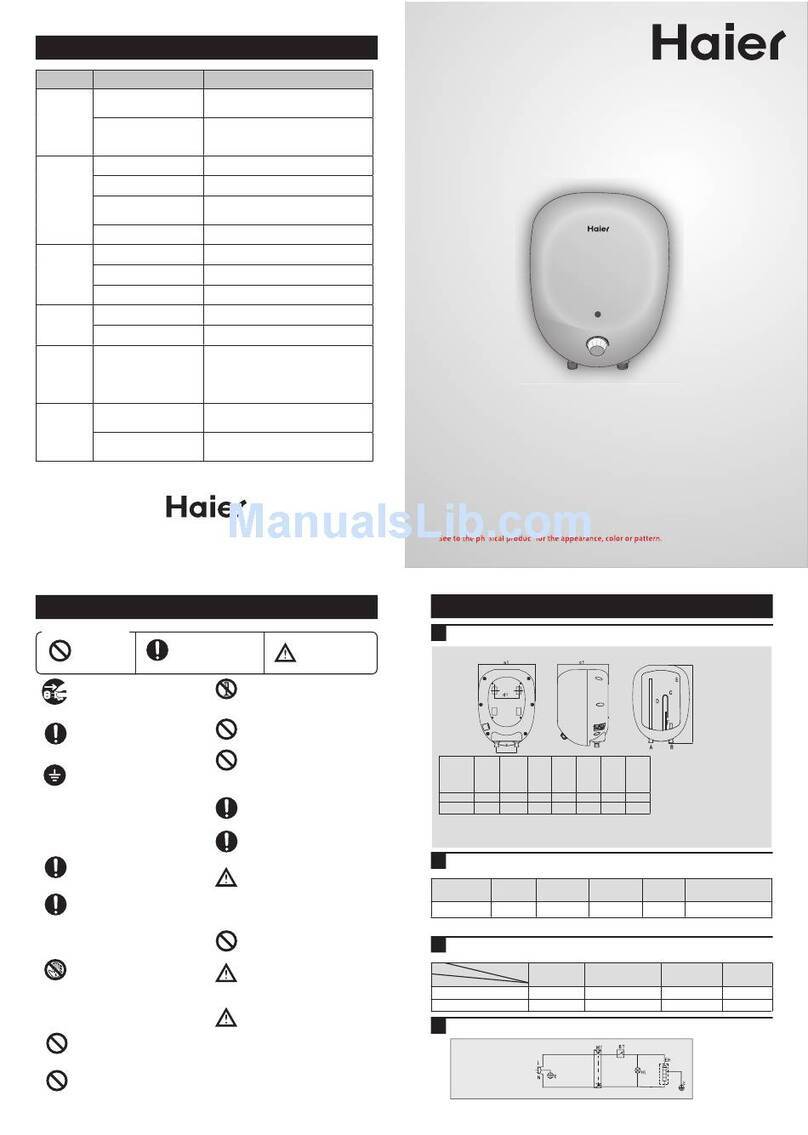
ELECTRIC INSTANTANEOUS WATER HEATER
Dear customer,
Please read this instruction carefully before use to avoid product damage and danger
due to improper application.Please keep the instruction properly to provide reference
for maintenance personnel.
Safety notices
It must use 220V,50Hz single phase AC power supply, and using other power supplies
are strictly forbidden.
It must use air leakage switch, and using plug is strictly forbidden.
It must ensure the provision of circuits for household appliances and enough limit for
the existing fuse distribution board.
The reliable earthing line must be provided before power supply.
Touching the power switch with wet hands is strictly forbidden .If the water heater is not
used for a long time, the connection with power supply shall be cut off.
Do not sprinkle water on the human body directly during use of initial water. Adjust the
power selection switch and temperature demands.It is forbidden to use in case of
smaller water flow and that power selection switch is at maximum power, so as to avoid
scalding due to excess temperature.
Empty the water in the water heater if it is not used for a long time in winter,so as to
avoid being frozen ,resulting in damage of the container. Please notice that,cut off the
power supply before emptying!
Regularly remove the dirt for the shower head and filter screen so as to avoid any
block. For any part damaged or needed to be replaced,it must be replaced by special
parts by our company or by the maintenance personnel appointed by our company.
Attentions:Failure to comply with this instruction implies the risk of
accident,property loss and personal injury.
Product characteristics
*Safety
With water-electricity separation heating technology, safety test and earthing protec-
tion,independent leakage protection, fault self-diagnosis protection, anti-over-tempera-
ture, anti-dry-heating, anti-spraying and low water flow protection, the water quality is
purified by filter screen so as to extend the service life of water heater.
*Energy conservation
Power is adjustable and suitable for using in any season.
Owing to the instant-on function,pre-heating is not needed,with heat preservation,
water saving and energy conservation.
*High efficiency
Heater is specially designed with good thermal conductivity and its thermal efficiency
can be has high as 95%. Plus the advanced anti-scaling technology, scale cannot be
formed and the thermal transmission can be faster.
Product structure drawing
Technical parameter
Model
AC 220
50
0.6
55
360*240*80
1.5
15.9
EI35M (AE)
Rated Voltage(V)
Rated Frequency(Hz)
Rated Power(W)
Rated electric Current(A)
Rated Pressure(MPa)
Maximum temperature(°C)
External Dimensions(mm)
Net weight(kg)
3500
*Model specifications subject to change without notice.
Installation
1.This water heater uses 220V,50Hz single phase AC power supply. Before using,-
check if its electric current,ammeter and wire capacity match together.
2.Power supply connection block must use air switch or leakage protection switch with
the specification ≥30A/220V and be provided reliable earthing .The quality of the switch
must comply with the national standards. The connected lines must meet the require-
ment of rated current value (≥30A).Before installation,for wire connections ,it shall be
carried out tightness check and wiped, so as to avoid being with stain, resulting in fire.
3.Power supply connection block must be provided reliable earthing.It is recommended
to install a qualified leakage switch in the circuit.
*Convenience
Without necessary preheating ,this product can provide you with hot water at desirable
temperature in several seconds after startup. It can start at low water flow, even at
lowest water flow of 1.3L/min. So that water heater could bring you more convenient
and faster bath.
INSTALLATION AND USER INSTRUCTIONS
Model:EI35M(AE)
*THE UNIT MUST BE INSTALL BY ELECTRIC ENGINEER.
*Place of installation
1.This water heater shall be installed near to power socket,sewer and the place using
water. Installation without drainage is not allowed.
2.During installation,both the inlet and outlet water pipes must be placed at the bottom
of the water heater.Horizontal type installation for the water heater is not
allowed.(Fig.1B)
3.The wall for installation of water heater must be firm and solid and can bear four
times the weight of the water heater.
*Fixation of body (Fig.1A)
According to the position of fixing hole of the water heater, install the product on solid
wall or board.
21
3 4
255mm
110mm
Drilling three holes,insert
two screws into the wall
Insert the unit to
the two screws
hole hole
hole
Screw for final fixing
2200mm
1500mm
HEATER
OFFMIN
POWER CONTROL
MAX
HEATER
OFFMIN
POWERCONTROL
MAX
HEATER
OFFMIN
POWERCONTROL
MAX
1. Dismantle the front cover,trace out the location according to the position of the
mounting hole on the bottom cover,and drill three screw holes of φ5, with a horizontal
distance of 110mm. Firstly hang the water heater by ST4*32 countersunk screw with
sleeve, then fix the bottom screw to fasten the unit.
2.If installed on the board, dismantle the front cover,and directly install the bottom cover
with self-tapping screws in the position of mounting hole (Refer to installation diagram
for details).
Attention: Use only accessories provided with this water heater. Put on the front cover
only after confirming that the mounting screws are firm and reliable. Otherwise,the
water heater may fall off from the wall and cause damage and property loss!
*Connection of water pipe
First connect the water pipe and run the water for 2 minutes,make sure no leaks,only
after connect the Electric Power.
Looking at the Front view of the unit, the left side is outlet pipe, right side is inlet pipe(-
Fig.2A)
Fit the screen gasket at the inlet pipe and install the Flow control valve, then connect
the water pipe.
Connect the flexible tube to the outlet pipe. Check if all the Inlet/Outlet pipes are
connected well and all joints are well sealed,and no leaks.
CAUTION:
1.Do not install valve at outlet pipe, connect the shower tube to outlet pipe only.
2.Connect the shower tube to shower head only, Do not use as water inlet pipe.
Operation instructions
WARNING
Before connect to the power supply,the Flow control valve must be open,wait few
seconds until the water flow from the shower
Operation instruction (Please read below carefully before use).
*Overheating protection
When water outlet temperature is>55℃,over-heat temperature protection device will
cut off the power supply,the HEATING light will turn off,and water heater will stop
heating.After water outlet temperature drops down(about 30s-2min),the over-heat
temperature protection will reconnect to power supply and the water heater continues
heating.
*Low flow protection
In case of no water or low water flow,the water heater stops heating;when tempera-
ture is over 55℃,the over-temperature protection cuts off the power to avoid dry-heat-
ing.
3.Stop the water heater
Turn the temperature adjustment knob to OFF and close the Flow control valve.The
water heater will stop heating and stay on standby.
4.Leakage protection and test
To guarantee your safety,when there is current leakage exceeding 15mA in the water
heater.The leakage protection device will immediately cut off the power supply and the
ELCB light will flash in red;if leakage protection switch actuates frequently during
normal operation of water heater,please notify authorize engineer for testing and
maintenance,and do not use it again until it is confirmed for use.
The ELCB must be periodically tested(once a week).
Press on the ELCB Test button,the ELCB light flashing red to show the unit under the
alarm status,then press on ELCB Reset button,the ELCB light will change to green to
show the ELCB can perform normally.
CAUTTION: ELCB Test button should NOT be used as temperature adjustment knob.
NOTE:Dripping is normal when water heater is working.
General fault analysis and troubleshooting
Maintenance
This innovative Handshower has 1 spray action (STANDARD).
Handshower head requires regular cleaning.
Before repairing,maintenance and checking,power supply must be cut off.
Electrical principle drawing
Appendix and data
No. Name Quantity
1 instruction manual 1 copy
2 inlet valve 1 pcs
3 installation list 1 set
3.1 ST4.0*32 screw 3 pcs
3.2 plastic wall plug 3 pcs
4 shower head set 1 set
NOTE:
1.Our company shall not be responsible for any damage caused by incorrect installation
or not following this instruction by user,The fault caused by incorrect operation is out of
our warranty scope.The installation must be carried out by professional personnel.
2.The accessories listed in the above table are included in warranty scope promised by
manufacturer,but other accessories excluding packing case are provided with com-
pensation.
Warning:
1.Do not use any damaged power line or power supply connection block.
2.The power supply connection block of water heater shall be installed at the dry place
where can not be sprayed by water. Do not plug in /out the power supply connection
parts with wet hands.
3.Power supply connection must be correct and must be done according to provisions.
Power line also must be in accordance with specified specifications,otherwise serious
consequences may be caused.
4.Only accessories to be used for correct performance of the water heater.
5 6
78
Temperature adjustment knob
ELCB light
Reset button
Test button
Heating light
Outlet pipe
Intlet pipe
Flow control valve
Fault Cause Elimination method
Heating light is off
Power supply line cut off Wait for supplying power
Power supply connection with poor
contact
Replace power supply connection
block or power line
Power supply fuse broken or air
switch or leakage circuit breaker
enabled
Replace fuse or turn off air switch or
reset leakage circuit breaker
Indication light broken Notify maintenance department for
repairing
Electrical heating pipe broken Notify maintenance department for
repairing
Water temperature too
low
Water flow too large
Adjust temperature selection switch
in clockwise direction until
temperature is proper
Power too low
Adjust temperature knob to high
power stage until temperature is
proper
Electrical heating pipe broken Notify maintenance department for
repairing
The ELCB red light
constantly onELCB coil broken Notify maintenance department for
repairing
The ELCB red light
flashing current leakage Reset the water heater or Notify
department for repairing
1.Start the water heater
1) Open the water valve, after water goes out from shower head.
1.1 Open the water valve ,after water goes out from shower head, turn the tempera-
ture knob, the HEATING light is GREEN.
1.2 No water flow and the temperature knob is OFF, HEATING light is “OFF” .
1.3 Open the water valve,and the temperature knob is OFF,HEATING light is
ORANGE.
1.4 Close the water valve,the temperature knob had already been turned, HEATING
light is RED.
2.Temperature selection
1) Select your temperature by regulating the water flow or adjusting the temperature
control knob.
HEATER
OFFMIN
POWER CONTROL
MAX
E NL
Heating
Element
Flow
Switch
Power
Thermostat
ELCB ring
Triac
ELCB