8
5. Getting Started
5.1 Remote control
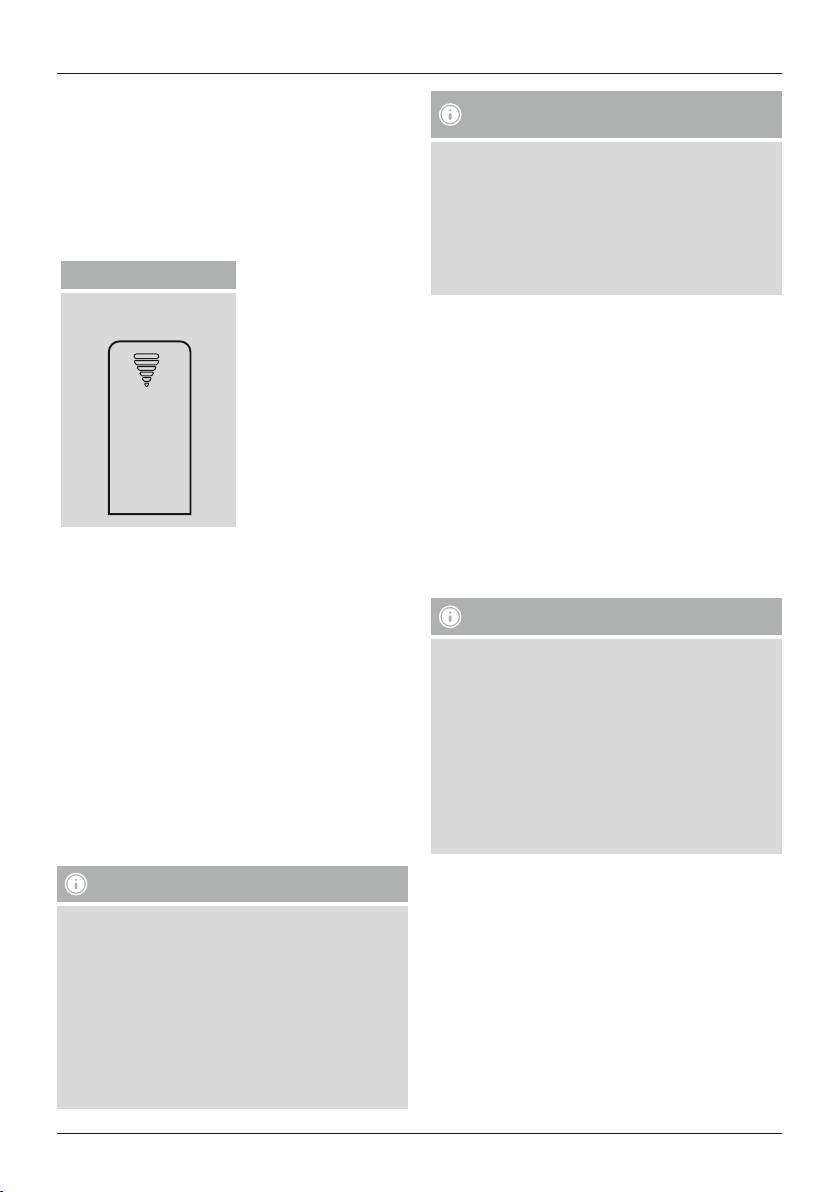
•Open the battery compartment cover.Itislocated on
the rear of the remote control.
•Pull the closing tab back (if present) and lift the cover.
With other models of remote control, it suces to
simply push the casing in the direction indicated.
Sliding cover
Insert the batteries, paying attention to match the
polarities correctly.The correct polarity is indicated
by the plus and minus symbols in the battery
compartment.
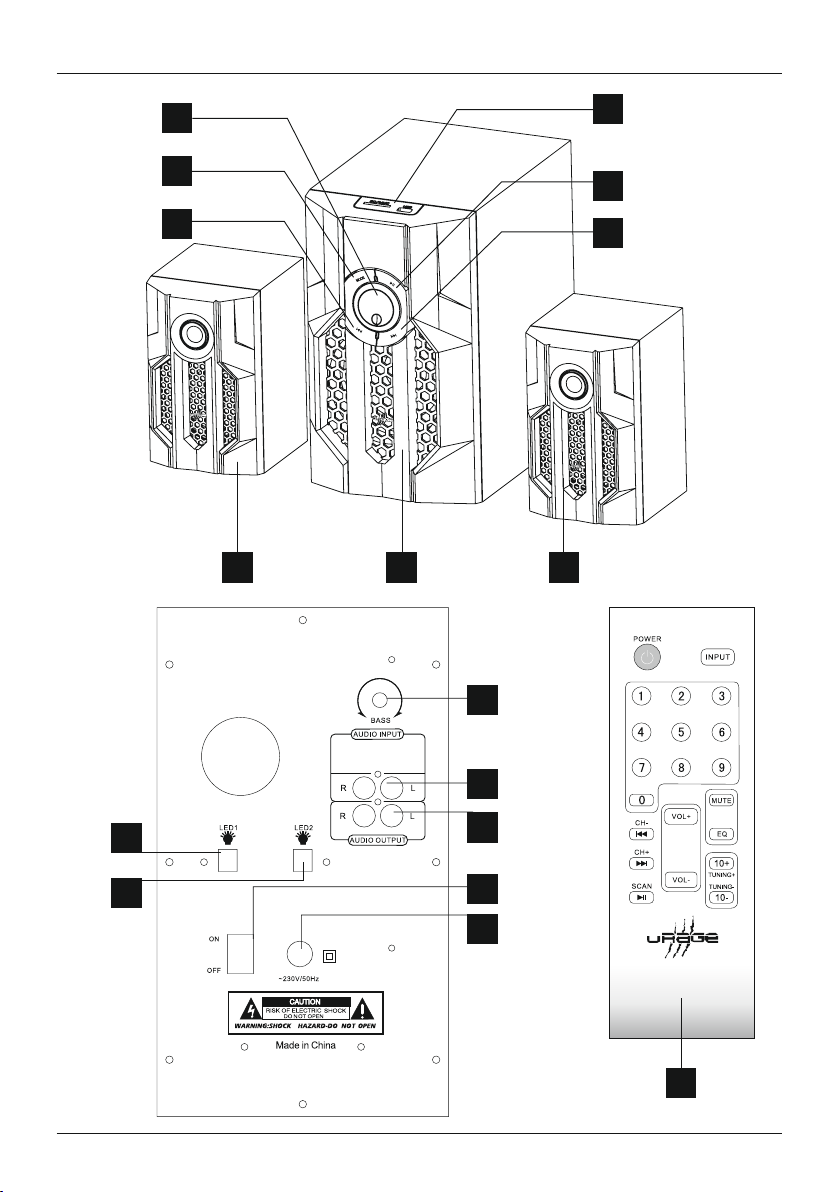
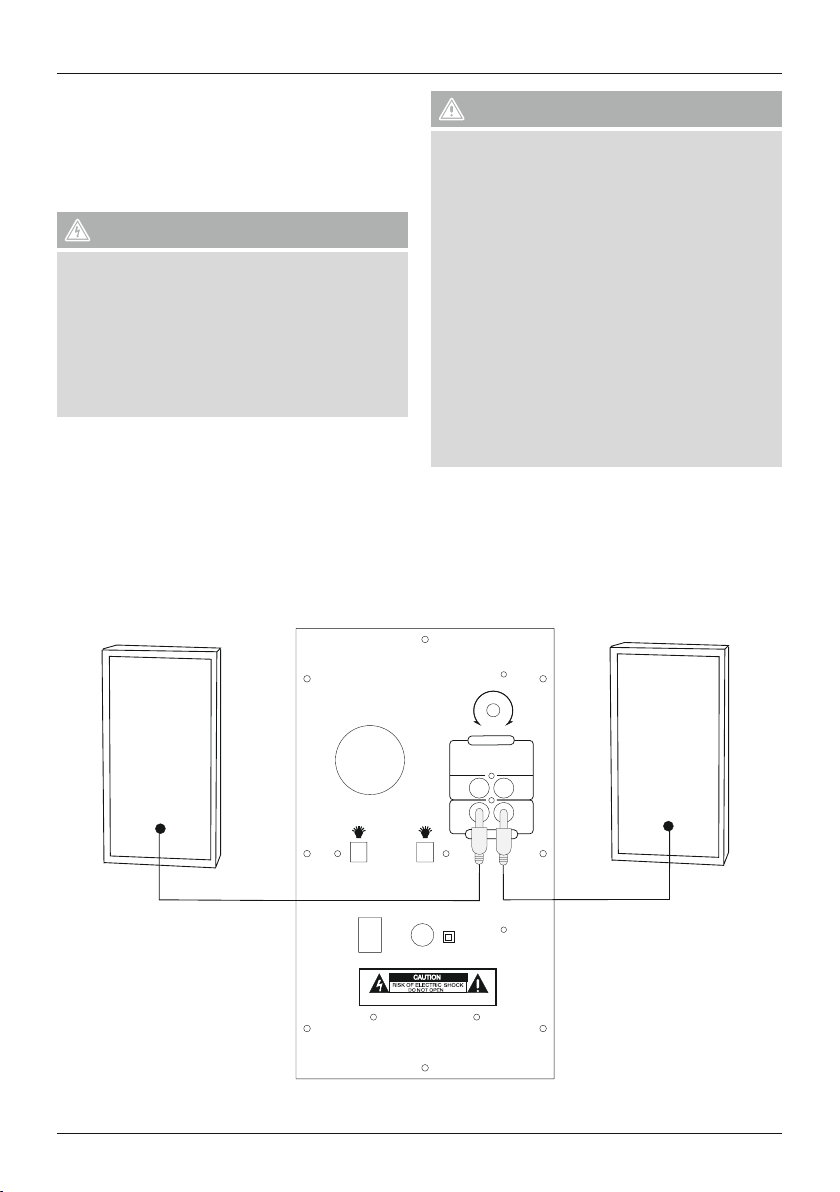
5.2 Speaker
•Connect the two satellite speakers with the
corresponding audio outputs at the rear of the
subwoofer,asshown in the wiring diagram Point 4.
•Then connect the corresponding AUX audio input
with the signal source (computer/DVD/Blueray/MP3
player etc.), with the help of one of the enclosed
audio cables.
•Connect the subwoofer’spower supply cable to an
undamaged electrical socket which has been installed
correctly.
Note
•Only connect the product to asocket that has been
approved for the device. The electrical socket must
always be easily accessible.
•When using amult-socket power strip, make sure
that the sum power draw of allthe connected
devices does not exceed its maximum throughput
rating.
•If you will not be using the product for along
period of time, disconnect it from mains power.
Note –Line interference /reception
problems
•In an environment with radio-frequency
disturbances, the sample may malfunction
and could self-recover when the interference
disappears.
•In an environment with conducted disturbances,
the sample may malfunction and could self-recover
when the interference disappears.
5.3 On/off switch /standby
•Turn the speaker system on by turning the on/off
switch ON/OFF at the rear of the subwoofer to ON.
•Turn the speaker system off completely by turning
the on/off switch ON/OFF on the rear side of the
subwoofer to OFF.
•When the speaker system is turned on press
the POWER button on the remote control or the
MODE button on the subwoofer’sfront display for
approximately 3seconds to switch the speaker system
to standby mode.
•Press the POWER button in standby mode on the
remote control or the MODE button on the front
display of the subwoofer to activate the speaker.
Note –Automatic standby
•Please note that the speaker system switches to
standby mode after 15 minutes of no activity (no
audio playback /noother activity).
•Press any button on the remote control or the
subwoofer to re-activate the speaker system.
•The system is shipped from the factory with an
auto standby function. To deactivate this mode,
press button 5onthe front of the subwoofer
system or on the remote control for about 3
seconds. ‘E off’ or ‘E on’ appears in the display.
6. Audio source selection
6.1 AUX playback
•Press the INPUT button on the remote control or
the MODE button on the subwoofer several times to
select the AUX connection as the audio source. The
AUX selection is shown on the subwoofer’sdisplay
and signalled by an “AUX” speech message.