5
Note
•The wireless transmission range between the
measuring and base stations is up to 30 m in
open spaces.
•Before installation, ensure that wireless
transmission will not be disrupted by
interference or obstacles like buildings, trees,
vehicles, high-voltage lines, etc.
•Before the nal installation, ensure that there
is sucient reception between the intended
installation locations.
•When installing the measuring station,
ensure that it is protected from direct sunlight
and rain.
•The international standard height for
measuring air temperature is 1.25 m (4 ft)
above ground.
Warning
•Buy special or suitable installation material
from a specialised dealer for wall-mounting.
•Ensure that no faulty or damaged parts are
installed.
•Never apply force during installation. This
could damage the product.
•Before installation, ensure that the chosen
wall is suitable for the weight to be mounted,
and make sure that there are no electrical
wires, water, gas or other lines at the
installation site on the wall.
5.1. Base station
•Use the base (19) to position the base station on
a level surface.
•Alternatively, you can install the base station on a
wall using the opening (16) on the back.
5.2. Measuring station
•You can also position the measuring station on a
level outdoor surface using the base (19).
•We recommend installing the measuring station
securely on an outdoor wall.
•Install an anchor, screw, nail, etc. in the wall of
your choice.
•Hang up the base/measuring station using the
opening (16/23) intended for this purpose.
6. Operating the Base Station
6.1. Initial settings
•After the rst time the base station is switched on,
the weather forecast symbol (2) will ash.
•Set the following information in the order listed:
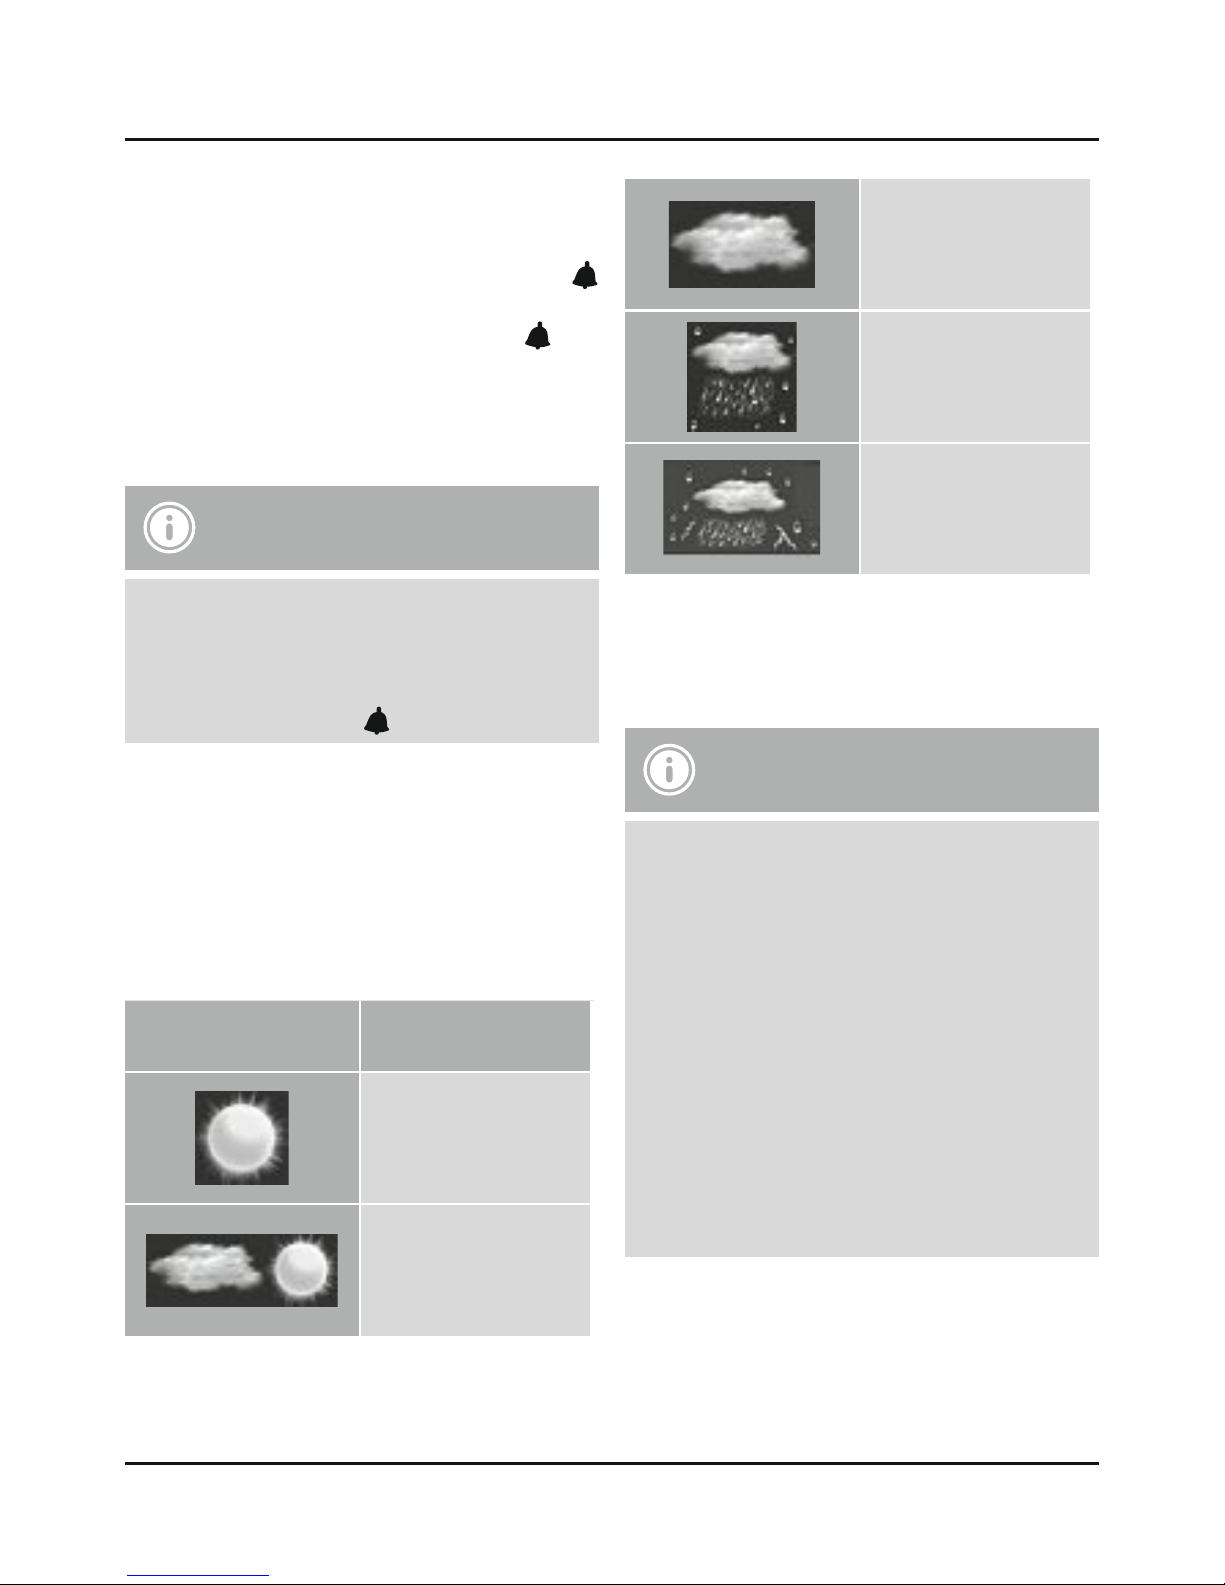
•Symbol for current weather forecast (2)
•Temperature units °C/°F (default: °C)
•Motion sensor on/off (default: on)
•Permanent backlight on/off (default: off)
•Select each value by pressing the +button
(12) or the AUTO – button (13) and conrm each
selection by pressing the MODE / SET button (11).
•The standard settings are retained if you do
not make an entry within 20 seconds. You can
subsequently change/reset these values at any
time as described in 6.4 Basic and manual
settings.
6.2. Connection to the measuring station
•After making initial settings, the base station
automatically searches for a connection to the
measuring station and performs initial setup.