Recommended Service Cycle – Service winch before the sailing season and once during.
®
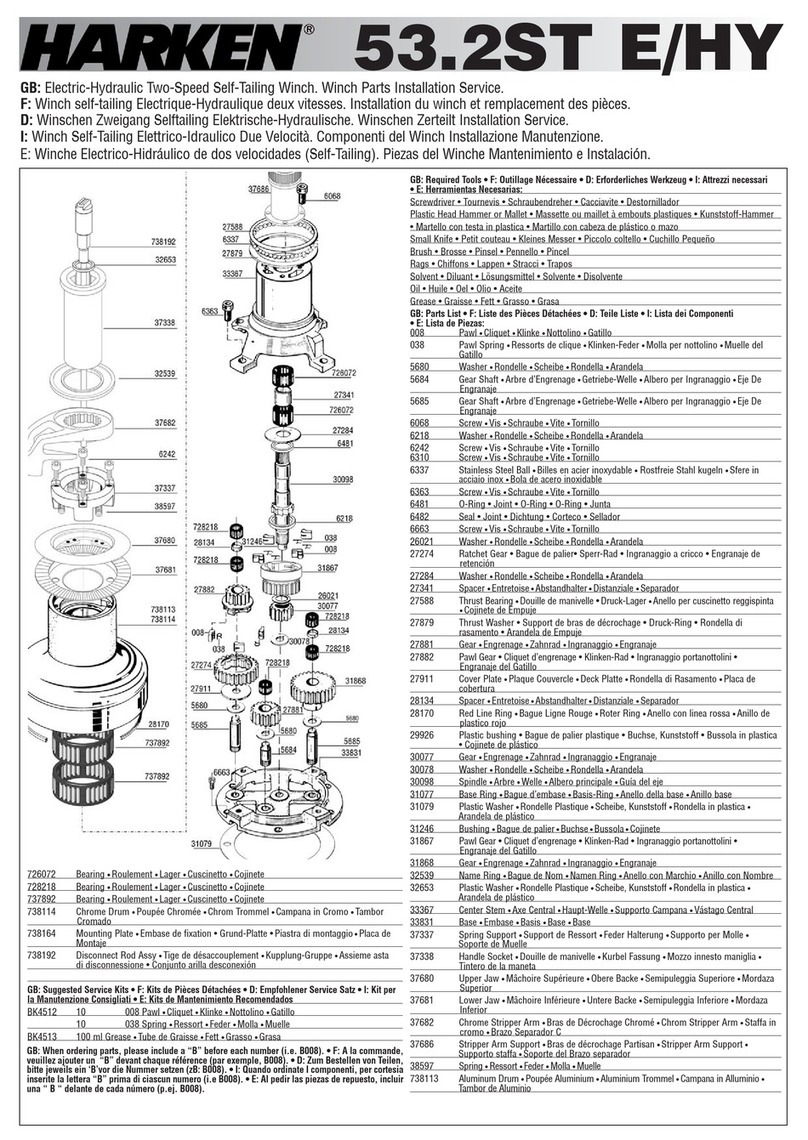
Adjusting Self-Tailer
Correct opening: Sheet fits completely
in to ja w an d re sts a gain st d rum .
Servicing WinchServicing PawlsFitting on Boat
Attention: R atchet gear mounted
b ackw a rds w ill ca use w inc h t o slip.
Grease lightly and spread grease
e ven ly . Use a b rus h.
Use knife to free captive spring.
Position stainless steel drive gear
w he re sh ee t e nte rs win ch dr um .
Right Wrong
SHEET
DRIVE GEAR
DRIVE GEAR
Insert spring with straight leg against
pawl . Use oil for lubrication.
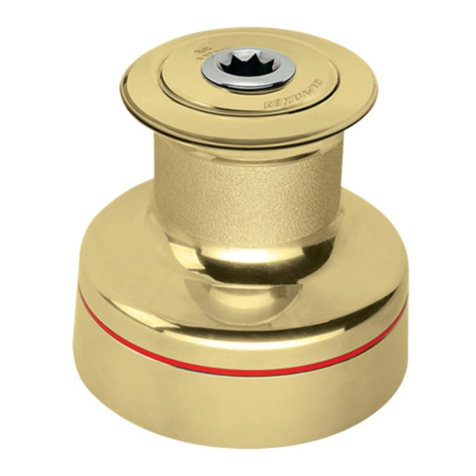
53.2st
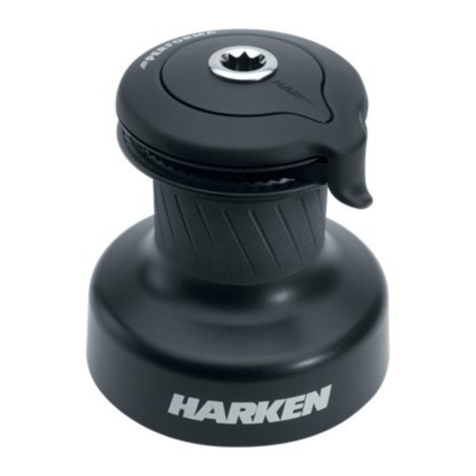
Two Speed Self-Tailing Winch
Winch Parts and Service Instructions
➊
➋
Press
Turn
Pressand turn to adjust self-tailer.
8
Sheetentryangle mustbe atleast 8°.
Clean all parts with solvent.
H4607-5/98
Adjusting Self-Tailer
If lines slip in the self-tailer, be sure that there are four
or five wraps on the drum, then consider closing the jaws
by pressing down on the upper jaw 33606 and turning
counterclockwise.
The 33667 shimming washer must be removed to
use small line.
The winch is more efficient when the jaw opening
matches line size, so close the jaws only if you are
using smaller line.
Positioning StripperArm
Loosentop screw
Remove handle socket
Lift stripper arm and position as desired
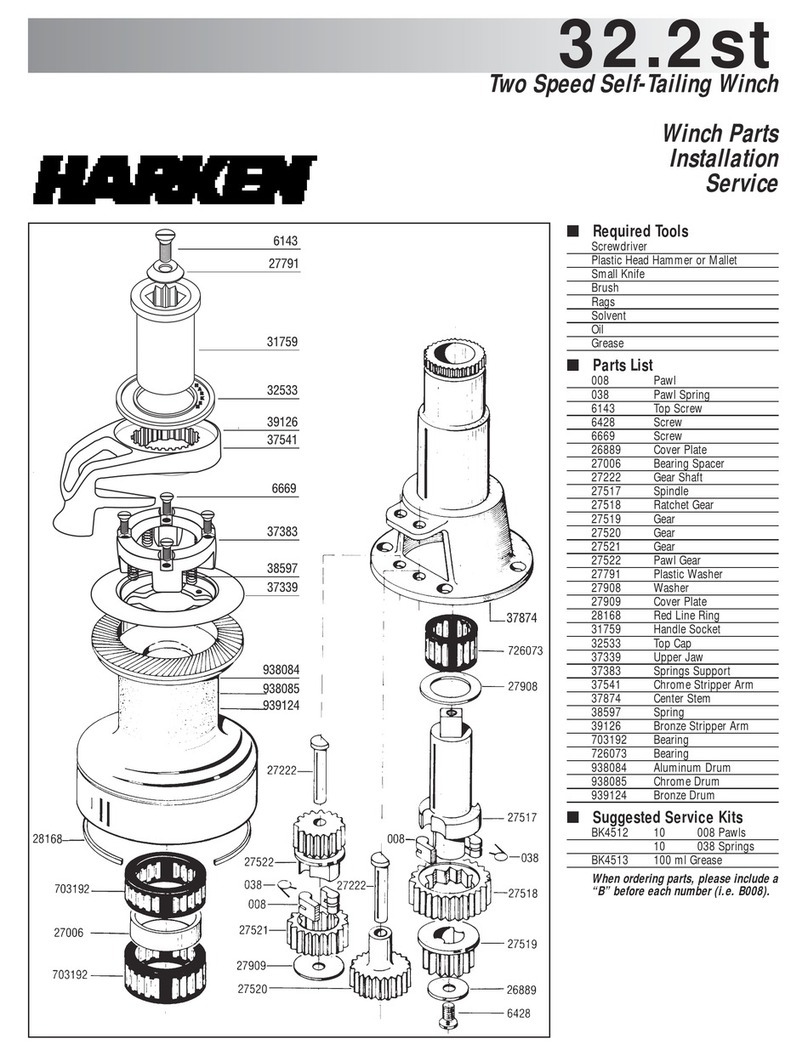
Opening Winch
Remove top screw
Lift of f d rum
On three speed winches, lift off three speed mechanism with
handle socket
On self-tailing winches, lift off stripper arm with drum
Servicing Winch
Remove bearings from center stem
Drum support bearing 27588/6337/27879 can not be removed;
clean with solvent and lubricate lighty with grease
Remove allen screws holding center stem to base
Remove center stem carefully
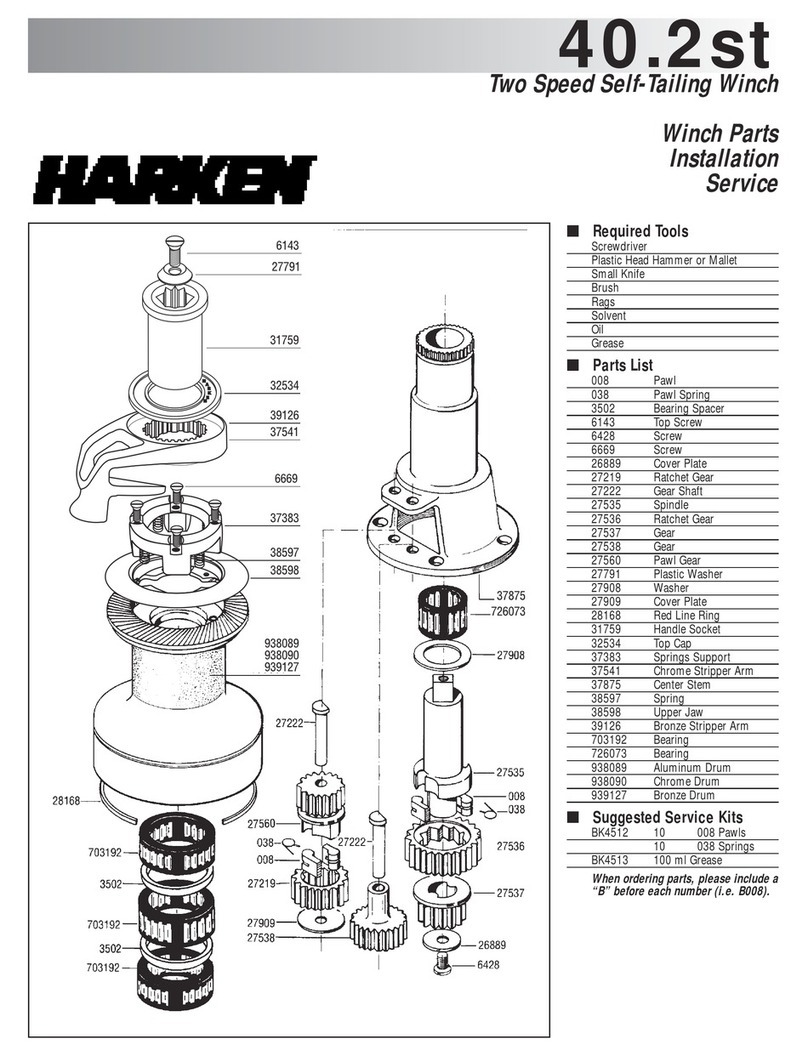
Remove pawls and springs - service as below
Remove all bearings, gear shafts and gears
Clean all parts with rags and solvent
Use a brush to lubricate all gears, gear shafts, bearings, teeth
and all moving parts lightly with grease
Replace pawls and springs and lubricate lightly with oil
Reassemble and close winch
Servicing Pawls
Catch spring with knife and hold against pawl
Lift ou t p awl
Clean and check for wear
Place spring against pawl with straight leg against pawl
Hold spring closed and slip pawl into pawl socket
Lubricate pawls using oil
Fittingon Boat
Make sure mounting surface is flat
Check sheet entry angle
Open winch
Position winch on deck with drive gear where sheet enters
winch drum and mark holes
Remove winch and drill holes
Mount using six 5/16" (8mm) flat head machine screws
Ap ply bedding compound and bo lt win ch to boat
Clean excess bedding compound from base drain holes
Lubricate and reassemble winch
1251 E. Wisconsin Ave., Pewaukee, WI 53072 USA •Tel: (414) 691-3320 •Fax: 414-6913008
Via Della Cerca, 12/14, 22070 Lurago Marinone, Como, Italy •Tel: (39) 31.938840 •Fax: (39) 31.3520031
RI GH T WRONG
