manuals.online logo
Brands
  1. Home
  2. •
  3. Brands
  4. •
  5. Harken
  6. •
  7. Winch
  8. •
  9. Harken 44.2STE Manual

Harken 44.2STE Manual

44.2ST E/HY
Electric/Hydraulic Two-Speed Self-Tailing Winch
■Required Tools
Screwdriver
Plastic Head Hammer or Mallet
Small Knife
Brush
Rags
Solvent
Oil
Grease
■Parts List
008 Pawl
038 Pawl Spring
768 Washer
6009 Screw
6047 Screw
6144 Screw
6284 Gasket
6310 Screw
6481 Washer
6663 Screw
27811 Gear
27812 Gear
27814 Gear
27815 Gear Shaft
27816 Gear Shaft
27817 Washer
27828 Gear
27908 Washer
28169 Red Line Ring
29926 Plastic Bushing
30655 Spacer Ring
32536 Top Cap
32653 Plastic Washer
32944 Base
33028 Plastic Washer
36208 Spring Support
36210 Lower Jaw
36214 Stripper Arm Chrome
37338 Handle Socket
37678 Stripper Arm Support
37876 Center Stem
38174 Base Ring
38185 Spindle
38597 Spring
38599 Upper Jaw
39131 Stripper Arm Bronze
726073 Bearing
737773 Bearing
938098 Aluminum Drum
938099 Chrome Drum
938170 Base Plate Assy
938189 Disconnect Rod Assy
939132 Bronze Drum
■Suggested Service Kits
BK4512 10 008 Pawls
10 038 Springs
BK4513 100 ml Grease
When ordering parts, please include
a “B” before each number (i.e.
B008).
Winch Parts
Installation
Service
1Remove Winch Handle Socket Screw
Loosen in Handle Socket using disconnet rod flathead
screwdriver, as shown below.
Disassemble Winch Before Installation
2Remove Handle Socket
Remove Handle Socket and disconnet rod.
Remove Name Ring.
3Remove Drum Assembly
Carefully lift off drum assembly.
Main bearings may remain inside drum due to oil
and grease.
4Drive Position
IMPORTANT: Note position of winch Drive Gear in relation to
Mounting Base and mark on Base.
Position winch so sheet enters drum at Drive Gear.
5Remove Center Stem
Remove five (5) 6 mm FH screws that hold winch to Mounting Base.
Remove Center Stem.
6Remove Mounting Base
Remove four (4) 6 mm screws that hold Mounting Base to Reduction
Gearbox.
Separate Mounting Base from Reduction Gearbox.
Sheet entry angle must
be at least 8°.
Drive
Gear
Position drive gear where
sheet enters winch drum.
Mount the Winch
7Determine Winch Location
Make sure there is clearance for Motor and Reduction Gearbox.
Drill an 127 mm hole through the deck.
8Position Drive Gear/Secure Mounting Base
Make sure Mounting Base sits flat on deck.
Position so Drive Gear aligns to sheet load (see Step 4)
Mark the mounting holes, drill deck.
Use bedding compound/sealant to prevent leakage.
Secure Mounting Base using 8 mm (5/16") flathead bolts
(not provided)
9
Attach Motor/Gearbox Assembly to Mounting Base
Have another person below deck to position gearbox underneath winch.
12 IMPORTANT - Test Winch Operation
After winch is assembled, test operation in manual mode only
before sailing.
Important - use a lock-in winch handle.
Using a locking winch handle, check winch operation.
Disconnect rod must disconnect gearbox when lock-in
winch handle is inserted in Handle Socket.
11 Assemble Winch
Use steps 1 - 5 in reverse order to assemble winch on Mounting Base.
10
Attach Motor/Gearbox Assembly to Mounting Base
Tighten the four (4) bolts securing Mounting Base to Reduction Gearbox.
Use blue Loctite®on threads.
Use brush to lightly lubricate gear with grease
■Minimum/Maximum Line Diameter
Harken winches feature spring-loaded self-tailing jaws
which adjust automatically to the following line sizes:
Minimum
5
/
16
" (8 mm)
Maximum
1
/
2
" (12 mm)
■Positioning Stripper Arm
Loosen top Screw.
Remove Handle Socket.
Lift Stripper Arm and position as desired.
■Opening Winch
Remove top Screw.
Lift off Drum and Stripper Arm.
■Servicing Winch
Remove Pawls and Springs - service as below.
Remove Bearing, Gear Shaft and Gears.
Clean all parts except 37383 and 38598 with rag and solvent.
Important: Use freshwater only on parts 37383 and 38598
Use brush to lubricate all moving parts lightly with grease.
Replace Pawls and Springs and lubricate lightly with oil.
Assemble and close winch.
■Servicing Pawls
Catch Spring with knife and hold against Pawl.
Lift out Pawl. Clean and check for wear.
Place “straight leg” of Pawl Spring against Pawl.
Hold Spring closed and slip Pawl into Pawl Socket.
Lubricate Pawls using oil.
Service winch before the sailing season begins and once during
Clean all parts, except 36208
and 38599, with solvent.
Correct Incorrect
If ratchet gear is mounted
backwards, winch will slip.
Use a brush to spread a light,
even coat of grease.
Use knife to free captive Pawl
Spring. Insert Pawl Spring with straight leg
against Pawl. Use oil for lubrication.
Servicing Winch
Servicing Pawls
Pawl
Socket
127 mm
Wiring
1251 E. Wisconsin Ave., Pewaukee, WI 53072 USA • Tel: (262) 691-3320 • Fax: (262) 691-3008 • Web: www.harken.com • Email: [email protected]
Via della Cerca, 12/14, 22070 Lurago Marinone (CO) Italy • Tel: (39) 031.3523511 • Fax: (39) 031.3520031 • Web: www.harken.it • Email: [email protected]
10-04
Fasten electric control box containing solenoids to bulkhead or wall.
Install remote circuit breaker between power supply and electric
control box.
Locate pushbuttons in a convenient spot for easy winch operation.
Pushbutton wire size is #14.
Refer to wiring diagram for wire size and connection information.
Schematics Piping
control box
■Parts List
Pos. Q.ty Code Description
1 1 738156 Assy painted worm reduction
4 6208 Nut M6 UNI5588
4 6213 Washer D.6 ISO 7089
1 36461 Lower cover
4 36460 Screw stud M6 x 20
1 31279 Worm reduction unit VF49
1 38156 Support
4 6277 Heli-coil M10x10
2 1 36478 Shaft
3 1 6519 Ring
4 1 36479 Ring
5 1 33056 Spring
6 1 31074 Connecting coupling
7 1 6353 Screw M8x16 UNI6109
8 1 33043 Washer
9 1 6178 Spring pin 6x36 DIN 1481
10 1 6281 Key 8x7x35
11 1 831249 Electric Motor 12V 600W assy painted
1 31249 Electric motor 12V 600W 2800rpm
4 31281 Screw stud M6
4 6208 Nut M6 UNI5588
4 6213 Washer D.6 ISO 7089
11 1 831250 Electric Motor 24V 600W assy painted
1 31250 Electric motor 24V 600W 2800rpm
4 31281 Screw stud M6
4 6208 Nut M6 UNI5588
4 6213 Washer D.6 ISO 7089
■Parts List
Pos. Q.ty Code Description
1 1 29505 Spacer
2 1 38149 Hydraulic motor support
3 1 30848 Hydraulic motor "OMR80
151-0721 alb.scan. 1"
4 1 6519 Ring
5 1 33045 Ring carrier
6 1 36475 Toothed coupling
7 1 32649 Spring
8 1 32936 Washer
9 2 6215 Washer D.13 UNI1751
10 2 6671 Screw M12x35 UNI5931
11 1 6353 Screw M8x16 UNI6109
12 1 36476 Hydro motor coupler
13 1 6660 Spring pin 6x36 DIN 1481
14 4 6277 Heli-coil M10x10
WIRE SIZE CHART
(distance in meters from battery to winch and back battery)
34,6 6,1 7,6 9,1 12,2 15,2
Amps Section mm 2
5* 0,8 1 2 3 3 5 5
30 5 8 13 13 19 19 32
40 8 13 13 19 19 32 32
50 13 13 19 19 32 32 40
60 13 19 19 32 32 40 50
70 13 19 32 32 40 50 62
80 13 19 32 32 40 50 81
90 19 32 32 40 50 62 81
100 19 32 32 40 50 62 81
120 19 32 40 50 62 81 103
140 32 32 50 62 62 103 103
* Push buttons require 2 mm2 cable

This manual suits for next models

1

Other Harken Winch manuals

Harken 46.2 Quick start guide

Harken

Harken 46.2 Quick start guide

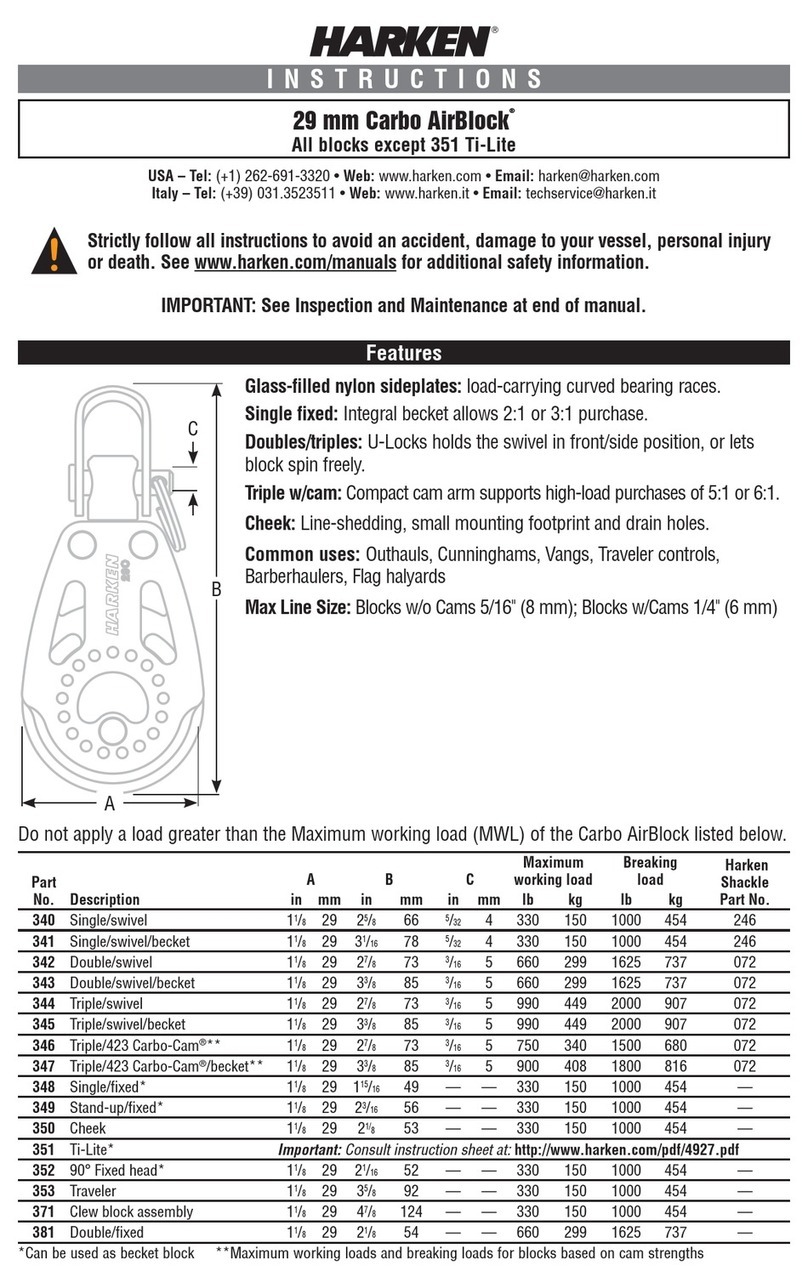
Harken Carbo AirBlock 340 User manual

Harken

Harken Carbo AirBlock 340 User manual

Harken Performa Winch 20 STP Manual

Harken

Harken Performa Winch 20 STP Manual

Harken Performa 46.2 STP Manual

Harken

Harken Performa 46.2 STP Manual

Harken 53.2ST E/HY User manual

Harken

Harken 53.2ST E/HY User manual

Harken 48.2ST E/HY User manual

Harken

Harken 48.2ST E/HY User manual

Harken 60.3 ST EL Manual

Harken

Harken 60.3 ST EL Manual

Harken PowerSeat PWRS-E User manual

Harken

Harken PowerSeat PWRS-E User manual

Harken Performa Winch 70.3 STP Manual

Harken

Harken Performa Winch 70.3 STP Manual

Harken 1130 Operating instructions

Harken

Harken 1130 Operating instructions

Harken Carbon User manual

Harken

Harken Carbon User manual

Harken INLH500KIT.US User manual

Harken

Harken INLH500KIT.US User manual

Harken LokHead 500 KIT.US User manual

Harken

Harken LokHead 500 KIT.US User manual

Harken 40.2 ST EL Series Manual

Harken

Harken 40.2 ST EL Series Manual

Harken Radial Winch 70.2 ST Manual

Harken

Harken Radial Winch 70.2 ST Manual

Harken Performa Winch 40.2 STP Manual

Harken

Harken Performa Winch 40.2 STP Manual

Harken 46.2ST E/HY User manual

Harken

Harken 46.2ST E/HY User manual

Harken 60.2ST E/HY User manual

Harken

Harken 60.2ST E/HY User manual

Harken 16.2 Two Speed Winch Manual

Harken

Harken 16.2 Two Speed Winch Manual

Harken 64.2ST E Manual

Harken

Harken 64.2ST E Manual

Harken 70.3 ST EL Manual

Harken

Harken 70.3 ST EL Manual

Harken 40.2 ST EL Series Manual

Harken

Harken 40.2 ST EL Series Manual

Harken 56.2ST E/HY User manual

Harken

Harken 56.2ST E/HY User manual

Harken Performa 50.2 STP Manual

Harken

Harken Performa 50.2 STP Manual

Popular Winch manuals by other brands

BRADEN CH280 Installation maintenance and service manual

BRADEN

BRADEN CH280 Installation maintenance and service manual

Paccar Winch BRADEN H20R Installation maintenance and service manual

Paccar Winch

Paccar Winch BRADEN H20R Installation maintenance and service manual

Jula 332-000 operating instructions

Jula

Jula 332-000 operating instructions

Paccar Winch BRADEN BA3A Installation maintenance and service manual

Paccar Winch

Paccar Winch BRADEN BA3A Installation maintenance and service manual

Clas Ohlson CMH3000-A Original instructions

Clas Ohlson

Clas Ohlson CMH3000-A Original instructions

MVP U0701-12 VDC instruction manual

MVP

MVP U0701-12 VDC instruction manual

Comeup Seal Slim 9.5rs manual

Comeup

Comeup Seal Slim 9.5rs manual

BorMann BWR5108 manual

BorMann

BorMann BWR5108 manual

Cycle Country 25-3200 owner's manual

Cycle Country

Cycle Country 25-3200 owner's manual

Ribimex Ribitech PE12V/2500 User and maintenance manual

Ribimex

Ribimex Ribitech PE12V/2500 User and maintenance manual

Ingersoll-Rand ManRider force5 FA5AMR-SMK1 Parts, operation and maintenance manual

Ingersoll-Rand

Ingersoll-Rand ManRider force5 FA5AMR-SMK1 Parts, operation and maintenance manual

Comeup Wolf 12.0 manual

Comeup

Comeup Wolf 12.0 manual

Tractel Blocfor 20R Instruction manual for use

Tractel

Tractel Blocfor 20R Instruction manual for use

WARRIOR 80LDS24 Assembly & operating instructions

WARRIOR

WARRIOR 80LDS24 Assembly & operating instructions

Yale Mtrac YMT-M Series Translation of Original Operating and Maintenance Instructions

Yale

Yale Mtrac YMT-M Series Translation of Original Operating and Maintenance Instructions

WARRIOR 135PHS12 Assembly & operating instructions

WARRIOR

WARRIOR 135PHS12 Assembly & operating instructions

Dutton-Lainson DLB350A troubleshooting manual

Dutton-Lainson

Dutton-Lainson DLB350A troubleshooting manual

Hamron 604-078 operating instructions

Hamron

Hamron 604-078 operating instructions

manuals.online logo
manuals.online logoBrands
  • About & Mission
  • Contact us
  • Privacy Policy
  • Terms and Conditions

Copyright 2025 Manuals.Online. All Rights Reserved.