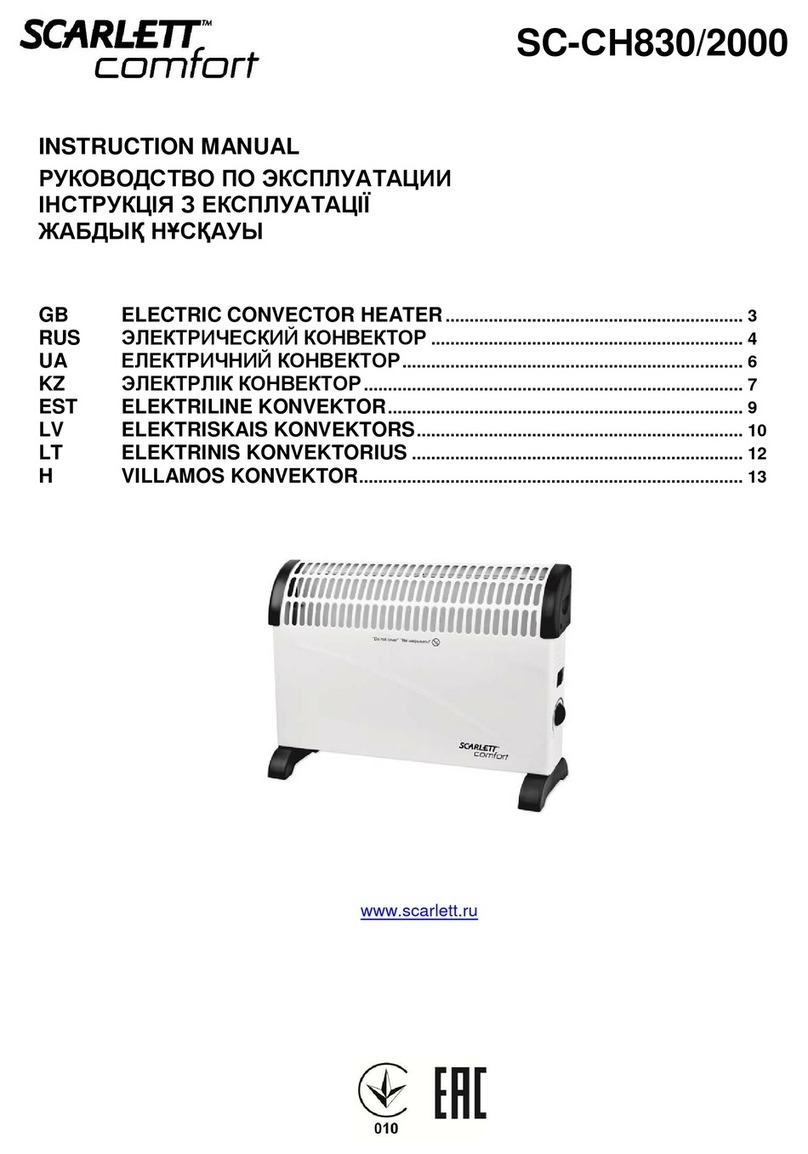
Harvia FU60 User manual

09072007
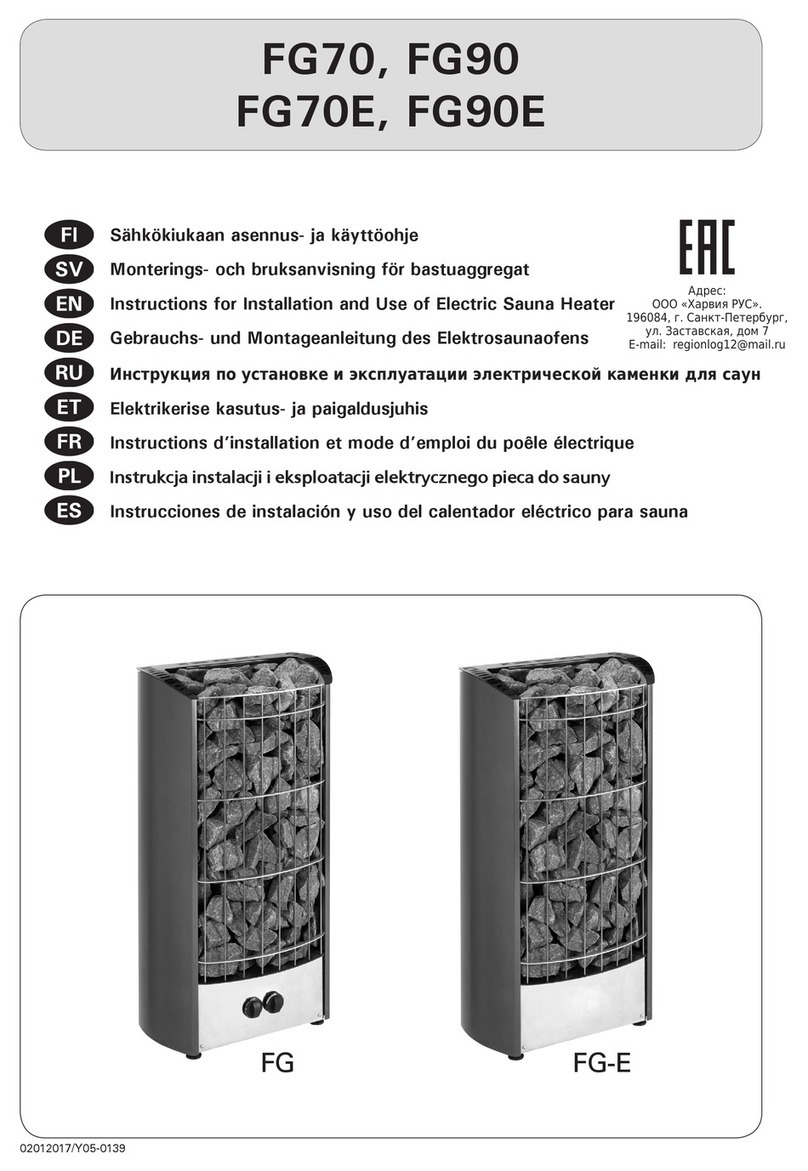
FU60, FU90
FU60E, FU90E
Instructions for installation and use of Electric Sauna Heater
Gebrauchs- und Montageanleitung des Elektrosaunaofens
EN
DE
FU, FU-E FU

CONTENTS
1. INSTRUCTIONS FOR USE ............................................. 3
1.1. Installation of the Sauna Stones ............................ 3
1.2. Heating of the Sauna ........................................... 4
1.3. Heater’s Control Units ......................................... 5
1.3.1. Heaters with Control Panel (FU60, FU90)...... 5
1.3.2. Heaters with Separate Control Units
(FU60E, FU90E) .................................................. 7
1.4. Throwing Water on Heated Stones ........................ 7
1.4.1. Sauna Water ............................................. 7
1.4.2. Temperature and Humidity of the
Sauna Room ...................................................... 8
1.5. Instructions for Bathing ....................................... 8
1.6. Warnings............................................................ 8
1.7. Troubleshooting .................................................. 9
2. THE SAUNA ROOM...................................................... 9
2.1. Insulation and Wall Materials of the Sauna Room......... 9
2.1.1 Blackening of the Sauna Walls.................... 10
2.2. Sauna Room Floor ............................................. 10
2.3. Heater Output ................................................... 10
2.4. Ventilation of the Sauna Room ............................ 11
2.5. Hygienic Conditions of the Sauna Room ............... 11
3. INSTRUCTIONS FOR INSTALLATION............................ 12
3.1. Prior to Installation............................................. 12
3.1.1. Connecting the Connection Cable
to the Heater .................................................... 14
3.2. Fastening the Heater on a Wall............................ 14
3.3. Safety Railing.................................................... 14
3.4. Electrical Connections ........................................ 14
3.4.1. Resetting the Overheat Protector .............. 15
3.4.2. Installation of the FU Heater Control Panel ....15
3.5. Electric Heater Insulation Resistance .................... 17
4. SPARE PARTS ........................................................... 17
INHALT
1. ANLEITUNG FÜR DEN BENUTZER ..................................3
1.1. Aufschichten der Saunaofensteine...........................3
1.2. Erhitzen der Saunakabine .......................................4
1.3. Steuerung des Saunaofens .....................................5
1.3.1. Öfen mit Bedienfeld (FU60, FU90) ...............5
1.3.2. Öfen mit separatem Steuergerät
(FU60E, FU90E) ..................................................7
1.4. Aufguss .............................................................7
1.4.1. Aufgußwasser...........................................7
1.4.2. Temperatur und Feuchtigkeit in der
Saunakabine .......................................................8
1.5. Anleitungen zum Saunen ......................................8
1.6. Warnungen.........................................................8
1.7. Störungen ..........................................................9
2. SAUNAKABINE............................................................9
2.1. Isolation der Saunakabine und Wandmaterialien..........9
2.1.1. Verfärbung der Saunawände .....................10
2.2. Fußboden der Saunakabine .................................10
2.3. Leistung des Saunaofens .................................... 10
2.4. Ventilation in der Saunakabine ............................11
2.5. Hygiene in der Saunakabine ................................ 11
3. ANLEITUNG FÜR DEN INSTALLATEUR .........................12
3.1. Vor der Montage ............................................... 12
3.1.1. Befestigung des Anschlußkabels
am Saunaofen................................................... 14
3.2. Befestigung des Saunaofens an der Wand ............14
3.3. Schutzgeländer .................................................14
3.4. Elektroanschlüße ...............................................14
3.4.1. Rücksetzung des Überhitzungsschutzes ..... 15
3.4.2. Montage des Bedienfelds des FU-Saunaofens .15
3.5. Isolationswiderstand des Elektrosaunaofens ..........17
4. ERSATZTEILE ............................................................ 17
SV
EN SV
DE

EN DE
3
These instructions for installation and use are intended
for the owner or the person in charge of the sauna, as
well as for the electrician in charge of the electrical
installation of the heater.
After completing the installation, the person
in charge of the installation should give these
instructions to the owner of the sauna or to the
person in charge of its operation.
Congratulations on your choice!
FUGA
Purpose of the electric heater:
The Fuga heater is for heating up family sauna rooms
to bathing temperature. It is not to be used for any
other purpose.
The guarantee period for heaters and control
equipment used in saunas by families is two (2)
years. The guarantee period for heaters and control
equipment used in saunas by building residents is
one (1) year.
Please read the user’s instructions carefully before
using the heater.
Diese Montage- und Gebrauchsanleitung richtet sich an
den Besitzer der Sauna oder an die für die Pflege der Sau-
na verantwortliche Person, sowie an den für die Montage
des Saunaofens zuständigen Elektromonteur.
Wenn der Saunaofen montiert ist, wird diese Mon-
tage- und Gebrauchsanleitung an den Besitzer der
Sauna oder die für die Pflege der Sauna verantwort-
liche Person übergeben.
Wir beglückwünschen Sie zu Ihrer guten Sauna-
ofenwahl!
FUGA
Verwendungszweck des Elektrosaunaofens:
Der Fuga Saunaofen dient zum Erwärmen von Heim-
saunakabinen auf die Saunatemperatur. Er sollte nicht
für andere Zwecke verwendet werden.
Die Garantiezeit für in Familiensaunen verwendete
Saunaöfen und Steuergeräte beträgt zwei (2) Jahre.
Die Garantiezeit für Saunaöfen und Steuergeräte,
die in Gemainschaftsaunen in Privatgebäuden ver-
wendet werden, beträgt ein (1) Jahr.
Lesen Sie vor Inbetriebnahme die Anleitung für den
Benutzer sorgfältig durch.
1. INSTRUCTIONS FOR USE
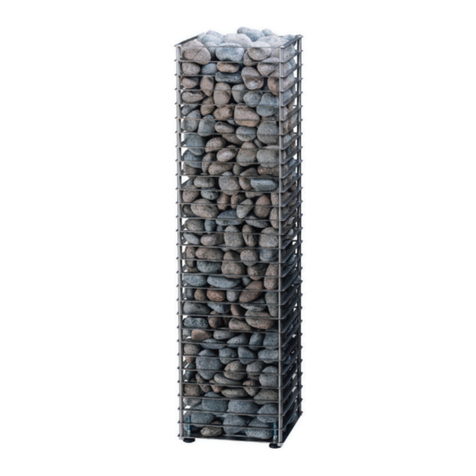
1.1. Installation of the Sauna Stones
Only stones supplied by the heater manufacturer
should be used in the FU/FU-E heater. The stones
should be washed clean of stone dust prior to
installation in the heater. The stones must be placed
in the heater as shown in figure 1. When placing the
stones in the heater, pay attention to the texture
of the stones: the smooth surfaces must be placed
outwards on the visible side. Prior to using the heater,
ensure that the stones are firmly in place.
Heater stones wear and disintegrate in use, and
their characteristics deteriorate over time. Worn
stones must be replaced, and the heater must not
be used if a stone is broken or missing. All broken
stones must be replaced immediately with new
ones.
The guarantee does not cover any faults caused by
the use of stones not recommended by the plant.
No such objects or devices should be placed inside
the heater stone space or near the heater that could
change the amount or direction of the air flowing
through the heater, thus causing the resistance
temperature to rise too high, which may set the
wall surfaces on fire!
1.2. Heating of the Sauna
When the heater is switched on for the first time,
both the heater and the stones emit smell. To remove
the smell, the sauna room needs to be efficiently
ventilated.
The purpose of the heater is to raise the temperature
of the sauna room and the sauna stones to the required
bathing temperature. If the heater output is suitable
for the sauna room, it will take about an hour for a
properly insulated sauna to reach that temperature.
See item 2.1., ”Insulation and Wall Materials of the
Sauna Room”. A suitable temperature for the sauna
room is about + 70 °C – +80 °C.
The sauna stones normally reach the required
1. ANLEITUNG FÜR DEN BENUTZER
1.1. Aufschichten der Saunaofensteine
Nur vom Ofenhersteller bereitgestellte Steine
sollten für den FU/FU-E-Ofen verwendet werden.
Vor ihrem Aufschichten im Ofen sollten die Steine
gewaschen werden, um Steinstaub zu entfernen.
Die Steine müssen wie in Abbildung 1 gezeigt in
den Ofen eingelegt werden. Beachten Sie dabei die
Oberflächenstruktur der Steine: Die glatte Oberfläche
muss nach außen, zur sichtbaren Seite weisen. Stellen
Sie vor Inbetriebnahme des Ofens sicher, dass sich
die Steine in einer stabilen Position befinden.
Ofensteine nutzen sich ab und zerfallen bei häufigem
Gebrauch, weshalb ihre Wirkung im Laufe der Zeit
nachlässt. Abgenutzte Steine müssen ausgetauscht
werden. Der Ofen darf nicht in Betrieb genommen
werden, wenn ein Stein gebrochen ist oder fehlt.
Alle gebrochenen Steine müssen sofort durch neue
ersetzt werden.
Die Garantie kommt nicht für Schäden auf, die
durch Verwendung anderer als vom Ofenhersteller
empfohlener Saunaofensteine entstehen.
In der Steinkammer oder in der Nähe des Saunaofens
dürfen sich keine Gegenstände oder Geräte befinden,
die die Menge oder die Richtung des durch den
Saunaofen führenden Luftstroms ändern, und somit
eine Überhitzung der Widerstände sowie Brandgefahr
der Wandflächen verursachen!
1.2. Erhitzen der Saunakabine
Beim ersten Erwärmen sondern sich von Saunaofen
und Steinen Gerüche ab. Um diese zu entfernen, muß
die Saunakabine gründlich gelüftet werden.
Die Funktion des Saunaofens ist es, die Sauna-
kabine und die Ofensteine auf die Aufgußtemperatur
zu bringen. Wenn die Leistung des Saunaofens an
die Größe der Saunakabine angepaßt ist, erwärmt
sich eine gut wärmeisolierte Sauna auf Aufguß-
temperatur in etwa einer Stunde. Siehe Kapitel 2.1.
”Isolation der Saunakabine und Wandmaterialien”.
Die passende Temperatur in der Saunakabine beträgt
etwa +70 °C bis +80 °C.
Die Saunaofensteine erwärmen sich auf Aufguß-

EN DE
4
bathing temperature at the same time as the sauna
room. If the heater capacity is too big, the air in the
sauna will heat very quickly, whereas the temperature
of the stones may remain insufficient; consequently,
the water thrown on the stones will run through. On
the other hand, if the heater capacity is too low for
the sauna room, the room will heat slowly and, by
throwing water on the stones, the bather may try
to raise the temperature of the sauna. However, the
water will only cool down the stones quickly, and
after a while the sauna will not be warm enough and
the heater will not be able to provide enough heat.
In order to make bathing enjoyable, the heater
capacity should be carefully chosen to suit the size of
the sauna room. See item 2.3. ”Heater Output”.
1.3. Heater’s Control Units
Heater models FU60 and FU90 are equipped with a
separate control panel and an internal electronic power
regulation unit, which is controlled by a computer
and a separate thermostat.
The FU60E and FU90E heaters must be equipped
with a separate control unit which must be installed
in a dry area outside of the sauna room.
Before you switch the heater on check always that
there aren’t any things over the heater or in the near
distance of the heater. See item 1.6. “Warnings”.
1.3.1. Heaters with Control Panel (FU60, FU90)
Anyone using the heater can program the sauna’s
temperature and the operating time according to
preference from the heater’s control panel (see figure
temperatur gewöhnlich in derselben Zeit wie die
Saunakabine. Ein zu leistungsstarker Saunaofen
erwärmt die Saunaluft schnell, aber die Steine
bleiben untererhitzt und lassen so das Aufguß-
wasser durchfließen. Wenn andererseits die Sauna-
ofenleistung in Bezug auf die Größe der Saunakabine
gering ist, erwärmt sich die Saunakabine langsam
und der Saunabader wird versuchen, die Sauna-
temperatur durch einen Aufguß (durch Gießen von
Wasser auf den Saunaofen) zu erhöhen. Das Aufguß-
wasser kühlt aber nur die Saunaofensteine schnell
ab und nach einer Weile reicht die Temperatur in der
Sauna nicht mehr für einen Aufguß aus.
Damit Sie beim Saunen die Aufgüsse genießen
können, sollten Sie die Leistung des Saunaofens in
Bezug auf die Saunakabine anhand der Broschüren-
informationen sorgfältig auswählen. Siehe Kapitel
2.3. ”Leistung des Saunaofens”.
1.3. Steuerung des Saunaofens
Die Saunaofenmodelle FU60 und FU90 sind mit einem
eigenen Bedienfeld und einer internen elektronischen
stromregulierenden Einheit ausgestattet, die durch
einen Computer und einen separaten Thermostat
gesteuert wird.
Die Typen FU60E und FU90E werden mit einem
separaten Steuergerät bedient, das außerhalb der
Saunakabine an einem trockenen Ort angebracht
werden soll.
Bevor Sie den Ofen anschalten, bitte überprüfen, dass
keine Gegenstände auf dem Ofen oder in der unmittelbarer
Nähe des Ofens liegen. Siehe Kapitel 1.6. “Warnungen”.
1.3.1. Öfen mit Bedienfeld (FU60, FU90)
Über das Bedienfeld des Ofens können Saunatemperatur
und Einschaltdauer von jedem Benutzer individuell
nach Wunsch eingestellt werden (siehe Abb. 2).
Figure 1. Changing a bulb of the heater light and installation of sauna stones
Abbildung 1. Auswechseln der Glühbirne der Ofenlampe und Aufschichten der Saunasteine
Sauna stones can be installed into
the heater on either side.
Die Saunasteine können von
beiden Seiten in den Ofen
eingelegt werden.
A halogen bulb.
Detach by pulling.
Eine Halogenlampe. Kann durch
Ziehen abgenommen werden.
Max. 20 W, 12 V, GU4

EN DE
5
2). Furthermore, by pressing a button on the panel
the heater can be programmed to come on at the
desired pre-setting time. The heater’s factory settings
are as follows:
temperature about +65 ºC
operating time 4 hours (programmable)
pre-setting time 0 hours (programmable; max
18 hours)
Switching the Heater On and Off
When the heater is connected to the power supply
and the electric switch (on the front of the connection
box behind the protective cover at the bottom of the
front part of the heater) (see diagram 5) is switched
on (position 1), the heater is in standby mode (I/0
button’s background light glows).
The heater switches on when the I/0 button is
pressed (2). The heater emits the safety contactor’s
connecting sound and the heater lights are switched
on. The same button can also be used to switch
the heater off. When the heater is switched off, the
display screen shows a factory-set reading of about
65 degrees and the temperature indicator light on
the screen (6) flashes for a while until it eventually
shows the temperature in the sauna room. If the
heater is not switched off by means of button I/0
(2), it will turn itself off automatically when the pre-
programmed factory-set operating time is up.
Setting the Temperature
Using the MENU switch (3) information on the sauna’s
temperature, pre-set time and operating time can be
programmed to appear in the display screen. Select
temperature reading to appear in the screen (indicator
light 6 flashes). The temperature may be increased
using the [+] button (5) or decreased using the [–]
button (4). Pressing on the button for a longer time will
speed the process up. When the desired temperature
has been set and indicator light 6 has stopped flashing
the screen will then show the temperature in the sauna
room (indicator light 6 glows).
When the heater is switched on the next time
the temperature set on the previous occasion will
appear in the screen.
Setting the Operating Time
The MENU button can be used to select the operating
time to appear in the screen (indicator light 7 comes
on). The [–]-button (4), can be used to decrease the
factory-set operating time (4 hours) as required to
a minimum time of 30 minutes. Pressing the button
the first time reduces the time by 30 minutes, after
which the time is reduced by intervals of ten minutes.
[+] button (5) can be used to correct the setting.
When the desired operating time has been set the
screen will then show the temperature in the sauna
room (indicator light 6 glows).
The shown operating time decreases at intervals
of 10 minutes until zero appears and the heater
automatically switches off. To show that the heater
has switched itself off, just the I/O switch indicator
light will glow.
When the heater is switched on the next time any
operating time for the heater to remain on that differs
from the factory setting must be reprogrammed.
•
•
•
Der Ofen kann außerdem über eine Taste des
Bedienfelds so programmiert werden, dass er sich
zu einem bestimmten Zeitpunkt einschaltet. Die
Werkseinstellungen des Ofens lauten wie folgt:
Temperatur etwa +65 ºC
Einschaltdauer 4 Stunden (programmierbar)
Vorwahlzeit 0 Stunden (programmierbar; max.
18 Stunden)
Ein- und Ausschalten des Saunaofens
Wenn der Ofen an die Stromquelle angeschlossen ist
und der Schalter für die Stromversorgung (vorne am
Schaltergehäuse hinter der Schutzabdeckung unten an
der Vorderseite des Ofens) (siehe Abb. 5) eingeschaltet
ist (Position 1), befindet sich der Ofen im Standby-
Modus (Kontrollleuchte des Schalters I/0 leuchtet).
Der Ofen wird durch Drücken des Schalters I/0
eingeschaltet (2). Wenn sich der Sicherheitsschütz
schließt, ertönt am Ofen ein Signal und die
Ofenlampen leuchten auf. Der Ofen wird mit dem
gleichen Schalter wieder ausgeschaltet. Wird der
Ofen ausgeschaltet, wird zunächst die Voreinstellung
von etwa 65 Grad angezeigt. Daraufhin blinkt die
Temperatur-Kontrolllampe auf der Anzeige (6) eine
Zeit lang, bis schließlich die Temperatur in der
Saunakabine angezeigt wird. Wenn der Ofen nicht
über den Schalter I/0 (2) ausgestellt wird, schaltet er
sich automatisch nach Ablauf der vorprogrammierten
Einschaltdauer selbst ab.
Einstellen der Temperatur
Über den MENU-Schalter (3) können die Saunatem-
peratur, die Vorwahlzeit und die Einschaltdauer für
die Anzeige programmiert werden. Wählen Sie die
Temperaturanzeige aus (Kontrolllampe 6 blinkt). Die
voreingestellte Temperatur kann mit der Taste [+] (5)
erhöht oder mit der Taste [–] (4) verringert werden.
Wenn Sie die Taste länger gedrückt halten, wird
der Vorgang beschleunigt. Wenn die gewünschte
Temperatur eingestellt ist und die Kontrolllampe
6 nicht mehr blinkt, erscheint auf der Anzeige die
Temperatur in der Saunakabine (Kontrolllampe 6
leuchtet).
Wird der Ofen das nächste Mal eingeschaltet, wird
die zuletzt eingestellte Temperatur angezeigt.
Einstellen der Einschaltdauer
Mit der Taste MENU kann die Einschaltdauer angezeigt
werden (Kontrolllampe 7 leuchtet). Mit der Taste
[–] (4) kann die voreingestellte Einschaltdauer für
den Ofen (4 Stunden) je nach Bedarf bis auf ein
Minimum von 30 Minuten reduziert werden. Bei
einmaligem Drücken der Taste wird die Zeitdauer um
30 Minuten reduziert; danach wird die Zeitdauer in
Intervallen von zehn Minuten reduziert. Mit der Taste
[+] (5) kann die Einstellung korrigiert werden. Wenn
die gewünschte Einschaltdauer eingestellt wurde,
wird die Temperatur in der Saunakabine angezeigt
(Kontrolllampe 6 leuchtet).
Die angezeigte Einschaltdauer läuft in Schritten
von jeweils 10 Minuten ab, bis Null erreicht ist und
sich der Ofen automatisch ausschaltet. Als Zeichen,
dass sich der Ofen ausgeschaltet hat, leuchtet nur
die Kontrolllampe des Schalters I/O.
Wenn der Ofen das nächste Mal eingeschaltet
wird, muss die Einschaltdauer für den Ofen
neu programmiert werden, falls diese von der
Standardeinstellung abweicht.
•
•
•
Other manuals for FU60
1
This manual suits for next models
3
Table of contents
Other Harvia Electric Heater manuals

Harvia
Harvia HL60E User manual

Harvia
Harvia Unio User manual

Harvia
Harvia PC70XW User manual

Harvia
Harvia Spirit HSP604MXW User manual

Harvia
Harvia BX45 User manual

Harvia
Harvia PC70HE User manual

Harvia
Harvia TRC90EE User manual

Harvia
Harvia KM60SE User manual

Harvia
Harvia PC70XE User manual

Harvia
Harvia PO11 User manual

Harvia
Harvia PI Series User manual

Harvia
Harvia TRC70E User manual

Harvia
Harvia KIP90 User manual

Harvia
Harvia SW45 User manual

Harvia
Harvia AFB4 User manual

Harvia
Harvia D23 User manual

Harvia
Harvia HPCE1322 User manual

Harvia
Harvia MDA165G User manual

Harvia
Harvia BX User manual

Harvia
Harvia TRT90 User manual