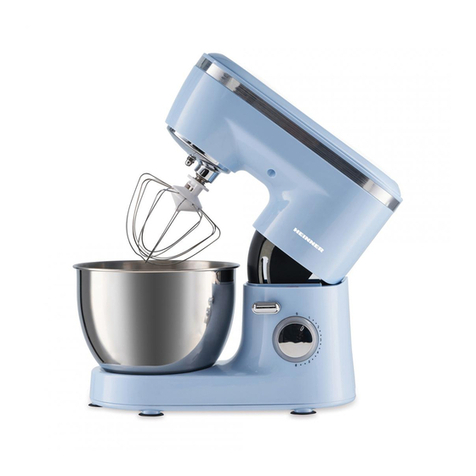
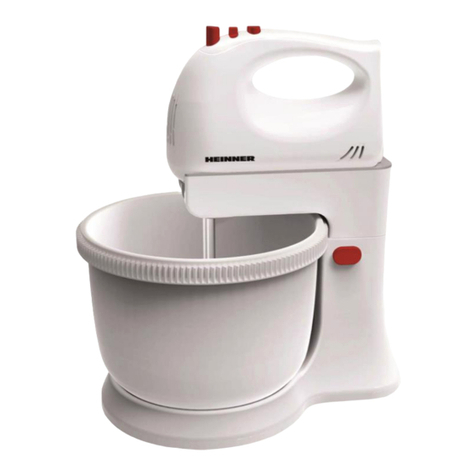
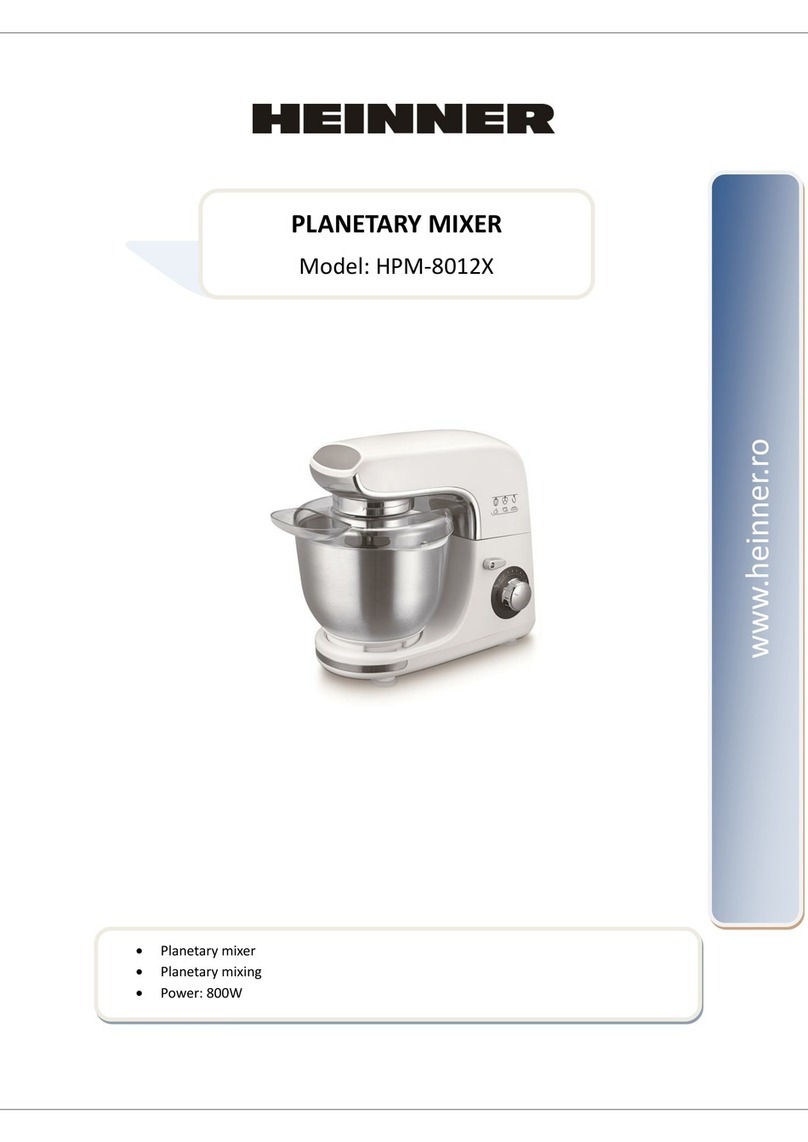
Heinner HPM-1500XMC User manual

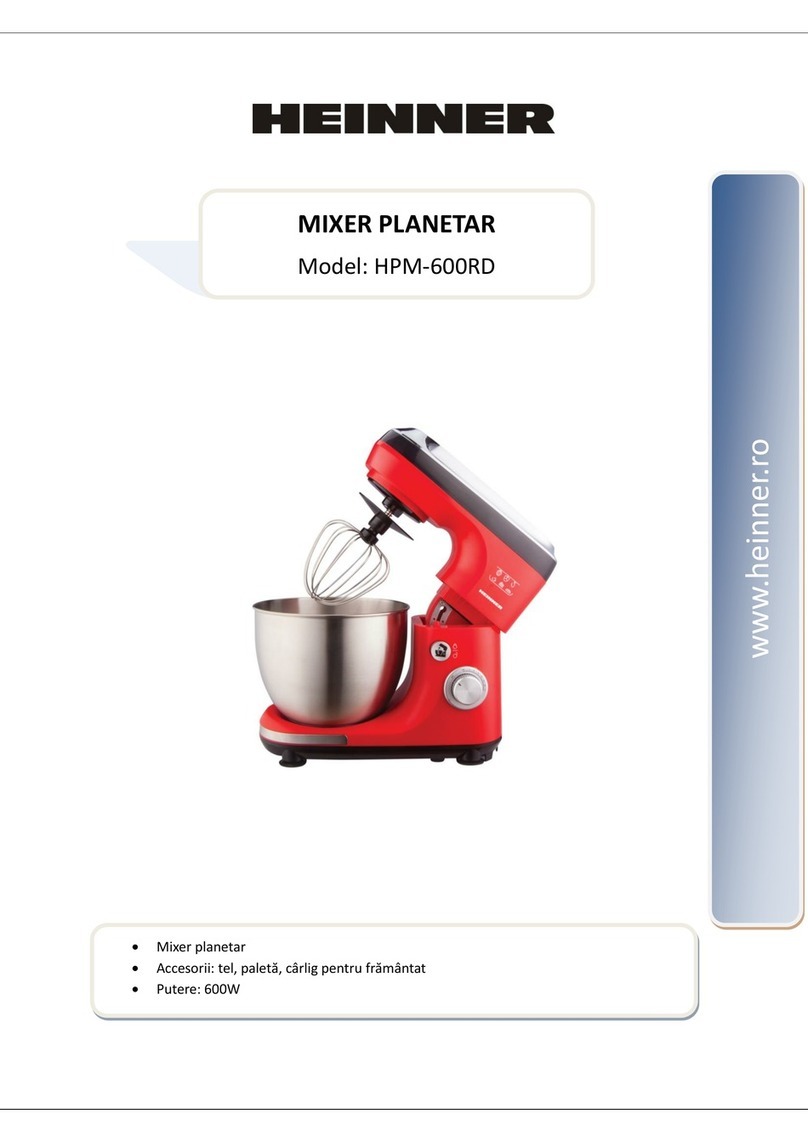
MIXER PLANETAR
Model: HPM-1500XMC
www.heinner.ro
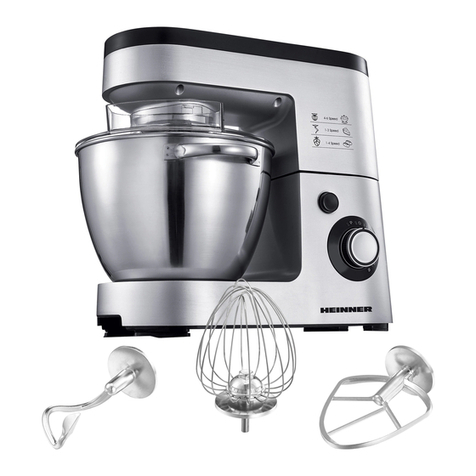
Mixer planetar
Putere: 1500W
Culoare: inox

www.heinner.com 1500W, 50/60Hz, 220-240V
1
Va rugam sa cititi cu atentie instructiunile si sa pastrati manualul pentru informari ulterioare.
Acest manual este conceput pentru a va oferi toate instructiunile necesare referitoare la
instalarea, utilizarea si intretinerea aparatului.
Pentru a opera unitatea corect si in siguranta, va rugam sa cititi acest manual cu instructiuni
cu atentie inainte de instalare si utilizare.
I. INTRODUCERE
II. CONTINUTUL PACHETULUI DUMNEAVOASTRA
Mixer planetar
Manual de utilizare
Certificat de garantie
Va multumim pentru alegerea acestui produs!

www.heinner.com 1500W, 50/60Hz, 220-240V
2
III. MASURI DE SIGURANTA
Citiţi cu atenţie manualul de utilizare înainte de a pune aparatul în funcţiune şi păstraţi
instrucţiunile, inclusiv garanţia, chitanţa şi, dacă este posibil, cutia cu ambalajul din
interior. Dacă daţi acest aparat altor persoane, oferiţi-le şi manualul de utilizare.
1. Acest aparat este destinat exclusiv uzului personal şi trebuie folosit în scopul pentru
care a fost creat. Acest aparat nu este destinat uzului comercial. Nu îl folosiţi în spaţii
deschise (cu excepţia situaţiei în care a fost destinat uzului în spaţii deschise). Feriţi-l de
surse de căldură, de lumina directă a soarelui, de umiditate (nu îl introduceți niciodată
în lichide) şi suprafeţe cu margini ascuţite. Nu folosiţi acest aparat când aveţi mâinile
ude. Dacă aparatul este umed sau ud, scoateţi-l imediat din priză.
2. Atunci când curăţaţi aparatul sau vreţi să-l depozitaţi într-un anumit loc, opriţi-l din
funcţiune şi scoateţi întotdeauna ştecărul din priză (trageţi de ştecăr, nu de cablu),
demontând apoi accesoriile.
3. Nu lăsaţi aparatul în funcţiune fără a fi supravegheat. Dacă trebuie să părăsiţi spaţiul
de lucru, opriţi aparatul sau scoateţi ştecărul din priză (trageţi de ştecăr, nu de cablu).
4. Asiguraţi-vă regulat că aparatul şi cablul nu prezintă deteriorări. Nu folosiţi aparatul
dacă prezintă deteriorări.
5. Nu încercaţi să reparaţi singuri aparatul. Contactaţi întotdeauna un tehnician
autorizat. Pentru a evita expunerea la pericole, cablurile defecte trebuie înlocuite
numai de către producător, de serviciul pentru clienţi sau de către o persoană calificată
şi numai cu un cablu de acelaşi tip.
6. Folosiţi numai piese de rezervă originale.
7. Fiţi foarte atenţi la „Masurile speciale de siguranţă “ menţionate mai jos.
8. Pentru siguranţa copiilor dumneavoastră, nu păstraţi toate ambalajele (pungi de
plastic, cutii, folii de polietilenă etc.) la îndemâna lor.
Atenţie! Nu lăsaţi copiii mici să se joace cu folii, deoarece există pericolul ca aceştia să
se sufoce!
9. Pentru a proteja copiii şi persoanele infirme de pericolele asociate utilizării aparaturii
electrice, asiguraţi-vă că acest aparat este folosit numai sub supraveghere. Acest aparat
nu este o jucărie. Nu lăsaţi copiii mici să se joace cu aparatul.
Măsuri speciale de siguranţă privind acest aparat
Nu lăsaţi aparatul nesupravegheat în timpul funcţionării.
Nu blocaţi accesul la butoanele de siguranţă.
Nu introduceţi nimic în palete în timpul funcţionării aparatului.
Aşezaţi aparatul pe o suprafaţă de lucru netedă, dreaptă şi stabilă.
Nu introduceţi ştecărul aparatului în priza electrică înainte de a monta toate
accesoriile necesare.
Folosiţi numai dispozitivul de împingere pentru a alimenta maşina de tocat.
Pericol de suprasolicitare! Folosiţi aparatul ca maşină de tocat sau ca mixer,
însă niciodată nu utilizaţi ambele funcţii în acelaşi timp.
www.heinner.com 1500W, 50/60Hz, 220-240V
3
Denumirea componentelor:
1. Arbore de acţionare
2A. Capacul arborelui elicoidal
2B. Capac spate
3. Bol din oţel inoxidabil
4. Buton de blocare
5. Mâner pentru coborârea sau ridicarea braţului
6. Cablu de alimentare
7. Capac bol
8A. Paletă de frământat
8B. Tel
8C. Paleta de amestecat
IV. DESCRIEREA PRODUSULUI

www.heinner.com 1500W, 50/60Hz, 220-240V
4
V. INSTRUCTIUNI DE UTILIZARE
1. Aşezaţi bolul de mixare pe suportul său şi rotiţi vasul în direcţia butonului de
blocare (LOCK), până se fixează.
2. Pentru a ridica braţul aparatului, apăsaţi mânerul în jos, în direcţia săgeţii. Acum
braţul poate fi mişcat în sus.
3. Montaţi ustensila dorită, introducând capătul superior al acesteia în arborele de
acţionare şi blocaţi tija în arbore, rotind spre dreapta.
4. Acum adăugaţi ingredientele.
Nu supraîncărcaţi aparatul – cantitatea maximă de ingrediente este de 2 kg.
5. Coborâţi braţul aparatului folosind mânerul (5).
6. Introduceţi ştecărul într-o priză sigură, corect montată, de 230 V/50 Hz.
7. Porniţi aparatul, folosind selectorul de viteze la o treaptă între 1 şi 6 (în funcţie
de compoziţie).
8. Pentru operaţiunea de pulsare (frământare la intervale scurte de timp), fixaţi
butonul pe poziţia PULS (PULSE). Butonul trebuie menţinut pe această poziţie în
funcţie de intervalul de timp dorit. Când nu mai este menţinut pe poziţie, butonul
revine automat la poziţia „0”.
Ajustarea treptelor de viteză şi utilizarea paletelor pentru max. 2 kg de
compoziţie
Trepte
Utilizare
Tipul compoziţiei
1-2
Paletă de frământat
Compoziţii dense (ex.: pâine sau produse de patiserie)
3-4
Paletă de amestecat
Compoziţii semi-dense (ex.: clătite sau compoziţie de
pandişpan)
5-6
Tel
Compoziţii uşoare (ex.: frişcă, albuş de ou, budincă
blancmange)
Pulsare
Tel
Interval (ex. pentru mixare pandişpan, albuş de ou)
NOTĂ:
Timp scurt de funcţionare: În cazul compoziţiilor dense, nu lăsaţi aparatul
să funcţioneze mai mult de zece minute şi lăsaţi-l să se răcească timp de zece
minute.
Folosiţi un capac anti-stropire pentru a vă proteja de dispersarea
compoziţiilor lichide.

www.heinner.com 1500W, 50/60Hz, 220-240V
5
9. După frământare / amestecare, repoziţionaţi butonul (7) la „0” imediat ce compoziţia a
luat forma unei sfere, apoi scoateţi aparatul din priză.
10. Apăsaţi mânerul (5) în jos, iar braţul aparatului se va ridica.
11. Acum compoziţia poate fi desprinsă cu ajutorul unei spatule şi scoasă din bol.
12. Bolul de mixare poate fi acum scos, răsucindu-l înspre stânga.
13. Curăţaţi piesele conform secţiunii „Curăţare”.
VI. RETETE
1. Compoziţie de pandişpan (Reţeta de bază), Treaptă de viteză: 3-4
Ingrediente:
250 grame unt moale sau margarină, 250 grame zahăr, 1 plic zahăr vanilinat sau 1 plic
de Citro-Back, 1 praf de sare, 4 ouă, 500 grame făină de grâu , 1 plic praf de copt,
aprox. 1/8 litri lapte.
Preparare:
Puneţi făina şi restul ingredientelor în bolul de mixare şi folosiţi paleta de amestecat
timp de 30 de secunde la treapta de viteză 1, apoi timp de aproximativ 3 minute la
treapta 3. Ungeţi o tavă cu grăsime sau folosiţi hârtie de copt. Adăugaţi compoziţia şi
introduceţi tava în cuptor. Înainte de a scoate pandişpanul din cuptor, verificaţi dacă
s-a copt. Luaţi un beţişor de lemn ascuţit şi înţepaţi pandişpanul la mijloc. Dacă nu
rămâne aluat pe bețișor, înseamnă că pandişpanul s-a copt. Răsturnaţi pandişpanul pe
un grătar pentru prăjituri şi lăsaţi să se răcească.
Cuptor tradiţional
Nivelul la care se introduce tava: 2
Încălzire: cuptor electric: temperatura în partea de sus şi de jos a cuptorului: 175-200°
Celsius; cuptor pe gaz: gradaţia 2-3.
Timp de coacere: 50 –60 minute
În funcţie de preferinţe, reţeta poate fi modificată, de exemplu: 100 g stafide sau 100 g
nuci sau 100 g ciocolată rasă. De fapt, posibilităţile sunt nenumărate.

www.heinner.com 1500W, 50/60Hz, 220-240V
6
2. Chifle cu seminţe de in, Treaptă de viteză: 1-2
Ingrediente:
500 –550 g făină de grâu, 50 g seminţe de in, 3/8 litri apă, 1 cub de drojdie (40 g), 100 g
brânză dulce de vaci săracă în grăsimi, bine scursă, 1 linguriţă de sare. Pentru umezire:
2 linguri de apă.
Preparare:
Puneţi la înmuiat seminţele de in în 1/8 litri de apă călduţă. Turnaţi restul de apă
călduţă (1/4 litri) în bolul de mixare, fărâmiţaţi drojdia, adăugaţi brânza dulce şi
amestecaţi cu paleta de frământat la treapta 2. Drojdia trebuie dizolvată complet.
Adăugaţi în bol făina de grâu, seminţele de in umede şi sarea. Frământaţi bine
selectând viteza la treapta 1, apoi treceţi la treapta 2 de viteză şi continuaţi să
frământaţi timp de 3-5 minute. Acoperiţi compoziţia şi lăsaţi să dospească într-un loc
călduţ 45 – 60 minute. Frământaţi bine încă o dată, detaşaţi bolul şi modelaţi
şaisprezece chifle. Puneţi hârtia de copt umezită într-o tavă. Aşezaţi chiflele în tavă şi
lăsaţi-le să crească timp de 15 minute. Umeziţi-le cu apă călduţă şi băgaţi tava la copt.
Cuptor tradiţional:
Nivelul la care se introduce tava: 2
Încălzire: cuptor electric: temperatura în partea de sus şi de jos a cuptorului: 200-220°
Celsius (preîncălzit 5 minute); cuptor pe gaz: gradaţia 2-3.
Timp de coacere: 30 –40 minute
3. Cremă de ciocolată, Treaptă de viteză 5-6
Ingrediente:
200 ml frişcă îndulcită, 150 g ciocolată semi-amăruie, 3 ouă, 50 – 60 g zahăr, 1 praf de
sare, 1 plic zahăr vanilinat, 1 lingură de coniac sau rom, fulgi de ciocolată.
Preparare:
Bateţi frişca cu telul, în bolul de mixare, până se întăreşte. Scoateţi-o din bol şi lăsaţi-o
într-un loc să se răcească. Topiţi ciocolata conform instrucţiunilor de pe ambalaj sau în
cuptorul cu microunde, la 600 W, timp de 3 minute. Între timp, bateţi în bol ouăle,
zahărul, zahărul vanilinat, coniacul sau romul şi sarea cu ajutorul telului, selectând
treapta 3 de viteză, până se formează o spumă. Adăugaţi ciocolata topită şi amestecaţi
uniform la treapta 5 –6. Păstraţi puţină frişcă pentru ornat. Adăugaţi frişca rămasă la
compoziţia cremoasă şi amestecaţi, folosindu-vă de funcţia de pulsare a aparatului.
Decoraţi crema de ciocolată şi serviţi după ce s-a răcit bine.

www.heinner.com 1500W, 50/60Hz, 220-240V
7
PROBLEMĂ
CAUZĂ POSIBILĂ
SOLUŢIE
Indicatorul nu se aprinde,
aparatul nu funcţionează
Conectare necorespunzătoare
la priză
Reconectaţi aparatul la priză
Indicatorul luminează
intermitent, aparatul nu
funcţionează
Capacul din spate nu este bine
aşezat
Reaşezaţi capacul din spate
Butonul nu indică viteza 0
atunci când aparatul este
conectat la reţeaua electrică
Poziţionaţi butonul la viteza 0 şi
apoi selectaţi viteza dorită
Bolul din oţel inoxidabil nu este
stabil
Bolul din oţel inoxidabil nu
este bine montat
Opriţi aparatul şi montaţi din nou
bolul
Aparatul se opreşte după ce a
funcţionat un timp îndelungat
Începe să funcţioneze sistemul
de protecţie la supraîncălzire
Deconectaţi aparatul de la reţeaua
electrică şi lăsaţi-l să se răcească.
După aproximativ 20 minute,
reporniţi aparatul.
Observaţie: Dacă soluţiile menţionate mai sus nu funcţionează, vă rugăm să solicitaţi
ajutorul unui tehnician profesionist.
VII. INTRETINERE SI CURATARE
1. Înainte de curăţare, scoateţi cablul de alimentare din priză.
2. Nu introduceţi niciodată carcasa motorului în apă.
3. Nu folosiţi detergenţi puternici sau abrazivi.
Carcasa motorului
Exteriorul carcasei se va curăţa numai cu ajutorul unei cârpe umede.
Bolul de mixare, accesoriile de mixare
ATENŢIE!
Părţile componente nu se pretează a fi curăţate cu ajutorul maşinii de spălat vase. Dacă
intră în contact cu căldura sau cu substanţe de curăţat caustice, piesele se pot deforma
sau decolora.
Părţile componente care intră în contact cu alimentele pot fi curăţate cu apă şi
detergent.
ATENŢIE!
Pericol de rănire!
Lăsaţi piesele să se usuce bine înainte de a reasambla aparatul.
După ce s-au uscat, ungeţi piesele cu puţin ulei vegetal.
VIII. DEPANARE

www.heinner.com 1500W, 50/60Hz, 220-240V
8
Putere
1500W
Alimentare
220-240V; 50/60Hz
Culoare
Inox
ELIMINAREA DESEURILOR IN MOD RESPONSABIL FATA DE MEDIU
Poti ajuta la protejarea mediului!
Va rugam sa respectati regulamentele si legile locale: duceti echipamentele electrice nefunctionale
catre un centru de colectare al echipamentelor electrice uzate.
Importator: Network One Distribution
Str. Marcel Iancu, nr. 3-5, Bucuresti, Romania
Tel: +40 21 211 18 56, www.heinner.ro , www.nod.ro
HEINNER este marca inregistrata a companiei Network One Distribution SRL. Celelalte branduri,
denumirile produselor sunt marci înregistrate ale respectivilor deţinători.
Nicio parte a specificatiilor nu poate fi reprodusa sub orice formă sau prin orice mijloc, utilizata
pentru obtinerea unor derivate precum traduceri, transformari sau adaptari, fara permisiunea
prealabila a companiei NETWORK ONE DISTRIBUTION.
Copyright © 2013 Network One Distibution. All rights reserved.
http://www.heinner.com, http://www.nod.ro
Acest produs este proiectat si realizat in conformitate cu standardele si normele Comunitatii Europene
IX. FISA TEHNICA

www.heinner.com 1500W, 50/60Hz, 220-240V
10
Thank you for purchasing this product!
I. INTRODUCTION
Before using the appliance, please read carefully this instruction manual and keep it for future
reference.
This instruction manual is designed to provide you with all required instructions related to the
installation, use and maintenance of the appliance.
In order to operate the unit correctly and safety, please read this instruction manual carefully before
installation and usage.
Planetary mixer
User manual
Warranty card
II. PACKAGE CONTENT

www.heinner.com 1500W, 50/60Hz, 220-240V
11
Read the operating instructions carefully before putting the appliance into operation
and keep the instructions including the warranty, the receipt and, if possible, the box
with the internal packing. If you give this device to other people, please also pass on the
operating instructions.
1. The appliance is designed exclusively for private use and for the envisaged purpose.
This appliance is not fit for commercial use. Do not use it outdoors (except if it is
designed to be used outdoors). Keep it away from sources of heat, direct sunlight,
humidity (never dip it into any liquid) and sharp edges. Do not use the appliance with
wet hands. If the appliance is humid or wet, unplug it immediately.
2. When cleaning or putting it away, switch off the appliance and always pull out the
plug from the socket (pull on the plug, not the cable) if the appliance is not being used
and remove the attached accessories.
3. Do not operate the machine without supervision. If you should leave the workplace,
always switch the machine off or remove the plug from the socket (pull the plug itself,
not the lead).
4. Check the appliance and the cable for damage on a regular basis. Do not use the
appliance if it is damaged.
5. Do not try to repair the appliance on your own. Always contact an authorized
technician. To avoid the exposure to danger, always have a faulty cable be replaced only
by the manufacturer, by our customer service or by a qualified person and with a cable
of the same type.
6. Use only original spare parts.
7. Pay careful attention to the following “Special Safety Instructions”.
8. In order to ensure your children‘s safety, please keep all packaging (plastic bags,
boxes, polystyrene etc.) out of their reach.
Caution! Do not allow small children to play with the foil as there is a danger of
suffocation!
9. In order to protect children or frail individuals from the hazards of electrical
equipment, please ensure that this device is only used under supervision. This device is
not a toy. Do not allow small children to play with it.
10. Only operate this machine under supervision.
11. Do not interfere with any safety switches.
12. Do not insert anything into the rotating hooks while the machine is working.
13. Place the machine on a smooth, fl at and stable working surface.
14. Do not insert the mains plug of the machine into the power socket without having
installed all the necessary accessories.
15. Only the pusher should be used for refilling the mincer.
III. SAFETY INSTRUCTIONS

www.heinner.com 1500W, 50/60Hz, 220-240V
13
Using the Mixing Bowl
1. Place the mixing dish into its holding device and turn the dish in the direction of
LOCK until it locks into place.
2. In order to lift the arm, press the lever (5) downwards in the direction of the
arrow. The arm will now move upwards.
3. Mount the required utensil by inserting the top into the drive shaft and locking
the cotter pin in the shaft by turning to the right.
4. Now fill in your ingredients.
Do not overfill the machine - the maximum quantity of ingredients is 2 kg.
5. Lower the arm using the lever (5).
6. Insert the mains plug into a properly installed 230 V/50 Hz safety power socket.
7. Switch the machine using the level regulator to a speed between 1 and 6
(corresponding to the mixture).
8. For pulse operation (kneading at short intervals), turn the switch to the “PULSE”
position. The switch has to be held in this position according to the desired interval
length. When the switch is released it returns automatically to the “0” position.
Adjusting the Levels and Using the Hook for not more than 2 kg of Mixture
Levels
Use
Type of Mixture
1-2
Kneading hook
Heavy mixtures(e.g. bread or short pastry)
3-4
Stirrer
Medium-heavy mixtures(e.g. crepes or sponge mixture)
5-6
Whisk
Light mixtures (e.g. cream, egg white, blancmange)
Pulse
Whisk
Interval (e.g. for mixing under sponge, egg white)
NOTE:
Short operation time: With heavy mixtures, do not operate the machine for
more than ten minutes, and then allow it to cool down for a further ten
minutes.
Use the splash guard to protect against liquid mixtures.
9. After kneading/stirring turn the switch (7) back to the “0” position as soon as
the mixture has formed a ball. Then remove the mains plug.
10. Press the lever (5) downwards and the arm will be raised.
V. USING INSTRUCTIONS

www.heinner.com 1500W, 50/60Hz, 220-240V
14
11. The mixture can now be released with the help of a spatula and removed from the
mixing bowl.
12. The mixing bowl can now be removed by turning to the left.
13. Clean the parts as described under “Cleaning”.
VI. RECIPES
Sponge Mixture (Basic Recipe), Level 3-4
Ingredients:
250grams soft butter or margarine, 250grams sugar, 1 packet vanilla sugar or 1 bag
Citro-Back, 1 pinch of salt, 4 eggs, 500grams wheat fl our, 1 packet baking powder,
approx. 1/8 litre milk.
Preparation:
Transfer the wheat fl our and the remaining ingredients to the mixing bowl, stir with
the stirrer for 30 seconds on level 1, then for approximately 3 minutes on level 3.
Grease a tin or cover with baking paper. Fill in the mixture and bake. Before the cake
is removed from the oven, test to see if it is done. With a sharp wooden stick pierce
the centre of the cake. If no mixture sticks to it, the cake is cooked. Turn the cake on
to a cake grid and allow to cool.
Traditional Oven
Insertion height: 2
Heating: electric oven, top and bottom heat 175-200°Celsius; gas oven: level 2-3
Baking time: 50-60 minutes
Depending on taste, this recipe can be changed, for example with 100g raisins or
100g nuts or 100g grated chocolate. In fact, the possibilities are endless.

www.heinner.com 1500W, 50/60Hz, 220-240V
15
Linseed Bread Rolls, Level 1-2
Ingredients:
500-550g wheat flour, 50g linseed, 3/8 litre water, 1 cube of yeast (40g), 100g low-fat
curds, well drained, 1 tsp salt. For coating: 2 tbsp of water.
Preparation:
Soak the linseed in 1/8 litre of lukewarm water. Transfer the remaining lukewarm water
(1/4 litre) into the mixing bowl, crumble in the yeast, add the curds and mix with the
kneading hook on level 2. The yeast must be completely dissolved. Put the flour with
the soaked linseed and the salt into the mixing bowl. Knead thoroughly on level 1, then
switch to level 2 and continue kneading for 3-5 minutes. Cover the mixture and allow
to rise in a warm place for 45-60 minutes. Knead thoroughly once more, remove from
the bowl and form sixteen rolls. Cover the baking tin with wet baking paper. Place the
rolls on this and allow to rise for 15 minutes. Coat with lukewarm water and bake.
Traditional Oven:
Insertion height: 2
Heating: electric oven: top and bottom heat 200-220°C (preheated for 5 minutes), gas
oven level 2-3
Baking time: 30-40 minutes
Chocolate Cream, Level 5-6
Ingredients:
200ml sweet cream, 150g semi-bitter chocolate coating, 3 eggs, 50-60g sugar, 1 pinch of
salt, 1 packet of vanilla sugar, 1 tablespoon cognac or rum, chocolate flakes.
Preparation:
Beat the cream in the mixing bowl with the whisk until stiff. Remove from the bowl and
place somewhere to cool. Melt the chocolate coating in accordance with the instructions
on the packet or in the microwave at 600W for 3 minutes. In the meantime, beat the
eggs, sugar, vanilla sugar, cognac or rum and salt in the mixing bowl with the whisk on
level 3 to form a foam. Add the melted chocolate and stir in evenly on level 5-6. Leave a
little of the cream for decoration. Add the remaining cream to the creamy mixture and
stir in briefl y using the pulse function. Decorate the chocolate cream and serve well
cooled.

www.heinner.com 1500W, 50/60Hz, 220-240V
16
FAULT
POSSIBLE CAUSE
SOLUTION
Indication light not lit, the
unit doesn’t work
Improper power plug
connection
Reconnect power plug
Indication light flickers, the
unit doesn’t work
Back cover improperly
installed
Reinstall the back cover
Switch doesn’t point to 0
speed when power plug
connection
Switch the knob to 0 speed, and
then choose the needed speed
Loose of stainless steel bowl
Stainless steel bowl
improperly installed
To stop the unit and reinstall the
stainless steel bowl
The unit stops working after
long time working
Overheating protect starts
working
Shut off the power, let the unit
cool down. After about 20 mins.,
restart the unit.
Remark: If above solutions not working, please ask helps from professional
maintainers.
VII. MAINTENANCE AND CLEANING
1. Before cleaning remove the mains lead from the socket.
2. Never immerse the housing with motor in water!
3. Do not use any sharp or abrasive detergents.
Motor Housing
1.Only a damp rinsing cloth should be used to clean the outside of the housing.
Mixing Bowl, Mixing Equipment
CAUTION:
The components are not suitable for cleaning in a dishwasher. If exposed to heat or
caustic cleaners they might become misshapen or discolored.
2.Components that have come into contact with food can be cleaned in soapy water.
WARNING:
Danger of injury!
Allow the parts to dry thoroughly before reassembling the device.
Please apply a small quantity of vegetable oil likely to the screens after they
have dried.
VIII. TROUBLESHOOTING

www.heinner.com 1500W, 50/60Hz, 220-240V
17
Power
1500W
Voltage
220-240V, 50/60Hz
Color
Stainless steel
IX. TECHNICAL DATA
Environment friendly disposal
You can help protect the environment!
Please remember to respect the local regulations: hand in the non-working electrical equipment’s to
an appropriate waste disposal center.
HEINNER is a registered trademark of Network One Distribution SRL. Other brands and product
names are trademarks or registered trademarks of their respective holders.
No part of the specifications may be reproduced in any form or by any means or used to make any
derivative such as translation, transformation, or adaptation without permission from NETWORK
ONE DISTRIBUTION.
Copyright © 2013 Network One Distibution. All rights reserved.
www.heinner.com, http://www.nod.ro
http://www.heinner.com, http://www.nod.ro
This product is in conformity with norms and standards of European Community
Importer: Network One Distribution
Marcel Iancu Street, 3-5, Bucharest, Romania
Tel: +40 21 211 18 56, www.heinner.com , www.nod.ro

www.heinner.com 1500W, 50/60Hz, 220-240V
19
Kérjük olvassa el a használati utasítást és a további információkért tartsa meg a kézikönyvet.
Jelen kézikönyv a készülék felszereléséhez, használatához és karbantartásához tartozó
valamennyi információt tartalmazza.
A megfelelő és biztonságos üzemeltetés érdekében használat előtt kérjük olvassa el
figyelmesen a kézikönyvet.
I. BEVEZETŐ
II. A CSOMAGOLÁS TARTALMA
Bolygó keverőgép
Kézikönyv
Jótállási tanusítvány
Köszönjük, hogy ezt a terméket választotta!
Table of contents
Languages:
Other Heinner Mixer manuals

Heinner
Heinner HMB-350 User manual

Heinner
Heinner CHARM HMB-350BG User manual

Heinner
Heinner HPM-1500XMC-V2 User manual

Heinner
Heinner HPM-1000ACC User manual

Heinner
Heinner HPM-L1000BL User manual

Heinner
Heinner HMBR-300W User manual

Heinner
Heinner HMB-350UV User manual

Heinner
Heinner HSM-350 User manual

Heinner
Heinner HPM-600RD User manual

Heinner
Heinner HPM-600BG User manual
Popular Mixer manuals by other brands

KitchenAid
KitchenAid 5KPM5EWH user manual

MULTIQUIP
MULTIQUIP STOW MS45H.5 Operation and parts manual

Kenmore
Kenmore 100.8910890A Use & care guide

cecotec
cecotec Fusion&Cook 4500 Luxury instruction manual

Q-Pumps
Q-Pumps QIM Series Assembly and installation manual

Bialetti
Bialetti BIA0SBT01 Instructions for use