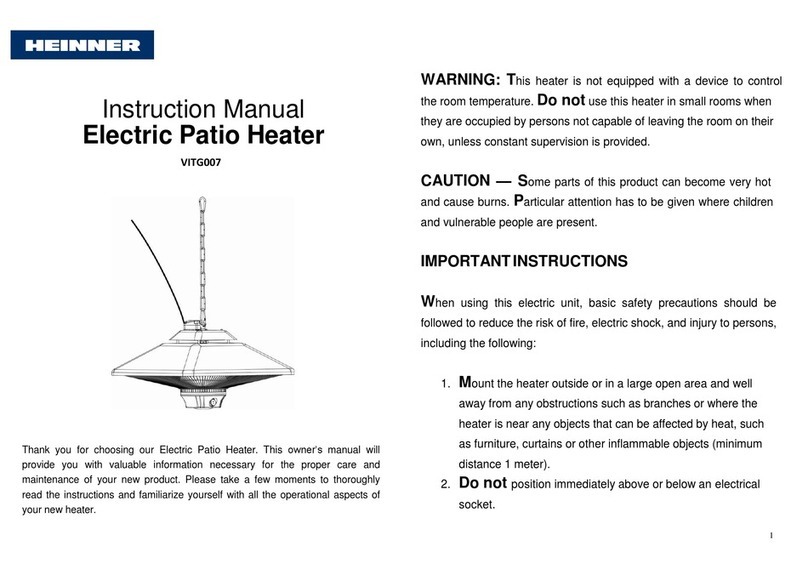
Heinner VITG008 User manual

Instruction Manual
Electric Patio Heater
VITG008
Thank you for choosing our electric halogen patio heater. This
Instructions Manual will provide you with valuable information
necessary for the proper care and maintenance of your new product.
Please take a few moments to thoroughly read the instructions and
familiarize yourself with all the operational aspects of your new heater.
•Unpack the electric halogen heater marking sure that all the items
are present and that there are no components left in the box and
that the heater is free from any packing material.
•Using detailed drawing, follow the steps for assembling your
heater.
•Do not connect the heater to electrical supply until the assembly is
complete.
•Do not connect the heater to electrical supply if any of the
components or the power cord is damaged in any way.
•If in doubt contact your supplier.

IMPORTANT INSTRUCTIONS:
When using electrical appliances, basic precautions should
always be followed to reduce the risk of fire, electric shock,
and injury to persons, including the following:
1. Read ALL instructions before using this unit.
2. CAUTION: Risk of Electric Shock. DO NOT open or try to
repair the heater yourself.
3. This heater is hot when in use. To avoid burns, do not let
bare skin touch hot surfaces. Do not move this heating
when still hot.
4. WARNING: Risk of fire - keep combustible material such as
furniture, papers, clothes, and curtains at least 0. 9M from
the front of heater and away from the sides and rear.
5. DO NOT place towels or other objects on the heater.
6. Extreme caution is necessary when any heater is used by or
near children or invalids and whenever the heater is left
operating and unattended.
7. Always unplug heater when not in use.
8. DO NOT operate any heater with a damaged cord or after
the heater malfunctions, has been dropped or has been
damaged in any manner, Return heater to authorized
service examination, electrical or mechanical adjustment, or
repair.
9. This heater is not intended for use in bathrooms, laundry
areas and similar Indoor locations. Never locate heater
where it may fall into a bathtub or other water container.
10. To protect against electrical hazards, DO NOT immerse in
water or other liquids.
11. DO NOT touch the control panel or plug in with wet hands.
12. DO NOT run cord under carpeting. DO NOT cover cord with
throw rugs, runners, or similar coverings. Arrange cord
away from traffic area and where it will not be tripped over.
13. To disconnect heater, turn controls to OFF, then remove
plug from outlet.
14. DO NOT insert or allow foreign objects to enter any
ventilation or exhaust opening as this may cause an electric
shock or fire, or damage the heater.
15. To prevent a possible fire, DO NOT block the air intakes or
exhaust in any manner, DO NOT use on soft surfaces, like a
bed, where openings may become blocked.
16. A heater has hot and arcing or sparking parts inside. Do not
use it in areas where gasoline, paint, or flammable liquids
are used or stored.
17. Use this heater only as described in this manual. Any other
use not recommended by the manufacturer may cause fire,
electric shock, or injury to persons. The use of attachments
not recommend or sold by unauthorized dealers may cause
hazards.

18. Always plug heaters directly into a wall outlet/receptacle.
Never use with an extension cord or relocatable power tap
(outlet/power strip).
19. This unit is designed for a 220V-240V AC electrical outlet
connection ONLY.
20. DO NOT attempt to repair or adjust any electrical or
mechanical functions on this unit, doing so will void your
warranty, The inside of the unit contains no user serviceable
parts. Only qualified personnel should perform all servicing
only.
21. Connect to properly grounded outlets only.
22. Children should be supervised to ensure that they do not
play with the appliance.
23. SAVE THESE INSTRUCTIONS
Assembling Process
To properly assemble this heater, you need the supplied assembly
wrench (or one of your own).
STEP 1:
Fix the bottom pole onto the base using three M6X35mm bolts.
STEP 2:
Place the decoration cone onto the bottom pole.
STEP 3: Push theAluminum Table onto the Middle Tube.

STEP 4:
Connect the top pole with the middle pole by screwing together. .
STEP 5: Fix the Table on the Pole by screwing the plastic fixation part.
STEP 6: Tighten the Plastic Fixation Part by screwing the Screw Knob.
STEP 7: Connect the middle pole with top pole by screwing them
together.
STEP 8:
Place the power cord plug through the top pole, middle pole and bottom
pole. Pull the power cord through the bottom of the base as far as it will
go.
STEP 9:
Place the heater head assembly onto the top pole. Secure it with two
φ4*8mm screws.
STEP 10: Raise or retract the top tube to the desired height and tighten
to the middle tube by screwing knob down.

STEP 11: Fix the power cord on the rubber base by using four M4
screws.
Operation
Place the heater on a firm, level surface and plug into a grounded
220V-230V 50 Hz power outlet. Only operate the heater when it is in
the upright position and the base is attached.
The electric halogen patio heater is equipped with 3 heating setting:
Low, Medium and High.
To operate the heater on low (900W), press the switch on the right.
This switch has a single white dot near the top. Once the low
switch is pressed, the smaller bottom heating element will glow
and radiate heat.
To operate the heater on Medium (1200W), press the switch on
the left. This switch has two white dots near the top. Once the
medium switch is pressed, the larger top heating element will glow
and radiate heat.
To operate the heater on High (2100W), press both the low and
medium switches. This will cause both the bottom and top heating
elements to glow and radiate heat.
Although the heater is shower proof, DO NOT use when raining
or in wet conditions.
Always disconnect the power cable from the electrical supply
when the patio heater is not in use.
MAINTENANCE
Unplug the unit and let it cool completely.
To keep this unit clean, the outer shell may be cleaned with
a soft, damp cloth. You may use a mild detergent if
necessary. After cleaning, dry the unit with a soft cloth.
DO NOT use alcohol, gasoline, abrasive powders, furniture
polish, or rough brushes to clean the heater. This may
cause damage or deterioration to the surface of the heater.
Although this heater is outdoor approved, DO NOT immerse
the heater in water for your safety.
Wait until the unit is completely dry before use.

STORAGE
When not in use, store this unit in a cool, dry location. To
prevent dust and dirt build-up, use the original packaging to
repack this unit.
TROUBLE SHOOTING
If this unit does not operate properly, please check the following
before repair or service:
Check if the power cord is plugged into an electrical outlet, if
not, plug in.
Check if electricity to the main fuse is working.
Make certain the power switches are turned on. If not,
choose a setting.
TECHNICAL SPECIFICATIONS
Ratings: 220 V ~230V 50 Hz
Power consumption: 900/1200/2100 W
Height: 205cm
Net weight: 14.0kg
Insulation: class I
RECYCLING
Electrical and electronic equipment waste (WEEE) might
contain dangerous materials which can have a negative impact
on the environment and human health if not collected
separately.
This item is in conformity with the European Directive EU WEEE
(2012/19/EU) and is marked with an electronic and electrical
waste logo graphically represented in the image below.
This icon shows that WEEE should not be collected with
household waste but separately.
We recommend you to consider the following:
- Materials and components used when manufacturing
this item are high quality materials which can be reused and
recycled;
- Do not throw away the item with household waste at
the end of life;
-Take the item to a collecting point where it will be
collected for free;
-Please contact the local authorities for details on the
collecting centers.
Conformity with the RoHS Directive: the item you purchased is
in conformity with the EU Directive RoHS (2011/65/UE). It does
not contain materials listed as harmful or prohibited in the
Directive.
Thank you for helping us protect the environment and our
health!
Manufactured for
Network One Distribution
Marcel Iancu St., no. 3-5, Bucharest, 020757
2017
Table of contents
Other Heinner Patio Heater manuals