Henkel OSI Service manual

Technical Bulletin
Henkel TCS Department
26235 First Street
Westlake, OH 44145
1-800-624-7767
Technical Bulletin - OSI Foam Applicator Gun –20171003 Page 1of 3
OSI® Foam Applicator Gun Best Practices
CAUTION: Do not point the applicator gun at people or animals. Always wear eye protection, gloves and protective clothing. Avoid damage to
existing materials in replacement situations. Use a drop cloth to protect work area at all times.
Instructions for Use:
1. Shake can well 15 to 20 times prior to attaching the gun. Align canister and gun. Screw black collar of canister onto the basket adapter of the
gun by hand until snug, being careful not to cross-thread the unit. Do not over tighten. NOTE: It is important to align threads properly to
prevent possible leakage
2. Shake can well before use and during any work interruptions. Note: In colder temperatures we also recommend occasional shaking during
use to ensure consistent flow. Keep product temperature above 45° F for maximum performance and best flow rate.
3. Aim gun into an appropriate receptacle such as a box or bag or on a disposable surface to test flow rate. Pull trigger to start the flow of foam.
4. Adjust the control knob (release valve) on rear of gun to regulate flow. Clockwise decreases flow, counterclockwise increases the flow
5. Do not store gun with empty canister on the gun. When changing canister, replace empty can immediately to avoid hardening or clogging of
foam in the applicator gun.
Maintenance and Cleaning:
1. A partially used can may be left on the applicator gun between jobs when the release valve is fully closed (full clockwise), but no longer than
30 days’ maximum. It is not necessary to clean the applicator gun until the canister is removed. When not in use, ensure that the release
valve is in the closed position (full clockwise) to avoid foam curing up inside the gun. Temporary storage must always have a pressurized foam
can attached to the gun. Never remove a partially used/dispensed can as they are pressurized.
2. Completely emptied cans must be replaced immediately. Clean the applicator gun thoroughly as soon as possible after the canister is
removed if no replacement can be available to avoid the foam hardening inside the applicator gun. Once the foam has cured, cleaners will not
work or dissolve the polyurethane foam.
3. Use OSI® Foam Clean, pressurized cleaning solvent, to clean gun or use OSI® Foam Clean with button actuator on its valve stem for spot
cleaning and the clean up of uncured foam when changing cans. Always CLEAN “basket adapter” completely of any residual foam material
before replacing. Use petroleum jelly lubricant on the basket adapter to prevent over- tightening
4. Screw OSI® Foam Cleaner canister onto the applicator gun. Spray the cleaner onto a disposable surface or into a container for 3-5 seconds.
Open release valve partially (counterclockwise, but do not unscrew the value from the gun). Spray again for 3-5 seconds and repeat as
necessary.
5. For Long term storage: Leave solvent in the applicator gun for 2 minutes. Spray for another 3-5 seconds to remove used solvent from the
applicator gun. Repeat this process until the solvent spray out is completely clean. Remove the OSI® Foam Cleaner canister from gun.
Release pressure by pulling trigger then close regulator valve. Use petroleum jelly on nozzle tip and basket before storing applicator.
6. If necessary, with no can attached, unscrew the regulator knob and remove the needle. Clean the needle with a non-abrasive rag wet with
cleaning solvent.
7. Grease the needle with petroleum jelly lubricant before replacing in the applicator gun. BE CAREFUL not to lose the parts as they cannot be
replaced.
8. Routinely clean the screw-on brass tip to keep it completely free of hardened foam. Spray OSI® Foam Cleaner into the brass tip’s cavity. If
foam has cured inside the brass tip, use a probe to break apart and remove the cured foam to maintain a clear path for the foam to travel.
Warning: Do not completely unscrew release valve from the foam gun while connected to a PU foam or cleaner canister. Back pressure may cause
the valve to fly off from the gun and cause harm.
Helpful Hint: Squeeze trigger when unscrewing an empty can, in order to depressurize dispensing unit (point dispensing unit into appropriate waste
receptacle). This will help to prevent backflow of material from the basket adapter
1. Holding the trigger open during the entire can changing process will help to prevent backflow of material from the basket adapter.
Technical Bulletin
Henkel TCS Department
26235 First Street
Westlake, OH 44145
1-800-624-7767
Technical Bulletin - OSI Foam Applicator Gun –20171003 Page 2of 3
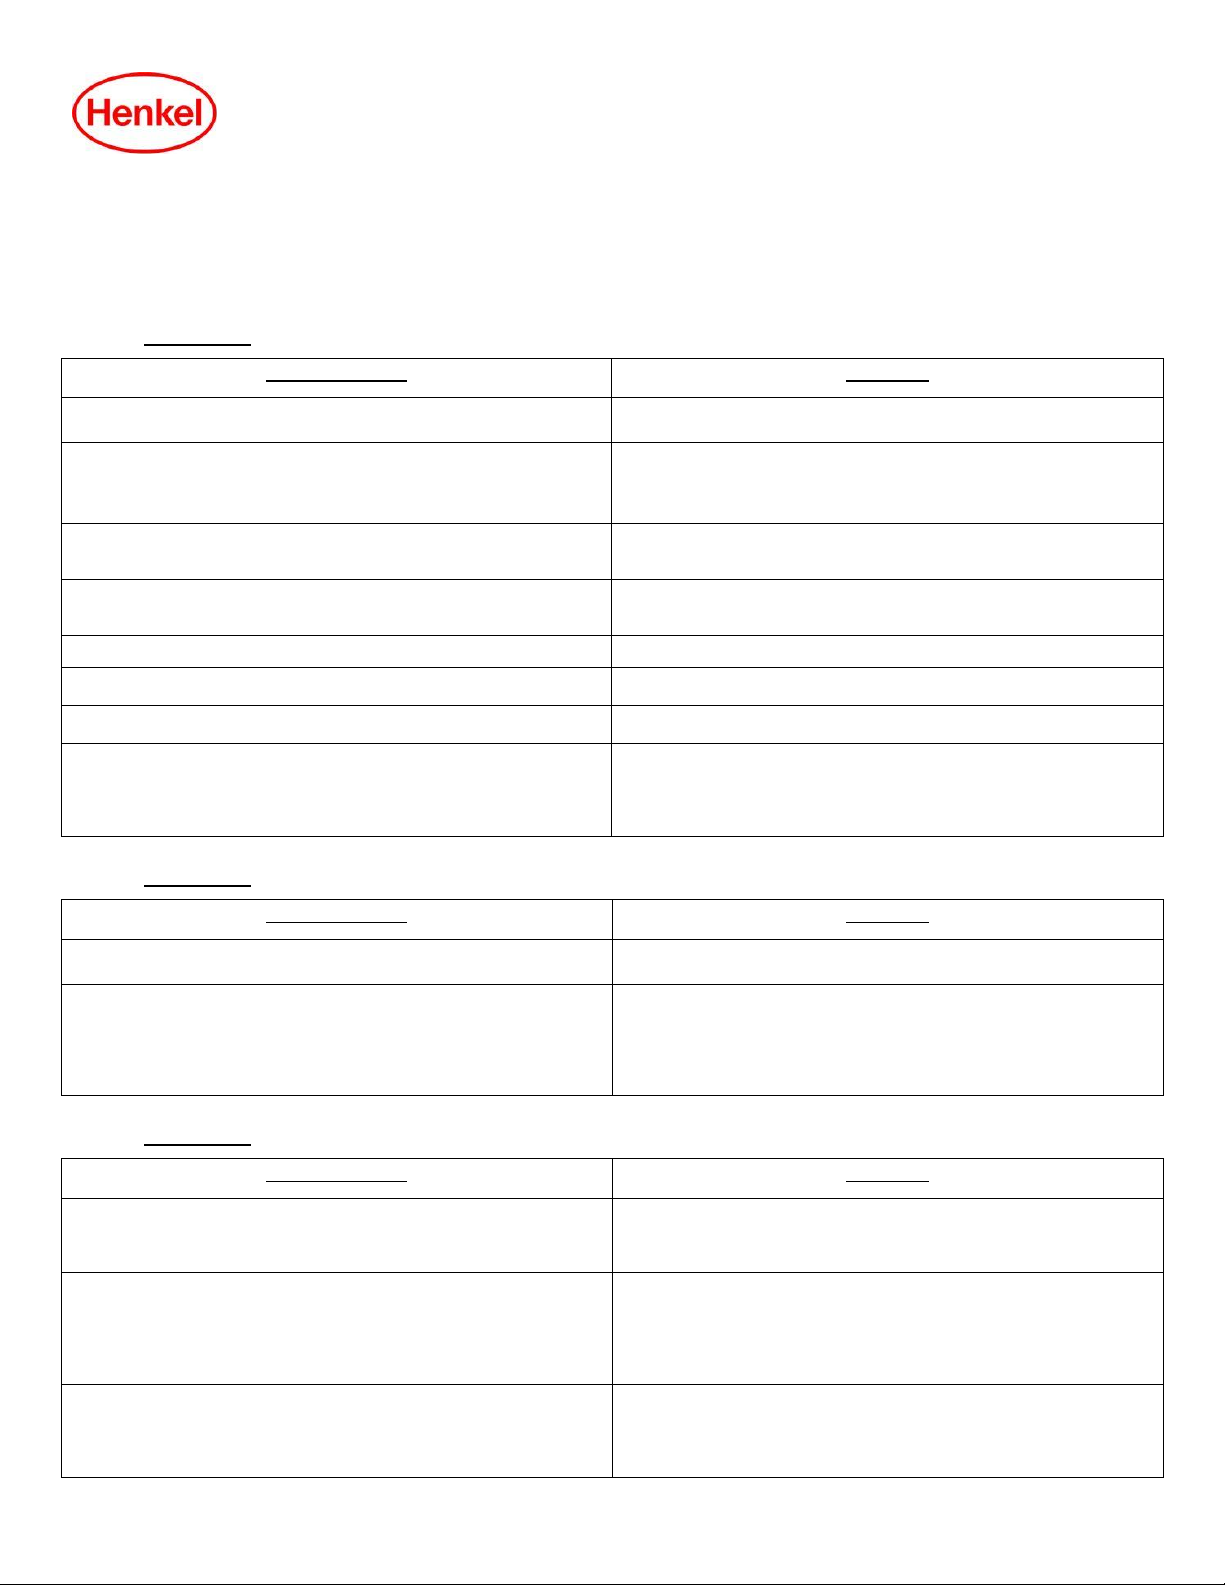
TROUBLESHOOTING
PROBLEM: No product extrudes from the gun applicator when trigger is pulled, or product extrudes too slowly.
POSSIBLE CAUSE
SOLUTION
➢Cured product at the tip of the gun can partially or completely block the
flow of the product
➢Rub the gun tip on a piece of soft lumber, or use a knife, wire brush,
etc. to remove cured residue.
➢Product is too cold. This will thicken the liquid in the can and reduce
the propellant pressure, resulting in a slower flow rate
➢It is recommended to store the cans between 65-75°F (18-24°C) prior
to use. Maintain chemical temperature above 40°F (5°C) for best flow
rate. DO NOT heat cans with local heat sources (stove, radiators, hot
plates, etc.)
➢Basket adapter may become clogged with cured foam product if gun is
stored without can attached, or if it not cleaned thoroughly when
changing cans.
➢Foam gun may no longer be useable and needs to be replaced.
➢Slow flow towards end of can may indicate a loss of propellant
pressure due to either cold temperatures or from dispensing foam
horizontally.
➢Keep can vertical as possible during dispensing, with valve down. If
“spitting” or gas lose is excessive, shake can periodically as the can
empties.
➢Regulating screw on back of gun is in closed position.
➢Open regulating screw on back of gun by turning counterclockwise
➢Product is past its shelf Life
➢Shake can. If no liquid movement is felt (or product is very thick) then
it may be past its shelf life and needs to be replaced
➢Product does not dispense after storage.
➢Product was stored beyond 30 days after original opening, or product
has expired shelf life.
➢PU foam leaks out of gun when it is off:
➢Remove the canister, release the pressure and empty the foam
remaining in the applicator. Clean gun then remove and clean the
needle with OSI® Foam Cleaner (see above steps 5 and 6). If the gun
continues to leak the parts may be worn and the gun needs to be
replaced.
PROBLEM: trigger will not depress
POSSIBLE CAUSE
SOLUTION
➢Regulating screw on back of gun is in closed position.
➢Open regulating screw on back of gun by turning counter-clockwise
➢Cured product on needle valve may cause the trigger to stick.
Excessive force should not be used if trigger will not open readily, as
this may cause damage to parts
➢If the needle valve cannot be dislodged using the trigger, it may be
able to be “broken free” by turning or carefully removing the regulator
screw being careful not to lose the spring and ball. Turn the needle
valve using a set of pliers. If this does not free the valve, then the
internal parts are clogged with cured foam and the gun needs to be
replaced.
PROBLEM: Properties of dispensed product not acceptable or behaving unusually
POSSIBLE CAUSE
SOLUTION
➢“Spitting” during dispensing or propellant bursts can be caused by not
keeping can vertical with valve down.
➢Slight spitting can be expected. Excessive spitting is not normal. Keep
can vertical with valve down. Intermittent shaking of can is required to
keep the contents mixed properly. Aerosol cans must be shaken
during and in between work interruptions.
➢Cured product on needle valve may cause the trigger to stick.
Excessive force should not be used if trigger will not open readily, as
this may cause damage to parts
➢If the needle valve cannot be dislodged using the trigger, it may be
able to be “broken free” by turning or carefully removing the regulator
screw being careful not to lose the spring and ball. Turn the needle
valve using a set of pliers. If this does not free the valve, then the
internal parts are clogged with cured foam and the gun needs to be
replaced.
➢The appearance of the dispensed bead of foam can be greatly
affected by the condition of the dispensing gun. Larger open celled
appearance may result if gun is not properly maintained. Also, product
that is left in the barrel of the gun, or allowed to get too cold may also
affect appearance.
➢The initial burst of material from the barrel may be more open celled
than normal. If unacceptable appearance continues, then the basket
adapter may need a thorough cleaning. Test with a fresh can or
product that is at the proper dispensing temperature for dispensing.

Technical Bulletin
Henkel TCS Department
26235 First Street
Westlake, OH 44145
1-800-624-7767
Technical Bulletin - OSI Foam Applicator Gun –20171003 Page 3of 3
Table of contents
Other Henkel Dispenser manuals

Henkel
Henkel Loctite EQ HD12 manual

Henkel
Henkel Loctite 98548 User manual

Henkel
Henkel Loctite EQ RC40 User manual

Henkel
Henkel Loctite 97008 User manual

Henkel
Henkel LOCTITE 97130 User manual

Henkel
Henkel Loctite 98427 User manual

Henkel
Henkel Loctite User manual

Henkel
Henkel Loctite 97631 User manual

Henkel
Henkel Loctite Shot Miser User manual

Henkel
Henkel Loctite RB10 User manual
Popular Dispenser manuals by other brands

BOWMAN
BOWMAN CL003-0111 manual

SIKA
SIKA Power Cure operating instructions

Silver King
Silver King Majestic SK12MAJ Technical manual and replacement parts list

Franke
Franke F3Dn Twin Service manual

HURAKAN
HURAKAN HKN-MT1 manual

STIEBEL ELTRON
STIEBEL ELTRON UltraHot Plus Operation and installation instructions


