manuals.online logo
Brands
  1. Home
  2. •
  3. Brands
  4. •
  5. hepco & becker
  6. •
  7. Motorcycle Accessories
  8. •
  9. hepco & becker HONDA MSX 125 Quick start guide

hepco & becker HONDA MSX 125 Quick start guide

2x Sechskantschraube M8x45
- durchgehendes Gewinde
4x Senkkopfschraube M6x16
1x Linsenkopfschraube M8x45
2x Selbstsichernde Mutter M8
2x Selbstsichernde Mutter M6
2 x U- Scheiben Ø6,4
3x U- Scheiben Ø8,4
2x Aludistanz Ø15xØ9x15mm
1x H&B Logo
4x Verschlussstopfen 8mm
1x Moosgummi 60mm
1x 700008242 Gegenlasche mit Gewinde
2 hexagon bolt M8x45 (full thread)
4 countersunk head screw M6x16
1x filister head screw M8x45
2x self lock nut M8
2x self lock nut M6
2 x washer Ø6,4
3x washer Ø8,4
2x alu spacer Ø15xØ9x15mm
1x H&B emblem
4x plastic plug 8mm
1x foam rubber 60mm
1x 700008242 flap with thread
1
090517/130617/150318
1 700007548 Alubrücke
1 700009682 Rohradapter links
1 700009683 Rohradapter rechts
1 700009684 Haltestütze
1 700009686 Schraubensatz:
Minirack
HONDA MSX 125
ab Baujahr 2017 / from date of manufacture 2017
Artikel Nr.: 6609504 01 01 schwarz/black
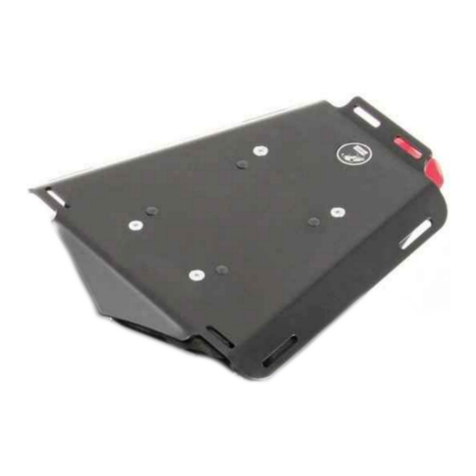
1 700007548 alu palette
1 700009682 tube adapter left
1 700009683 tube adapter right
1 700009684 support
1 700009686 screw set:
First, tighten all screws only loosely. After mounting all parts, the screws should be tightened to the torque specified.
This guarantees, that the product is mounted without tension. Observe the tightening torques of the manufacturer!
Control all screw connections after the assembling for tightness!
Ziehen sie alle zugänglichen Schrauben zuerst nur locker an. Nachdem alles montiert ist, werden die Schrauben dann
auf das entsprechende Anzugsmoment festgezogen. Dadurch wird sichergestellt, dass das Produkt spannungsfrei
angebaut ist. Anzugsmomente beachten! Nach der Montage alle Verschraubungen auf festen Sitz kontrollieren!
Die Montage ist aufwendig und es müssen Löcher in Verkleidungsteile gebohrt werden.
Wir empfehlen, die Montage des Minirack von Ihrem Fachhändler durchführen zu lassen!
The assembly is comlex and requires a certain technical experience. It must be made drillings in body parts.
We recommend to have the Minirack assembled by your specialist dealer!
Beladung Minirack: 3kg !
Max load of the Minirack: 3 kg !
INHALT
CONTENTS
WICHTIG
IMPORTANT
Die Sitzbank muss entfernt werden.
Die beiden markierten Schrauben entfernen.
Von oben durch das Gewinde mit einem Bohrer
ø6,5 mm die Kunststoffverkleidung durchbohren.
ACHTUNG ! Vorsichtig bohren, um das Gewinde
nicht zu beschädigen.
Die seitlichen Verkleidungsteile demontieren.
Die Kennzeichenhalterung und die unteren
Verkleidungsteile demontieren.
Hierfür alle restlichen Schrauben lösen.
Dismantle seat.
Unscrew the two marked screws.
Drill through the thread from above through the plastic
cover. Use a drill Ø6.5 mm
ATTENTION ! Gently drill to the thread to cause
no damage.
Remove the side fairing.
Remove the license plate and the lower fairing
parts. Loosen all remaining screws.
2
Minirack
HONDA MSX 125
ab Baujahr 2017 / from date of manufacture 2017
Artikel Nr.: 6609504 01 01 schwarz/black
Set
ø6,5 / ø9 /ø20
VORBEREITUNG
PREPARING
BENÖTIGTE WERKZEUGE
TOOLS REQUIRED
3
1
1x 1x
Montage der Haltestütze des Miniracks:
An dem zuvor gebohrten Kotflügel mit der Linsenkopfschraube
M8x50 sowie U-Scheibe Ø8,4. Zwischen Stütze und Verkleidung
den mitgelieferten Moosgummi kleben.
Von unten die Gegenhaltelasche quer über die Rohre des Rahmens
legen und verschrauben.Das Gewinde muss nach oben zeigen.
Alle Verkleidungsteile wieder montieren.
Schraube mit Loctite mittelfest Schraubensicherung einkleben !
2
Montage der Rohradapter links und rechts vorne:
Von unten durch die Bohrungen der Verkleidung mit den Sechskant-
schrauben M8x45 (durchgehendes Gewinde) sowie U-Scheiben
Ø8,4. Zwischen Adapter und Rahmen die Aludistanzen
Ø15xØ9x15mm fügen.Von oben mit den selbstsichernden Muttern
M8 kontern.
2x 2x 2x
2x
Fastening of the support:
on the fender with filister head screw M8x50 and washer Ø8,4.
Stick the foam rubber between support and fender.
Lay the flap with thread across the tubes of the frame. Thread
facing up. Mount again all cover panels.
Fix the screw with Loctite medium-strength screw lock!
Fastening of the tube adapter left+right front:
From below through the holes in the cover with the hexagon screws
M8x45 with washers Ø8,4. Add spacer Ø15xØ9x15mm between
tube adapter and frame. From top lock with the lock nuts M8.
Minirack
HONDA MSX 125
ab Baujahr 2017 / from date of manufacture 2017
Artikel Nr.: 6609504 01 01 schwarz/black
MONTAGEANLEITUNG
MOUNTING INSTRUCTIONS
VORBEREITUNG
PREPARING
Zum Zerlegen des Kennzeichenhalters, muss die Kreuzschlitzschraube
entfernt werden. Nun die vorgebohrten Löcher in der unteren Plastik-
verkleidung auf ø20mm aufbohren.
Die Bohrschablone auf den Kotflügel legen, ausrichten, mit Klebeband
fixieren und mit einem Bohrer ø9mm aufbohren.
To disassemble the license plate, the phillips screw must be removed.
Now drill the pre-drilled holes in the lower plastic cover to ø20mm.
Place the drilling template on the fender, align, fix with adhesive tape
and drill with a drill ø9mm.
4
Montage der Rohradapter hinten links
und rechts, sowie des Miniracks hinten:
Auf der in Schritt 3 montierten Stütze,
zusammen mit dem Minirack, mit den
Senkkopfschrauben M6x16 in die
Gewindebuchsen der Stütze.
3
Befestigung des Miniracks vorne :
mit den Senkkopfschrauben M6x16.
Von unten mit den selbstsichernden
Muttern M6 sowie U-Scheiben Ø6,4 auf
den Laschen der Rohradapter.
Fastening of the tube adapter rear left
and right and Minirack rear:
Minirack
HONDA MSX 125
ab Baujahr 2017 / from date of manufacture 2017
Artikel Nr.: 6609504 01 01 schwarz/black
HINWEIS: an den zusätzlichen freien Bohrungen kann unsere
Sportrack Hecktasche (Artikel-Nr. 640806 - Hecktaschenhalter
inkl.) oder unser Daypack (Artikel-Nr. 640803 - Hecktaschenhalter
optional erhältlich) sicher befestigt werden.
NOTE: Our Sportrack rear bag (item no. 640806 - lock it rear bag
holder included) or our Daypack (Item no. 640803 - lock it rear
bag holder not included) can be securely fastened at the additional
free holes.
2x
4x
2x
4x
Sportrack Hecktasche / Sportrack rear bag
Rear point:
Fastening of the alu palette and the tube
adapters: together with the support.
Use countersunk head screws M6x16.
Front point:
use countersunk head screws M6x16.
Secure it with self lock nuts M6 and
washers Ø6,4
Die nicht benutzten Bohrungen mit den
Verschlussstopfen Ø8 mm verschließen.
Seal up the 4 holes not in use with the
plastic plugs ø8mm.
MONTAGEANLEITUNG
MOUNTING INSTRUCTIONS
ACHTUNG
CAUTION
Nach der Montage alle Verschraubungen auf festen Sitz kontrollieren ! Abgebaute Teile
wieder montieren. Bitte beachten Sie unsere beigefügten Serviceinformationen.
Control all screw connections after the assembling for tightness! Reassemble the
dismanteled parts. Please notice our enclosed service information.
5
Vor Verwendung Mass kontrollieren !
Control dimension before use
1cm 10cm
Minirack
HONDA MSX 125
ab Baujahr 2017 / from date of manufacture 2017
Artikel Nr.: 6609504 01 01 schwarz/black
Hepco & Becker GmbH
An der Steinmauer 6
D-66955 Pirmasens
Germany
Tel.: +49 (0)6331 - 1453 - 100
Fax: +49 (0)6331 - 1453 - 120
eMail: [email protected]
www.hepco-becker.de
Bohrschablone
Drilling pattern
66

This manual suits for next models

1

Other hepco & becker Motorcycle Accessories manuals
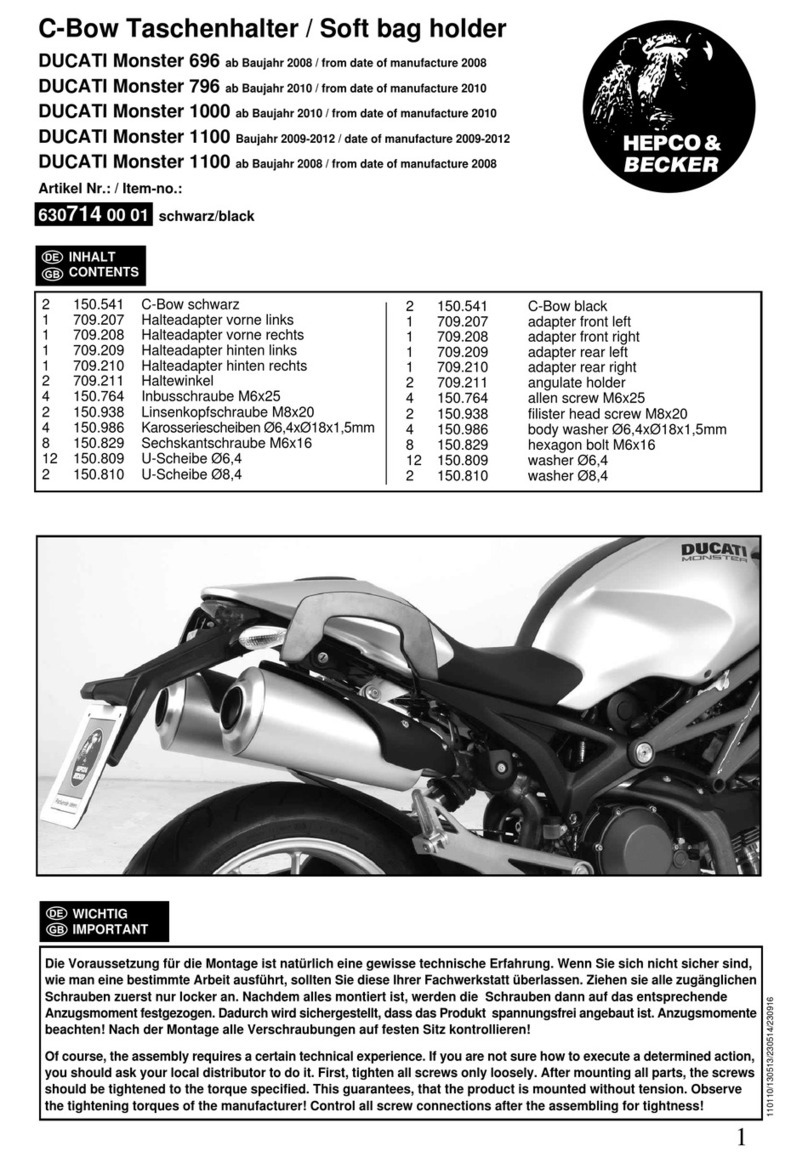
hepco & becker 6537552 00 01 User manual

hepco & becker

hepco & becker 6537552 00 01 User manual

hepco & becker C-Bow User manual

hepco & becker

hepco & becker C-Bow User manual

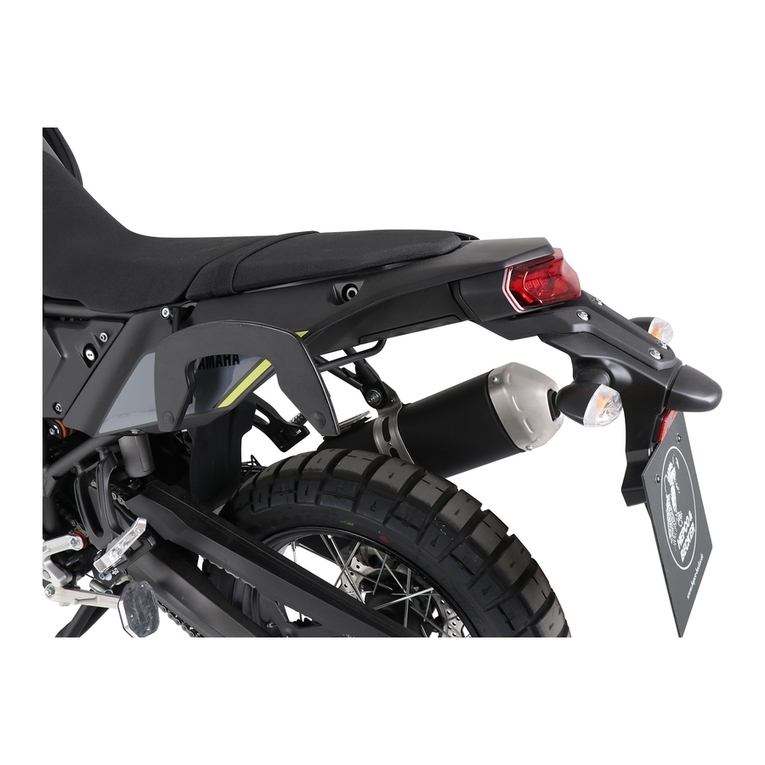
hepco & becker 6302538 00 01 User manual
hepco & becker

hepco & becker 6302538 00 01 User manual

hepco & becker 501954 00 01 User manual

hepco & becker

hepco & becker 501954 00 01 User manual

hepco & becker 5017602 00 01 User manual

hepco & becker

hepco & becker 5017602 00 01 User manual

hepco & becker 502674 00 01 User manual

hepco & becker

hepco & becker 502674 00 01 User manual

hepco & becker 8106520 00 12 User manual

hepco & becker

hepco & becker 8106520 00 12 User manual

hepco & becker 5019506 00 02 User manual

hepco & becker

hepco & becker 5019506 00 02 User manual

hepco & becker 6609518 01 01 User manual

hepco & becker

hepco & becker 6609518 01 01 User manual

hepco & becker 5034537 00 05 Assembly instructions

hepco & becker

hepco & becker 5034537 00 05 Assembly instructions

hepco & becker 506.667 User manual

hepco & becker

hepco & becker 506.667 User manual

hepco & becker 42127547 00 01 User manual

hepco & becker

hepco & becker 42127547 00 01 User manual

hepco & becker 6307520 00 01 User manual

hepco & becker

hepco & becker 6307520 00 01 User manual

hepco & becker 6612517 01 01 User manual

hepco & becker

hepco & becker 6612517 01 01 User manual

hepco & becker 8007566 00 01 User manual

hepco & becker

hepco & becker 8007566 00 01 User manual

hepco & becker 630734 00 01 User manual

hepco & becker

hepco & becker 630734 00 01 User manual

hepco & becker 630724 00 01 User manual

hepco & becker

hepco & becker 630724 00 01 User manual

hepco & becker 6504540 00 01 User manual

hepco & becker

hepco & becker 6504540 00 01 User manual

hepco & becker 4212675 00 01 User manual

hepco & becker

hepco & becker 4212675 00 01 User manual

hepco & becker 6304553 00 05 User manual

hepco & becker

hepco & becker 6304553 00 05 User manual

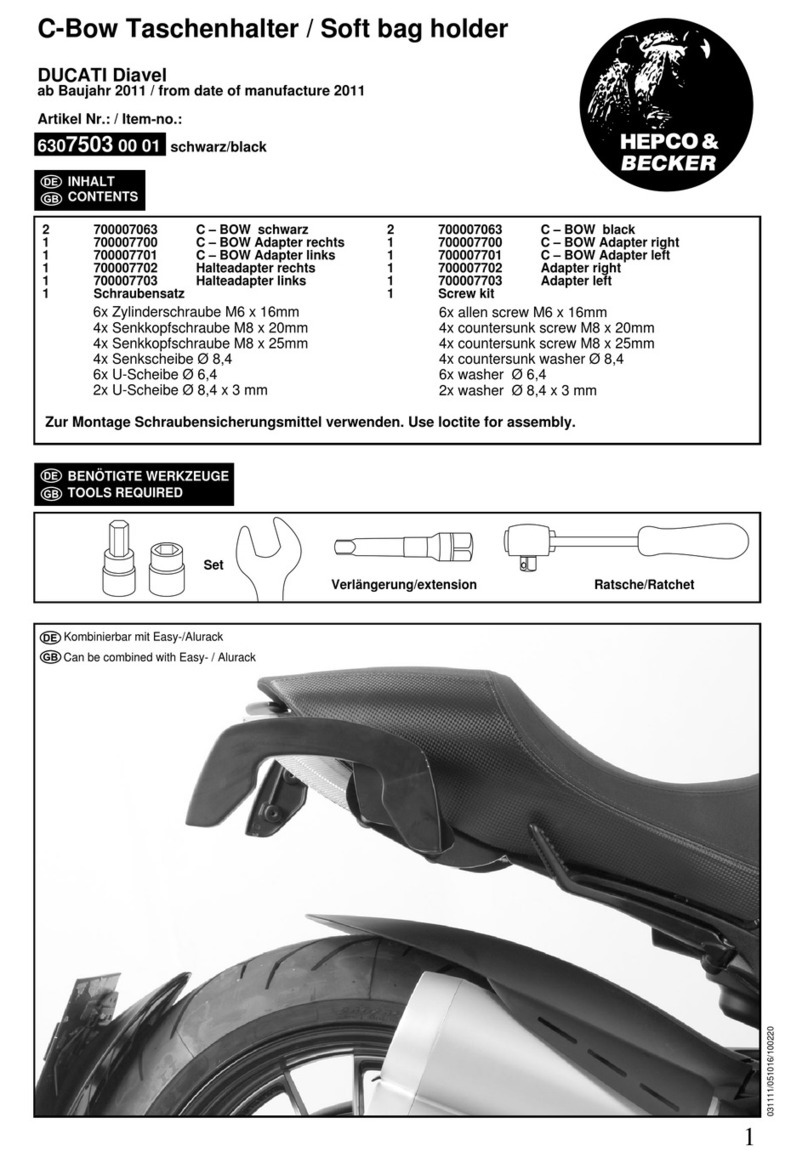
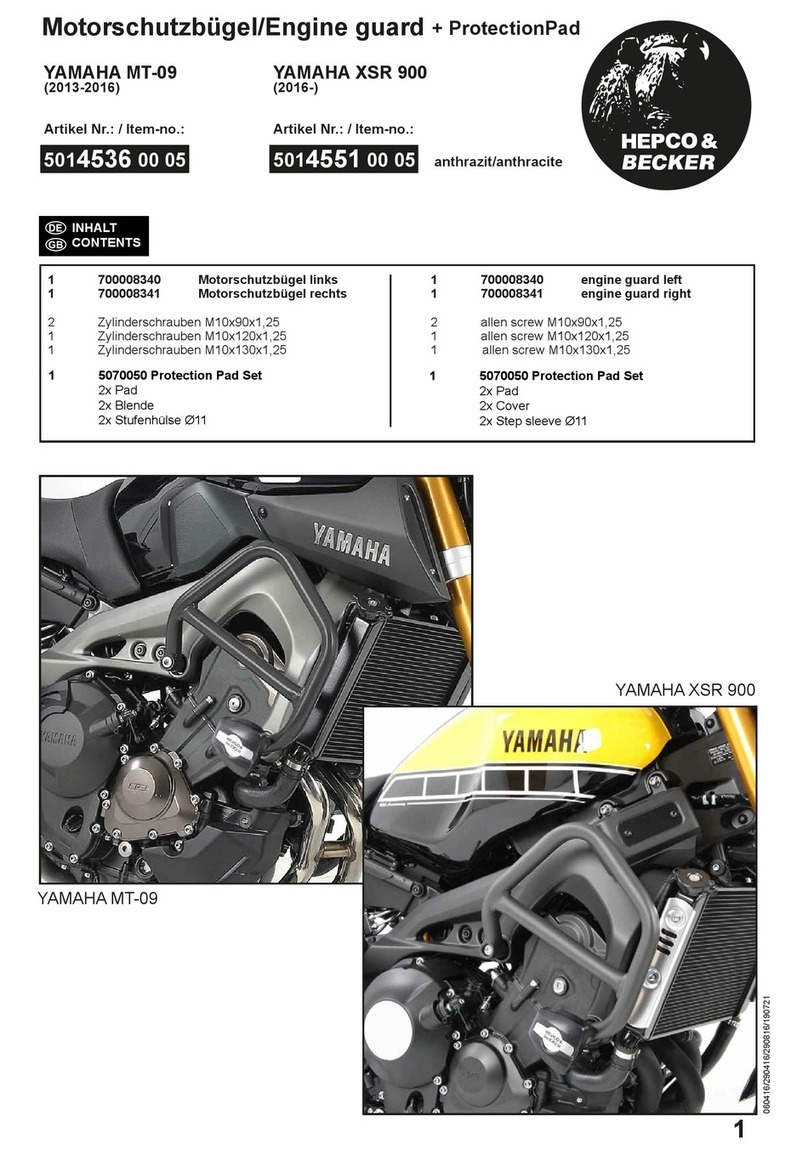
hepco & becker C-Bow 6307503 00 01 User manual
hepco & becker

hepco & becker C-Bow 6307503 00 01 User manual

hepco & becker SOLID 5089529 00 01 User manual

hepco & becker

hepco & becker SOLID 5089529 00 01 User manual

hepco & becker 6307623 00 01 User manual

hepco & becker

hepco & becker 6307623 00 01 User manual

hepco & becker 8004547 00 01 User manual

hepco & becker

hepco & becker 8004547 00 01 User manual

Popular Motorcycle Accessories manuals by other brands

Malossi CDI manual

Malossi

Malossi CDI manual

Shad Y0DL53ST manual

Shad

Shad Y0DL53ST manual

VMT F325 Mounting instructions

VMT

VMT F325 Mounting instructions

RDMOTO CF124 quick start guide

RDMOTO

RDMOTO CF124 quick start guide

Contracor COMFORT 30 000 instructions

Contracor

Contracor COMFORT 30 000 instructions

OrbiMAX 3M Speedglas 9100MP Care & maintenance

OrbiMAX

OrbiMAX 3M Speedglas 9100MP Care & maintenance

MadStad Engineering MadStad manual

MadStad Engineering

MadStad Engineering MadStad manual

RIEJU RS2 50 owner's manual

RIEJU

RIEJU RS2 50 owner's manual

R&G CP0471 Fitting instructions

R&G

R&G CP0471 Fitting instructions

Motoalliance Denali MA11722 Installation

Motoalliance

Motoalliance Denali MA11722 Installation

JIMS 5832 instructions

JIMS

JIMS 5832 instructions

Happyhot Premium 2.0 user manual

Happyhot

Happyhot Premium 2.0 user manual

Raw Desigh PowerPUC G4 Instructional Sheet

Raw Desigh

Raw Desigh PowerPUC G4 Instructional Sheet

Skully FENIX AR user manual

Skully

Skully FENIX AR user manual

Yoshimura 14720BP520 manual

Yoshimura

Yoshimura 14720BP520 manual

Thunderbike STEEL installation instructions

Thunderbike

Thunderbike STEEL installation instructions

LSL K12R FITTING INSTRUCTION

LSL

LSL K12R FITTING INSTRUCTION

Bell BELL Trailrider Helmet manual

Bell

Bell BELL Trailrider Helmet manual

manuals.online logo
manuals.online logoBrands
  • About & Mission
  • Contact us
  • Privacy Policy
  • Terms and Conditions

Copyright 2025 Manuals.Online. All Rights Reserved.