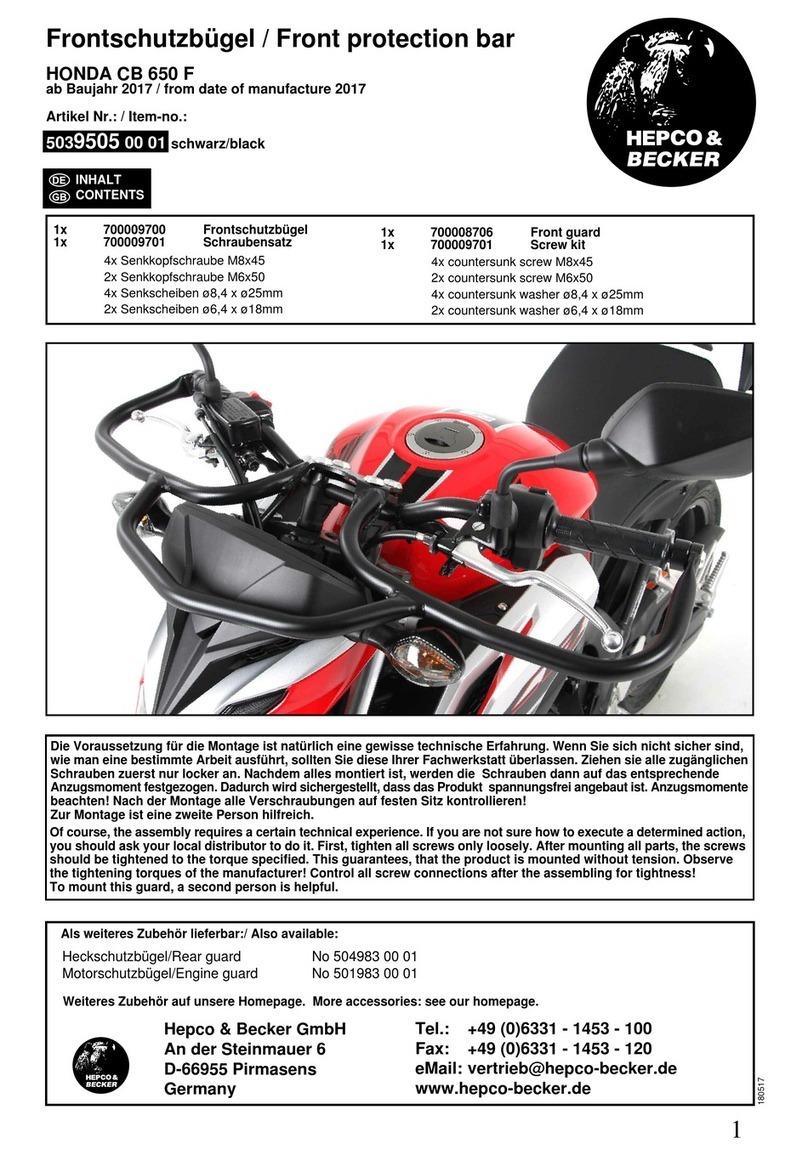
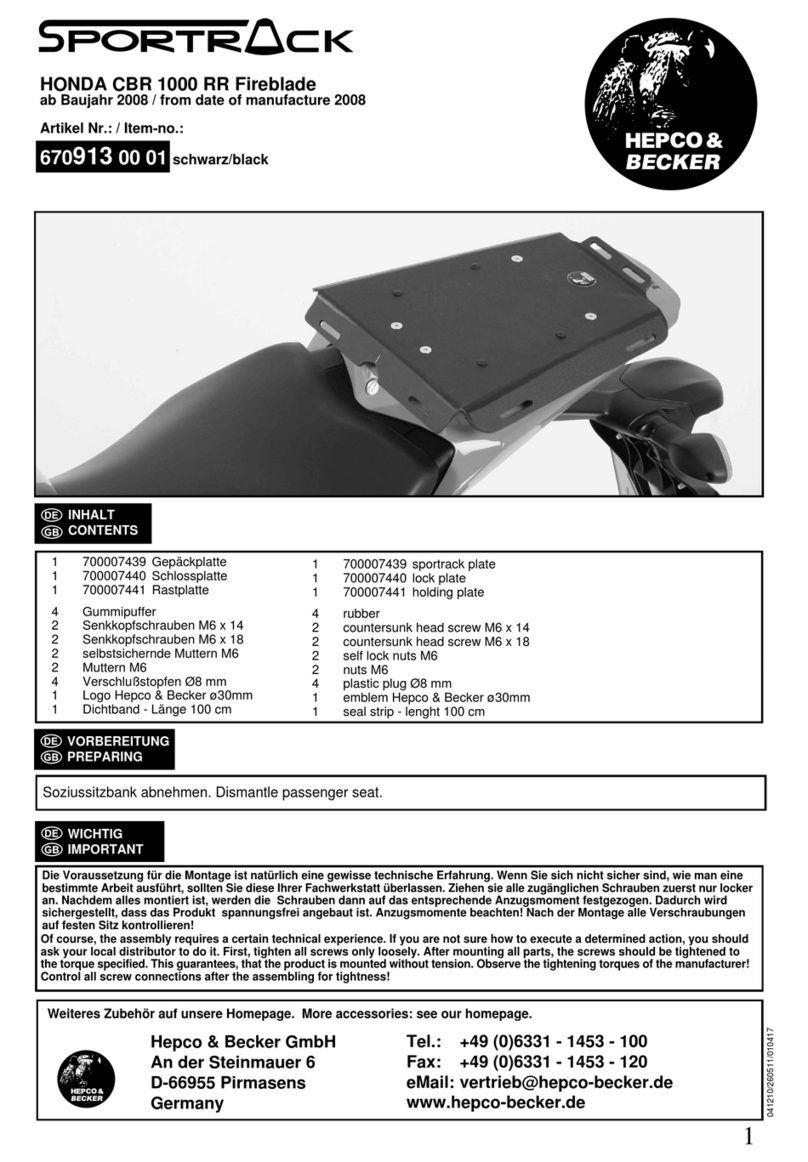
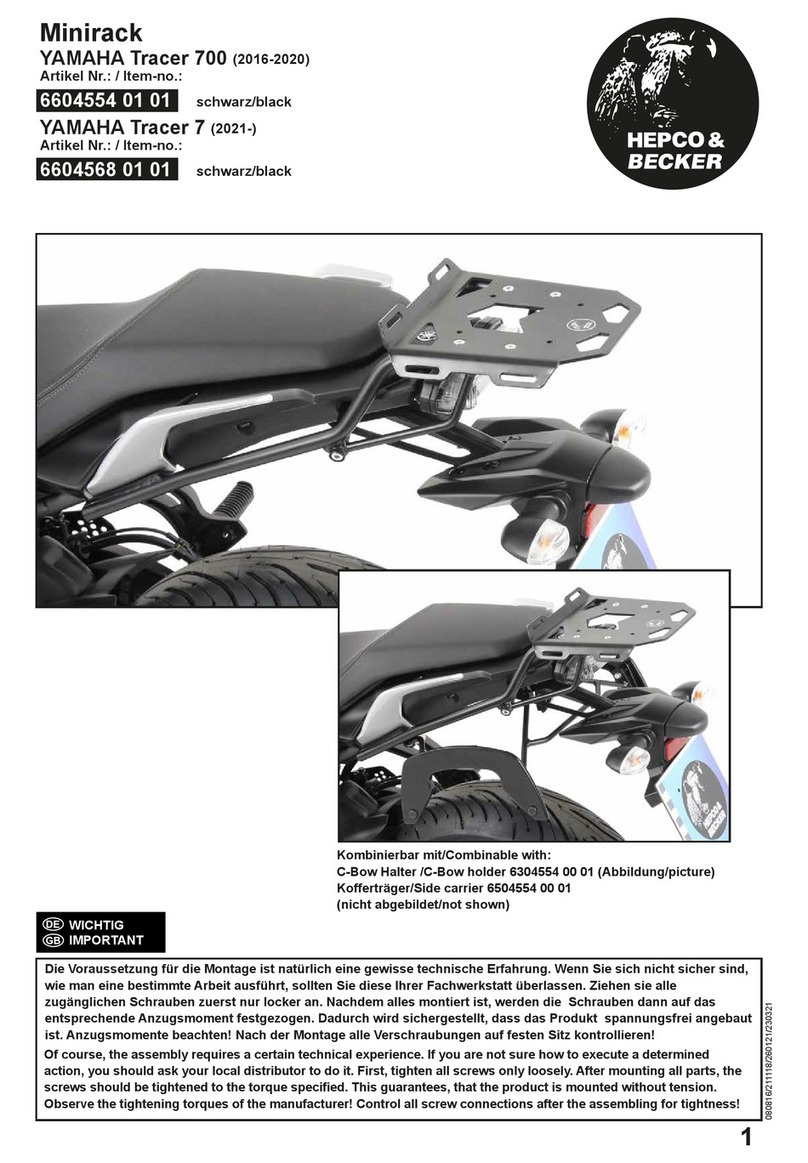
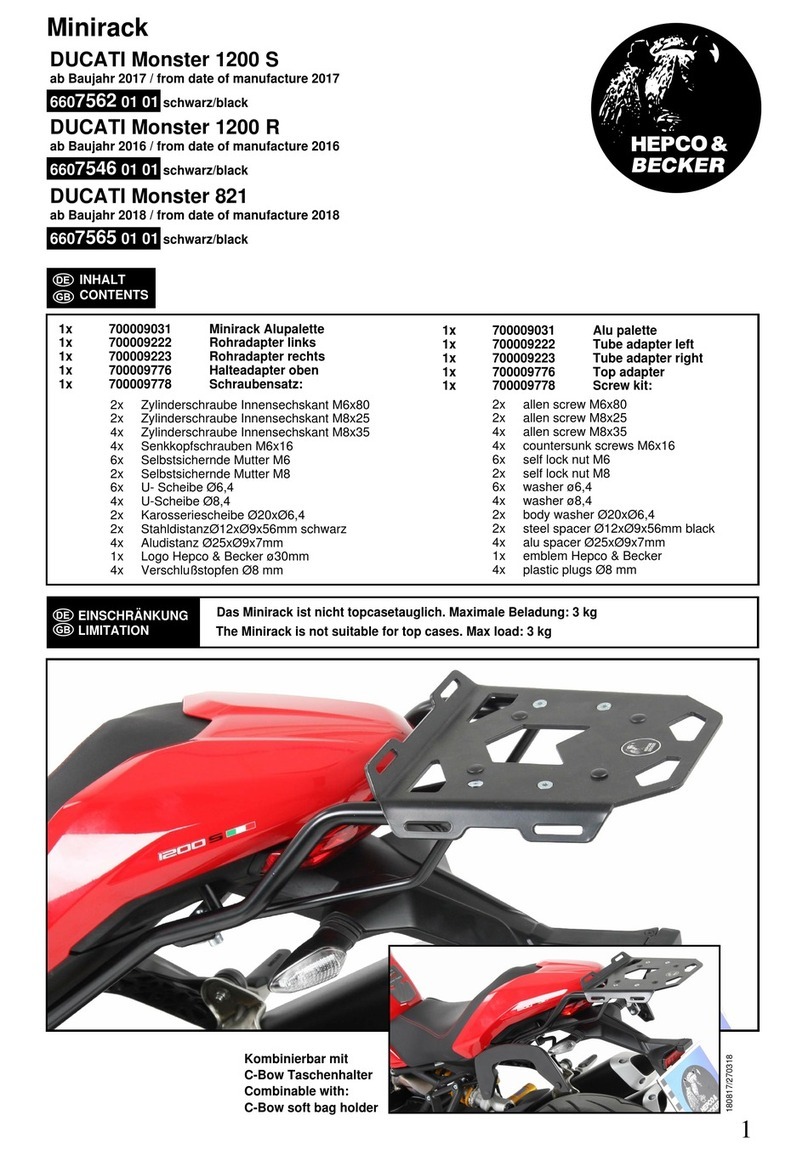
hepco & becker Minirack User manual
Other hepco & becker Motorcycle Accessories manuals
hepco & becker
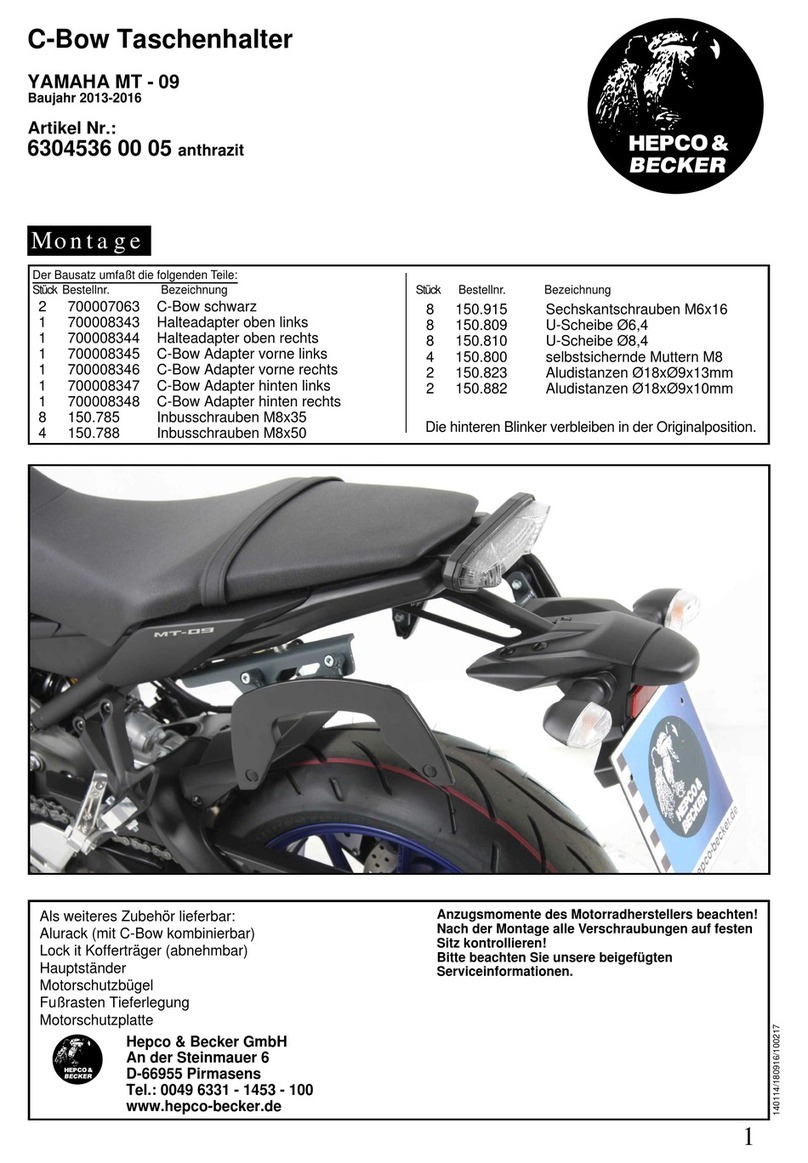
hepco & becker 6304536 00 05 User manual
hepco & becker
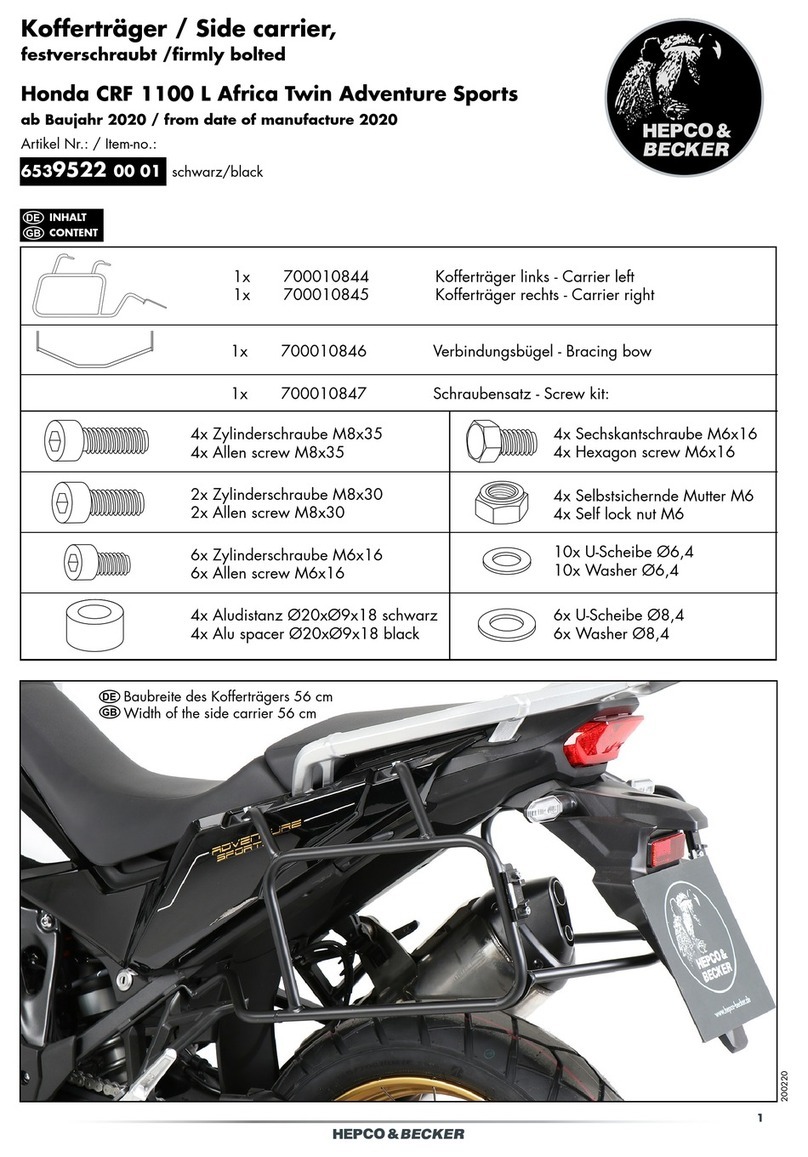
hepco & becker 6539522 00 01 User manual
hepco & becker
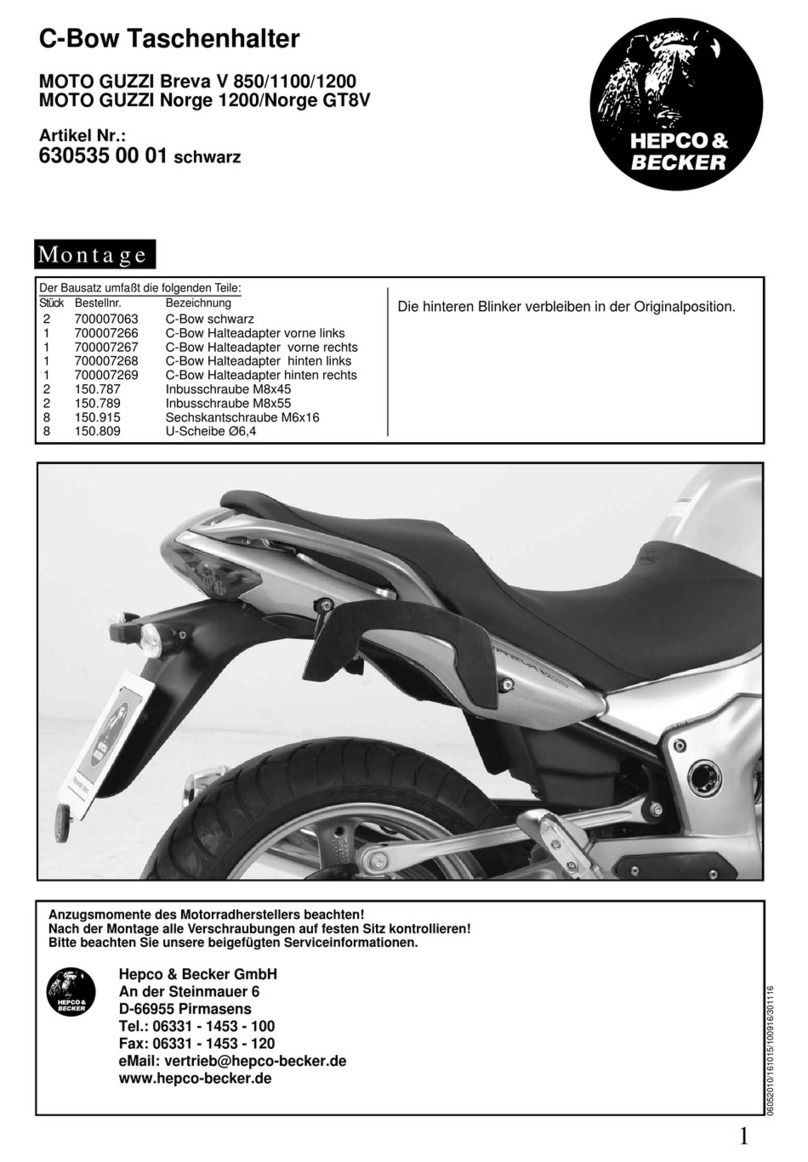
hepco & becker 630535 00 01 Installation guide
hepco & becker
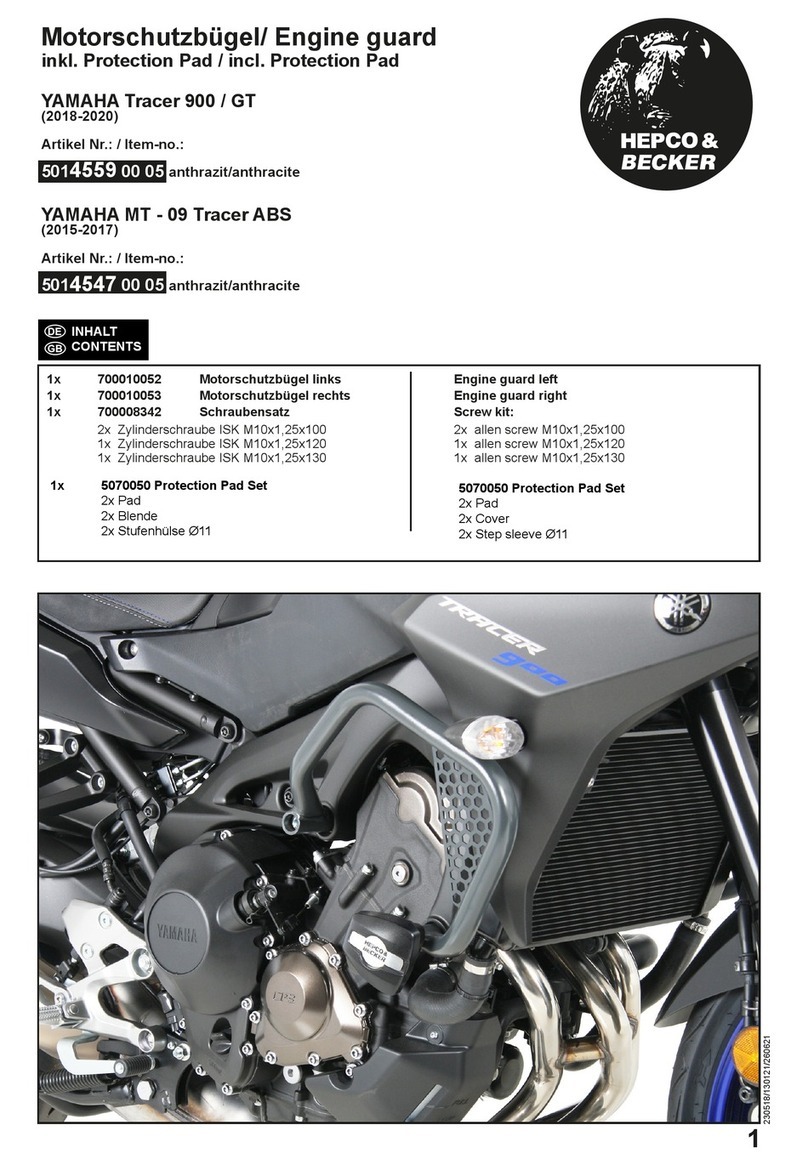
hepco & becker 5014559 00 05 User manual

hepco & becker
hepco & becker 5034566 00 01 User manual
hepco & becker
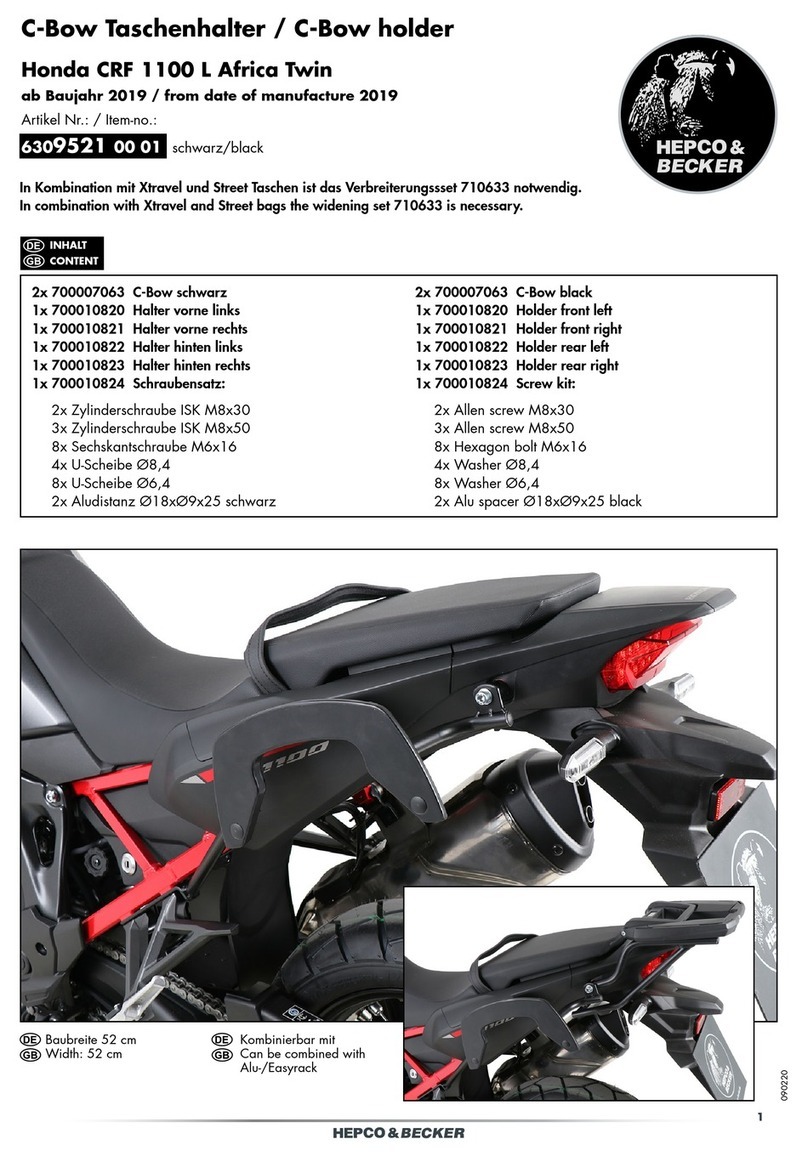
hepco & becker 6309521 00 01 User manual
hepco & becker
hepco & becker 6607562 01 01 User manual

hepco & becker
hepco & becker 6607569 01 01 User manual
hepco & becker
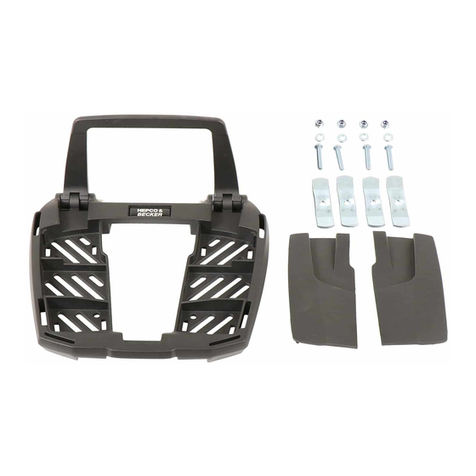
hepco & becker Easyrack User manual
hepco & becker
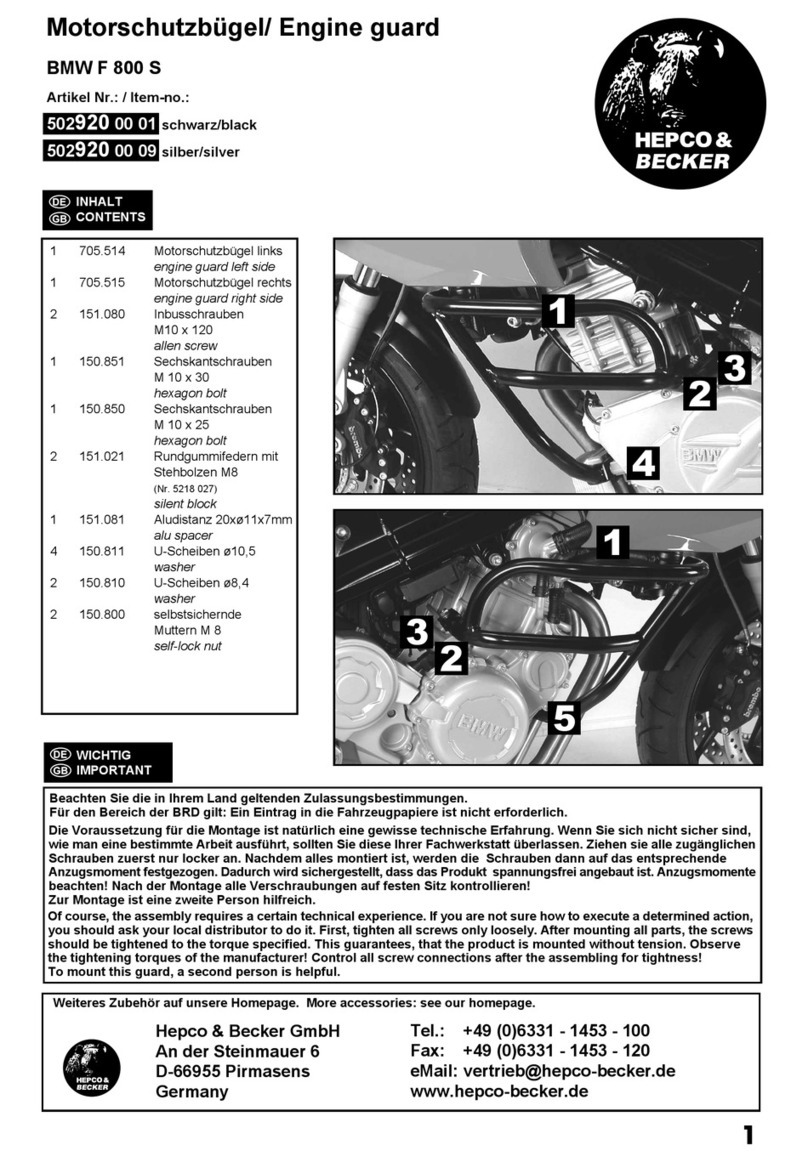
hepco & becker 502920 00 01 User manual

hepco & becker
hepco & becker Easyrack User manual
hepco & becker
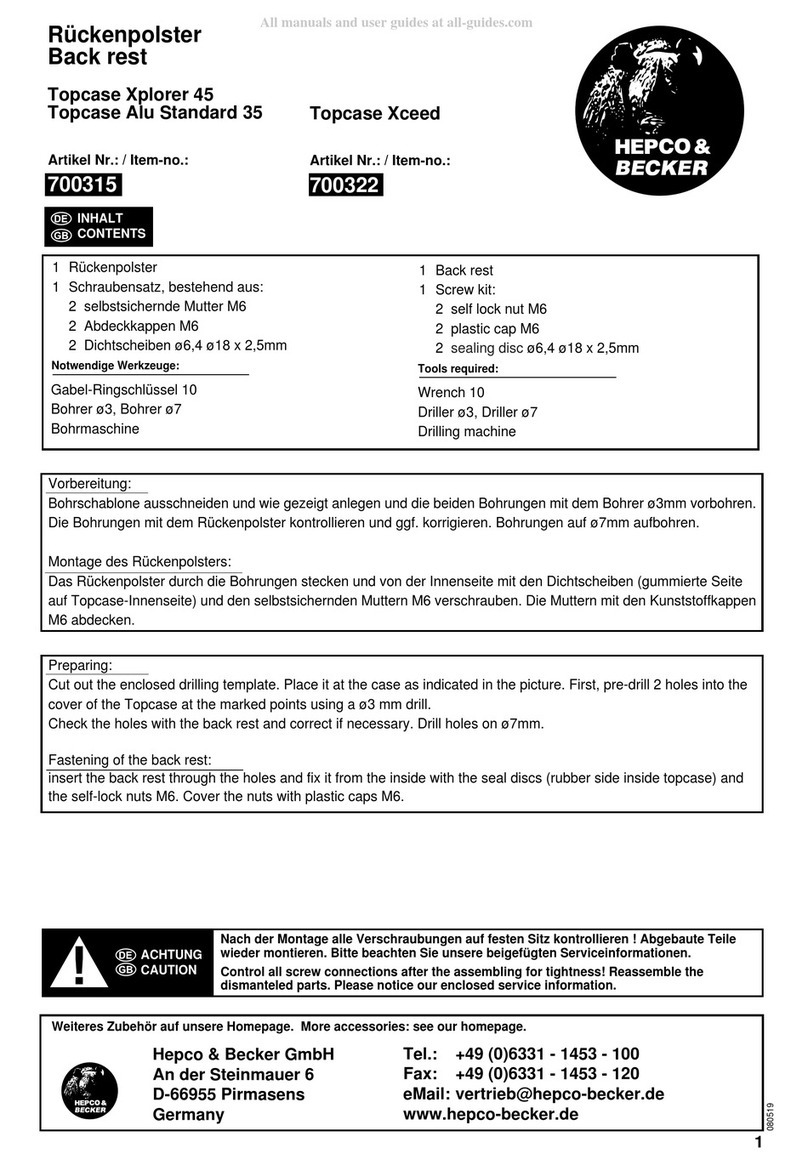
hepco & becker 700315 User manual

hepco & becker
hepco & becker 65175810022-00-40 User manual
hepco & becker
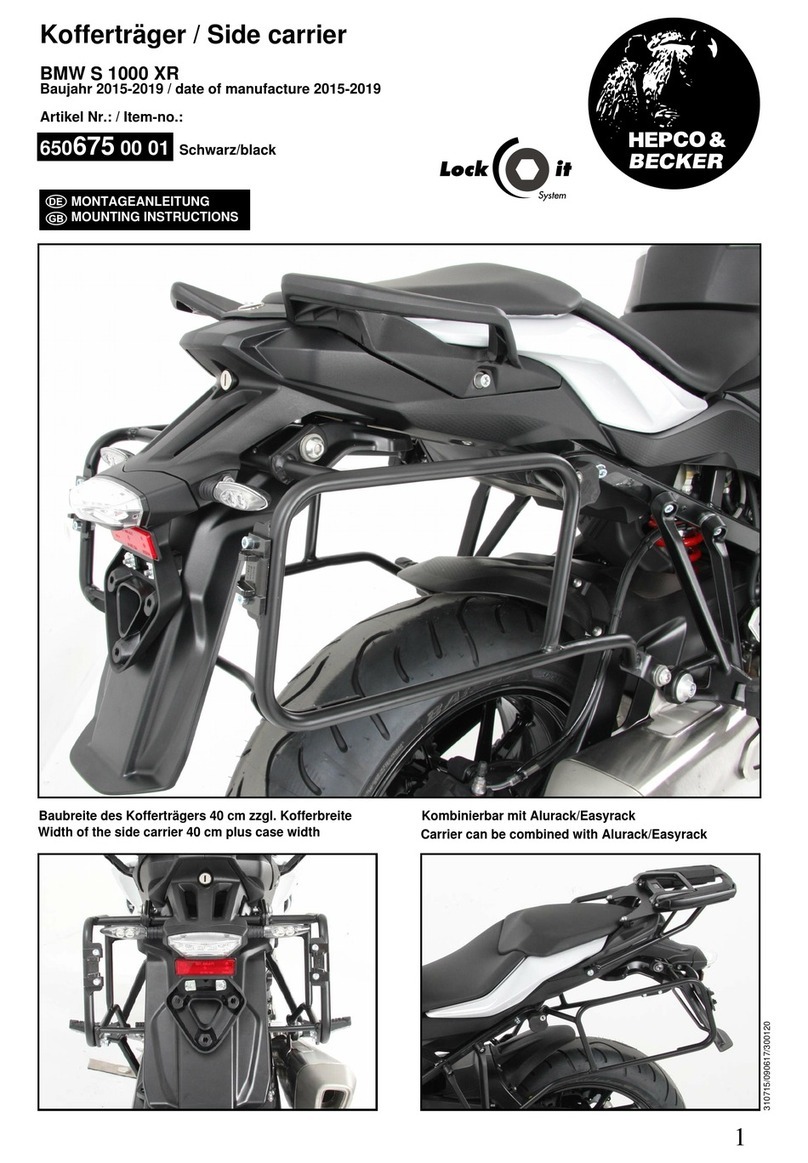
hepco & becker Lock it 650675 00 01 User manual

hepco & becker
hepco & becker 6503516 01 02 User manual
hepco & becker
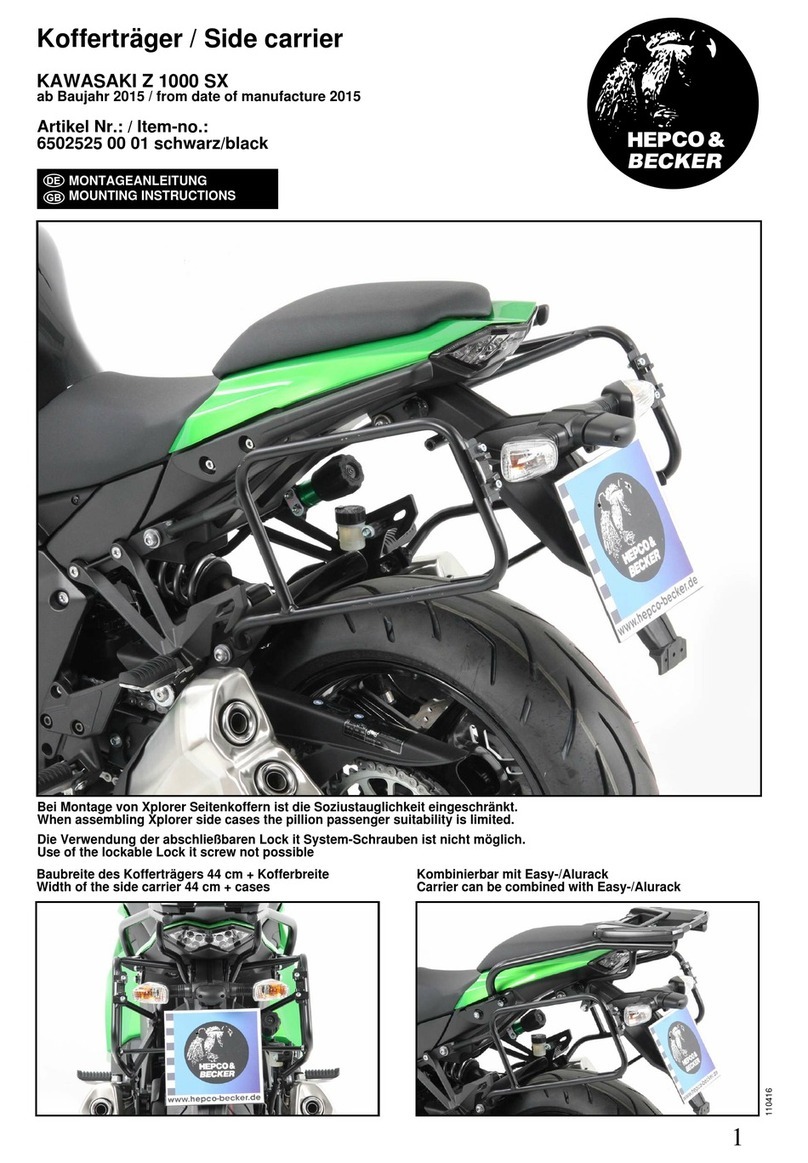
hepco & becker 6502525 00 01 User manual

hepco & becker
hepco & becker 501970 00 01 User manual
hepco & becker
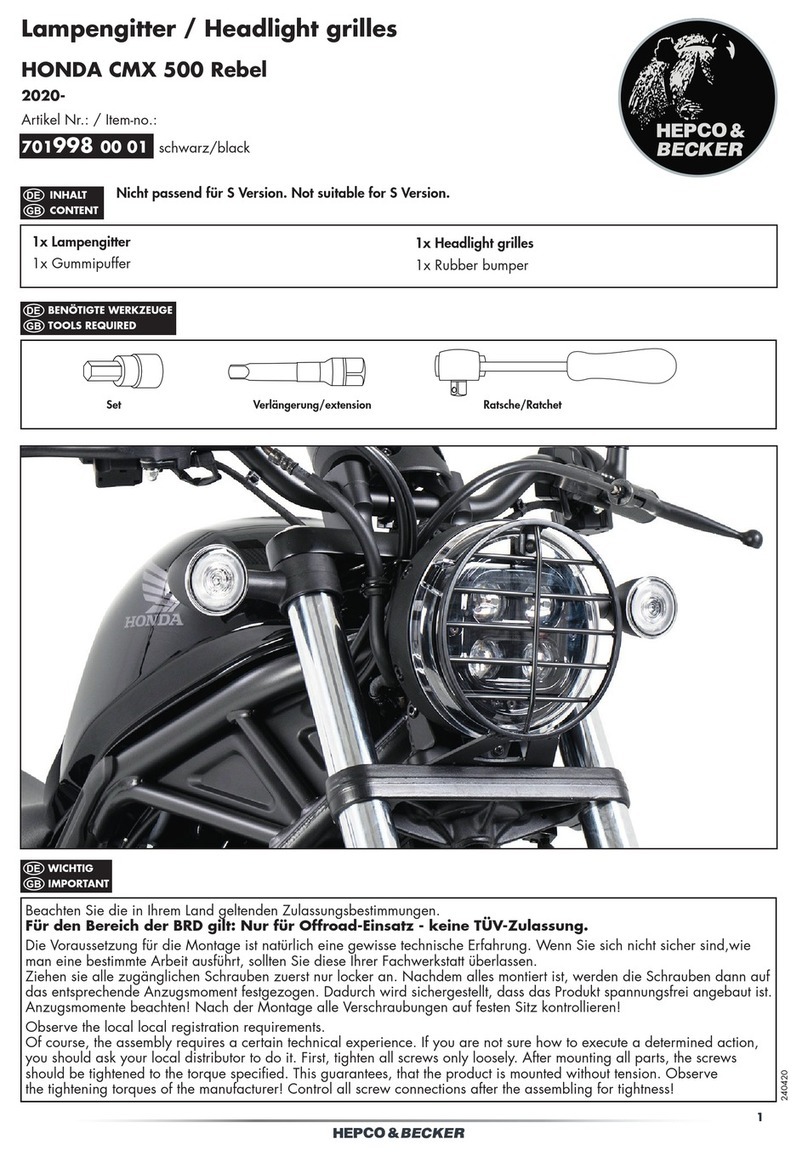
hepco & becker 701998 00 01 User manual
hepco & becker
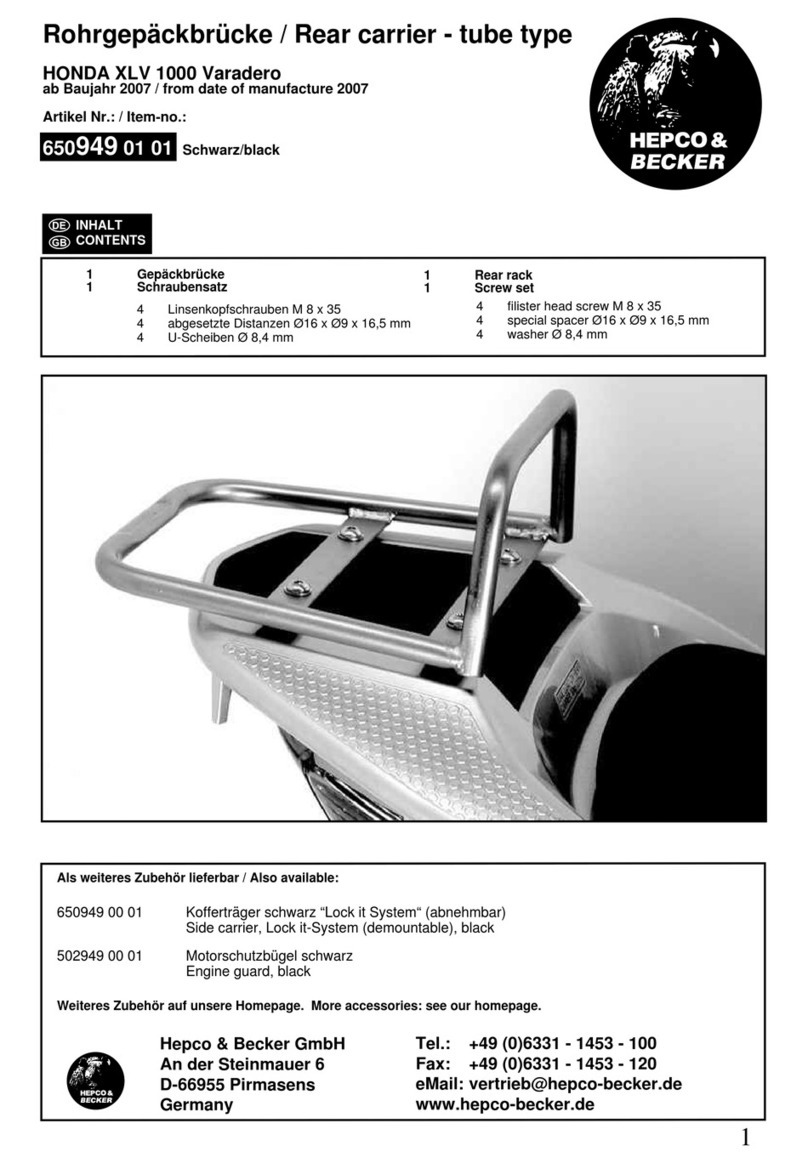
hepco & becker 650949 01 01 User manual
hepco & becker
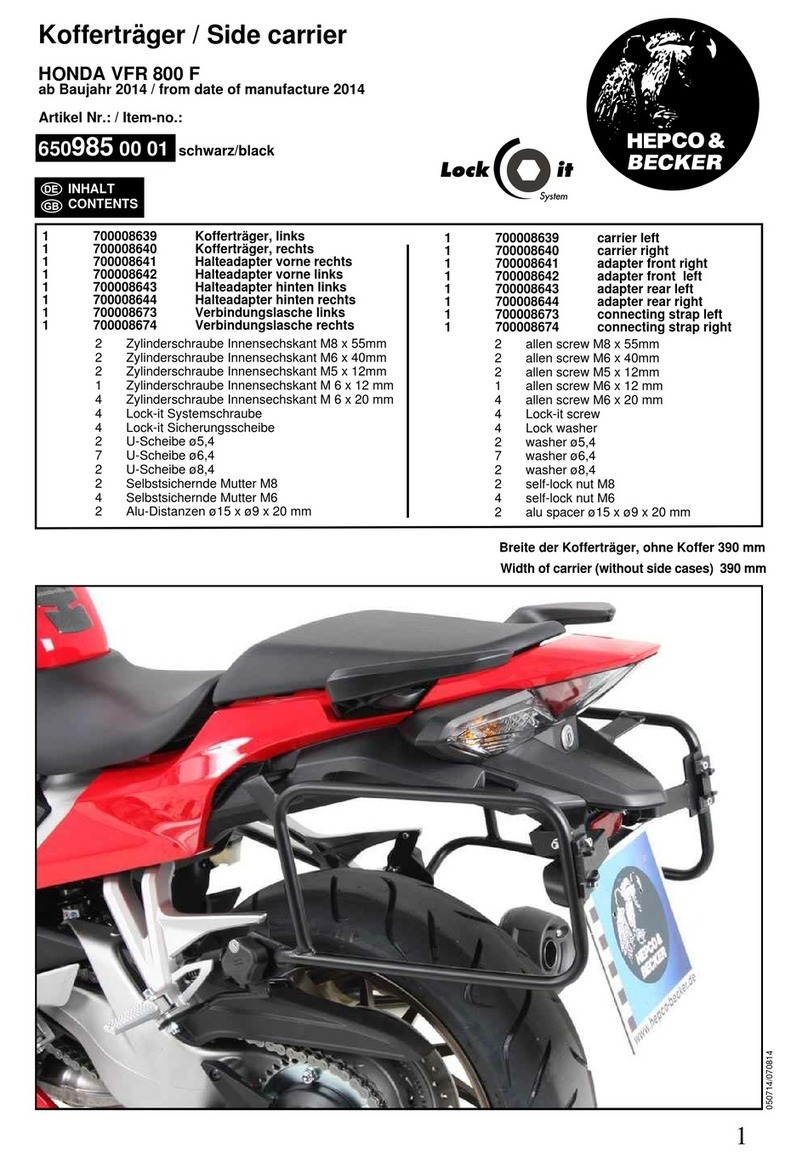
hepco & becker 650985 00 01 User manual
Popular Motorcycle Accessories manuals by other brands

Joubert
Joubert 10001711 instruction manual

SW-Motech
SW-Motech SBL.01.971.10000/B Mounting instructions

GÜDE
GÜDE GSH 180-TC-2 Translation of the original instructions
Cyclevision
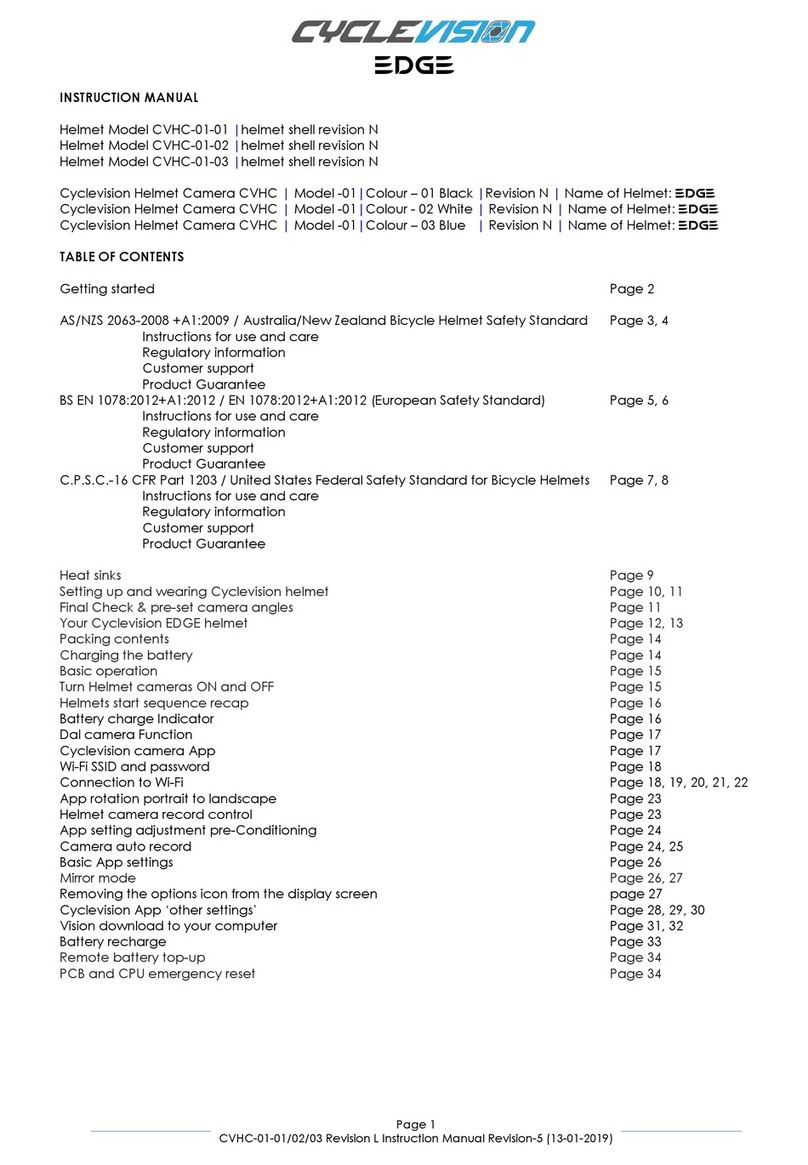
Cyclevision EDGE CVHC-01-01 instruction manual

Sena
Sena MOMENTUM EVO user guide
Yoshimura
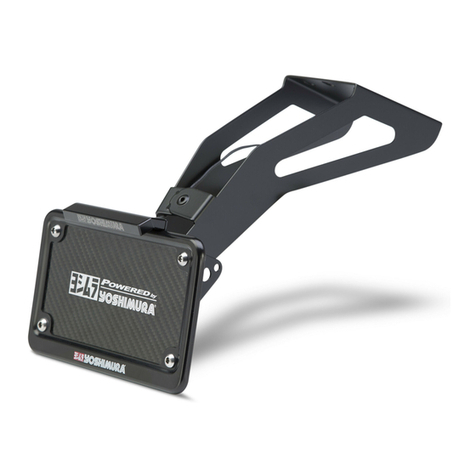
Yoshimura 070BG131001 quick start guide
