manuals.online logo
Brands
  1. Home
  2. •
  3. Brands
  4. •
  5. Herman Miller
  6. •
  7. Indoor Furnishing
  8. •
  9. Herman Miller Canvas Office Landscape FT292.MLN User manual

Herman Miller Canvas Office Landscape FT292.MLN User manual

Z
1
© 2013 Herman Miller, Inc. Zeeland, Michigan. Printed in the U.S.A.
® Y, Z and Canvas Office Landscape are among the registered trademarks of Herman Miller, Inc.
Illustrations and specifications are based on the latest product information available at the time of publication.
The right is reserved to make changes in design and specifications at any time, without notice, and also to discontinue products.
Part no. 1b6cst rev D.
YCanvas Office Landscape®Credenza-to-Frame Support Bracket
Installation and Disassembly for Recycling Instructions
Parts Included:
Tool Required:
Attachment Bracket
Attachment Bracket
Hex Nut (2)
Hardware Pack
FT292.W
Hardware Pack
FT292.M
Power Driver #2 Phillips Bit Rachet Wrench 1/2” Socket 3/32 Drill Bit
FT292.M
FT292.M
FT292.W FT292.W
Storage to Wall
Bracket
Anti-Dislodgement
Bracket Flat Head Tapping
Screw (4)
Flat Head Self
Drilling Screw (2)
Hex Washer Head
Screw (2)
Flat Head Machine
Screw (2)
Flat Head Machine
Screw (2)
C
G
A
BD
H
J
F
F
E
FT292.MLN: FT292.MRN: FT292.WRG:FT292.WLG:
Safety Glass
Z
2
© 2013 Herman Miller, Inc. Zeeland, Michigan. Printed in the U.S.A.
® Y, Z and Canvas Office Landscape are among the registered trademarks of Herman Miller, Inc.
Illustrations and specifications are based on the latest product information available at the time of publication.
The right is reserved to make changes in design and specifications at any time, without notice, and also to discontinue products.
Part no. 1b6cst rev D.
BF
1. Insert teeth of Wall Bracket(A) into slots in frame at desired height.
2. Lift up on Wall Bracket(A). Rotate Bracket outward.
3. Insert Anti-dislodgement Bracket(B) behind Wall Bracket and into frame.
4. Install 2 Flat Head Machine Screws(F).
Studs
Teeth
Slots
A
5 Remove Top from Storage Unit.
Assembly Instructions:
Top
Z
3
© 2013 Herman Miller, Inc. Zeeland, Michigan. Printed in the U.S.A.
® Y, Z and Canvas Office Landscape are among the registered trademarks of Herman Miller, Inc.
Illustrations and specifications are based on the latest product information available at the time of publication.
The right is reserved to make changes in design and specifications at any time, without notice, and also to discontinue products.
Part no. 1b6cst rev D.
11. From under Storage Unit, position Attachment Bracket(G) onto Studs on Anti-
Dislodgement Bracket. Engage Hook on Bracket into Slot in Leg Assembly.
12. Install 2 Hex Nuts(E) onto Studs.
6. Place Storage Unit under Wall Bracket. Align side to side to desired position.
7. Dual Lock Fastener may need to be repositioned on Storage Unit and Top for
Wall Bracket attachment.
8. Using 3/32” drill bit, drill Pilot Holes into Inner Top.
9. Notch corrogated Spacer corners to clear Bracket and Dual Lock.
10.Install 4 Flat Head Tapping Screws(D) for FT292.W or 2 Flat Head Drilling
Screws(H) for FT292.M.
Studs
Hook Slot
Inner Top
or
Pilot Holes
Dual Lock
Fastener
DH
E
G
FT292.W Shown
FT292.W:
Z
4
© 2013 Herman Miller, Inc. Zeeland, Michigan. Printed in the U.S.A.
® Y, Z and Canvas Office Landscape are among the registered trademarks of Herman Miller, Inc.
Illustrations and specifications are based on the latest product information available at the time of publication.
The right is reserved to make changes in design and specifications at any time, without notice, and also to discontinue products.
Part no. 1b6cst rev D.
15. Return Top to Storage Unit.
FT292.M:
13. From under Storage Unit, position Attachment Bracket(C) onto bottom edge
of storage unit . Slide Attachment Bracket onto Lip on Support Bracket.
14. Install 2 Hex Washer Head Screws.
C
J
Z
5
© 2013 Herman Miller, Inc. Zeeland, Michigan. Printed in the U.S.A.
® Y, Z and Canvas Office Landscape are among the registered trademarks of Herman Miller, Inc.
Illustrations and specifications are based on the latest product information available at the time of publication.
The right is reserved to make changes in design and specifications at any time, without notice, and also to discontinue products.
Part no. 1b6cst rev D.
16. Make sure Wall Bracket Teeth are fully engaged into Wall Frame.
17. Adjust Frame and Front Foot of credenza while Rear Foot of credenza
should be elevated until unit is leveled. Then lower Rear Foot until touching
oor. Be careful not to create gap between credenza Top and Wall Bracket.
Leveling:
Frame
Teeth
Top
Front Foot
Rear Foot
Center Glide
Frame Glide
Wall Bracket
Teeth
Disassembly for Recycling:
Materials Identication and Segregation:
Where possible, plastic components are marked with ASTM recycling codes.
Use these codes to identify material type for recycling. Non marked components
should be treated as mixed plastic. Ferrous metals can be identied using a
small magnet for recycling. Non-ferrous metals should be separated and recycled
separately.
To disassemble product, reverse steps 17 through 1.

This manual suits for next models

3

Other Herman Miller Indoor Furnishing manuals
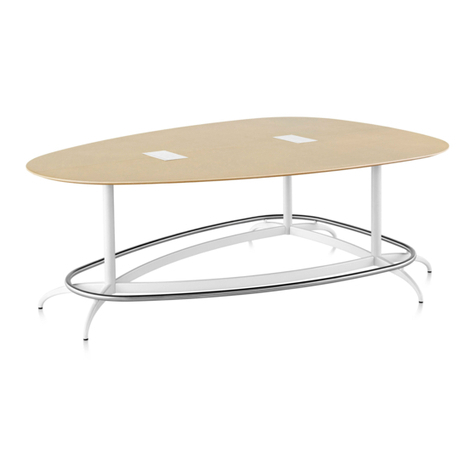
Herman Miller Exclave Meeting Table Installation instructions
Herman Miller

Herman Miller Exclave Meeting Table Installation instructions

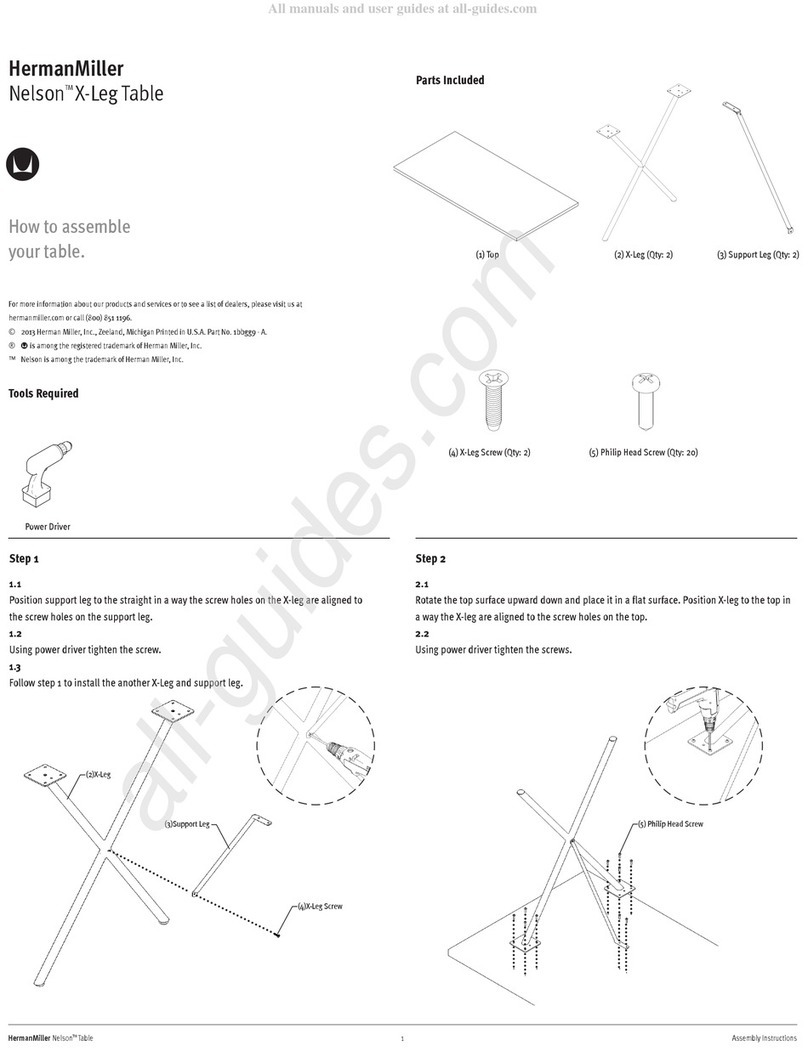
Herman Miller Nelson User manual

Herman Miller

Herman Miller Nelson User manual

Herman Miller Sayl User manual

Herman Miller

Herman Miller Sayl User manual
Herman Miller Vantum Installation instructions
Herman Miller

Herman Miller Vantum Installation instructions

Herman Miller RATIO User manual

Herman Miller

Herman Miller RATIO User manual
Herman Miller Sayl User manual

Herman Miller

Herman Miller Sayl User manual
Herman Miller Canvas Office Landscape Installation instructions

Herman Miller

Herman Miller Canvas Office Landscape Installation instructions

Herman Miller Aeron Operation manual

Herman Miller

Herman Miller Aeron Operation manual
Herman Miller Eames CTM User manual

Herman Miller

Herman Miller Eames CTM User manual
Herman Miller Verus Task Chair Installation instructions

Herman Miller

Herman Miller Verus Task Chair Installation instructions

Herman Miller Aeron Installation instructions

Herman Miller

Herman Miller Aeron Installation instructions

Herman Miller Embody User manual

Herman Miller

Herman Miller Embody User manual

Herman Miller HZ138 User manual

Herman Miller

Herman Miller HZ138 User manual

Herman Miller Sayl User manual

Herman Miller

Herman Miller Sayl User manual

Herman Miller Prospect Media Space Installation instructions

Herman Miller

Herman Miller Prospect Media Space Installation instructions

Herman Miller renew User manual

Herman Miller

Herman Miller renew User manual
Herman Miller Ambi User manual

Herman Miller

Herman Miller Ambi User manual

Herman Miller Ergon 3 chair User manual

Herman Miller

Herman Miller Ergon 3 chair User manual

Herman Miller Canvas Office Landscape Installation instructions
Herman Miller

Herman Miller Canvas Office Landscape Installation instructions

Herman Miller Canvas Channel StructuralFoot Installation instructions

Herman Miller

Herman Miller Canvas Channel StructuralFoot Installation instructions

Herman Miller Canvas Office Landscape Architectural Foot Installation instructions

Herman Miller

Herman Miller Canvas Office Landscape Architectural Foot Installation instructions

Herman Miller Aeron User manual

Herman Miller

Herman Miller Aeron User manual

Herman Miller Prospect Solo Space Installation instructions

Herman Miller

Herman Miller Prospect Solo Space Installation instructions

Herman Miller Vivo Installation instructions

Herman Miller

Herman Miller Vivo Installation instructions

Popular Indoor Furnishing manuals by other brands
Next 386842 Assembly instructions

Next

Next 386842 Assembly instructions

Next 879410 Assembly instructions

Next

Next 879410 Assembly instructions

Secabo 183.000.00 quick guide

Secabo

Secabo 183.000.00 quick guide

Breezesta CL-1200 quick start guide

Breezesta

Breezesta CL-1200 quick start guide

BRICK OSCWHDSK Assembly instructions

BRICK

BRICK OSCWHDSK Assembly instructions

Mocka Zara Assembly instructions

Mocka

Mocka Zara Assembly instructions

StyleWell BD8044B Use and care guide

StyleWell

StyleWell BD8044B Use and care guide
meubar ATELIER DR6 Assembly instruction
meubar

meubar ATELIER DR6 Assembly instruction

FourStarGroup 11224500BL quick start guide
FourStarGroup

FourStarGroup 11224500BL quick start guide

STRUCTUBE JACE Assembly instructions

STRUCTUBE

STRUCTUBE JACE Assembly instructions

Furniture of America CM7502Q Assembly instructions
Furniture of America

Furniture of America CM7502Q Assembly instructions

Techni Mobili RTA-8070 Assembly instructions

Techni Mobili

Techni Mobili RTA-8070 Assembly instructions

Bell'O CW342 Assembly instructions
Bell'O

Bell'O CW342 Assembly instructions
Oeuf Perch Twin-Size Bunk Bed Assembly instructions
Oeuf

Oeuf Perch Twin-Size Bunk Bed Assembly instructions
Gami G88 INDIANA 173 manual

Gami

Gami G88 INDIANA 173 manual

IKEA FAMMARP instruction manual

IKEA

IKEA FAMMARP instruction manual

NOA & NANI Canterbury Dining Table Assembly instructions

NOA & NANI

NOA & NANI Canterbury Dining Table Assembly instructions

Arthauss Furniture QUERTY RTV1D Assembly instruction

Arthauss Furniture

Arthauss Furniture QUERTY RTV1D Assembly instruction

manuals.online logo
manuals.online logoBrands
  • About & Mission
  • Contact us
  • Privacy Policy
  • Terms and Conditions

Copyright 2025 Manuals.Online. All Rights Reserved.