manuals.online logo
Brands
  1. Home
  2. •
  3. Brands
  4. •
  5. Herman Miller
  6. •
  7. Indoor Furnishing
  8. •
  9. Herman Miller Canvas Office Landscape Installation instructions

Herman Miller Canvas Office Landscape Installation instructions

Z
1
© 2017 Herman Miller, Inc. Zeeland, Michigan. Printed in the U.S.A.
® Y, Zand Canvas Office Landscape are among the registered trademarks of Herman Miller, Inc.
Illustrations and specifications are based on the latest product information available at the time of publication.
The right is reserved to make changes in design and specifications at any time, without notice, and also to discontinue products.
Part no. 1b54fj rev J.
YCanvas Office Landscape®Private Office Overhead Storage
Installation and Disassembly for Recycling Instructions
Parts Included:
Tools Required:
Frame Mounted Storage Cabinet
Wall Mounted Storage Cabinet
Bin Door (1 or 2)
Thin Door (1 or 2)
Cleat
Cleat Interlock
Bracket
Cleat Screw
Power Driver Phillips Bit Flathead Screw Driver
Trim Cap
A
A
B
C
D
F
G
E
Safety Glass
Z
2
© 2017 Herman Miller, Inc. Zeeland, Michigan. Printed in the U.S.A.
® Y, Zand Canvas Office Landscape are among the registered trademarks of Herman Miller, Inc.
Illustrations and specifications are based on the latest product information available at the time of publication.
The right is reserved to make changes in design and specifications at any time, without notice, and also to discontinue products.
Part no. 1b54fj rev J.
All Frame Mounted Cabinets:
1. Insert Mounting Clips on Storage Unit (A) into slots in frame. Push down on unit, making sure clips fully
engage into slots.
2. Engage Anti-Dislodgement Clips. 3. Install Trim Caps (E) where visible.
A
E
Mounting Clip
Anti-Dislodgement Clip
Slots
Z
3
© 2017 Herman Miller, Inc. Zeeland, Michigan. Printed in the U.S.A.
® Y, Zand Canvas Office Landscape are among the registered trademarks of Herman Miller, Inc.
Illustrations and specifications are based on the latest product information available at the time of publication.
The right is reserved to make changes in design and specifications at any time, without notice, and also to discontinue products.
Part no. 1b54fj rev J.
All Wall Mounted Cabinets:
1. Remove Bracket Screw(G), Interlock Bracket(F) and Wall Cleat(D) from back of Cabinet.
2. Mount Wall Cleat onto Wall using fasteners appropriate for wall type. Washers are required under screw
heads. See Pages 4 & 5 for mounting specications.
3. Hang cabinet onto Wall Cleat by mating beveled edge on Cabinet Cleat with beveled edge on Wall Cleat.
If needed, shim cabinet by adding shim between end panel and wall. Install Trim Caps (E) where visible.
4. Locate bracket(F) approximately centered about the width and tight to the wall and cabinet top. For thin top
product, install bracket prior to attaching the thin top. Using supplied athead screw(G), attach bracket(F) to
cabinet rst. Appropriate pilot hole is recommended. Using installer provided fastener, attach bracket(F) to wall
using appropriate fastener for wall type.
A
1 2
3 3a
D
Beveled Edge
Fasteners with Washers
Beveled Edge
Cabinet Cleat
Z
4
© 2017 Herman Miller, Inc. Zeeland, Michigan. Printed in the U.S.A.
® Y, Zand Canvas Office Landscape are among the registered trademarks of Herman Miller, Inc.
Illustrations and specifications are based on the latest product information available at the time of publication.
The right is reserved to make changes in design and specifications at any time, without notice, and also to discontinue products.
Part no. 1b54fj rev J.
Denition of a Structural Wall
* Determine desired height of
Cabinet and position wall cleat
from there.
* For the horizontal location, the rst hole is 2 1/2” in from End Panel.
Top Edge of Cabinet
3 1/16” - 7 1/2” High Cabinet
4 1/2” - 15” High Cabinet
3 1/16” - 7 1/2” High Cabinet
4 1/2” - 15” High Cabinet
1.25
Wall Cleat
Structural Wall
Cabinet Cleat
(xed to cabinet)
Wall Cleat
End Panel
2.50
4
4a
F
G
F
G
Z
5
© 2017 Herman Miller, Inc. Zeeland, Michigan. Printed in the U.S.A.
® Y, Zand Canvas Office Landscape are among the registered trademarks of Herman Miller, Inc.
Illustrations and specifications are based on the latest product information available at the time of publication.
The right is reserved to make changes in design and specifications at any time, without notice, and also to discontinue products.
Part no. 1b54fj rev J.
Wall Cleats require the following quantities of fasteners:
(X1192.) specify separately.
Width - Fasteners
24” - 6
30” - 6
36” - 8
42” - 8
48” - 9
60” - 9
66” - 10
72” - 12
Z
6
© 2017 Herman Miller, Inc. Zeeland, Michigan. Printed in the U.S.A.
® Y, Zand Canvas Office Landscape are among the registered trademarks of Herman Miller, Inc.
Illustrations and specifications are based on the latest product information available at the time of publication.
The right is reserved to make changes in design and specifications at any time, without notice, and also to discontinue products.
Part no. 1b54fj rev J.
Door Installation (Sliding Doors):
Door Installation (Hinged Doors):
1. Insert top of Thin Door (C) into back groove of Upper Channel. Lower bottom of door into back groove of
Lower Channel.
2. Insert top clips on back of Bin Door (B) into Front Groove of Upper Channel. Snap bottom clips on back of
Bin Door into Front Groove of Lower Channel.
1. Adjust hinges as needed to align door.
C
B
Upper Channel
Lower Channel
Front Groove
Front to back adjustment
Vertical adjustment
Horizontal adjustment
Z
7
© 2017 Herman Miller, Inc. Zeeland, Michigan. Printed in the U.S.A.
® Y, Zand Canvas Office Landscape are among the registered trademarks of Herman Miller, Inc.
Illustrations and specifications are based on the latest product information available at the time of publication.
The right is reserved to make changes in design and specifications at any time, without notice, and also to discontinue products.
Part no. 1b54fj rev J.
1. Metal Lock Plug Removal: Insert Universal key into Lock Plug, rotate to unlocked position. Insert Plug
Removal Key into lock. Gently wiggle with light outward pressure.
2. Black Plastic Plug Removal: With Hex Wrench, rotate plug to unlocked position. Gently pull outward. Be
careful not to catch plug on wood surface around lock hole.
3. On units with no lock plug installed, use a athead screwdriver to rotate the adaptor to the unlock position.
4. On overhead units, be certain while removing
plug not to dislodge Adaptor located in bottom of
lock shell.
5. With universal key inserted in keyed lock plug,
insert at angle to clear sharp edge on plug. When
leading edge is inside lock shell, straighten. Push
in until fully seated or a snap is heard.
Metal Lock
Plug
Plug Removal
Key
Hex Wrench
Adaptor
Universal Key
Lock Plug
Plastic
Plug
Keyed Alike Lock Plug Installation
Z
8
© 2017 Herman Miller, Inc. Zeeland, Michigan. Printed in the U.S.A.
® Y, Zand Canvas Office Landscape are among the registered trademarks of Herman Miller, Inc.
Illustrations and specifications are based on the latest product information available at the time of publication.
The right is reserved to make changes in design and specifications at any time, without notice, and also to discontinue products.
Part no. 1b54fj rev J.
Disassembly and Recycling:
Materials Identication and Segregation:
Where possible, plastic components are marked with ASTM recycling codes. Use
these codes to identify material type for recycling. Non marked components should
be treated as mixed plastic. Ferrous metals can be identied using a small magnet
for recycling. Non-ferrous metals should be separated and recycled separately.
To disassemble product, reverse the above installation steps and also do the following.
1. Remove screws from track.
2. Remove track from storage assembly.
Storage Cabinet
Screws
Track
Z
9
© 2017 Herman Miller, Inc. Zeeland, Michigan. Printed in the U.S.A.
® Y, Zand Canvas Office Landscape are among the registered trademarks of Herman Miller, Inc.
Illustrations and specifications are based on the latest product information available at the time of publication.
The right is reserved to make changes in design and specifications at any time, without notice, and also to discontinue products.
Part no. 1b54fj rev J.
1. Remove screws from mounting bracket.
2. Remove mounting bracket from storage assembly.
3. Repeat step 1 and 2 to remove other side bracket.
Storage Cabinet
Mounting Bracket
Screws
Z
10
© 2017 Herman Miller, Inc. Zeeland, Michigan. Printed in the U.S.A.
® Y, Zand Canvas Office Landscape are among the registered trademarks of Herman Miller, Inc.
Illustrations and specifications are based on the latest product information available at the time of publication.
The right is reserved to make changes in design and specifications at any time, without notice, and also to discontinue products.
Part no. 1b54fj rev J.
1. Remove screws from cleat.
2. Remove cleat from storage assembly.
Storage Cabinet
Cleat
Screws
1. Pull hard to remove the panels. 1. Remove screws from door guide.
2. Remove door guides from door.
Panel
Door Guide
Bin Door
Screws

Other manuals for Canvas Office Landscape

12

Other Herman Miller Indoor Furnishing manuals

Herman Miller AERON 100185080 Guide

Herman Miller

Herman Miller AERON 100185080 Guide
Herman Miller Canvas Vista Credenza Installation instructions
Herman Miller

Herman Miller Canvas Vista Credenza Installation instructions

Herman Miller Celle User manual

Herman Miller

Herman Miller Celle User manual
Herman Miller Motia Sit-to-Stand Table User manual
Herman Miller

Herman Miller Motia Sit-to-Stand Table User manual

Herman Miller Eames Coffee Table User manual
Herman Miller

Herman Miller Eames Coffee Table User manual

Herman Miller Canvas Office Landscape User manual
Herman Miller

Herman Miller Canvas Office Landscape User manual

Herman Miller Headway Installation instructions
Herman Miller

Herman Miller Headway Installation instructions

Herman Miller Equa 2 User manual

Herman Miller

Herman Miller Equa 2 User manual
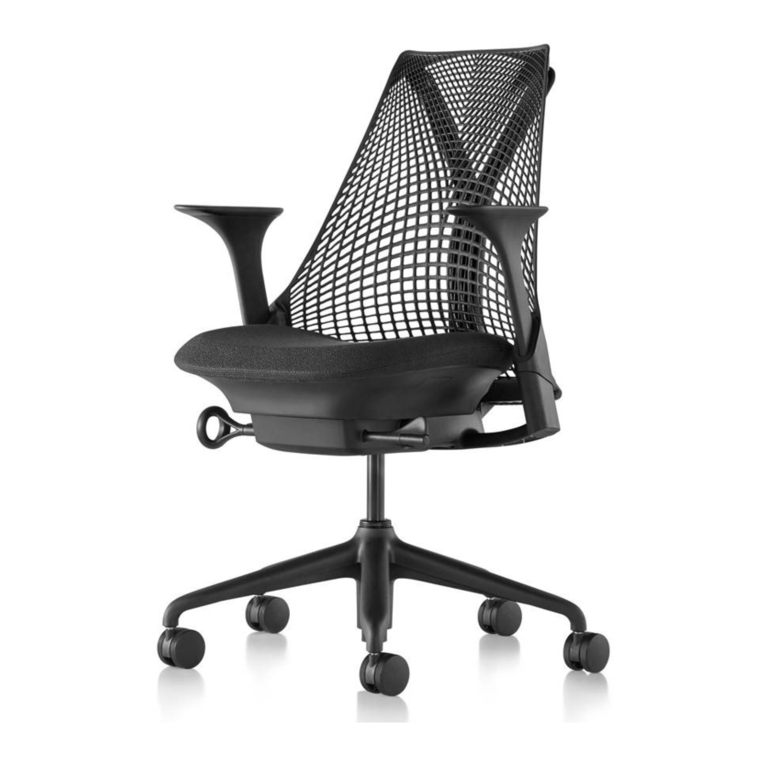
Herman Miller Sayl User manual

Herman Miller

Herman Miller Sayl User manual
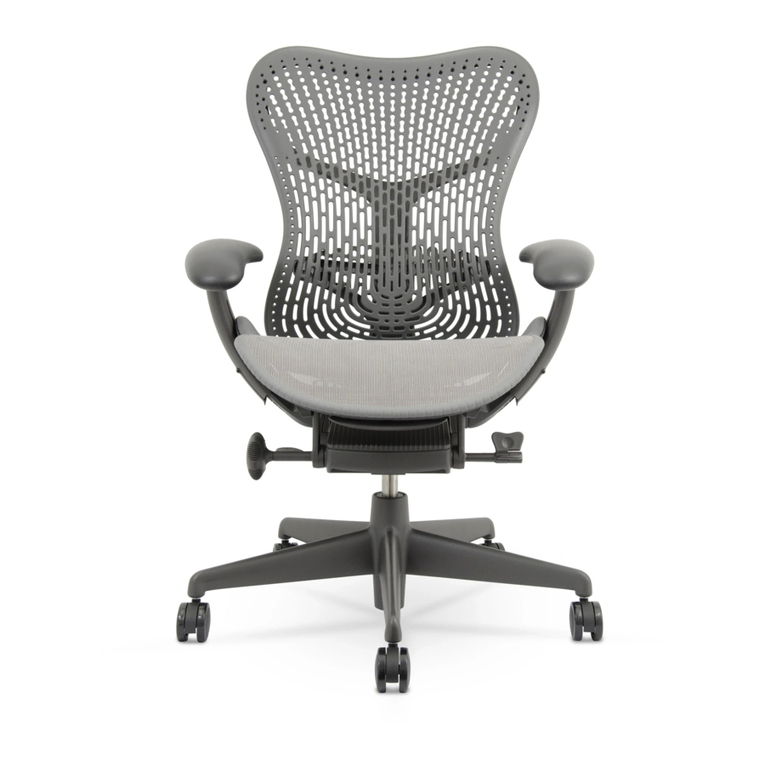
Herman Miller Mirra 2 Guide

Herman Miller

Herman Miller Mirra 2 Guide

Herman Miller Aeron Installation instructions
Herman Miller

Herman Miller Aeron Installation instructions

Herman Miller Repeat Single Desk User manual
Herman Miller

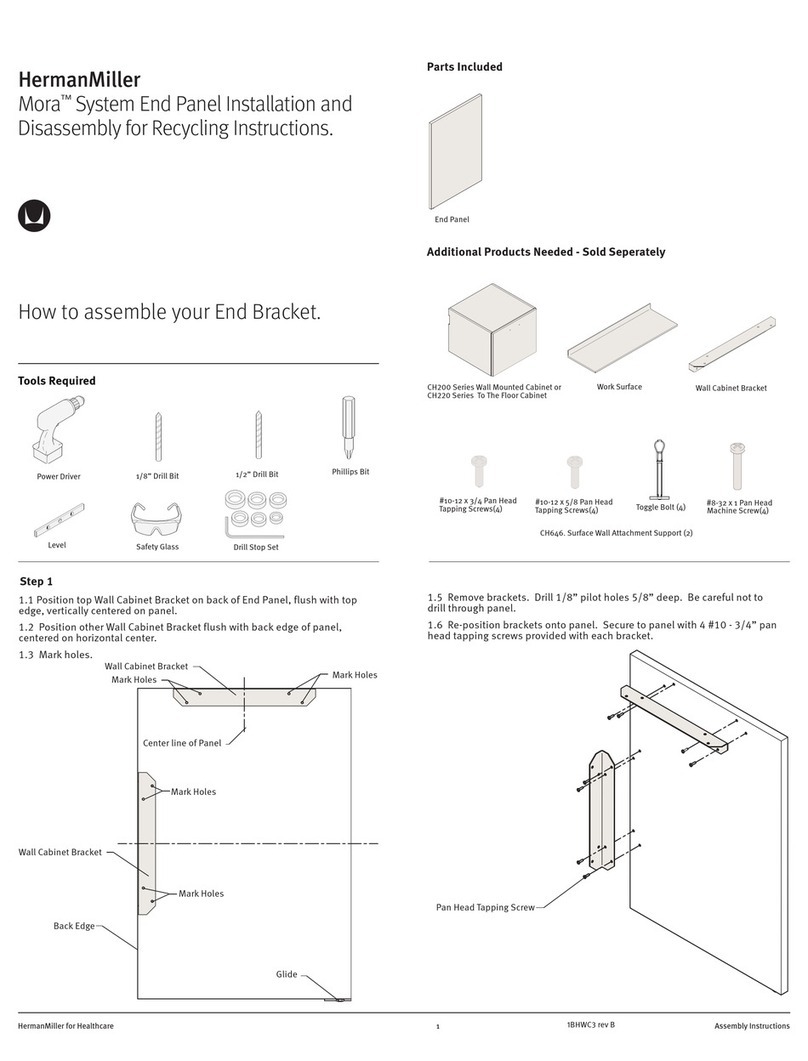
Herman Miller Repeat Single Desk User manual

Herman Miller Mora Installation instructions
Herman Miller

Herman Miller Mora Installation instructions

Herman Miller Intent Installation instructions

Herman Miller

Herman Miller Intent Installation instructions

Herman Miller Mirra 2 User manual

Herman Miller

Herman Miller Mirra 2 User manual
Herman Miller Embody Knocked Down User manual
Herman Miller

Herman Miller Embody Knocked Down User manual

Herman Miller Renew Link User manual

Herman Miller

Herman Miller Renew Link User manual

Herman Miller Sayl User manual

Herman Miller

Herman Miller Sayl User manual
Herman Miller Ergon 3 User manual

Herman Miller

Herman Miller Ergon 3 User manual
Herman Miller Canvas Office Landscape FT292.MLN User manual

Herman Miller

Herman Miller Canvas Office Landscape FT292.MLN User manual

Herman Miller Setu Lounge Chair Installation instructions

Herman Miller

Herman Miller Setu Lounge Chair Installation instructions

Herman Miller Vantum Installation instructions

Herman Miller

Herman Miller Vantum Installation instructions

Herman Miller Tu Installation instructions

Herman Miller

Herman Miller Tu Installation instructions

Herman Miller Verus User manual

Herman Miller

Herman Miller Verus User manual

Popular Indoor Furnishing manuals by other brands
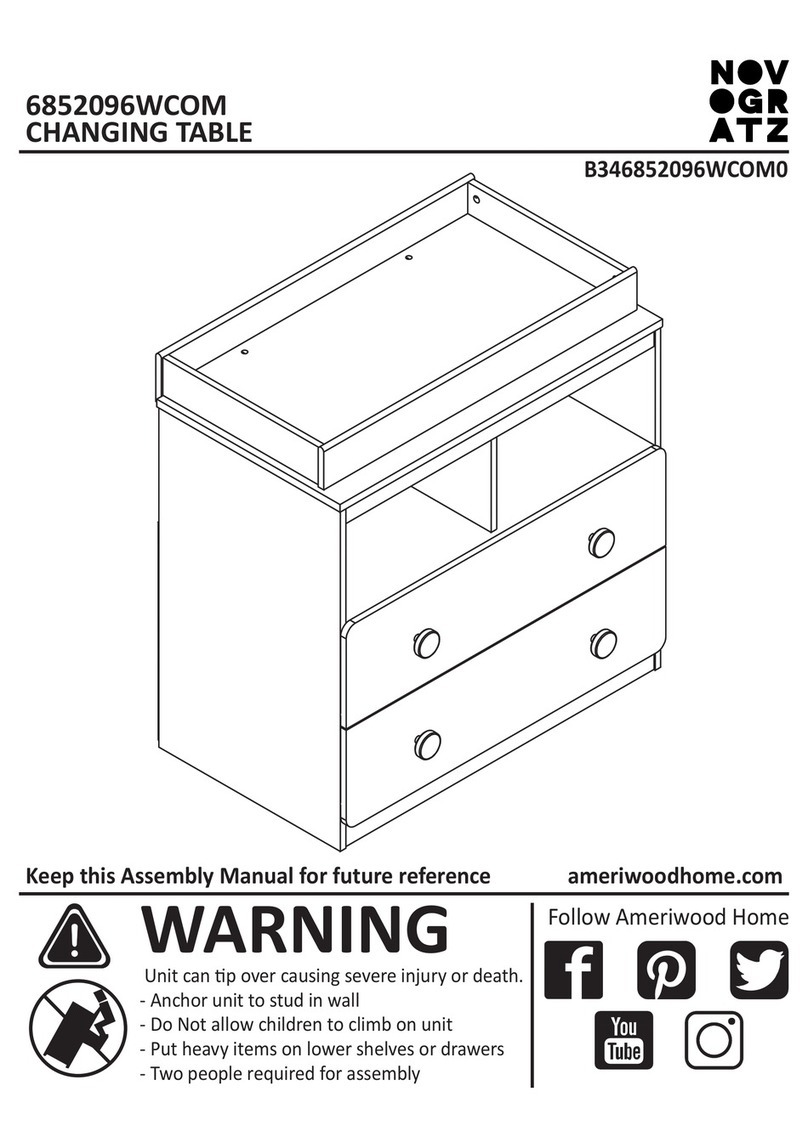
NOVAGRATZ 6852096WCOM Assembly manual

NOVAGRATZ

NOVAGRATZ 6852096WCOM Assembly manual

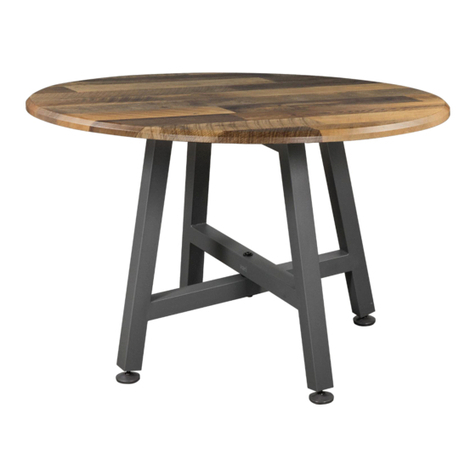
Vari Round Table instruction sheet

Vari

Vari Round Table instruction sheet

KIRTON Stirling User instructions

KIRTON

KIRTON Stirling User instructions

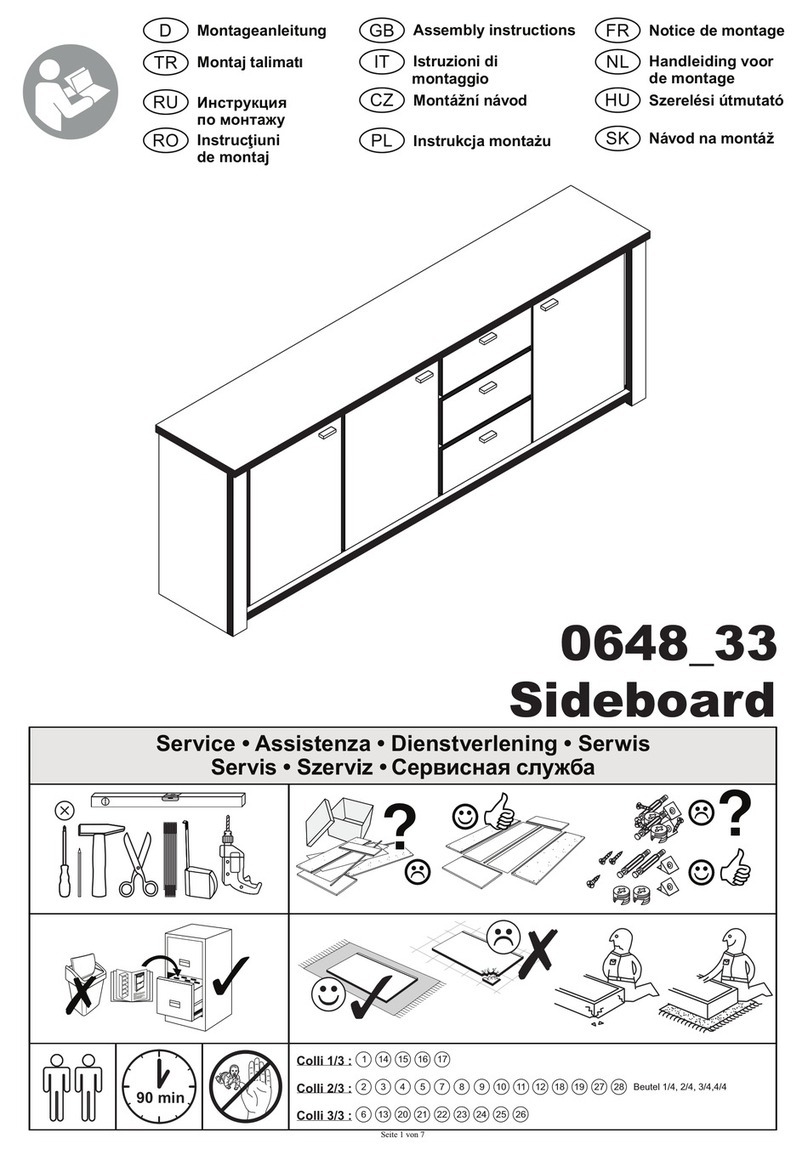
Mäusbacher 0648 33 Assembly instructions

Mäusbacher

Mäusbacher 0648 33 Assembly instructions

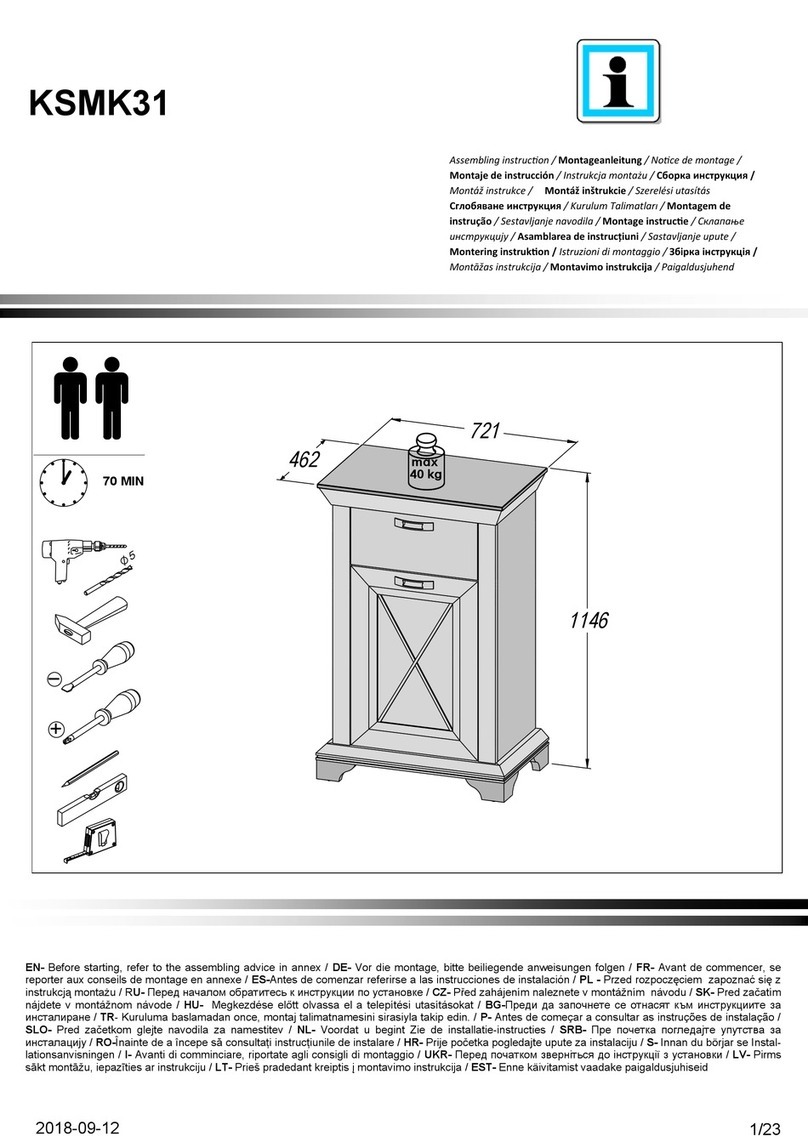
Forte KSMK31 Assembling Instruction

Forte

Forte KSMK31 Assembling Instruction

Rev-A-Shelf 4WDB4-18SC-1 installation instructions

Rev-A-Shelf

Rev-A-Shelf 4WDB4-18SC-1 installation instructions

Ideal-Standard K8699PA Installation

Ideal-Standard

Ideal-Standard K8699PA Installation

Oxford & Garden SIENA OTTOMAN SOTT Assembly instructions
Oxford & Garden

Oxford & Garden SIENA OTTOMAN SOTT Assembly instructions

modway MOD-6210 manual

modway

modway MOD-6210 manual

Otto 64083811 Assembly instructions

Otto

Otto 64083811 Assembly instructions

Universal Furniture Universal EXPLORE HOME 833D-813 instruction sheet
Universal Furniture

Universal Furniture Universal EXPLORE HOME 833D-813 instruction sheet

NORTH STATES TODDLEROO QUICK-FIT OVAL MESH GATE manual
NORTH STATES

NORTH STATES TODDLEROO QUICK-FIT OVAL MESH GATE manual

MAISONS DU MONDE MUSCADE 174874 quick start guide

MAISONS DU MONDE

MAISONS DU MONDE MUSCADE 174874 quick start guide

Classic Brands 106-050-5255 Owner's manual & assembly instructions
Classic Brands

Classic Brands 106-050-5255 Owner's manual & assembly instructions

IKEA BEDDINGE SOFABED FRAME instructions
IKEA

IKEA BEDDINGE SOFABED FRAME instructions

Techni Mobili RTA-0098M Assembly instructions
Techni Mobili

Techni Mobili RTA-0098M Assembly instructions

SMITH SYSTEM 26681 Assembly instructions
SMITH SYSTEM

SMITH SYSTEM 26681 Assembly instructions

sweeek. TOBIAS IBEDHOUSE manual

sweeek.

sweeek. TOBIAS IBEDHOUSE manual

manuals.online logo
manuals.online logoBrands
  • About & Mission
  • Contact us
  • Privacy Policy
  • Terms and Conditions

Copyright 2025 Manuals.Online. All Rights Reserved.