Installation Guide
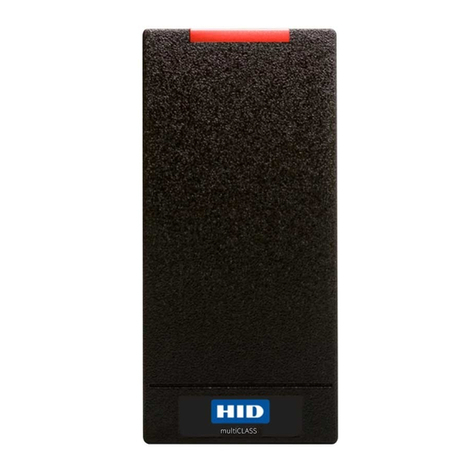
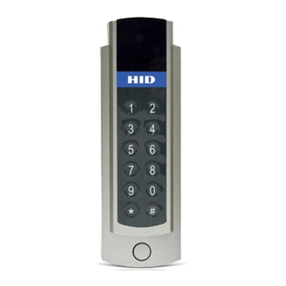
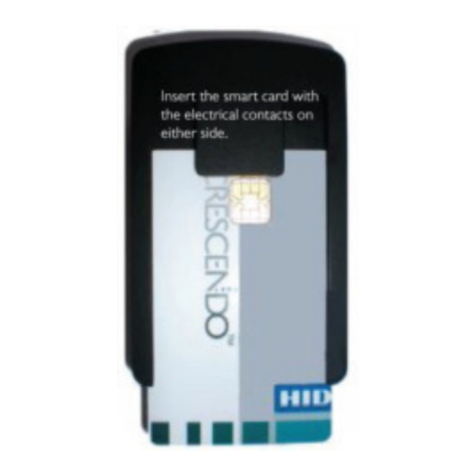
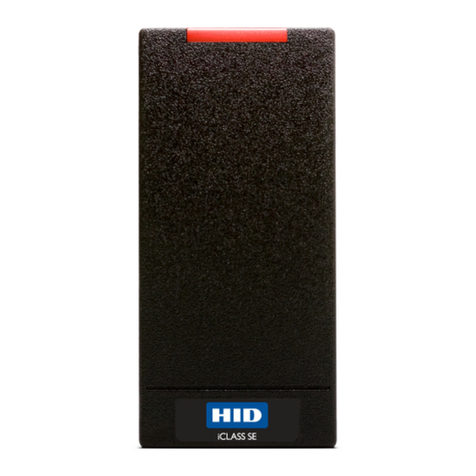
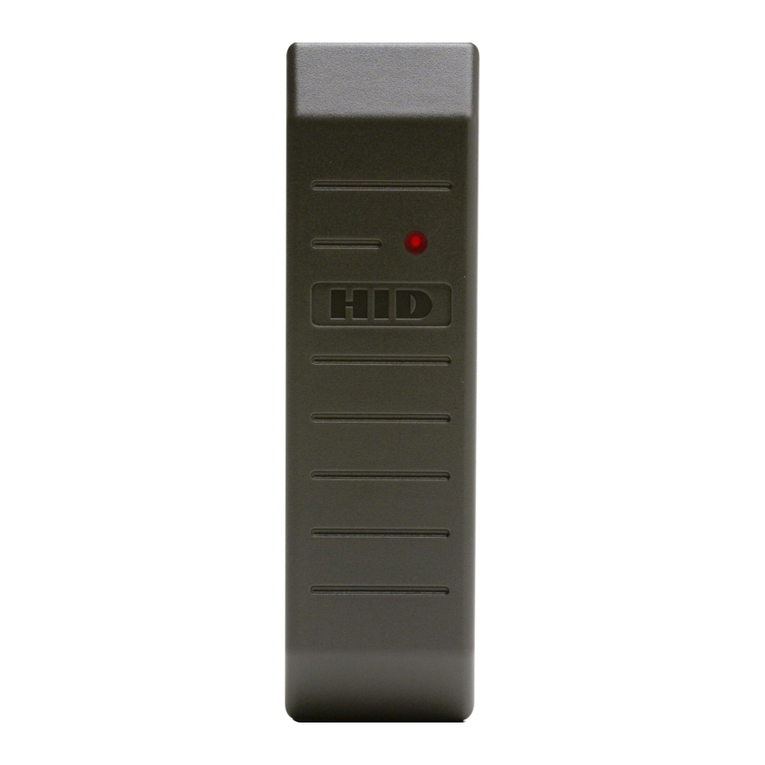
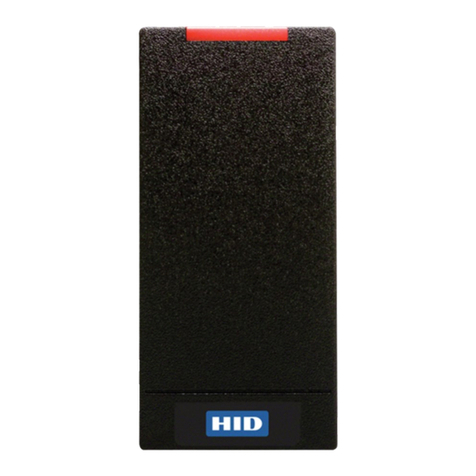
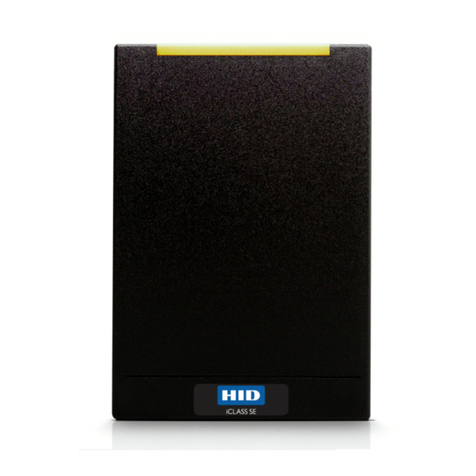
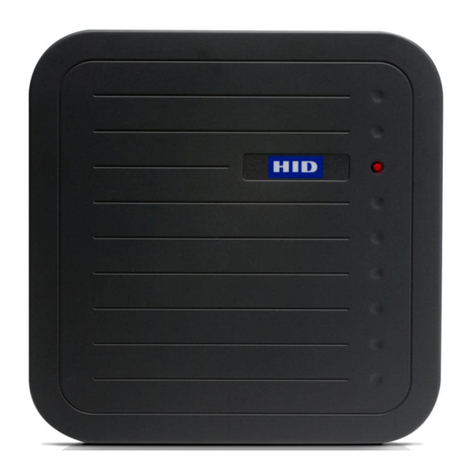
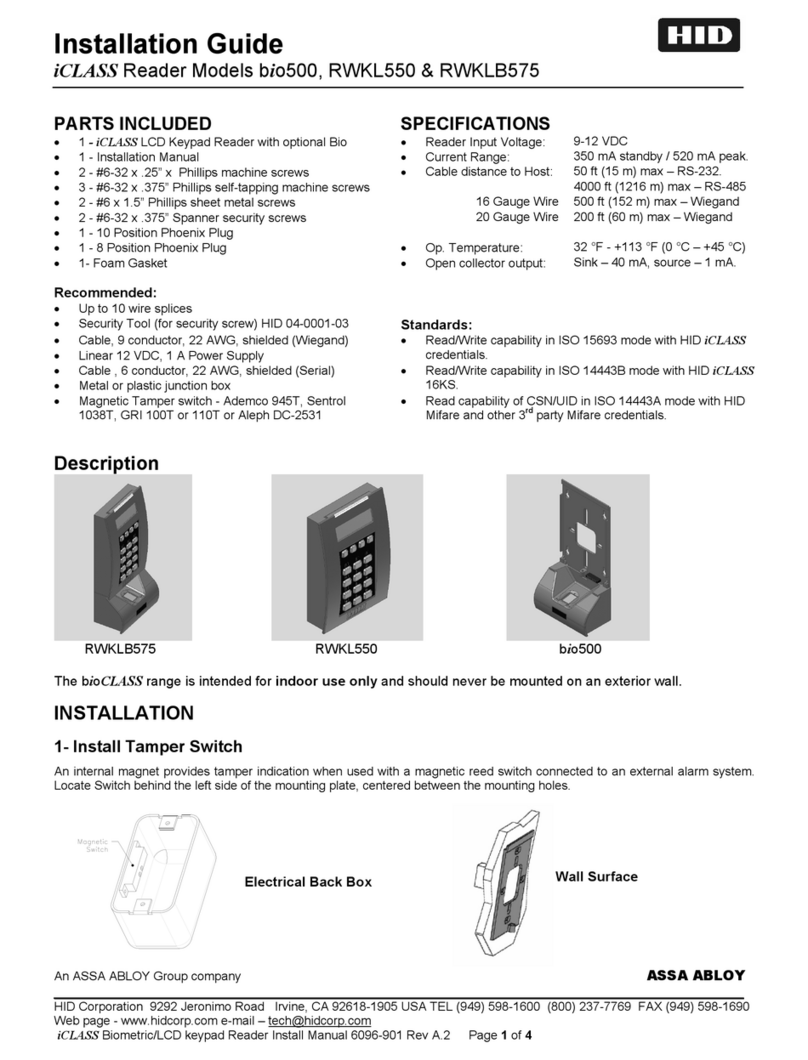
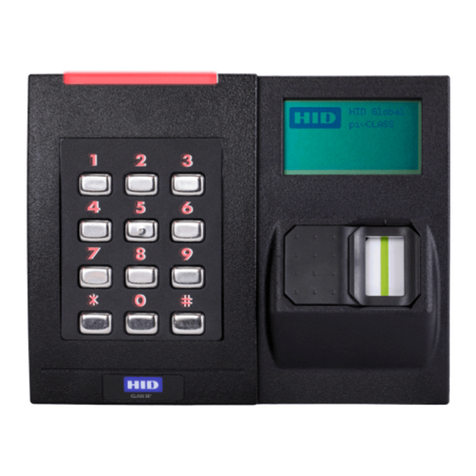
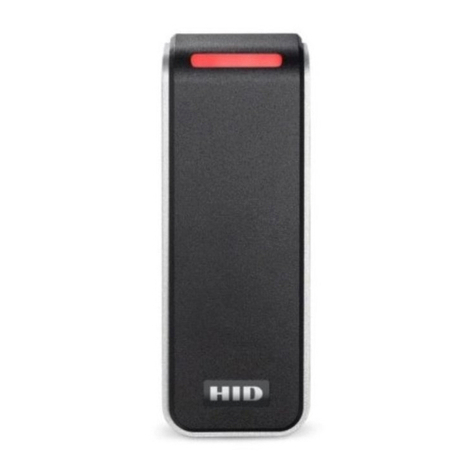
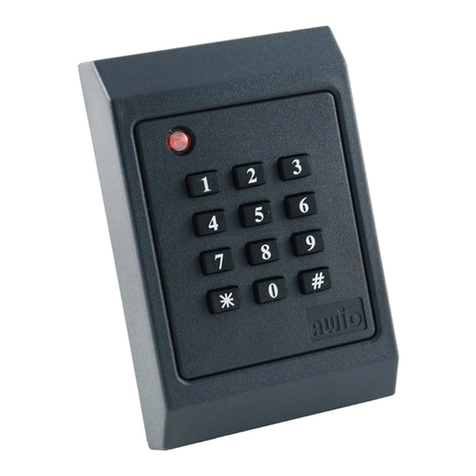
iCLASS™Reader Models R10, R30, R40, RW300, RW400
An ASSA ABLOY Group company ASSA ABLOY
_____________________________________________________________________________________________________
HID Corporation 9292 Jeronimo Road Irvine, CA 92618-1905 USA TEL (949) 598-1600 (800) 237-7769 FAX (949) 598-1690
Web
page
-
www.hidcorp.com
e-m
ail
–
[email protected] iClass™ Reader Installation Manual 6090-900 Rev 8 Page 1of 3PARTS INCLUDED SPECIFICATIONS
•1 -
iCLASS Reader •R10 (Mullion)……………..10 - 16VDC / 65-225mA
•1 - Installation Manual •R30/RW300 (Euro)………10 - 16VDC / 80-260mA
•2 - 3.5mm x .6 pitch x 12mm Phillips machine screws •R40/RW400 (US)………...10 - 16VDC / 80-260mA
•3 - #6-32 x .375” Phillips self-tapping machine screws •Cable distance to Host…..Wiegand - 500 feet (152m) max
•2 - #6 x 1.5” Phillips sheet metal screws RS-232 - 50 ft (15m)
•1 - #6 x .375” Spanner security screw, anti-tamper •Temperature………………-35° C to 65°C
Recommended: •Open collector output…….sink - 40mA, source - 1mA
•Up to 9 wire splices Standards:
•Cable, 5-9 conductor (Wieg. or RS232), 22awg shielded •Read/Write* capability in ISO 15693-2 mode with HID
•Linear DC Power supply iCLASS credentials
•Metal or plastic junction box •Read/Write* capability in ISO 14443-B2 mode with HID
•Magnetic switch - Ademco 945T, Sentrol 1038T, GRI 100T iCLASS 16Ks and other 3rd party credentials
or 110T or Aleph DC-2531 •CSN read capability for ISO 14443-A1 with HID Mifare
•Security Tool (for anti-tamper screw) HID 04-0001-03 and other 3rd party Mifare credentials
* R10, R30, R40 are read-only
INSTALLATION
1- Disassemble
2 - Lift Bottom of Bezel 4 - Lift top of Reader Assembly
1- Remove Screw 3 - Slide Bezel up and remove 5 - Slide down and remove
2- Install Tamper Switch
An internal magnet provides tamper indication when used with a magnetic reed switch connected to an external alarm
system. (Except R10). Locate Switch behind the left side of the mounting plate, centered between the mounting holes.
Electrical Back Box Wall Surface
