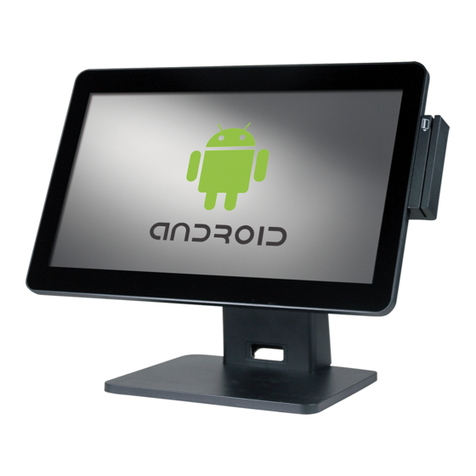
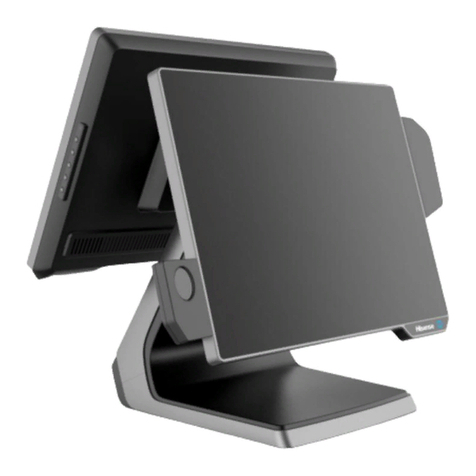
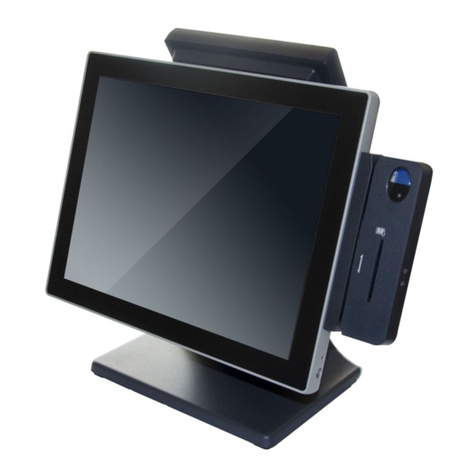
Hisense HK570 User manual

HK570
Touch Terminal
User’s Manual
Document Version 1.0

Copyright Statement
© 2016 Hisense Company Ltd. All Rights Reserved.
All material in this System Integration Manual is the property of Hisense Company Ltd. and its
subsidiaries, and is protected under International, US, CANADA, MEXICO copyright and/or
other intellectual property laws. Reproduction or transmission of the materials, in whole or in
part, in any manner, electronic, print, or otherwise, without the prior written consent of Hisense
Company Ltd. is a violation of Hisense Company Ltd. rights under the aforementioned laws.
No part of this publication may be stored, reproduced, transmitted or distributed, in whole or in
part, in any manner, electronic or otherwise, whether or not for a charge or other or no
consideration, without the prior written permission of Hisense Company Ltd.
Requests for permission to store, reproduce, transmit or distribute materials may be made to
one of the following addresses:
China 3/F, Building 7, No. 11 Jiangxi Road,
Qingdao, 266071, China
Hisense, and any and all other Hisense product names, logo’s, slogans or marks are
registered trademarks of Hisense Company Ltd. and its subsidiaries. All other trademarks are
the property of their respective holders

Part 1. System Introduction
01. Safety Notices Before Installation or Use
02. System Introduction
03. General Specifications
04. Front View
05. Back View
06. Dimension
07. I/O View
Part 2. System Installation
01. Checking the Location for Installation
02. Before Connecting Peripherals
03. Connecting DC power supply cable
04. Tighten the tool-less screw
Part 3. System Utilization
01.POS Driver and Utility Introduction
02.Dual Monitor Usage
Part 4.Motherboard
01.Motherboard layout
02.Connectors&Function
Part 5. System Assembly & Disassembly
01. HDD Replacement
02. Remove cable cover
03. Remove Multi-function card reader
04. Remove customer display
05. Remove the second display
06. The cable Assembly
Appendix A. BIOS Set Up

Part 1. System Introduction
01. Safety Notices Before Installation or Use
☆It is required grounded well and the supply voltage shall be stable, and you must
confirm that the voltage of the outlet provides shall be in line with the voltage
marked on the label of the unit.
☆Be sure not to sprinkle any liquid or fall any object into the unit.
☆Be sure not to keep heavy, strenuous movement, shake & heavy strike away
from the POS.
☆Do not switch on or off the host frequently, because it is easy to result in
damage on the machine.
☆Be sure not to unplug or plug in any live part or external device when they are in
energized state, and the connecting cables of the POS between parts shall be
connected securely.
☆Be sure neither to lengthen cable nor to replace parts at your will, if you have
any demand, please contact with the reseller.
☆The unit shall be used under dry, ventilated & clean environment away from
sunlight. Avoid to making the air vent of the host machine blocked or covered
☆If any liquid sprinkles or any sundry falls into the unit, please shut it down
immediately & switch off power supply, take batteries down, dry the liquid or
remove the sundry. If you take the batteries down, you shall reset CMOS.
☆In case of safety fault, such as peculiar smell, abnormal sound, leakage and
other faults, you must switch off the power supply at once and then contact
with reseller.
☆When inserting USB flash or disk, you shall kill virus to prevent the host machine
from virus.
☆The RJ11 port at the back of the host is connected with the cash drawer, as it is
not a communication port, users shall not use the port for dial-up networking.
☆The product is a Level A one, it may cause radio interference in living
environment. In such case, users may need to take practical & feasible measures
against the interference.
☆When the POS is not in use, you shall switch off power supply.
☆
Warning:
1. Absolute Ratings of Environment:
Operating Temperature:0~40℃
Operating Humidity:10%~85%RH
Storage Temperature:-10~50℃
Storage Humidity:10%~90%RH
2. Main plug on the power supply was used as disconnected device. The socke

The manufacturer has the right to modify contents of the instruction book but
without prior announcements!
t-outlet shall be installed near the equipment and shall be easily accessible
3. If any damage to the power supply or the equipment, please contact local
service person for help.
4. Static may damage to the integrated circuit in the host machine.
5. If a replaced battery is not right, this may cause explosion or serious
damage.Must replace the same type of batteries or similar ones recommended by
the manufacturer
6. Used only with attached AC/DC power supply.

02. System Introduction
The exterior design and specifications of product can be
changed without prior notice in order to improve quality.

03. General Specifications
Item
Description
System
CPU
Intel® Celeron®process (Baytrail-D) J1800 two Core,
clock speed 2.41 GHz up to 2.58GHz, TDP 10W
Intel® Celeron®process (Baytrail-D) J1900Quad Core,
clock speed1.99GHz up to 2.42GHz, TDP 10W
Memory
DDRIIIL 2G (Up to 8G)
LCD Touch
Panel
LCD Size
15 inch
Brightness
420 cd/m²
Resolution
1024×768
Touch Screen
5 wire resistive touch (single touch)
True flat projected capacitive technology(optional)
Storage
Msata
Msata 64Gb
SSD
64Gb 2.5inch SSD (larger capacity optional)
I/O Ports
Serial Ports
3* standard RS-232 COM;
COM3 is alternative to 5V/12V power(COM3 5V power
default)
COM4 is alternative to 5V/12V power default 5V power
for VFD
USB
7* USB 2.0 (1 Back,6 Rear),1*USB3.0
VGA
1 * VGA reserved for 2nd display
LAN
1 * RJ-45 (1000Mbps Gigabit LAN)
Audio
1 Line-out
Cash Drawer
1 * RJ-11 24V for cash drawer
DC 12V out
1 *1.5A MAX
Power
Power Adapter
Adapter (DC 24V, 2.5A)
Peripheral
MSR
3 Tracks (USB, option)
Fingerprint Reader
Digital Persona module(USB, option)
RFID
RFID Reader (USB, option)

Customer Display
2×20 characters VFD (RS232, option)
Environment
Operating
Temperature
5℃- 40℃
Operating Humidity
40% - 90%
04. Front View
05. Back View

06. Dimension

07. I/O View
Part 2. System Installation
01. Checking the Location for Installation
It is important to choose a safe and secure place to install the terminal.
•• Choose a desk or table big and strong enough to support the weight of the system
and peripherals.
•• Choose a flat, hard surface. Carpeted area can generate static electricity that can
alter memory or damage system components.

•• Make sure a system installed in a well-ventilated place and keep the space free
around the system.
•• Choose appropriate environmental conditions such as cool and dry places. Avoid
humid and dusty places. Also avoid direct sunlight, rapidly changing temperatures, or
placing the system near heat sources.
•• Select the appropriate voltage. Connect all the equipment into an isolated outlet
to prevent static electricity and short circuit.
•• where sufficient power outlets are available for printers and other peripheral
devices.
•• Do not install near electromagnetic and electrical devices, such as phones and
electric motors, that can cause system damage.
•• The socket-outlet shall be installed near the equipment and shall be easily
accessible.
02. Before Connecting Peripherals
To connect peripherals first remove the 'Interface cover', which is in the bottom of
the system, after that remove the 'Cable arrange cover' which is in the rear of the
system.
Interface cover remove
As it shown in the picture pull the cover in the direction of the arrow.

03. Connecting DC power supply cable
Connect the DC power cable to the DC power input connector at the bottom of the system.
(Adapter 100V - 240V free voltage of the system can be used.)

04. Tighten the tool-less screw
When you need not adjust the angles with the hinge of base, you can tighten the
tool-less screw of the base.
Step1: Insure the base located in the max angles;
Step2: tighten the screw.
Part 3. System Utilization
01.POS Driver and Utility Introduction

POS Drivers & Other utilities are located in CD
Motherboard
Touch panel
vcredist_2010 should be insatalled for capacitive
a.For 32bit OS only install vcredist_2010 x86
b.For 64bit OS should install vcredist_2010 x86 andvcredist_2010 x64
Next install SiwtouchDaemon


02. Dual Monitor Usage
Additional monitor can be connected to the VGA connector. This content is written
based on Windows 7.
The system supports dual monitor system, which is using two monitors for one
system. Sub-monitor’s screen can be displayed as a duplication of the main monitor
or as an extended screen. (Windows desktop)
1. Connect the external monitor when the system is off. (Remove the 'Interface
cover' at the top of the system and you will see a VGA connector.)
1) Connect the external monitor when the system is off.
2) Connect a power cable to external monitor
2. Press a power button of the system
3. Click the right button of mouse on Windows desktop screen and select ‘Screen
resolution’ from a popup menu.

4. On The following dialog window ‘Change display appearance of your display’
‘Display’ option is set as ‘1|2. Multiple Monitor’ and‘Multiple display (M) option is
set as duplicate these displays. (In this case, the dual monitor shows a duplicated
screen.)
5. If you want to change to an extended screen, set ‘Multiple displays’ option as
‘Extend these displays’ on ‘Change the appearance’ of you display dialog window.and
click “ok” (In this case, two different extended screen monitors are shown.)

6. Select <Keep changes> button on ‘Display Settings’ dialog to keep the current
settings.
8. If the configuration is finished, click <OK> button to close the ‘Change the

appearance of your displays’ dialog window.

Part 4. Motherboard
01.Motherboard Layout
Table of contents
Other Hisense Touch Terminal manuals

Hisense
Hisense HK560 User manual

Hisense
Hisense HK800 SERIES User manual

Hisense
Hisense HK800 SERIES User manual

Hisense
Hisense HK950 User manual

Hisense
Hisense HM626R User manual

Hisense
Hisense HK316 User manual

Hisense
Hisense HK900A User manual

Hisense
Hisense HK870 Series Quick setup guide

Hisense
Hisense HK716 Series Quick setup guide

Hisense
Hisense HK950 User manual