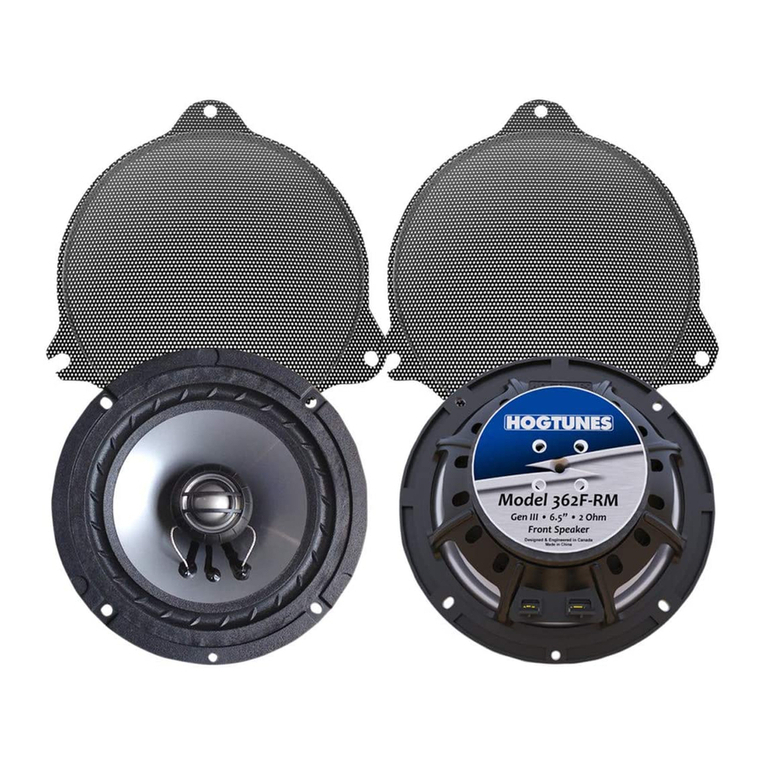
The lids come with soft black silicone gaskets that go between the speakers and
the lids, and MUST be installed correctly to keep water out. One side of the
gaskets have a grove on the inside, and the other side have a groove on the
outside. On the underside of the lid , you will see a “lip” that goes around the
speaker opening. The side of the gasket with the groove on the inside will
“mate” to the lip around the speaker opening on the lid. IMPORTANT. The
gasket will come close to one of the 2 holes where screws go through to secure
the grill as shown by “D” in Fig 1.1. When correctly installed, the gasket will be
oriented so the “notch” in the silicone gasket goes around this screw boss.
On the speaker itself, you will see a “lip” that goes around the perimeter of the
speakers steel frame. The side of the gasket with the groove on the
outside will “mate” to the lip around the speaker. IMPORTANT. The “end” of
the speaker with the small circuit board and speaker connectors must be placed
so they are closest to the REAR of the lid! Please take a moment to check that
the gasket is sitting correctly on the lid, and the speaker is sitting correctly on
the gasket before securing the speaker to the lid using the supplied silver
Phillips pan head screws.
Included in the kit is adhesive “pads” that when attached, have a provision to
secure the wires in place using the supplied zip-ties. Half the supplied zip-ties,
and half the supplied pads are for one saddlebag, and you guessed it, the other
half is for the other saddlebag.
Its time to route the wires in the saddlebag. Please do a “ghost run” of placing
the wires before applying any adhesives. This will help-trust us! For the ghost
run, have the wire from the woofer go straight to the bag, just in front of the
new flap, and “fold” the wire so it will naturally want to go straight down.
Leave a little slack between the lid and bag to give a little “wiggle room” for
when the lid opens and closes. Have the wire go straight down to the bottom of
the bag and do another fold so the wire wants to point to the outside back of
the saddlebag. Once there, do another fold to point the wire to the inside back
of the saddle bag. Another fold to point the wire forward along the bottom of
the bag, and directly below the point where you drilled the hole for the grom-
met, do another fold so the wire goes straight up to the hole. When done cor-
rectly, the black 2 pin plug can go through the grommet hole, and hang out ap-
proximately 4” (10cm).
Once your satisfied the wires are ghost run as instructed, you will want to plan
where the adhesive pads will go, so that the supplied zip ties will secure the
wires inside the bag. Note: Before applying the pads, you need to clean the
plastic well using isopropyl alcohol, or similar cleaner. DO NOT use Acetone (It
will eat plastic). With the pads in place, secure the wires in place using supplied
zip ties.
5
In the kit you will see 2 lengths of foam rubber gasket material-one for each
lid. Before applying the gasket, you need to clean the plastic well using
isopropyl alcohol, or similar cleaner. DO NOT use Acetone (It will eat plastic).
The “A” arrow in Fig 1.1 shows where we suggest you start applying the
gasket. Minor stretching may be needed to get the gasket around the
corners but don't over do it, as over stretched areas may become a place
water can enter! When all the way around, you can expect a bit of gasket left
over which can be cut off using a sharp razor knife.
Locate the supplied black “gummy” material, and use it to seal the 2 holes at
“B”, and the single hole at “C” as shown in Fig 1.1.
With the foam gasket installed and holes sealed with black material, you will
insert the factory metal strip (5 screws) between the gasket and new lid.
Re-install the 5 factory machine screws the same way they came off the factory
lid. Note: in some cases, the factory screws are not quite long enough. If this is
the case for your lids, look for the bag of 10 slightly longer screws that came
with your kit. The new lid will now be attached to your saddlebag. Locate the
flap that came with your new kit. The metal bar that was removed from the
factory tether will be inserted into the new flap in the appropriate end. There
is a shorter metal bar in your kit that will go in the shorter end of the new
tether. Once done, using the 4 screws removed from the factory flap, secure
the new tether to the lid/bag.
4
Only Use HAND TOOLS for re-installing parts into the lids.
Damage to any part from over tightening, or not using
supplied fasteners is NOT covered by warranty!
Fig 1.1 (above) will be used as a reference for the next few steps.
A B
C
D
Fig 1.1
