3
Step #6: Locate the wire harness that came with the WBACL kit. You will see
this harness has one longer 4 wire section that splits into two 2 wire
sections. Each 2 wire section is labeled “clutch side” or “brake side”.
Take the appropriate short section and put it in the correct side lower so
the speaker connectors are inside. Leave these loose for now.
Step #7: Install the “vent adjuster handles” with arms into each lower speaker
adaptor. Bring the speaker adaptors to the lower and put the speaker
wires through the square opening so they go into the speakers enclo-
sure. With the wires in place, attach the arm back into the vent. The
speaker adaptor will now sit in place on the lower. Using the 3 screws
removed earlier, secure the speaker adaptor to the lower.
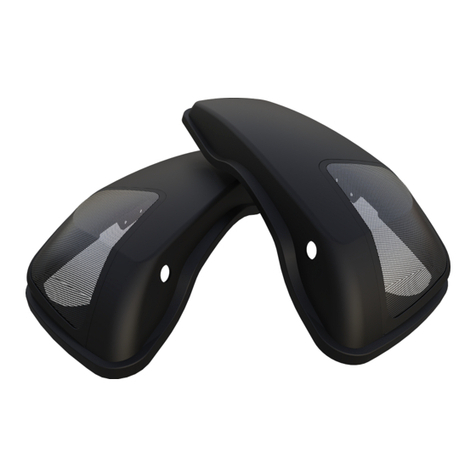
Step #8: Mount the lowers back to the bike but leave painted caps off for now.
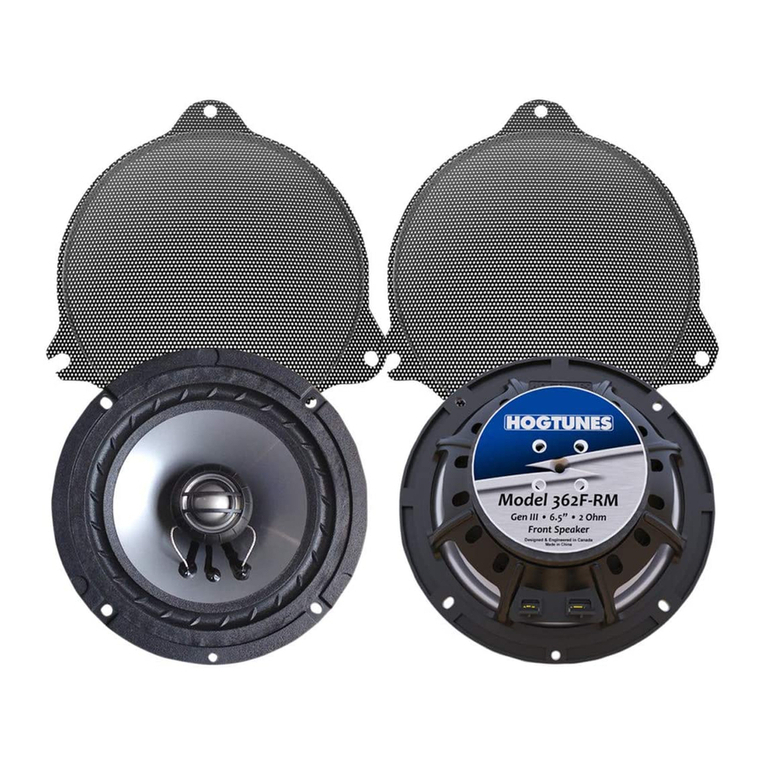
Step #9: Take the speakers you will install and plug the speakers in. If you are
not using a Hogtunes/Wild Boar Audio speaker, the black wire is
the positive. (+) Secure the speakers to the lowers using the supplied
machine screws. Note: The “nutserts” molded into the lowers are brass
which is a soft material. DO NOT OVERTIGHTEN THE SCREWS, AND
DO NOT USE A “THREAD LOCKING MATERIAL” OF ANY KIND. A
hand screwdriver is suggested for this step!
Step #10: From the back side of each lower, you can now take up the extra wire.
Make it so the wires aren't “too loose: or “too tight”. The kit comes with
strips of a black gummy material. Use this like a putty to hold the wire
in place and seal up the hole drilled earlier.
Step #11: Take the 4 wire section of the lower harness and plug into the wires
coming out of each lower noting they will only go together one way.
The rest of the harness will work its way up to the inside of the fairing.
If you are using a Hogtunes/Wild Boar Audio amp, the 4 pin plug
will go directly to the amp. If you are using a different brand of amp,
blue/black is brake side, and brown black is clutch side noting that
the black wires are the positive (+)
Step #12: Now is the best time to use zip ties to properly secure and “clean up”
any wiring. Its always a good idea to remove excess from the zip ties
but cutting them as close to flush as possible so there are no sharp
edges!
Before re-installing outer fairing, turn front wheel to each extreme
side making sure any wiring is not impeding the steering of the
motorcycle. Failure to do so can result in serious injury or death!
Step #13: Re-install the painted caps and you are done!
