Holman RGB1263R User manual
Other Holman Lawn And Garden Equipment manuals
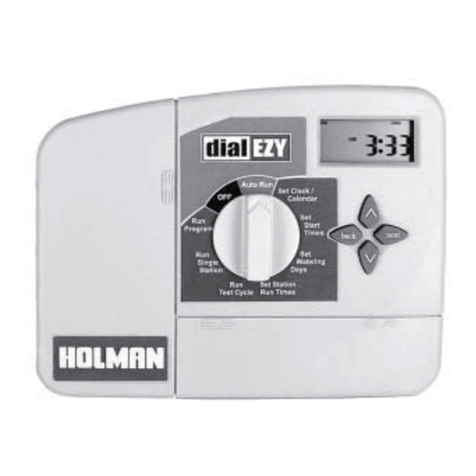
Holman
Holman dial ezy 4 User manual
Holman
Holman MK21010 User manual
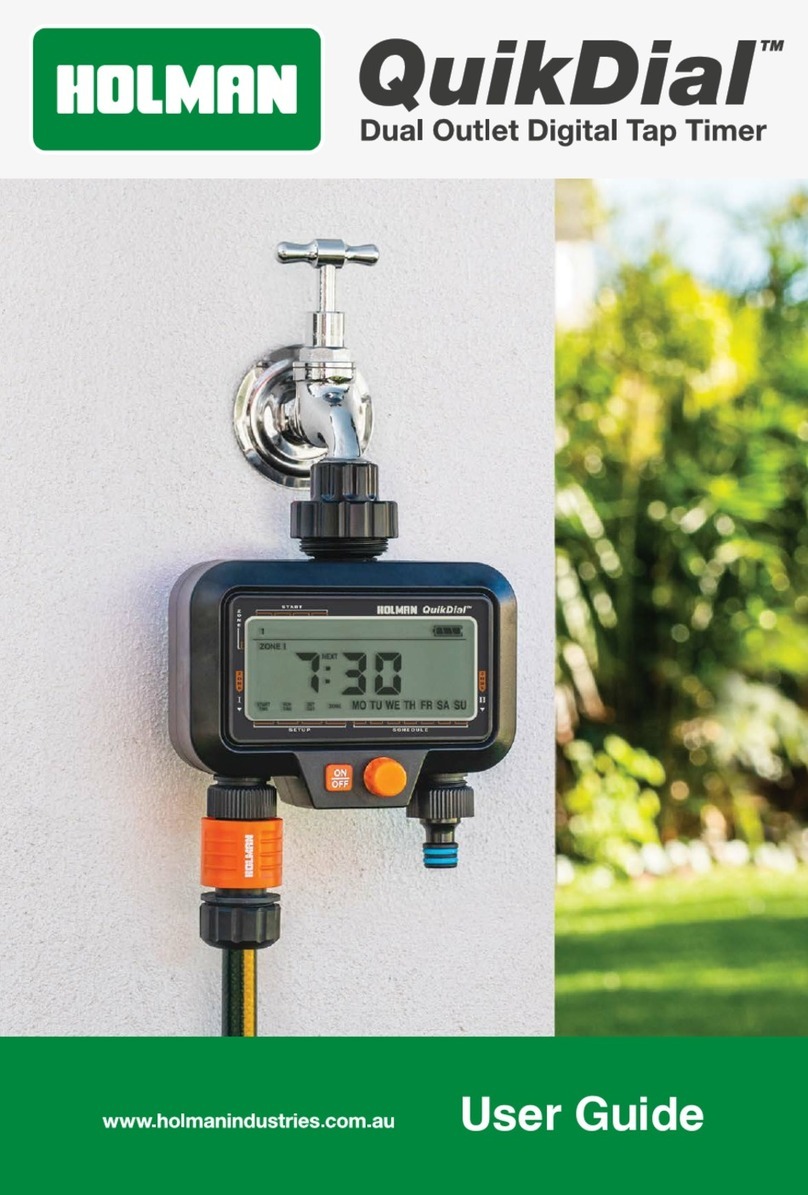
Holman
Holman QuikDial User manual
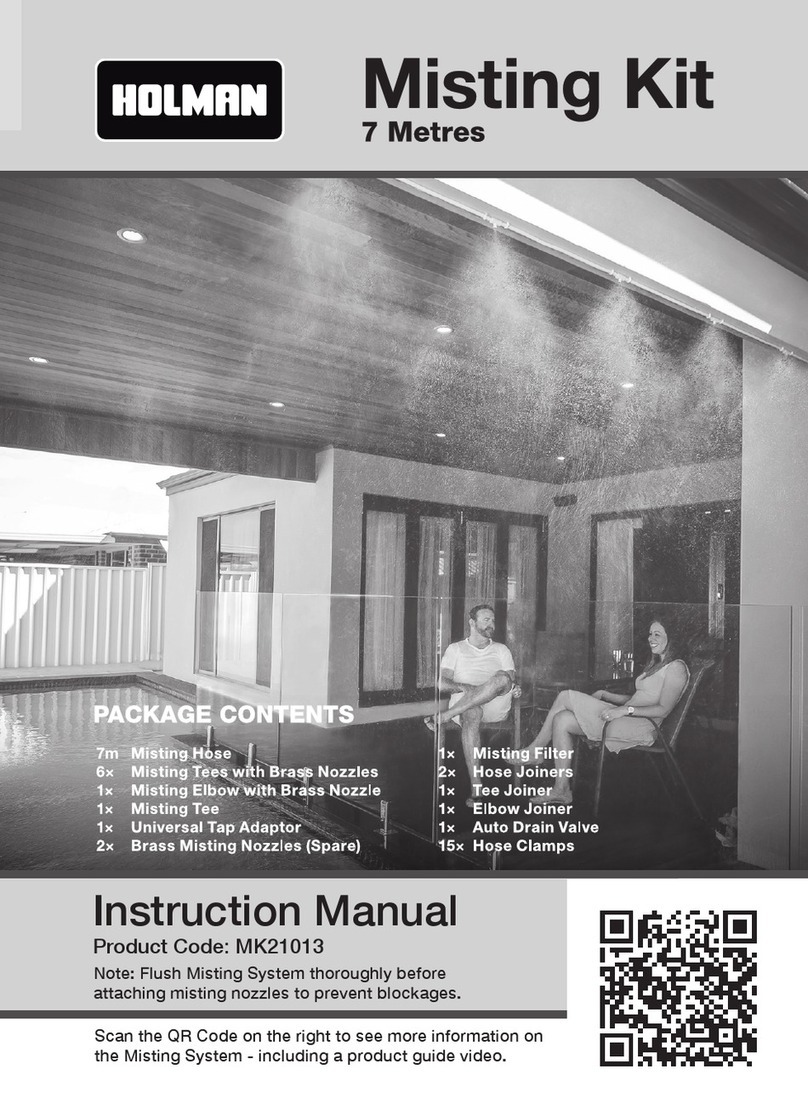
Holman
Holman MK21013 User manual

Holman
Holman RGB0606 User manual
Holman
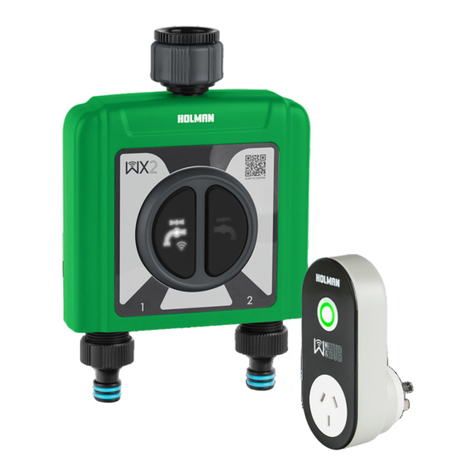
Holman WX2 User manual
Holman
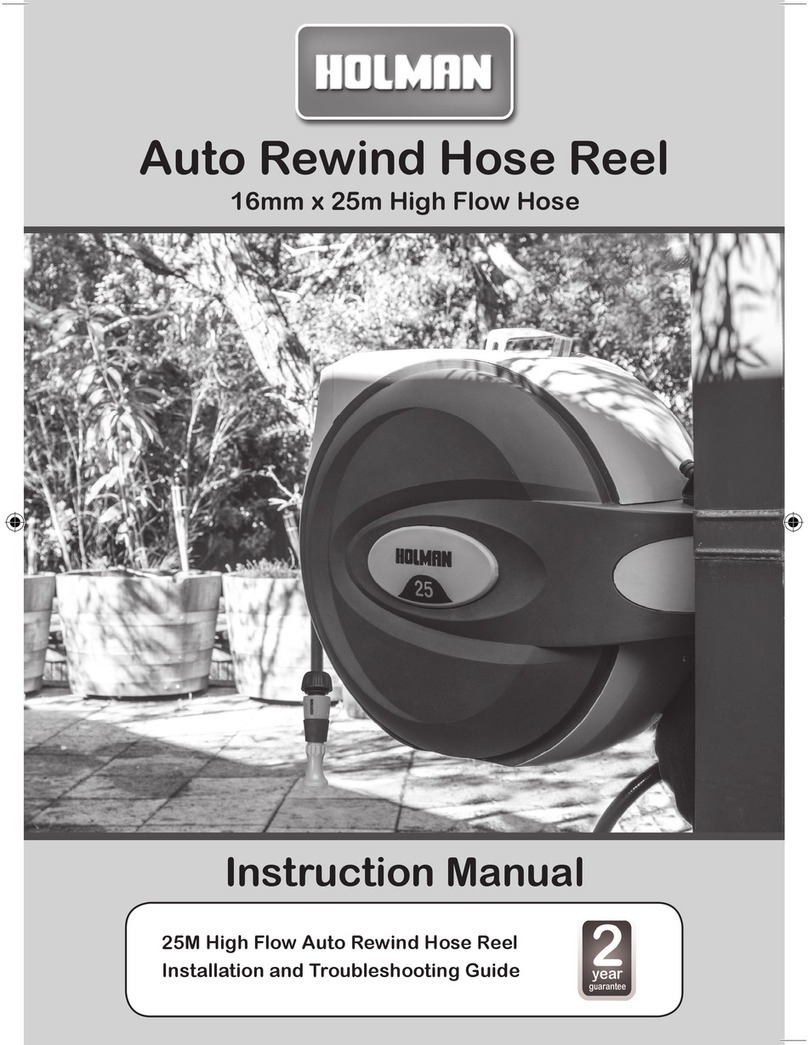
Holman 1125H User manual
Holman
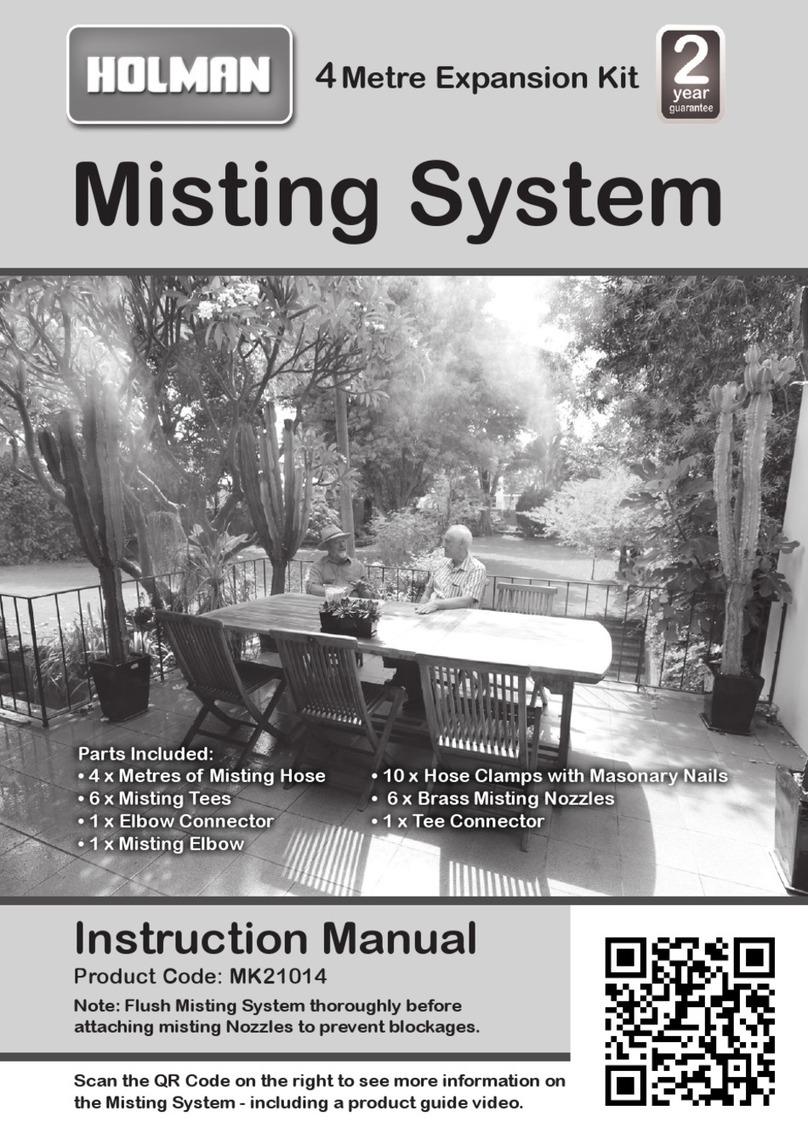
Holman MK21014 User manual
Holman
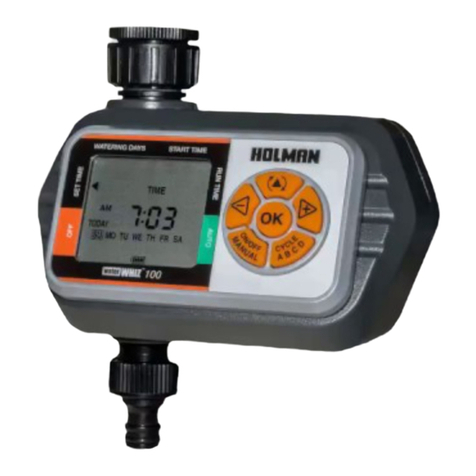
Holman WATERWHIZ 100 User manual

Holman
Holman pro+ 469 User manual
Holman
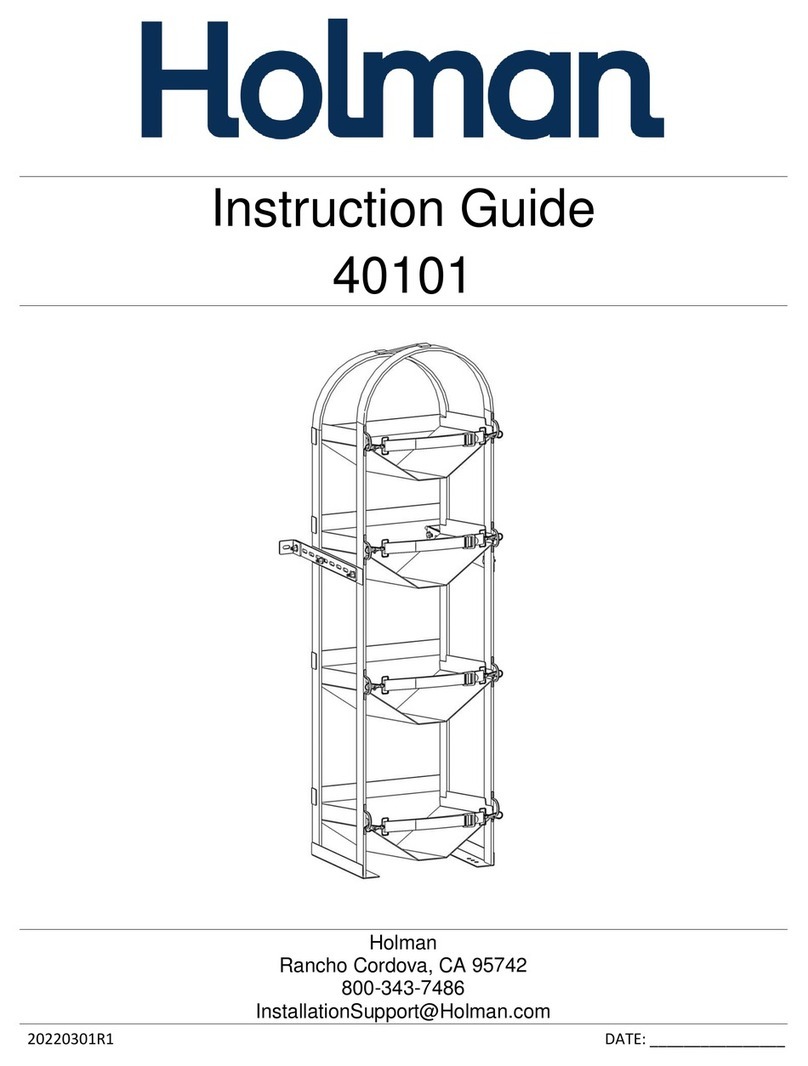
Holman 40101 Manual

Holman
Holman RGB663R User manual
Holman
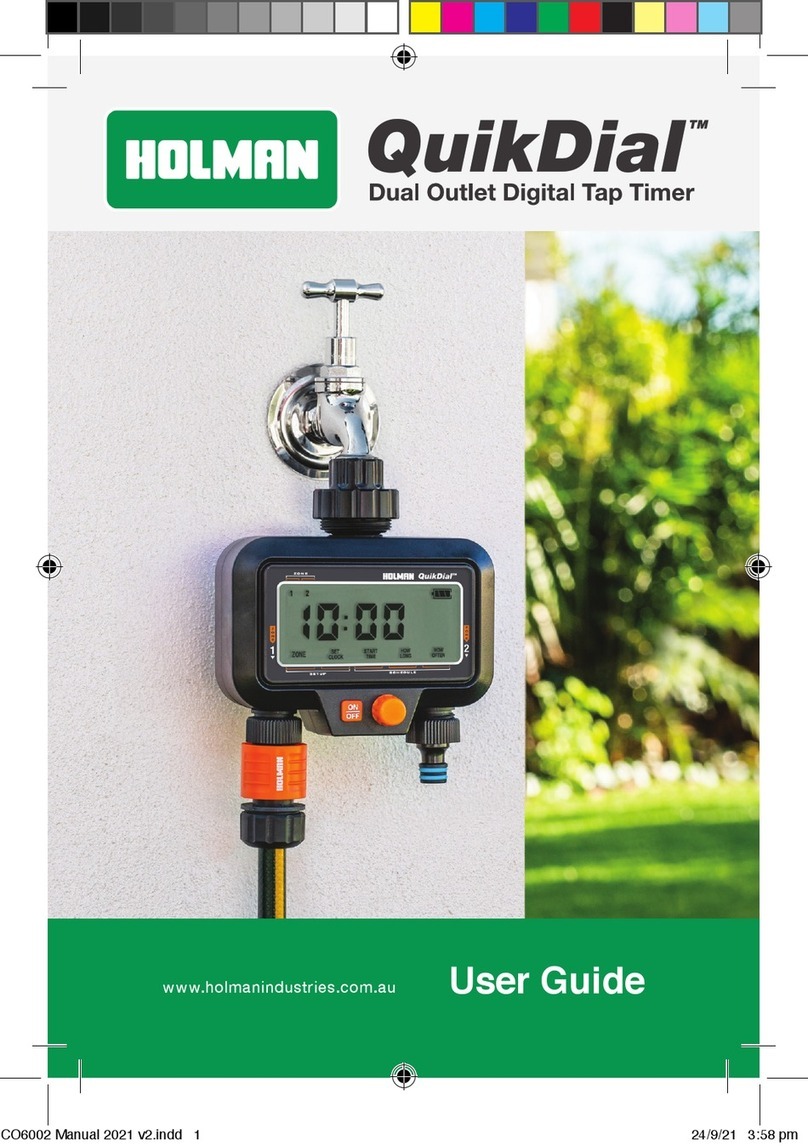
Holman QuikDial CO6002 User manual

Holman
Holman 30091 User manual
Holman
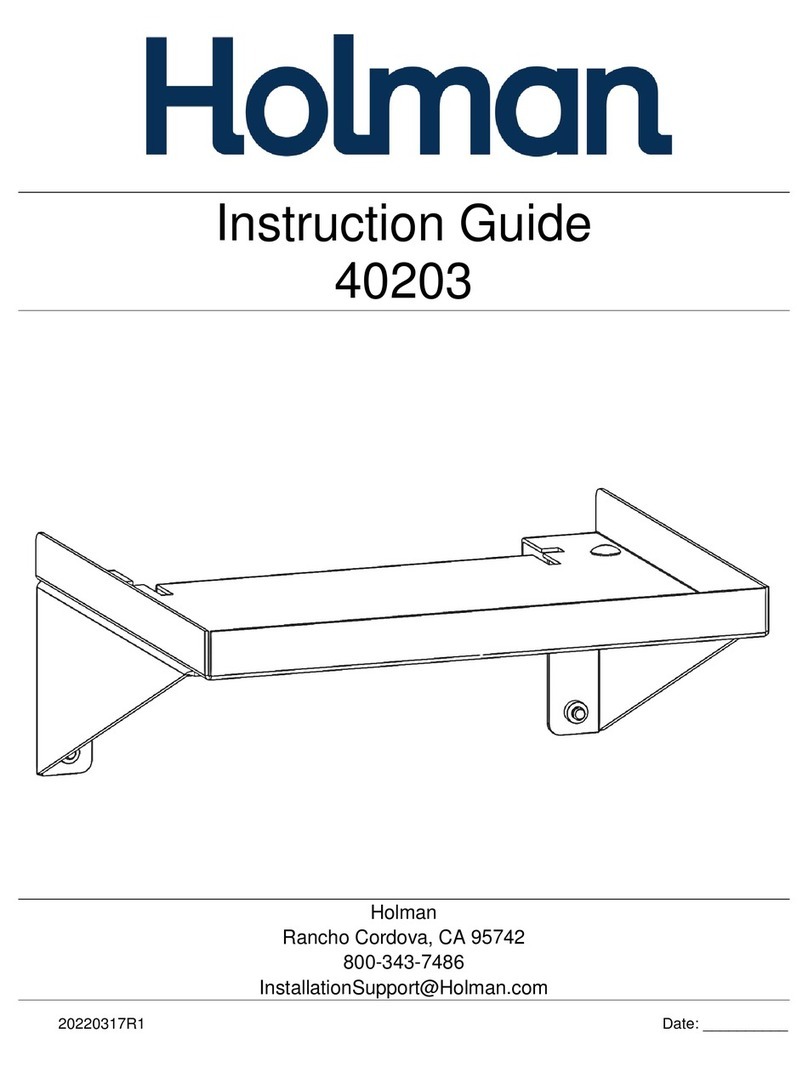
Holman 40203 Manual
Holman
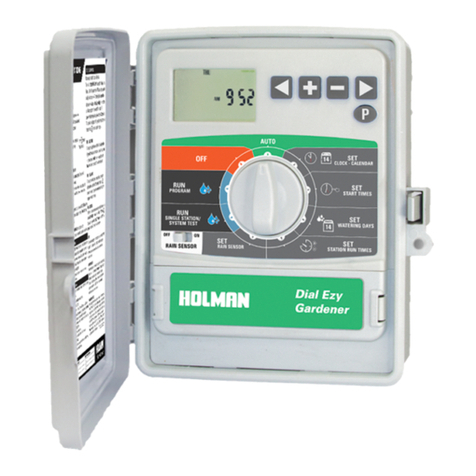
Holman DIAL EZY GARDENER User manual
Holman
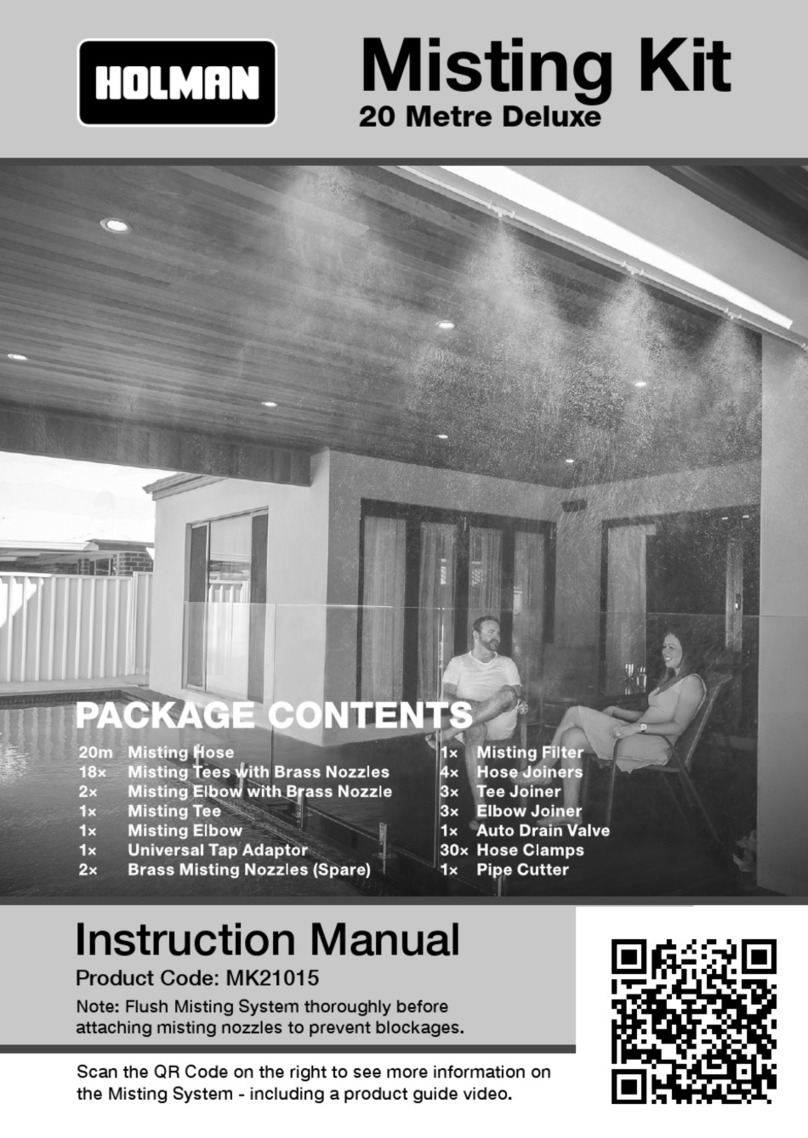
Holman MK21015 User manual

Holman
Holman MK21015 User manual

Holman
Holman GreenWall GW0055 User manual
Holman
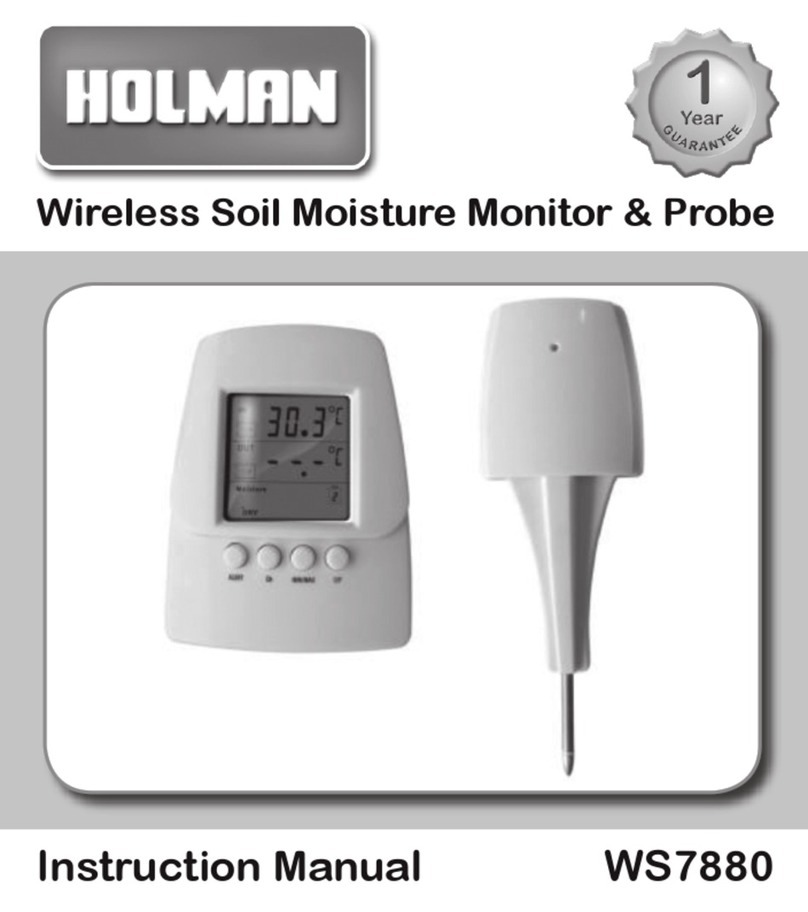
Holman WS7880 User manual
Popular Lawn And Garden Equipment manuals by other brands

Vertex
Vertex 1/3 HP Maintenance instructions

GHE
GHE AeroFlo 80 manual

Millcreek
Millcreek 406 Operator's manual

Land Pride
Land Pride Post Hole Diggers HD25 Operator's manual

Yazoo/Kees
Yazoo/Kees Z9 Commercial Collection System Z9A Operator's & parts manual

Premier designs
Premier designs WindGarden 26829 Assembly instructions

AQUA FLOW
AQUA FLOW PNRAD instructions

Tru-Turf
Tru-Turf RB48-11A Golf Green Roller Original instruction manual

BIOGROD
BIOGROD 730710 user manual

Land Pride
Land Pride RCF2784 Operator's manual

Makita
Makita UM110D instruction manual

BOERBOEL
BOERBOEL Standard Floating Bar Gravity Latch installation instructions


