manuals.online logo
Brands
  1. Home
  2. •
  3. Brands
  4. •
  5. HOMCOM
  6. •
  7. Mobility Aid
  8. •
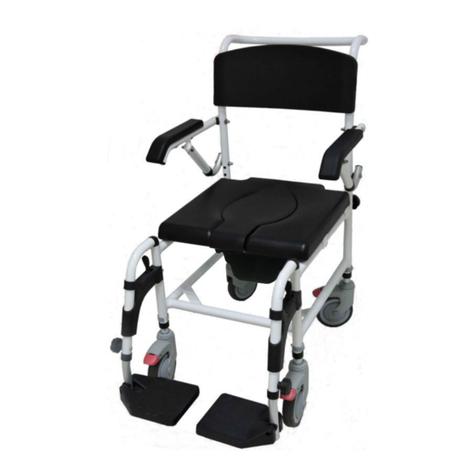
  9. HOMCOM 713-116V00 User manual

HOMCOM 713-116V00 User manual

Other HOMCOM Mobility Aid manuals

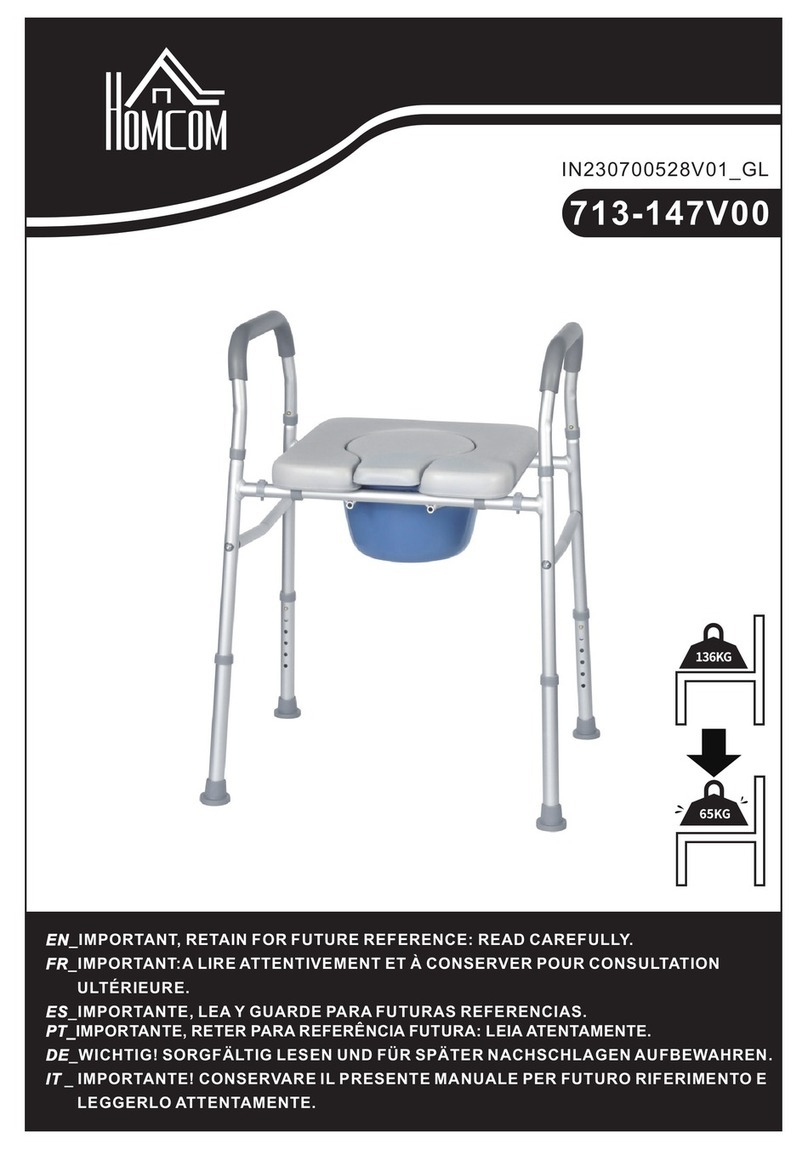
HOMCOM 713-147V00 User manual

HOMCOM

HOMCOM 713-147V00 User manual

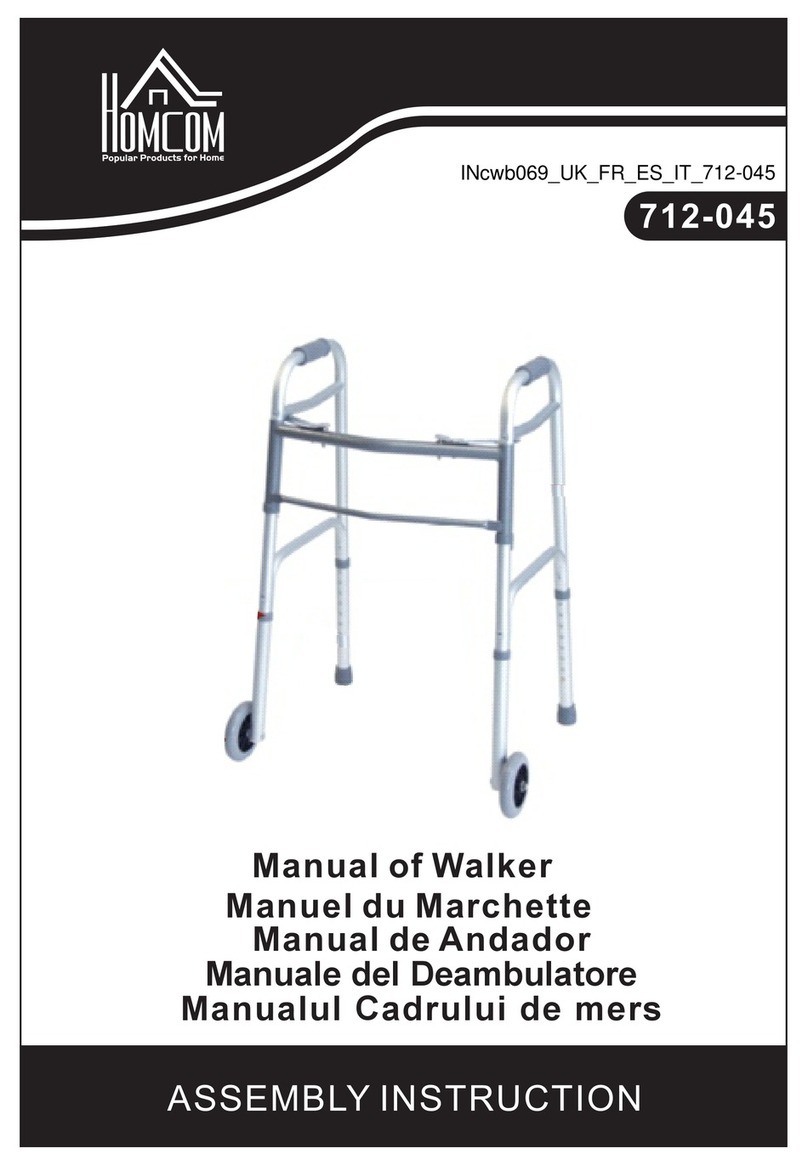
HOMCOM 712-045 User manual

HOMCOM

HOMCOM 712-045 User manual

HOMCOM 712-047 Installation guide

HOMCOM

HOMCOM 712-047 Installation guide

HOMCOM 713-115 User manual

HOMCOM

HOMCOM 713-115 User manual

HOMCOM 712-040 User manual

HOMCOM

HOMCOM 712-040 User manual
HOMCOM 713-119V00 User manual

HOMCOM

HOMCOM 713-119V00 User manual

HOMCOM 712-022 Installation instructions

HOMCOM

HOMCOM 712-022 Installation instructions

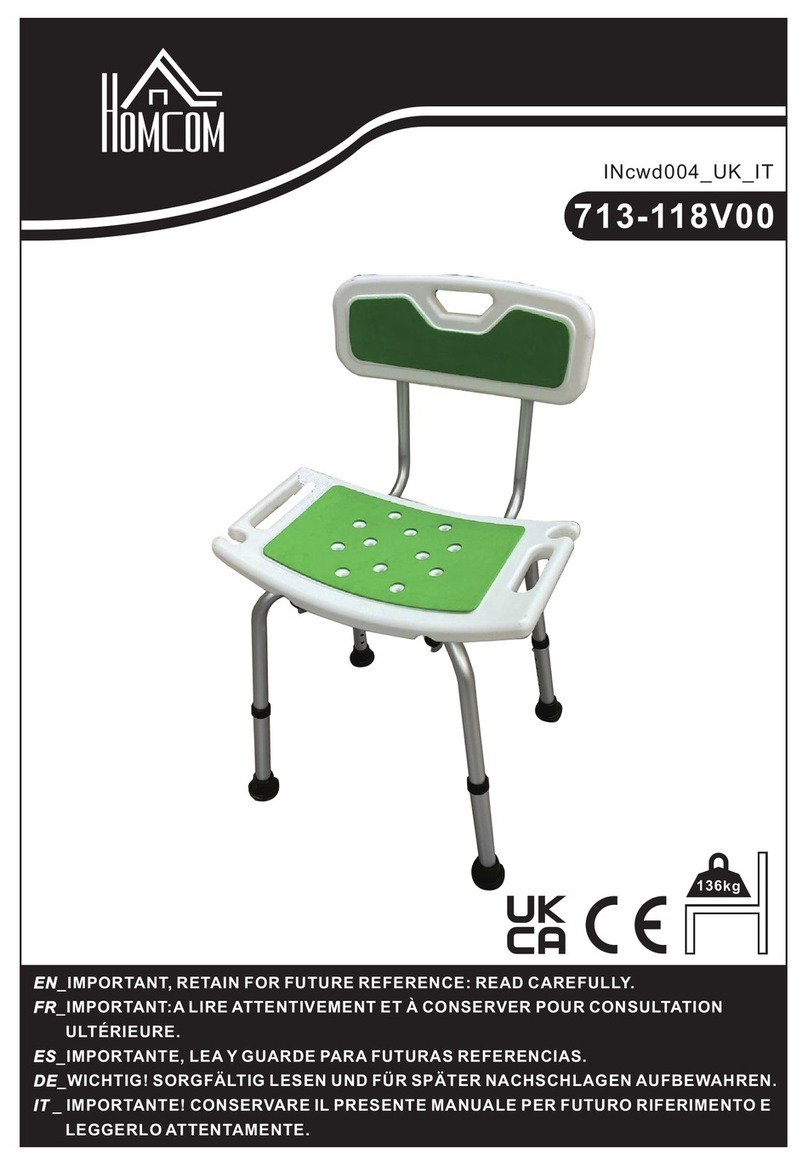
HOMCOM 713-118V00 User manual

HOMCOM

HOMCOM 713-118V00 User manual

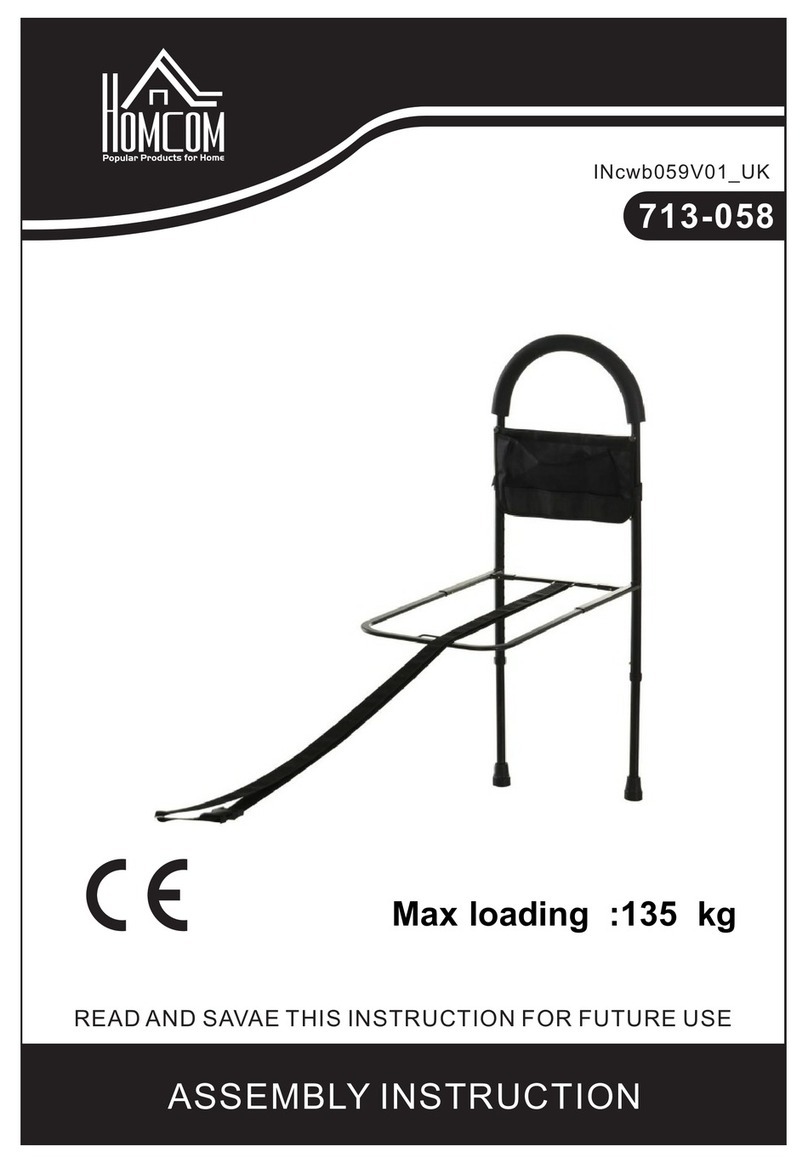
HOMCOM 713-058 User manual

HOMCOM

HOMCOM 713-058 User manual

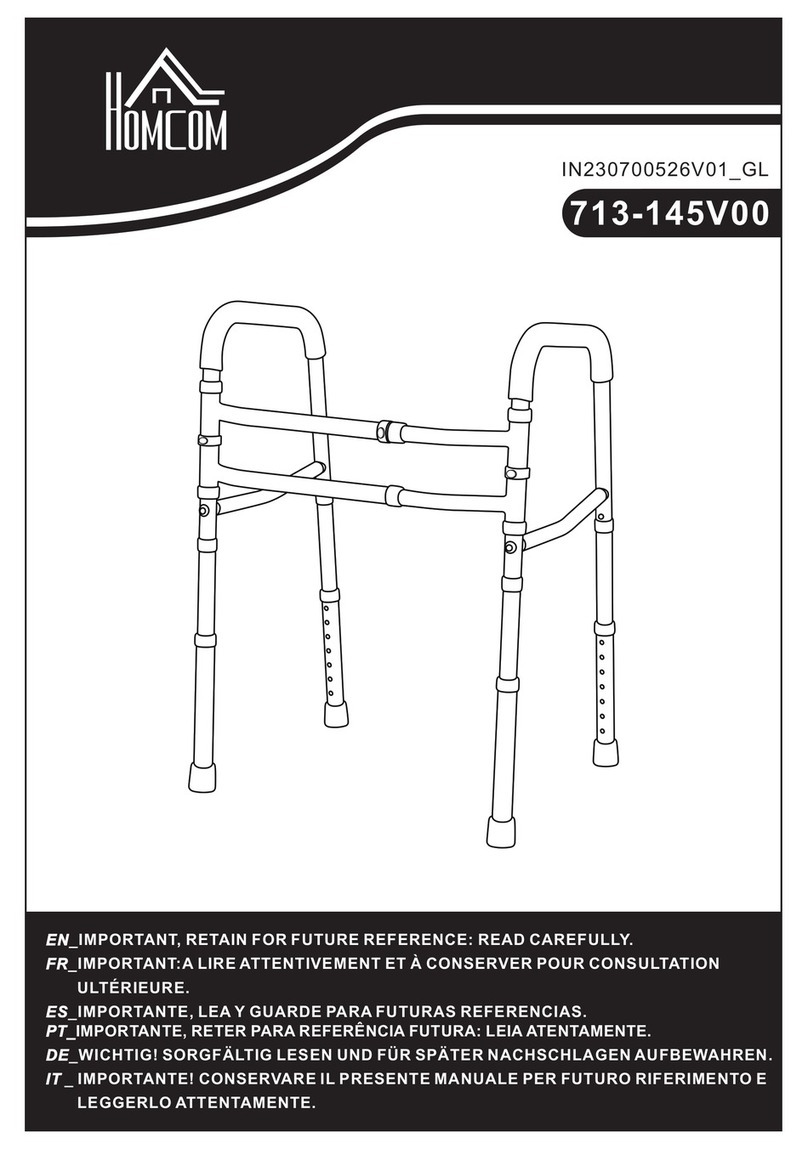
HOMCOM 713-145V00 User manual

HOMCOM

HOMCOM 713-145V00 User manual
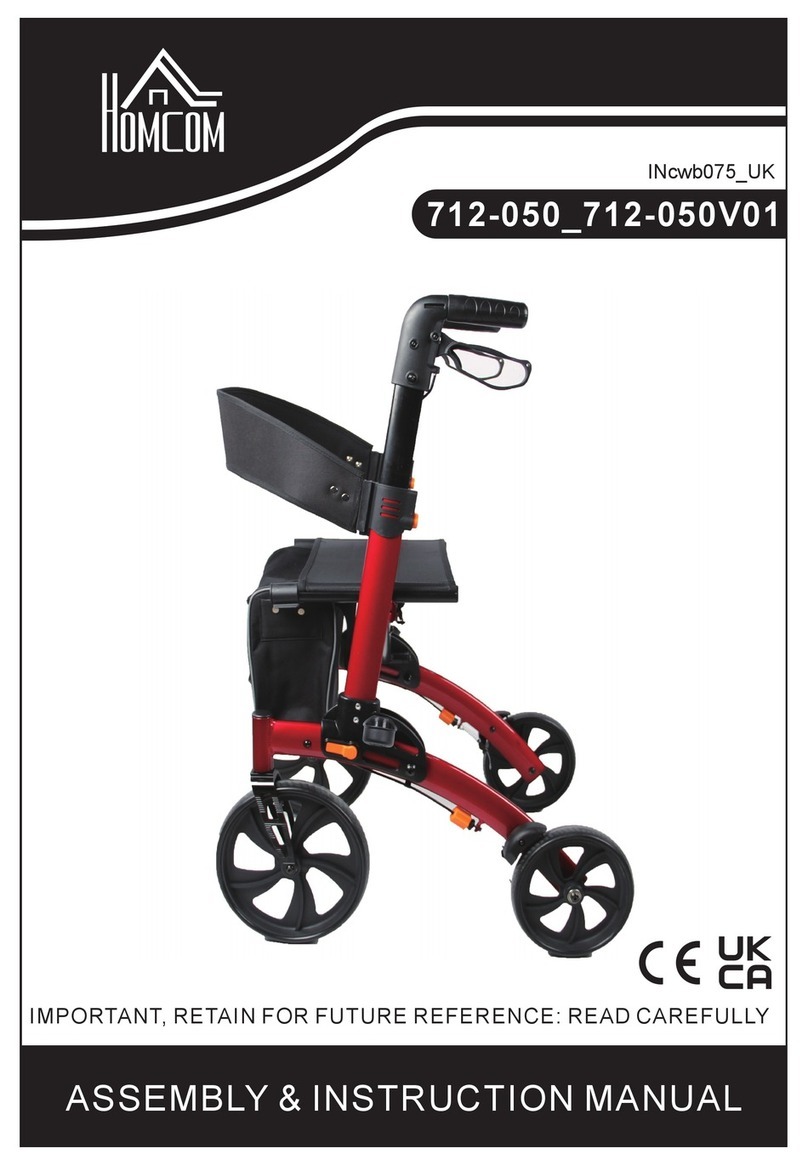
HOMCOM 712-050 Installation guide

HOMCOM

HOMCOM 712-050 Installation guide

Popular Mobility Aid manuals by other brands

Drive DeVilbiss GoLite 200 operating instructions

Drive DeVilbiss

Drive DeVilbiss GoLite 200 operating instructions

Invacare 8153-J user manual

Invacare

Invacare 8153-J user manual

Clearwell Mobility Brandon User instructions

Clearwell Mobility

Clearwell Mobility Brandon User instructions

Handicare 1100 user manual

Handicare

Handicare 1100 user manual

NRS Healthcare M11090 User instructions

NRS Healthcare

NRS Healthcare M11090 User instructions

Alber Scalamobil iQ operating instructions

Alber

Alber Scalamobil iQ operating instructions

Ferno CCT-PX user manual

Ferno

Ferno CCT-PX user manual

Medline MDS86835DSHEC User Instructions & Warranty

Medline

Medline MDS86835DSHEC User Instructions & Warranty

Guldmann Twin Turner II user manual

Guldmann

Guldmann Twin Turner II user manual

Ferno 35-ITA user manual

Ferno

Ferno 35-ITA user manual

Drive ROOMBA Operation manual

Drive

Drive ROOMBA Operation manual

Gate Balder operating instructions

Gate

Gate Balder operating instructions

Decon wheel TNS Notos Assembly instructions

Decon wheel

Decon wheel TNS Notos Assembly instructions

ExoAtlet ExoAtlet-II user manual

ExoAtlet

ExoAtlet ExoAtlet-II user manual

Invacare Storm Series parts catalog

Invacare

Invacare Storm Series parts catalog

Rhythm Healthcare B3800F manual

Rhythm Healthcare

Rhythm Healthcare B3800F manual

AMF-BRUNS PROTEKTOR installation manual

AMF-BRUNS

AMF-BRUNS PROTEKTOR installation manual

Drive DeVilbiss Healthcare OTTER Instructions for use

Drive DeVilbiss Healthcare

Drive DeVilbiss Healthcare OTTER Instructions for use

manuals.online logo
manuals.online logoBrands
  • About & Mission
  • Contact us
  • Privacy Policy
  • Terms and Conditions

Copyright 2025 Manuals.Online. All Rights Reserved.

EN_IMPORTANT, RETAIN FOR FUTURE REFERENCE: READ CAREFULLY.
FR_IMPORTANT:A LIRE ATTENTIVEMENT ET À CONSERVER POUR CONSULTATION
ULTÉRIEURE.
ES_IMPORTANTE, LEA Y GUARDE PARA FUTURAS REFERENCIAS.
DE_WICHTIG! SORGFÄLTIG LESEN UND FÜR SPÄTER NACHSCHLAGEN AUFBEWAHREN.
IT _ IMPORTANTE! CONSERVARE IL PRESENTE MANUALE PER FUTURO RIFERIMENTO E
LEGGERLO ATTENTAMENTE.
INcwd002_UK_FR_ES_DE_IT
INcwd002_UK_FR_ES_DE_IT_713-116V00
136
1
2
3
4
5
6
01
① 1 ② 1 ③ 2
④ 1 ⑤ 1 ⑥ 2
⑦ 5 ⑨ 9
⑧ 4
⑩ 4
EN_Place Aluminum frame② in a reasonable position on the back of the seat④ .
FR_Placer le cadre en aluminium ② dans une position raisonnable sur le dossier du
siège ④.
ES_Coloque el marco de aluminio② en una posición adecuada de la parte trasera del
asiento④.
DE_Platzieren Sie den Aluminiumrahmen② in einer angemessenen Position auf der
Rückseite des Sitzes④.
IT_Porre il Telaio in alluminio ② in una posizione corretta sul retro del sedile ④.
01
7
EN_Place Aluminum frame① on Aluminum frame② ,combine 1pc SCREW⑦ and
1pc GASKETS⑨ , then insert them into the holes and tighten them.
FR_Placez le cadre en aluminium ① sur le cadre en aluminium ② , mettez 1 vis ⑦ et
1 joint ⑨ , puis insérez -les dans les trous et serrez-les.
ES_Coloque el marco de aluminio① en el marco de aluminio② , combine 1 pieza de
TORNILLO⑦ y 1 pieza de JUNTAS⑨, luego insértelos en los orificios y apriételos
correctamente.
DE_Legen Sie den Aluminiumrahmen① auf den Aluminiumrahmen②, nehmen Sie 1
Stück SCHRAUBE⑦ und 1 Stück DICHTUNG⑨, stecken Sie sie in die Löcher und
ziehen Sie sie fest.
IT_Porre il Telaio in alluminio ① sul Telaio in alluminio ② , combinare un pezzo di VITE
⑦ e un pezzo di RONDELLA ⑨, e poi inserirli nei fori e serrarli.
EN_Note : the direction of the pipe
FR_Note : la direction du tube
ES_Nota: La dirección de la tubería.
DE_Hinweis: die Richtung des Rohres
IT_Nota: La direzione del tubo
02
8
EN_Align the holes on Aluminum frame③ with the holes on Aluminum
frame①/②, combine 1pc SCREW⑧ and 1pc GASKETS⑨ , then insert them into the
holes and tighten them.
FR_Alignez les trous du cadre en aluminium③ avec les trous du cadre en
aluminium①/②, mettez 1 vis⑧ et 1 joint⑨, puis insérez-les dans les trous et serrez-les.
ES_Alinee los orificios del marco de aluminio③ con los orificios del marco de
aluminio①/②, combine 1 pieza de TORNILLO⑧ y 1 pieza de JUNTAS⑨, luego insé
rtelos en los orificios y apriételos correctamente.
DE_Richten Sie die Löcher am Aluminiumrahmen③ mit den Löchern am
Aluminiumrahmen①/② aus, nehmen Sie 1 Stück SCHRAUBE⑧ und 1 Stück
DICHTUNG⑨, stecken Sie sie in die Löcher und ziehen Sie sie fest.
IT_Allineare i fori sul Telaio in alluminio ③ con i fori sul Telaio in alluminio ①/②,
combinare un pezzo di VITE ⑧ e un pezzo di RONDELLA ⑨, e poi inserirli nei fori e
serrarli.
03
9
EN_Insert Foot Tube⑩ into Aluminum frame① and Aluminum frame②
respectively,Make sure each marble has the same hole position
FR_Insérez le tube de pied⑩ dans le cadre en aluminium① et le cadre en aluminium②
respectivement, veillez à ce que chaque bille a la même position de trou.
ES_Inserte los tubos de pata⑩ en el marco de aluminio① y en el marco de
aluminio② respectivamente, asegúrese de que cada canica quede en la misma posición
de orificio.
DE_Setzen Sie das Fußrohr⑩ in den Aluminiumrahmen① bzw., den
Aluminiumrahmen② ein, achten Sie darauf, dass jeder Stift die gleiche Lochposition
hat
IT_Inserire il piede tubolare ⑩ nel Telaio in alluminio① e nel Telaio in alluminio②
rispettivamente, assicurandosi che il perno della molla di bloccaggio sia al stesso livello
del foro.
04