Contents
• 1 x 8ft inflatable Santa
• 1 x power transformer
• 6 x stakes
• 3 x 1.8m ropes
Operating instructions
1. Unpack the inflatable and transformer from the box.
2. Ensure the zip on the base of the inflatable is fully closed.
3. Unwind the lead-in cable cord from the transformer
and ensure the weatherproof cap is tightened onto the
transformer.
4. Choose where you want to locate the inflatable.
If it is placed outdoors, it is recommended to secure
the inflatable as detailed in point 5, to provide stability
in windy conditions.
5. To secure, use the stakes provided and insert them
through the nylon hooks attached at the bottom of the
inflatable. For the nylon hooks attached to the inflatable
body, use the provided ropes and secure them to the
stakes firmly. The recommended angle for the ropes is
30° - 45° from the top, as this provides a stable condition
for the inflatable.
6. If additional stability is required, sandbags (not supplied)
can be placed into the zipper compartment on the base
of the inflatable.
7. Plug the transformer supplied with this kit into a mains
socket outlet and turn the main switch ON.
8. The inflatable will inflate to the correct size in a few
minutes. If it is not inflating, it is possible that the passage
from the fan to the inflatable is obstructed.
Turn the adapter off and adjust if required.
Note: Do not put your hands over the fan whilst it is inflating.
Do not attempt to put any small objects through the fan grille.
Keep out of reach of children, as this product is not a toy.
Maintenance and cleaning
• Only use mild detergent with cold water to wipe.
• Leave it inflated until it is completely dry.
• To store the inflatable away, make sure to unplug,
roll up and store in the original packaging.
• Do not attempt to wipe the motor.
Repair
• If the festive figure is not staying inflated even when the
fan is working at full power, it is likely that there is a hole
or tear in the inflatable.
• Locate the source of the puncture, turn the festive figure
ON and examine the holes or tear.
• Small holes can be patched up with tape. A thick
clear packaging tape will work, as well as duct tape
(not supplied with this kit).
• If the tape is not strong enough or holes are especially
large, use a nylon patch. These patches can be obtained
from your local arts and crafts stores.
• Once the hole has been sealed, re-inflate the festive
figure and check.
Warning
Please read through the instructions and warnings before
use. Failure to follow all instructions listed below may result in
electric shock, fire and/or serious injury.
• Always place the plug into an INDOOR mains socket or into
a weatherproof outdoor socket.
• Always unwind the cord fully before use.
• Use the included transformer only. An incorrect
transformer can damage the fan and LED inside.
• This product is intended as a Christmas decoration only,
it is not to be used by children as a toy and is not intended
for household illumination.
• Do not connect the product to the power supply while the
product is in the packaging.
• Retain the packaging for storing the unit when not in use
and keep this information for future reference.
• Unplug when not in use. Always unplug from the mains
supply whilst installing, carrying out maintenance or
adjustment.
• The external flexible cable or cord of this light chain
cannot be replaced; if the cord is damaged, the light
set must be destroyed.
• If you use an extension cord, use one the right length for
the purpose. Do not chain several extension cords. Do not
attempt to modify the wiring or ‘cut to length’.
• Keep out of the reach of children.
• Small parts could cause a choking hazard.
• Keep away from naked flames.
• Do not place over or near sources of heat.
• Keep packaging for future reference.
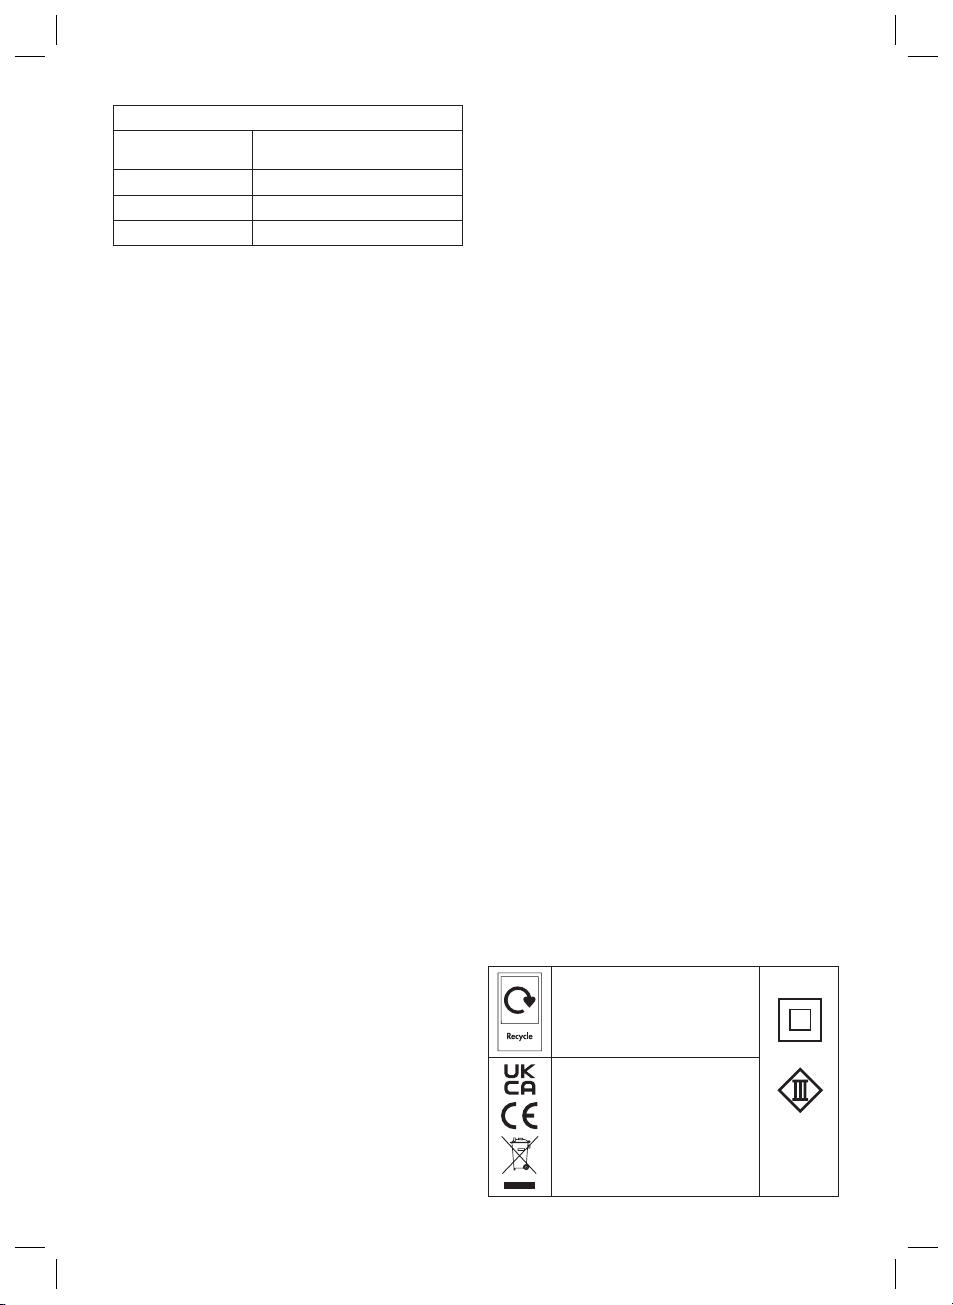
Disposal & recycling
Electrical products are labelled with the wheelie bin symbol
to indicate that they are to be collected and recycled at
end of life. Users of electrical products should not dispose
of them as unsorted municipal waste but use the separate
collection facilities available. Check with your local authority
for recycling advice. Customer participation is encouraged to
minimise any potential effects on the environment and human
health from the potential presence of hazardous substances.
GBIN005288/2 148mm x 210mm
Product Specification
Overall
Dimensions H240 x W165 x D70cm
Overall Wire Length 5m
Transformer IP44, Output 12V DC Max 12W
Light 4 x LED
The packaging material is recyclable.
Dispose of the packaging in an
environmentally friendly manner and
make it available for the recyclable
material collection-service.
transformer
light set
IP44
Dispose of the product in an
environmentally friendly manner
when you decide to part with it. This
device should not be disposed of with
household waste. Dispose of it at a
recycling centre, check with your local
authority or store for recycling advice.
Please note that all products with this
symbol must be recycled.


