About This Guide vii
List of Figures
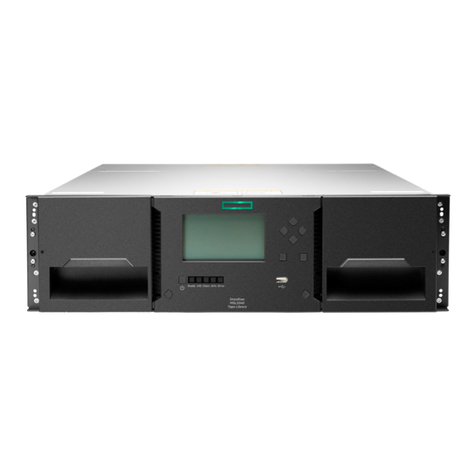
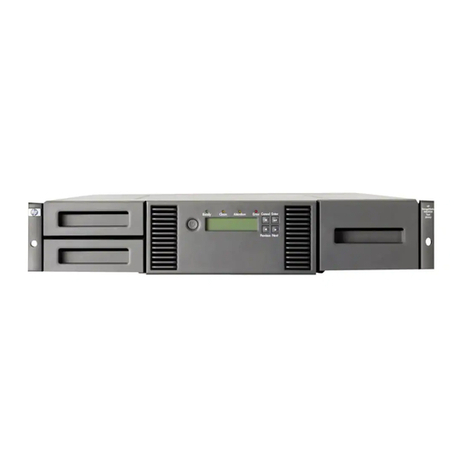
Figure 1-1. Library front view.................................................................................1-5
Figure 1-2. Library rear view ..................................................................................1-6
Figure 1-3. Tape cartridge magazine.......................................................................1-7
Figure 2-1. Library front panel................................................................................2-2
Figure 2-2. Library control panel ............................................................................2-3
Figure 2-3. Library menus.......................................................................................2-8
Figure 2-4. Magazine in place...............................................................................2-17
Figure 2-5. Tape magazine with cartridges installed.............................................2-18
Figure 2-6. Mail slot location................................................................................2-19
Figure 2-7. Tape cartridge write protection switch................................................2-20
Figure 2-8. Bar code label size..............................................................................2-21
Figure 4-1. Troubleshooting flowchart....................................................................4-2
Figure 5-1. Moving the shuttle assembly ................................................................5-3
Figure 5-2. Disconnecting the bar code reader cable...............................................5-4
Figure 5-3. Removing the bar code reader ..............................................................5-5
Figure 5-4. Jack screw locations..............................................................................5-6
Figure 5-5. Top guide pin and keyhole....................................................................5-7
Figure 5-6. Bottom guide pin and keyhole..............................................................5-8
Figure 5-7. Removing the controller board .............................................................5-8
Figure 5-8. Replacing the controller board..............................................................5-9
Figure 5-9. Removing the door solenoid...............................................................5-10
Figure 5-10. Removing the brace plate..................................................................5-11
Figure 5-11. Removing the upper drive mounting plate........................................5-11
Figure 5-12. Disconnecting the tape drive.............................................................5-12
Figure 5-13. Removing the tape drive...................................................................5-12
Figure 5-14. Removing the alignment pins ...........................................................5-13
Figure 5-15. Replacing the fan assembly ..............................................................5-14
Figure 5-16. Front panel attachment screw locations............................................5-15
Figure 5-17. Disconnecting the front panel cable..................................................5-16
Figure 5-18. Removing the bottom drive mounting plate......................................5-17
Figure 5-19. Magazine guide screw locations.......................................................5-17
Figure 5-20. Removing the magazine guide..........................................................5-18
Figure 5-21. Removing the magazine latch cover.................................................5-19
Figure 5-22. Magazine latch solenoid mounting bracket screw locations.............5-20
Figure 5-23. Disconnecting the picker ribbon cable..............................................5-21
Figure 5-24. Picker ribbon cable tabs....................................................................5-21
Figure 5-25. Turning the base plate.......................................................................5-22
Figure 5-26. Unplugging the power supply...........................................................5-22
Figure 5-27. Power supply retaining screws..........................................................5-23
Figure 5-28. Disconnecting the controller board, fan, and drive power harness ...5-24
Figure 5-29. Disconnecting the power switch wires..............................................5-25
Figure 5-30. Removing the power supply.............................................................5-26
Figure 5-31. Connecting the power cable to the power supply .............................5-26
Figure 5-32. Power switch retaining screws..........................................................5-27
Figure 5-33. Cable clamp tab location...................................................................5-28
Figure 5-34. Cable release lever............................................................................5-29
Figure 5-35. Pushing the shuttle mechanism..........................................................5-30
Figure 5-36. Removing the guide bar screw..........................................................5-31
Figure 5-37. Accessing the guide bar screw..........................................................5-32
Figure 5-38. Lifting the shuttle mechanism...........................................................5-32
Figure 5-39. Anti-rotation bracket location...........................................................5-33
Figure 5-40. Removing the shuttle mechanism.....................................................5-33
Figure 5-41. Unplugging the PTM motor housing assembly control cable...........5-35
