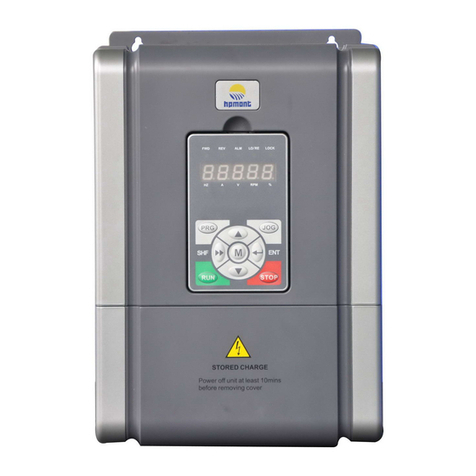
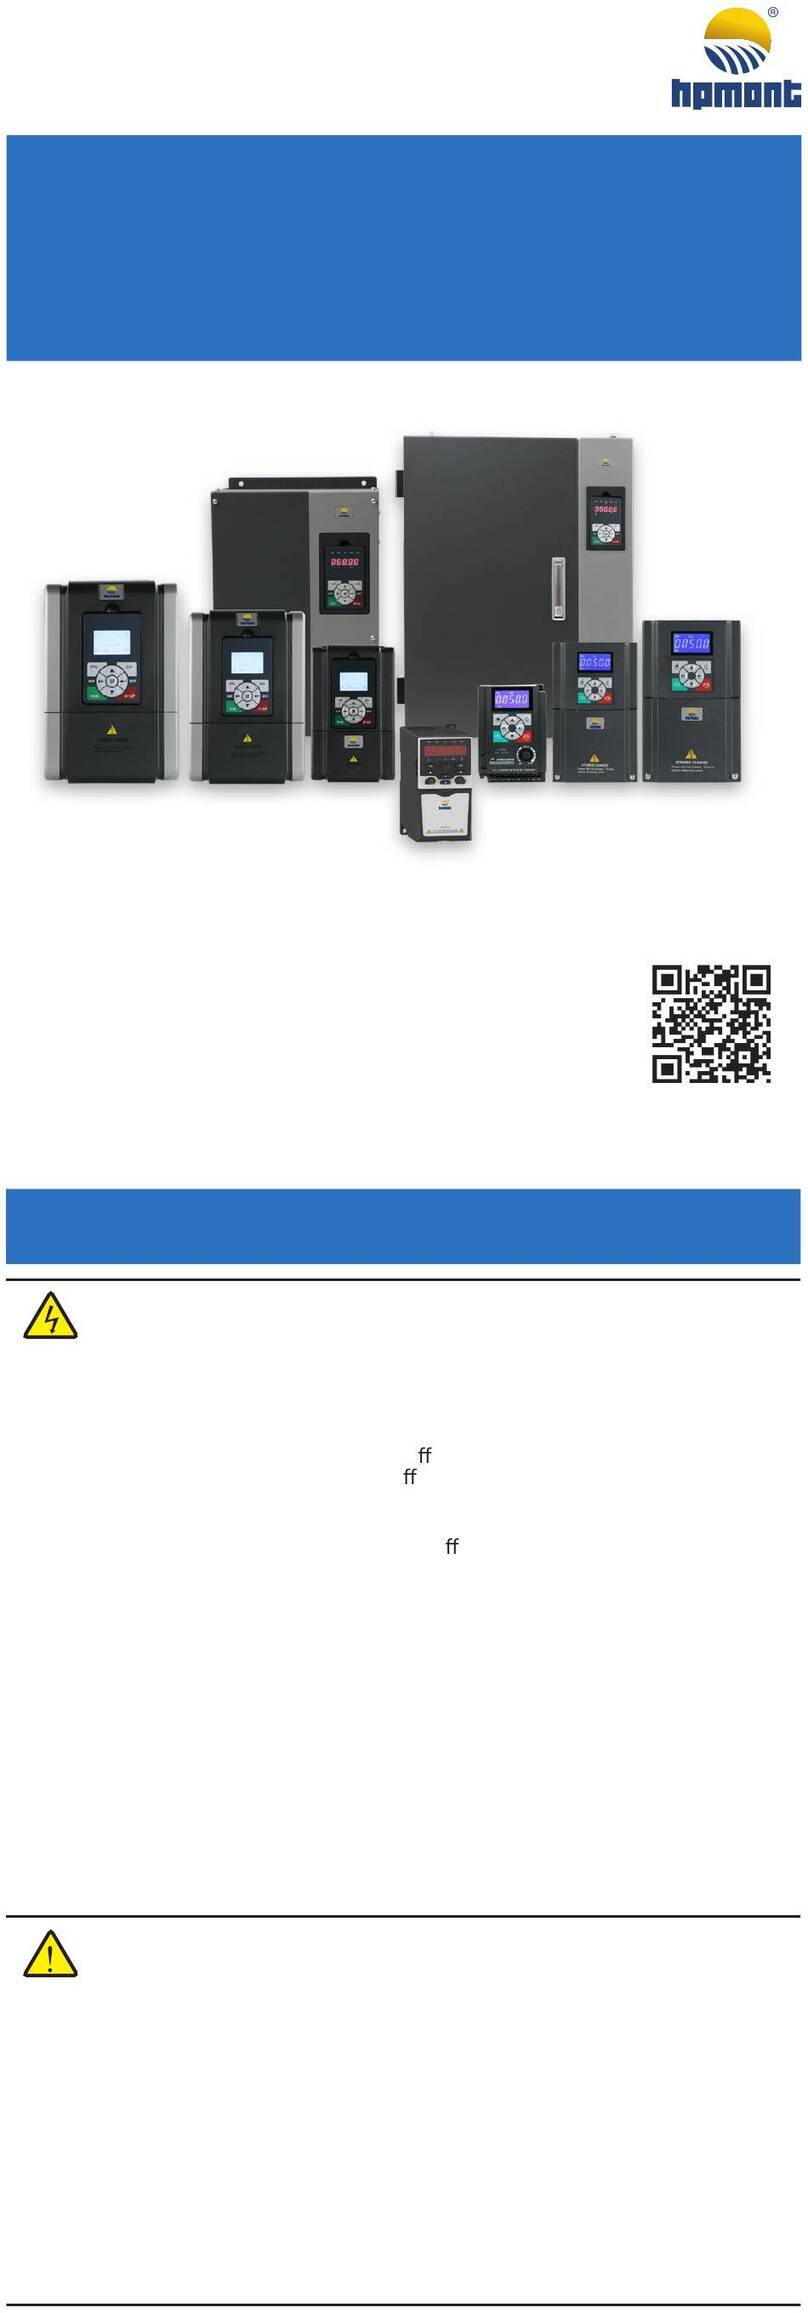
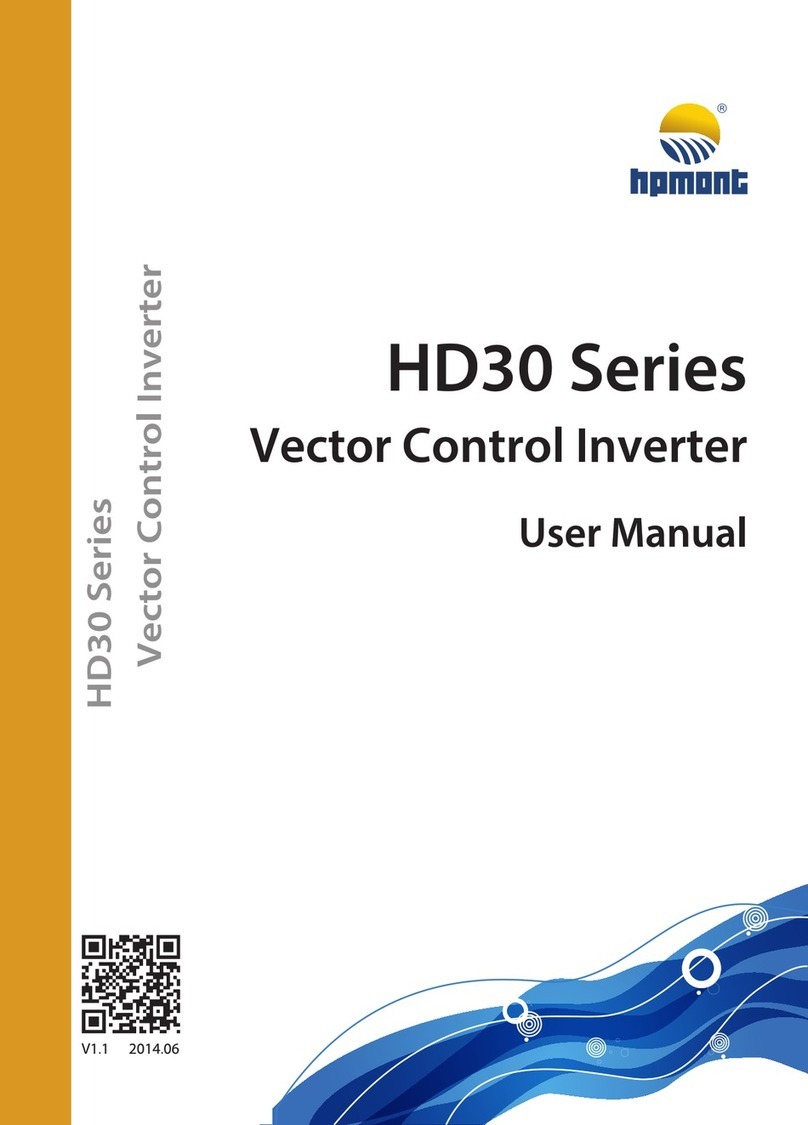
hpmont HD20 Series User manual


FOREWORD
Thank you for purchasing HD20 series multi-function inverter manufactured by
Shenzhen Hpmont Technology Co., Ltd.
This User Manual describes how to use HD20 series inverters and their
installation wiring, parameter setting, troubleshooting and daily maintenance etc.
Before using the product, please read through this User Manual carefully. In
addition, please do not use this product until you have fully understood safety
precautions.
Note:
Preserve this Manual for future.
Due to product upgrade or specification change, and for the purpose of improving
the convenience and accuracy of this manual, this manual’s contents may be
modified.
If you need the User Manual due to damage, loss or other reasons, please contact
the regional distributor of our company or directly contact our company Technical
Service Center.
For the first time using, the user should carefully read this manual.
If you still have some problems during use, please contact our company Technical
Service Center.
Telephone: 4008-858-959 or 189 4871 3800
The product warranty is on the last page of this Manual, please preserve it for future.

Connection with peripheral devices
Three-phase AC power supply
Contactor
AC input reactor
EMI filter
EMI filter
HD20 series inverter
AC output reactor
Motor Ground connection
Ground connection
Braking resistor
(optional)
MCCB
SHF ENT
PRG J OG
RUN STOP

QUICK START for HD20 OPERATION
Note:
Some parameters have been set (factory setting) so that you could not set for the initial use.
Control the start/stop and set the running frequency via using the display panel
1. Power on. Using the display panel can set motor parameters (see the motor nameplate
parameter), running frequency and acceleration/deceleration time. See the following table.
No. Parameter name No. Parameter name
F08.00 Rated power of motor 1 F00.13 Starting frequency digital
setting
F08.01 Rated voltage of motor 1
F08.02 Rated current of motor 1 F03.01 Acceleration time 1
F08.03 Rated frequency of motor 1 F03.02 Deceleration time 1
F08.04 Rated RPM of motor 1
2. Pressing panel’s key can start the inverter, and pressing key can stop the
inverter outputting.
RUN
STOP

Control the start/stop via terminals and set the running frequency via display panel
1. The terminal DI1 is forward running signal input, and DI2 is reverse running signal input, their
wirings are as following figure.
2. After power on, set the functional parameters in accordance with wirings, as following table.
No. Parameter name Setting value Meaning
F00.10 Frequency setting source
selection 3 Analogue setting
F00.11 Command setting source
selection 1 Terminal running command source
F15.00 DI1 terminal function
selection 2 (factory setting) Forward running function (terminal
forward signal input)
F15.01 DI2 terminal function
selection 3 (factory setting) Rervese running function (terminal
rervese signal input)
F16.01 Analogue input AI1
function selection 0 Reserved
F16.00 Display panel with
potentiometer function
selection 2 Frequency setting source (via
potentiometer of display panel)
Note:
Function parameters F16.00-F16.02 cannot be the same. If you want to set F16.00 as 2,
you should set F16.01 (factory value is 2) as other value (except 2) firstly.
3. Set motor parameters (see motor nameplate parameters) and acceleration/deceleration time
via the display panel, as following table.
No. Parameter name No. Parameter name
F08.00 Rated power of motor 1 F08.04 Rated RPM of motor 1
F08.01 Rated voltage of motor 1
F08.02 Rated current of motor 1 F03.01 Acceleration time 1
F08.03 Rated frequency of motor 1 F03.02 Deceleration time 1
4. By rotating the potentiometer of display panel to set the running frequency.
5. Close the K1 of the wiring diagram, the motor will run forward; close K2, run reverse;
simultaneously close or disconnect, the motor will stop.
DI1
COM
K1
K2
Forward terminal
DI2
Reverse terminal
DO1
R1A
R1C
R1B Fault indication normally closed contact
Outputindicating signalat running
Faultindication normally open contact
Commonterminal

Control the start/stop via terminals and set the running frequency via analogue
1. The terminal DI1 is forward running signal input, and DI2 is reverse running signal input, their
wirings are as following figure.
2. After power on, set the functional parameters in accordance with wirings, as following table.
No. Parameter name Setting value Meaning
F00.10 Frequency setting source
selection 3 Analogue setting
F00.11 Command setting source
selection 1 Terminal running command
source
F15.00 DI1 terminal function selection 2 (factory setting) Forward running function
(terminal forward signal input)
F15.01 DI2 terminal function selection 3 (factory setting) Rervese running function
(terminal rervese signal input)
F16.01 Analogue input AI1 function
selection 2 (factory setting) Frequency setting source (set by
AI1)
3. Set motor parameters (see motor nameplate parameters), and acceleration/deceleration time
via the display panel, as following table.
No. Parameter name No. Parameter name
F08.00 Rated power of motor 1 F08.04 Rated RPM of motor 1
F08.01 Rated voltage of motor 1
F08.02 Rated current of motor 1 F03.01 Acceleration time 1
F08.03 Rated frequency of motor 1 F03.02 Deceleration time 1
4. Set the running frequency by adjustingAI1 analogue input.
5. Close the K1 of the wiring diagram, the motor will run forward; close K2, run reverse;
simultaneously close or disconnect, the motor will stop.
DI1
COM
K1
K2
Forward terminal
DI2
Reverse terminal
AI1
Analogue input 1
+10
GND
DO1
R1A
R1C
R1B Faultindication normally closed contact
Outputindicatingsignalatrunning
Faultindication normally open contact
Common terminal

Control the start/stop via terminals and set the running frequency via communication
1. The terminal DI1 is forward running signal input, and DI2 is reverse running signal input, their
wirings are as following figure.
2. After power on, set the functional parameters in accordance with wirings, as following table.
No. Parameter name Setting value Meaning
F00.10 Frequency setting source
selection 2 SCI communication setting
F00.11 Command setting source
selection 1 Terminal running command
source
F15.00 DI1 terminal function
selection 2 (factory setting) Forward running function
(terminal forward signal input)
F15.01 DI2 terminal function
selection 3 (factory setting) Rervese running function
(terminal rervese signal input)
F15.18 DO1 terminal function
selection 2 (factory setting) Inverter is running
F17.00 Data format 0 (factory setting) 1-8-2 format, no parity, RTU
F17.01 Baud rate 3 (factory setting) 9600bps
F17.02 Local address 2 (factory setting)
3. Set motor parameters (see motor nameplate parameters) and acceleration/deceleration time
via the display panel, as following table.
No. Parameter name No. Parameter name
F08.00 Rated power of motor 1 F08.04 Rated RPM of motor 1
F08.01 Rated voltage of motor 1
F08.02 Rated current of motor 1 F03.01 Acceleration time 1
F08.03 Rated frequency of motor 1 F03.02 Deceleration time 1
4. Close the K1 of the wiring diagram, the motor will run forward; close K2, run reverse;
simultaneously close or disconnect, the motor will stop.
DI1
COM
K1
K2
Forward terminal
DI2
Reverse terminal DO1
R1A
R1C
R1B Fault indication normally closed contact
Outputindicating signalat running
Faultindication normally open contact
Commonterminal
1234 5 6 7 8
RJ4 5
MODBUS
communication
SCI communication
terminal

5. Modify the running frequency via SCI communication function code 0X06 writing register
0x3201. Such as: modify the local address two of slave with running frequency of 45.00Hz, as
following table.
Address Code Register address Register content Checksum
Command
frame 0x02 0x06 0x32 0x01 0x11 0x94 0xDB 0x7E
Answer
frame 0x02 0x06 0x32 0x01 0x11 0x94 0xDB 0x7E
Control the start/stop and set the running frequency via using communication
1. The communication wirings are as following figure.
2. After power on, set the functional parameters in accordance with wirings, as following table.
No. Parameter name Setting value Meaning
F00.10 Frequency setting source
selection 2 SCI communication setting
F00.11 Command setting source
selection 2 SCI communication running
command source
F17.00 Data format 0 (factory setting) 1-8-2 format, no parity, RTU
F17.01 Baud rate 3 (factory setting) 9600bps
F17.02 Local address 2 (factory setting)
3. Set the motor parameters (see motor nameplate parameters) and acceleration/deceleration
time via the display panel, as following table.
No. Parameter name No. Parameter name
F08.00 Rated power of motor 1 F08.04 Rated RPM of motor 1
F08.01 Rated voltage of motor 1
F08.02 Rated current of motor 1 F03.01 Acceleration time 1
F08.03 Rated frequency of motor 1 F03.02 Deceleration time 1
DO1
R1A
R1C
R1B Faultindication normally closed contact
Outputindicatingsignalatrunning
Faultindication normally open contact
Common terminal
123 4 5 6 7 8
RJ4 5
MODBUS
communication SCI communication
terminal

4. Start and stop the local address 2 of inverter via SCI communication function code 0x06 writing
register 0x3200, such as forward start command, as following table.
Address Code Register address Register content Checksum
Command
frame 0x02 0x06 0x32 0x00 0x10 0x01 0x4B 0x41
Answer
frame 0x02 0x06 0x32 0x00 0x10 0x01 0x4B 0x41
Deceleration stops command, as following table.
Address Code Register address Register content Checksum
Command
frame 0x02 0x06 0x32 0x00 0x10 0x04 0x8B 0x42
Answer
frame 0x02 0x06 0x32 0x00 0x10 0x04 0x8B 0x42
5. Modify the running frequency via SCI communication function code 0X06 writing register
0x3201. Such as: modify the local address two of slave with running frequency of 45.00Hz, as
following table.
Address Code Register address Register content Checksum
Command
frame 0x02 0x06 0x32 0x01 0x11 0x94 0xDB 0x7E
Answer
frame 0x02 0x06 0x32 0x01 0x11 0x94 0xDB 0x7E

CONTENTS
Chapter 1 Safety Information and Precautions ............................................................................1
1.1 Safety Definition...............................................................................................................1
1.2 About Motor and Load......................................................................................................1
1.3 Installation Limitation........................................................................................................2
Chapter 2 Product Information......................................................................................................5
2.1 Model Code Explanation ..................................................................................................5
2.2 Nameplate .......................................................................................................................5
2.3 Specifications...................................................................................................................5
2.4 Ratings.............................................................................................................................8
2.5 Parts of Inverter................................................................................................................9
Chapter 3 Mechanical Installation...............................................................................................11
3.1 Installation Precautions ..................................................................................................11
3.2 Requirement for the Installation Site...............................................................................11
3.3 Installation Direction and Space Requirements...............................................................11
3.4 Dimensions and Mounting Size ......................................................................................13
3.5 Display Panel Installation and Dismantle........................................................................14
3.6 Plastic Cover Dismantle .................................................................................................15
Chapter 4 Electrical Installation..................................................................................................17
4.1 Wiring Precautions.........................................................................................................17
4.2 Selection of Main Circuit Peripheral Devices...................................................................18
4.3 Power Terminals and Wiring...........................................................................................18
4.3.1 Power Terminal Description ...............................................................................19
4.3.2 Wiring Terminals................................................................................................19
4.4 Control Terminals and Wire Connection..........................................................................20
4.4.1 Control Terminal Description..............................................................................21
4.4.2 Wire Jumper Description....................................................................................22
4.4.3 SCI Communication Terminal Description ..........................................................22
4.4.4 Control Terminal Connection..............................................................................23
4.5 Meet EMC Requirement of Installation............................................................................28
4.5.1 Correct EMC Installation....................................................................................28
4.5.2 Wiring Requirement...........................................................................................29
4.5.3 Wiring Motor......................................................................................................30
4.5.4 Ground Connections..........................................................................................30
4.5.5 EMI Filter...........................................................................................................31
4.5.6 Conduction, Radiation and Radio Frequency Interference Countermeasures.....32
4.5.7 Input and Output Reactor...................................................................................32
Chapter 5 Operation Instructions................................................................................................33
5.1 Function Description.......................................................................................................33
5.1.1 Inverter Run Command Source..........................................................................33
5.1.2 Inverter Frequency Setting Source.....................................................................34
5.1.3 Inverter Status...................................................................................................34
5.1.4 Inverter Operation Mode....................................................................................35
5.2 Operating Instructions ....................................................................................................36
5.2.1 Display Panel Description..................................................................................36
5.2.2 Display Status ...................................................................................................38
5.2.3 Display Panel Operation Examples....................................................................42
5.3 Initial Power On..............................................................................................................46
Chapter 6 Function Introduction.................................................................................................47
6.1 Group d: Display Parameters..........................................................................................48
6.1.1 Group d00 Status Display Parameters...............................................................48
6.2 Group F: General Function Parameters..........................................................................52
6.2.1 Group F00 Basic Parameters.............................................................................52
6.2.2 Group F01 Protection Parameters......................................................................55
6.2.3 Group F02 Run/Stop Control Parameters...........................................................56
6.2.4 Group F03 Acceleration/Deceleration Parameters..............................................59
6.2.5 Group F04 Process PID Control.........................................................................60
6.2.6 Group F05 External Reference Curve Parameters.............................................62
6.2.7 Group F06 MS SPEED and Simple PLC............................................................64
6.2.8 Group F07 Wobble Operation Parameters.........................................................68
6.2.9 Group F08 Asynchronous Motor 1 Parameters...................................................70
6.2.10 Group F09 V/f Control Parameters...................................................................72
6.2.11 Group F10 Motor 1 Vector Control Speed-loop Parameters..............................74
6.2.12 Group F11 Reserved........................................................................................75
6.2.13 Group F12 Reserved.......................................................................................75
6.2.14 Group F13Asynchronous Motor 2 Parameters.................................................75
6.2.15 Group F14 Reserved.......................................................................................77
6.2.16 Group F15 Digital I/O Terminal Parameters......................................................77
6.2.17 Group F16Analogue I/O Terminal Parameters.................................................89
6.2.18 Group F17 SCI Communication Parameters ....................................................92
6.2.19 Group F18 Display Control Parameters............................................................93
6.2.20 Group F19 Function-boost Parameters ............................................................95

6.2.21 Group F20 Protection of Fault Parameters.....................................................101
6.2.22 Group F21 Reserved.....................................................................................105
6.2.23 Group F22 Reserved.....................................................................................105
6.2.24 Group F23 PWM Control Parameters.............................................................105
6.3 Group y Manufacturer Function Parameters.................................................................105
Chapter 7 Troubleshooting........................................................................................................107
Chapter 8 Maintenance.............................................................................................................. 111
8.1 Daily Maintenance.........................................................................................................111
8.2 Periodical Maintenance................................................................................................112
8.3 Replacing Damaged Parts............................................................................................113
8.4 Unwanted Inverter Recycling........................................................................................113
Chapter 9 Options......................................................................................................................115
9.1 Panel Installation Assembly..........................................................................................115
9.1.1 Mounting Base.................................................................................................115
9.1.2 Extension Cable ..............................................................................................115
9.2 Braking Resistor Selection............................................................................................116
Appendix A Parameters.............................................................................................................117
Appendix B Communication Protocol ......................................................................................151


Shenzhen Hpmont Technology Co., Ltd Chapter 1 Safety Information and Precautions
HD20 Series Inverters User Manual ―1―
Chapter 1 Safety Information and Precautions
1.1 Safety Definition
Danger:A Danger contains information which is critical for avoiding
safety
hazard.
Warning:A Warning contains information which is essential for avoiding
a
risk of damage to product or other equipments.
Note:A Note contains information which helps to
ensure correct operation
of the product.
1.2 About Motor and Load
Compared to the standard frequency operation
The HD20 series inverters are voltage-type frequency inverter and their output is PWM wave with
certain harmonic wave. Therefore, the temperature, noise and vibration of the motor will be a little
higher than that at standard frequency operation.
Constant torque at low-speed operation
When the inverter drives a standard motor at low-speed running for a long time, the output torque
ratings will become worse due to the motor cooling is less effective. In that case, we suggest that
you should choose variable frequency motor.
Motor’s overload protecting threshold
When choose the adaptive motor, the inverter can effectively implement the motor thermal
protection. Otherwise it must adjust the motor protection parameters or other protection
measures to ensure that the motor is at a safe and reliable operation.
Operation above the motor rated frequency
If the motor exceeds its rated frequency operation, the noise will increase. It need play attention
to the motor vibration as well as ensure the motor bearings and mechanical devices to meet the
requirement of operation speed range.
Lubrication of mechanical devices
At long time low-speed operation, it should provide periodical lubrication maintenance for the
mechanical devices such as gear box and geared motor etc. to make sure the drive results meet
the site need.
Mechanical resonance point of load
Danger
Warning
Note
1

Chapter 1 Safety Information and Precautions Shenzhen Hpmont Technology Co., Ltd
―2―HD20 Series Inverters User Manual
By setting the skip frequency of the inverter (F05.17-F05.19) to avoid the load device or the
motor mechanical resonance point.
Check the insulation of the motor
For the first time using of the motor or after long time storage, it need check the insulation of the
motor to avoid damage the inverter because of the worse insulation motor.
Note:
Please use a 500V Mega-Ohm-Meter to test and the insulation resistance must be higher than
5Mohm.
Energy feedbacks to inverter
For the occasion to boost load and the like, negative torque often occurs. You should consider
setting proper parameters of the braking unit if the inverter is prone to overcurrent or overvoltage
fault trip.
1.3 Installation Limitation
No capacitor or varistor on the output side
Since the inverter output is PWM wave, it is strictly forbidden to connect capacitor for improving
the power factor or varistor for lightning protection to the output terminals so as to avoid the
inverter fault tripping or component damage.
Contactors and circuit breakers connected to the output of the inverter
If circuit breaker or contactor needs to be connected between the inverter and the motor, be sure
to operate these circuit breakers or contactor when the inverter has no output, so as to avoid any
damage to the inverter.
Rated voltage
The inverter is prohibited to be used beyond the specified range of operation voltage. If needed,
please use the suitable voltage regulation device to change the voltage.
Change three-phase input to single-phase input
For three-phase input inverter, the users should not change it to single-phase input.
If you have to use single-phase power supply, you should disable the input phase-loss protection
function. And the bus-voltage and current ripple will increase, which not only influences the life of
electrolytic capacitor but also deteriorates the performance of the inverter. In that case, the
inverter must be derating and should be within the inverter 60% rated value.
Lightning surge protection
The inverter internal design has lightning surge overcurrent protection circuit, and has certain
self-protection capacity against the lightning.
Altitude and derating

Shenzhen Hpmont Technology Co., Ltd Chapter 1 Safety Information and Precautions
HD20 Series Inverters User Manual ―3―
In the altitude exceeded 1000 meters area, since the heatsink efficiency will be reduced because
of the tenuous air, the inverter should be derating. Figure 1-1 is the derating curve of the inverter
rated current and the altitude.
Figure 1-1 Derating curve of inverter rated current and altitude
80%
100% Inverter’s rated current
Altitude(m)
1000 4000
1


Shenzhen Hpmont Technology Co., Ltd Chapter 2 Product Information
HD20 Series Inverters User Manual ―5―
Chapter 2 Product Information
2.1 Model Code Explanation
2.2 Nameplate
2.3 Specifications
HD20 - 4 T 5P5 G
Inverter series
Voltageratings
2:200-240V
4:380-460V
Adaptivemotor power
Refertosectionratings
Input phase
T:three-phase
D:single/three-phase
Product type
G:general
Multi-functioninverter
S:single-phase
SHF EN T
PRG JOG
RUN STOP
ST ORED CHARGE
10 mins
Shenzhen Hpmont Technology Co., Ltd
HD20-4T5P5G
MODEL:
POWER:
INPUT:
OUTPUT:
Version:
S/N:
5.5kW
3PH 380-460V 15A 50/60Hz
1.00
8.5kVA 0-460V 13A 0-400Hz
Barcode
Inverter’smodel
Adaptive motor
Inputspecification
Outputspecification
Software version
Serialnumber
2
Other manuals for HD20 Series
1
Table of contents
Other hpmont Inverter manuals

hpmont
hpmont HD07-S Series Specification sheet

hpmont
hpmont HD31 Series User manual

hpmont
hpmont HD09 Series User manual

hpmont
hpmont HD09-S Series User manual

hpmont
hpmont HD3N Series User manual

hpmont
hpmont HD20 Series User manual

hpmont
hpmont HD30-2D0P4G 1.0 5.8 2.5 0.4HD30-2D0P7G 1.5 10.5 4.0 0.75HD30-2D1P5G 2.8 18.5 7.5 1.5HD30-2D2P2GHD30-2T3P7G 5.9 19 17... User manual

hpmont
hpmont HD09-2S0P2G User manual

hpmont
hpmont HD3Z Series User manual

hpmont
hpmont HD31-4T2P2P User manual