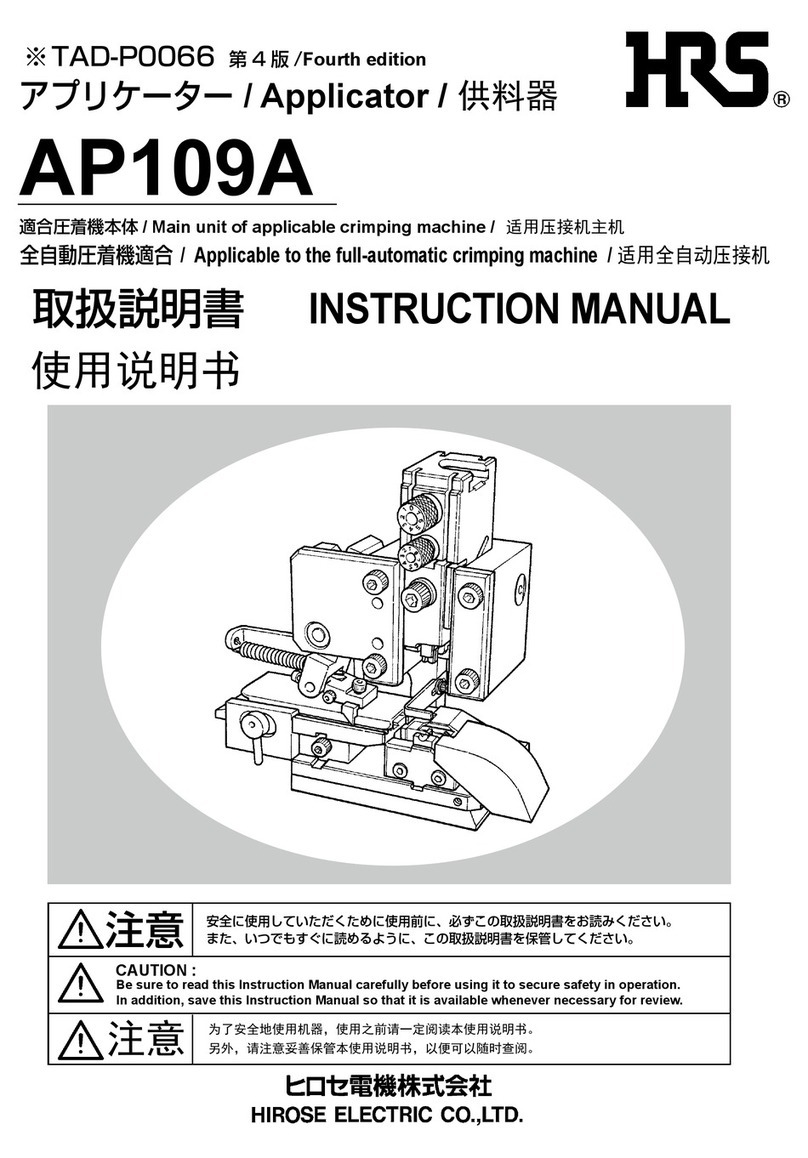
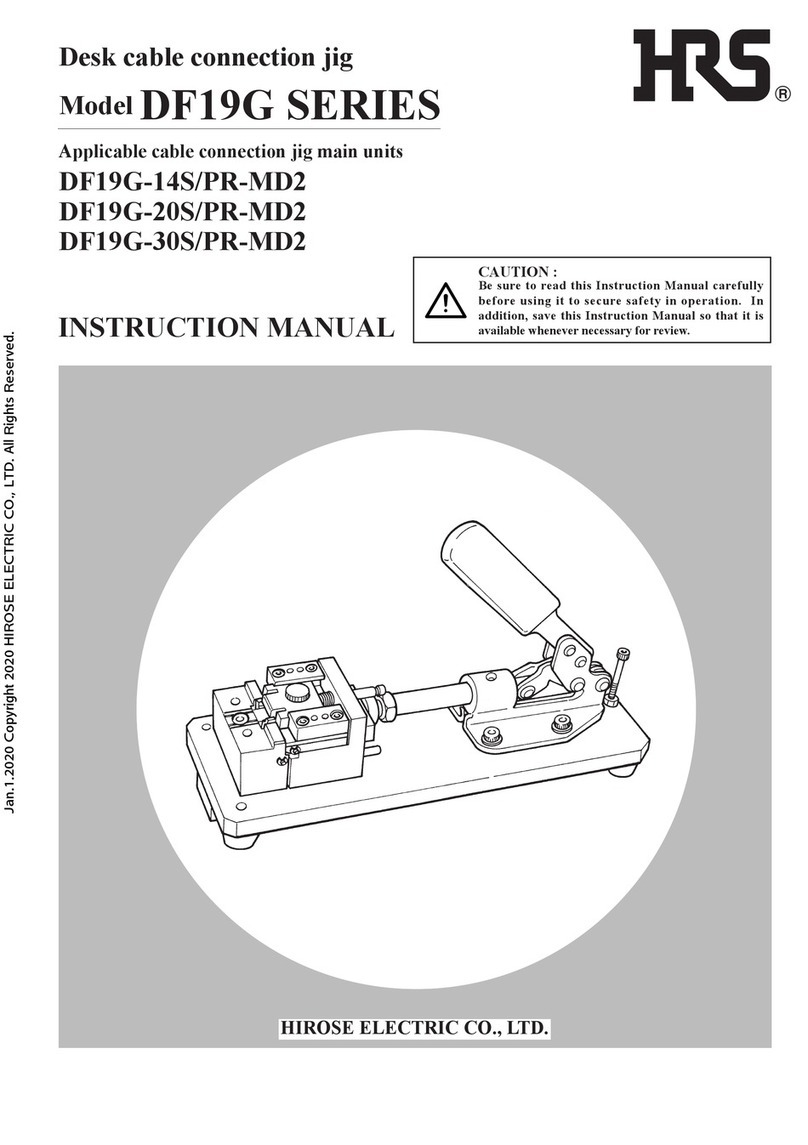
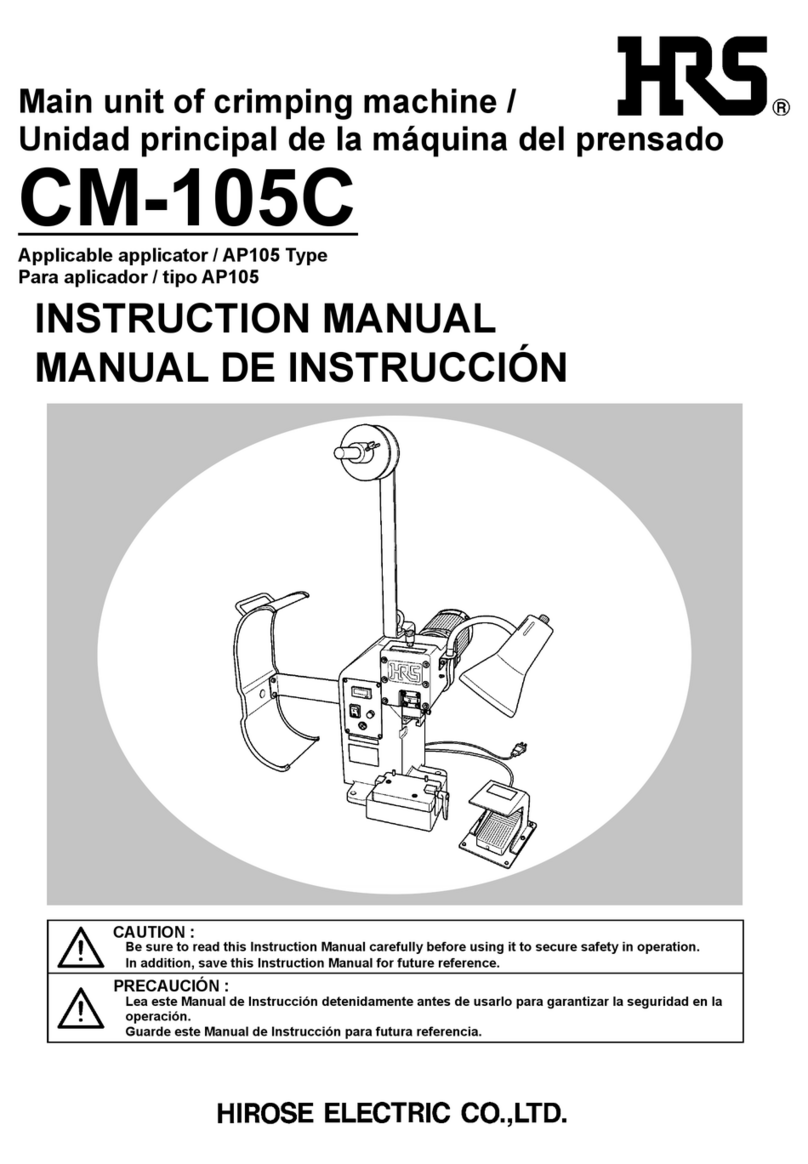
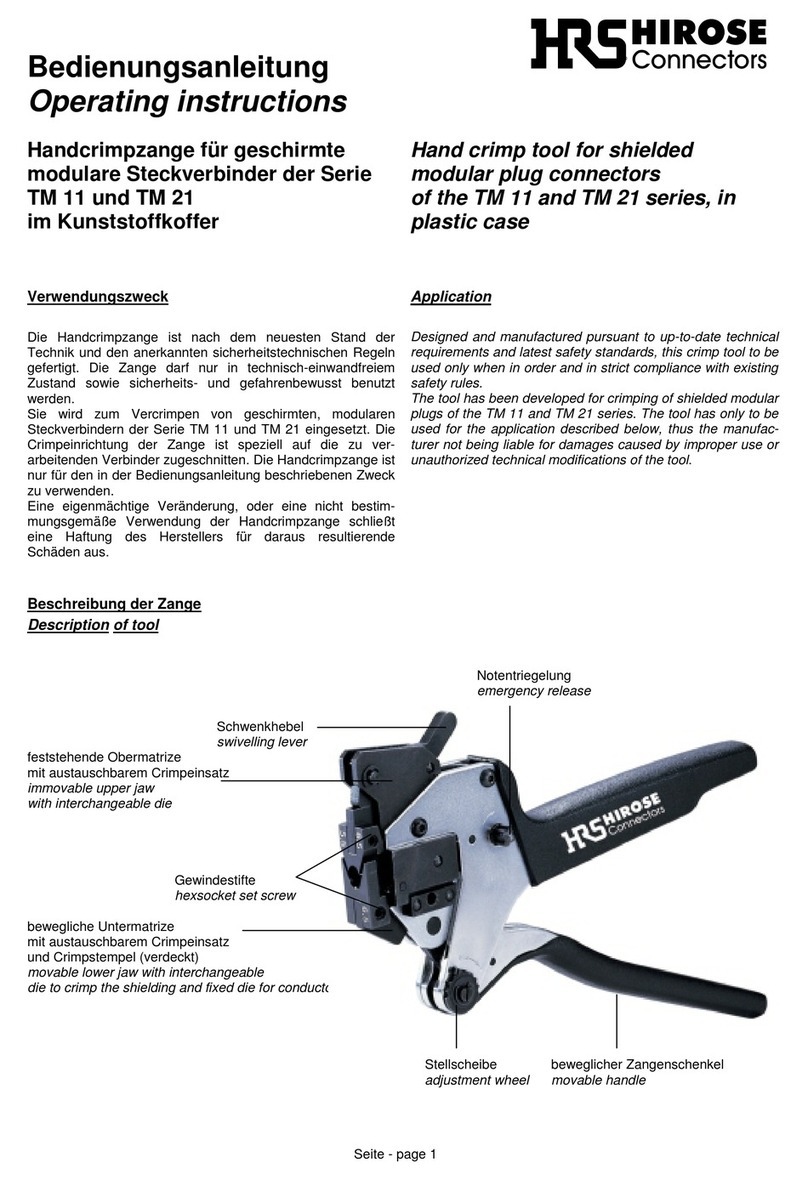
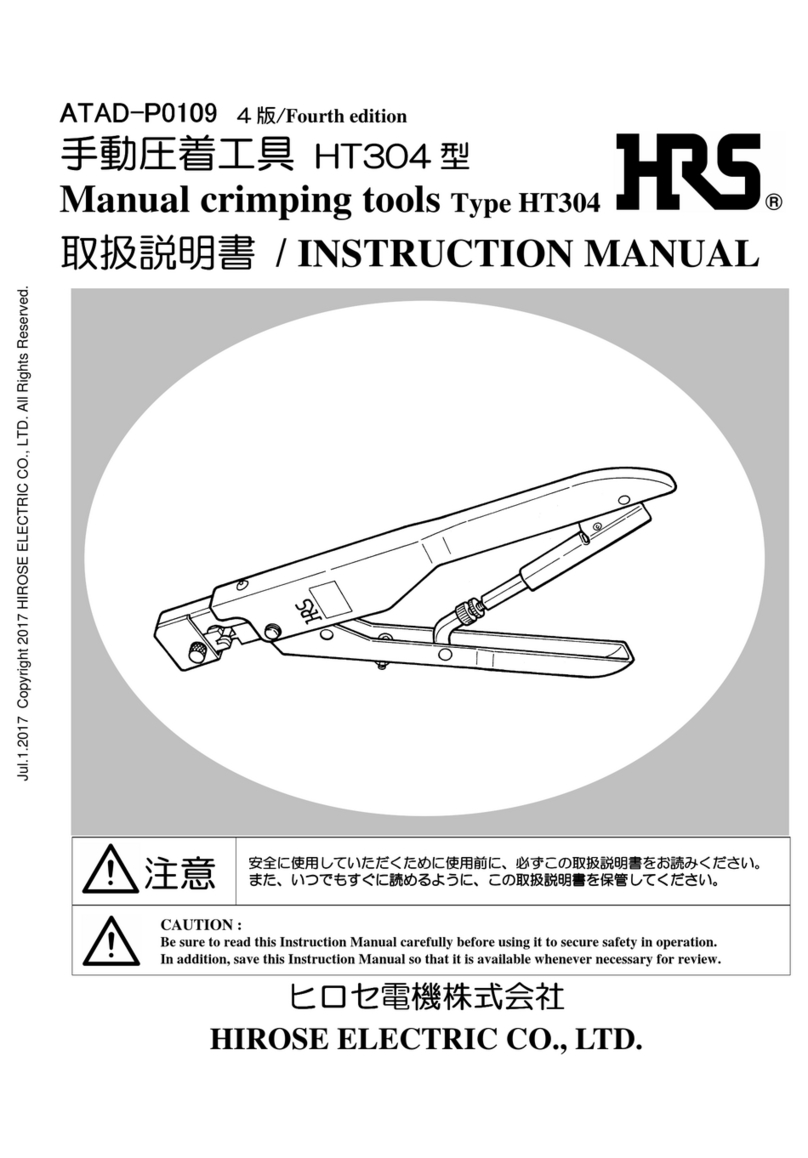
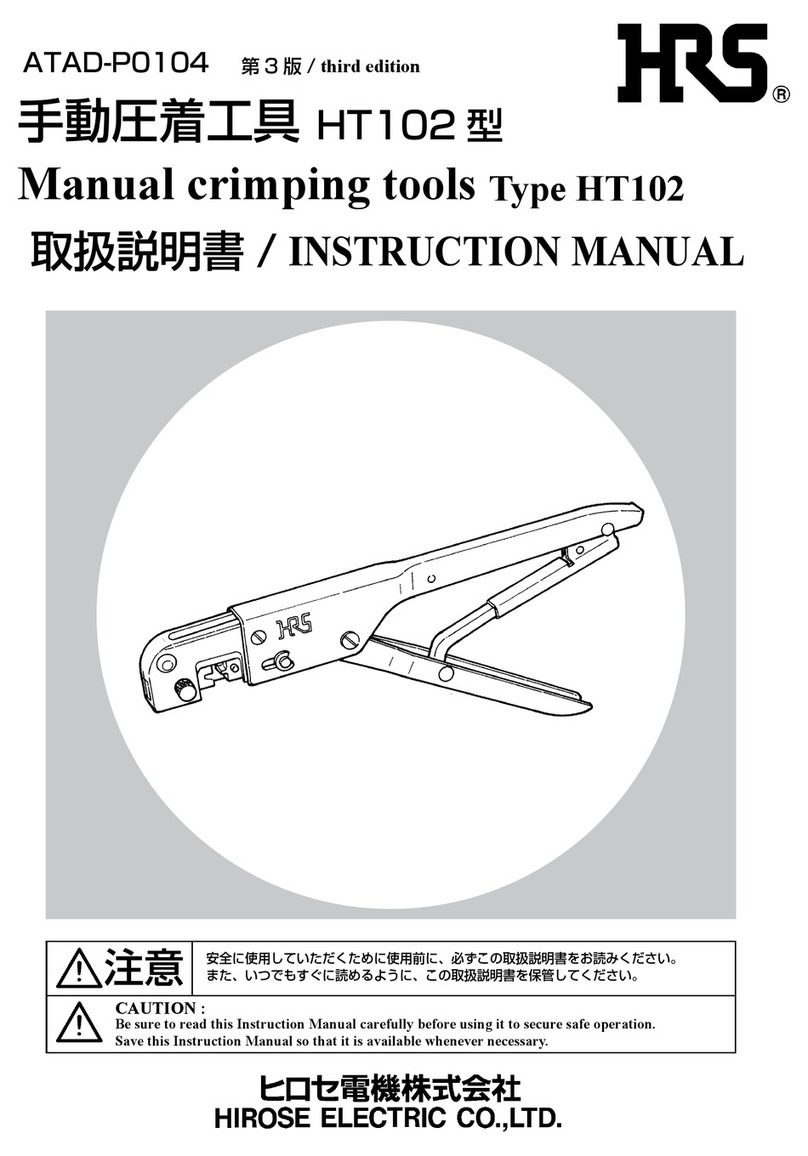
HRS CM-105 User manual

取扱説明書
INSTRUCTION MANUAL
アプリケーター/
Applicator / 供料器
AP105
適合圧着機本体 / Main unit of applicable crimping machine / 适用压接机主机
使用说明书
CM-105
TAD-P0064 第2版/Second edition
安全に使用していただくために使用前に、必ずこの取扱説明書をお読みください。
また、いつでもすぐに読めるように、この取扱説明書を保管してください。
注意
CAUTION :
Be sure to read this Instruction Manual carefully before using it to secure safety in operation.
In addition, save this Instruction Manual so that it is available whenever necessary for review.
为了安全地使用机器,使用之前请一定阅读本使用说明书。
另外,请注意妥善保管本使用说明书,以便可以随时查阅。
注意

i
安全にご使用していただくために
本機は、圧着作業上やむをえず機械の可動部品の近くで作業するため、可動部品に接触してしまう可能性
が常に存在していますので、実際にご使用されるオペレータの方および、保守、修理等をされる保全の方は、
以下の 安全についての注意事項 を熟読されて、怪我などされないようにご使用ください。
なお、本取扱説明書および、警告表示の内容を十分に理解し、指示を守ってください。
(I)警告表示の説明
※損害の程度の分類は、以下を参考とする。
重 傷: 失明、けが、やけど(高温・低温)、感電、骨折、中毒などで、後遺症が残るものおよび治療
に入院・長期の通院を要するものを言う。
傷 害: 治療に入院や長期の通院を要さない、けが、やけど、感電などを指す。
物的損害: 家屋・家財および家畜・ペットにかかわる拡大損害を指す。
取り扱いを誤った場合に、使用者が傷害を負う危険が想定される場合および物
的損害のみの発生が想定される場合。
取り扱いを誤った場合に、使用者が死亡または重傷を負う可能性が想定される
場合。
注意
警告
危険 取り扱いを誤った場合に、使用者が死亡または重傷を負う危険が切迫して生じ
ることが想定される場合。

ii
安全についての注意事項
注意
基本的注意事項
1.ご使用される前に本取扱説明書および、付属に入っている全ての説明書類を必ずお読みください。ま
た、いつでもすぐに読めるように、この取扱説明書を大切に保存してください。
安全装置
1.安全装置の欠落による事故を防ぐため、この機械を操作する際は、安全装置が所定の位置に正しく取
り付けられている事を確認してから操作してください。安全装置については、
iii 頁を参照してください。
2.安全装置を取り外した場合は、必ず元の位置に取り付け、正常に機能することを確認してください。
用 途
1.この機械は、本来の用途および本取扱説明書に規定された使用方法以外には使用しないでください。
用途以外の使用に対しては、当社は責任を負いません。
2.機械には、改造等を加えないでください。改造によって起きた事故に対しては、当社は責任を負いま
せん。
教育訓練
1.不慣れによる事故を防ぐため、この機械の操作についての教育、並びに、安全に作業を行うため雇用
者による教育を受け、適性な知識と操作技能を有するオペレータのみが、この機械をご使用ください。
そのため雇用者は、事前にオペレータの教育訓練の計画を立案し、実施することが必要です。
作業時の服装
1.衣類の巻き込みによる人身への事故を防ぐため、作業服を着用し袖口等のボタン、前開きのファスナー
等は必ずとめてください。
2.頭髪は帽子の着用等をして巻き込みの危険がないようにしてください。
3.履物はかかとが固定できるシューズ等を着用してください。
各使用段階に於ける注意事項
運 搬
1.移動の際は転倒、落下事故を起こさないよう十分安全策をとってください。
2.予期せぬ事故や、落下事故を防ぐため、再梱包をする場合は、着荷時と同じ状態もしくは、同等以上
の状態に再梱包してください。特に機械に付着した油は、十分に拭き取ってから再梱包してください。
開 梱
1.ダンボールでの梱包です。開梱の際は、落下に注意し慎重に取り出してください。
給 油
1.機械には、当社指定オイルまたは同等品を使用してください。
2.炎症、カブレを防ぐため、目や身体に油が付着した時は直ちに洗浄してください。
3.下痢、嘔吐を防ぐため、誤って飲み込んだ場合、直ちに医師の診断を受けてください。
保 守
1.不慣れによる事故を防ぐため、修理、調整は機械を熟知した保全技術者が本取扱説明書の指示範囲で
行ってください。また、部品交換の際は、当社純正部品を使ってください。不適切な修理・調整およ
び非純正部品による事故に対しては、当社は責任を負いません。
2.人身事故を防ぐため、修理調整・部品交換等の作業後は、ねじ・ナット等が緩んでいないことを確認
してください。
3.機械の使用期間中は、定期的に清掃を行ってください。この際、不意の起動による事故を防ぐため、
電源は必ず切ってから行ってください。
4.人身事故を防ぐため、修理・調整した結果、正常に動かない場合は直ちに操作を中止し、当社に連絡
し、修理依頼してください。

iii
アプリケーター AP105 型を
より安全にご使用していただくための注意事項
1.巻き込みによる人身への事故を防ぐため、可動部分および可動部近くには、指、頭髪、衣
類等を近づけたり、不要な物は置かないでください。
注意
安全装置について
ここに記載されている機械および安全装置はあくまで、日本国内仕様として製造された機種およびそれに
装着・同梱された安全装置であり、仕向地、仕様により異なる場合もあります。
フートスイッチカバー
足への危険を防止するカ
バーです。
ご使用上の注意
圧着機操作時の、最
低限の注意が記載さ
れています。
警告ラベル
内部に電装部があり、感
電の危険あり。
警告ラベル
触れると火傷をする事
がある。
フライホイール等による
手・頭髪等の巻き込みを
防止するカバーです。
フライホイールカバー
警告ラベル
カバー内には回転物があ
り、巻き込み、挟み込み
の危険あり。
安全カバー
指とプレス部の接触を
防止するカバーです。
指を切断する危険あ
り、安全カバー内には
絶対指を入れない事。
警告ラベル
アプリケーター側 本体側

iv
For safe operation
Because of the machine’s design, there is always a possibility of contact with moving parts. The operators
of the machine and the maintenance personnel who are in charge of maintenance and repair work are
required to read the following SAFETY INSTRUCTIONS so as to avoid injury.
To fully understand the descriptions given in this Instruction Manual and the warning labels attached on the
machine, the warning messages are used in accordance with the below-stated classication. Please be sure
to thoroughly understand the messages and follow the instructions.
(I) Description of warning messages
* Determine the degree of impairment referring to the below-stated classication.
Major injury : Indicates the loss of eyesight, wounds, burns (hyperthermal and hypothermal
burns), electric shocks, fracture of a bone, poisoning, etc. requiring emergency of
extended medical care.
Injury (Minor injury) : Indicates wounds, burns, electric shocks, etc. requiring medical treatment.
Damage to property : Indicates damage to the machinery and or the surrounding area.
Used in the case where it is assumed that misuse of the machine will
expose the operator to immediate danger of major injury or death.
Used in the case where it is assumed that misuse of the machine can
expose the operator to danger of major injury or death.
Used in the case where it is assumed that misuse of the machine can
expose the operator to danger of injury and can cause damage to property.
DANGER
WARNING
CAUTION

v
Safety instructions
Basic safety instructions
1. Be sure to read this Instruction Manual and all the instructions and other materials supplied with the unit
as accessories. Save this Instruction Manual and make it available for review whenever necessary.
Safety device and warning labels
1. To avoid possible accidents due to lack of the safety device, be sure to operate the machine after
ascertaining that the safety device is properly installed at the predetermined position. Refer to page vi
for detailed description of the safety device.
2. Once the safety device is detached from the machine, replace it to its original position and check to be
sure that it properly functions.
Application
1. This machine shall only be used for its originally intended purpose while following the instructions
speciedinthisInstructionManual.
2. Modicationstothismachineisprohibited. Weassume no responsibility for accidentsresulting from
modications.
Training
1. To prevent possible accidents caused by unfamiliarity with the operation of the machine, the machine
shall only be allowed to be used by the operators who have been trained for proper operation and
providedwithsufcientknowledgeofsafeoperationby the employee.Forthispurpose,theemployer
shall establish a training plan and implement it for the operators beforehand.
Working wear
1. To protect against possible accidents resulting in personal injury by your cloths being caught in the
machine, be sure wear a work uniform and securely fasten buttons on the sleeve cuffs and close the
zipperonthetopcenterplaitoftheuniform,ifany.Avoidwearinglooselyttedclothing.
2. The operator should fasten hair securely to avoid his/her hair from being caught in the machine.
3. The operator should wear close toe, rubber sole shoes.
Safety instructions in each category of work following the
delivery of the machine
Transportation
1. The machine shall be moved in such a way that secures safety avoid falling and dropping.
2. To protect against unexpected accidents or drop accidents, the machine shall be repackaged, if necessary, to
achieve the originally delivered state or better. Prior to repackaging, wipe off oil gathering on the machine.
Unpacking
1. The machine is shipped in a corrugated cardboard box. Be sure to take the machine out from the box
while cautiously avoiding dropping the machine.
Lubrication
1. Use oil of the kind designated by us or an equivalent for the machine.
2. In the event that oil should get in your eye or contact your skin, immediately wash to remove it to protect
against irritations and rashes.
3. In the event that you should swallow oil by mistake, immediately consult a doctor to prevent diarrhea and
emesis.
Maintenance
1. To prevent possible accidents caused by unfamiliarity with the operation of the machine, repair and
adjustment of the machine shall be conducted only by maintenance personnel who have a full knowledge
of the machine. Any repair and adjustment beyond the range covered by the instructions given in this
Instruction Manual is prohibited. We assume no responsibility for accidents caused by improper repair
or adjustment or the use of non-genuine part(s).
2. To protect against personal injury, check to be sure that screws and nuts are not loosened after the
completion of repair/adjusting works and replacement of parts.
3. Periodically clean the machine as long as it is commissioned. To prevent possible accidents caused by
abrupt start of the machine during cleaning, be sure disconnect the machine prior to cleaning.
4. In the event that your machine fails to perform normally after repair or adjusting immediately stop
operation and contact us for service so as to protect against personal injury.
CAUTION

vi
To avoid possible accidents resulting in personal injury caused by being caught in the
moving parts of the machine, extreme caution has to be taken to keep your hands, head
andngersawayfromthemovingpartsandtheareasurroundingthem.Also,donot
place any matter that is not necessary in the use of the machine near-by.
SAFETY INSTRUCTIONS TO BE FOLLOWED WHEN USING THE
APPLICATOR MODEL AP105
Safety device
For the machine and the safety device of which congurations are given below, the machine is made to
specications intended for Japanese home market and the safety device is mounted on and supplied with the
machine. The congurations may differ with destinations and specications.
Warning label
Electrical components are
installed inside. Danger of
electric shocks is present.
Safety instruction in use
The minimum safety
instructions to be
followed when operating
the crimping machine are
indicated.
The cover protects feet
against hazards.
Danger of cuts on
ngers is present.
Never place ngers
inside the safety cover.
Warning label
Warning label
A rotating component is
installed inside the cover.
Danger of contact injury
is present.
Warning label
If touching, you could get
burns.
The cover prevents
contact of hands, head,
etc. by the ywheel, etc.
Flywheel cover
Main unit
Foot switch cover
Safety cover
The cover prevents
contact between
ngers and the press.
Applicator
CAUTION

vii
为了安全地使用机器
※ 损害程度请参考以下的分类。
重伤 : 指发生失明、负伤、烫伤 ( 高温、低温 )、触电、骨折、中毒等后遗症和需要住院长期治疗
的伤害。
伤害 : 不需要住院、长期治疗的负伤、烫伤、触电等伤害。
财物损害 : 指有关房屋、财产以及家畜、宠物的损害。
操作错误,有可能发生预想的使用者负伤的危险和物品损害的可能。
操作错误,有发生预想的使用者死亡或负重伤的可能。
注意
警告
危险 操作错误,有发生预想的使用者死亡或负重伤的危险。
(I) 警告表示的说明
在进行压接工作时不得不在机器的动作零件附近操作,有接触到动作零件的危险,因此请使用机器的操作者和
维修人员一定仔细阅读 安全注意事项 ,避免受伤。
另外,请充分理解本使用说明书和警报表示的内容,并遵守指示操作。

viii
有关安全的注意事项
基本的注意事项
1. 使用之前,请一定阅读本使用说明和所有附属说明书。另外,请妥善保管本使用说明书,以便随时可以
查阅。
安全装置
1. 为了防止安全装置造成的事故,操作本机器时,请确认了安全装置正确地安装之后再进行操作。有关安
全装置请参照 ix 页。
2. 拆卸了安全装置后,请一定安装到原来的位置,并确认功能正常。
用 途
1. 请不要将本机器使用于本来的用途和本使用说明书规定的使用方法以外。使用于用途以外的话,本公司
不负任何责任。
2. 请不要改造机器。由于改造发生的事故,本公司不负任何责任。
教育训练
1. 为了防止因不熟练而发生事故,应就本机器的操作进行教育,并对雇用人员进行安全教育,只能让具有
一定知识和掌握操作功能的操作者使用本机器。
工作时的服装
1. 为了防止衣服卷入机器发生人身事故,请穿着工作服,并扣好钮扣,拉好拉链。
2. 请把头发放进帽子里,以便避免头发卷入机器。
3. 请穿可以系带固定的鞋。
在各阶段的注意事项
搬 运
1. 移动时,请充分采取安全措施防止机器翻倒、掉落。
2. 为了防止不能预想的事故、掉落事故,重新包装时,请包装成类似原包装的状态再搬运。特别是,应把
粘附在机器上的油充分擦干净之后再包装。
开 箱
1. 本包装使用纸箱包装。开箱时,请注意不要掉落,慢慢地取出来。
加 油
1. 请使用本公司指定的机油或同等品给机器加油。
2. 为了防止发炎、脓肿,眼睛,身体粘附油之后,请立即清洗。
3. 为了防止泻肚、呕吐,误饮后,请立即去医院治疗。
维 修
1. 为了防止因不熟练发生事故,一定请熟悉机器的维修技术人员在本使用说明书规定范围内修理、调整机
器。另外,更换零件时,请一定使用本公司的纯正零件。对于错误的修理和调整以及非纯正零件发生的
事故,本公司不负任何责任。
2. 为了防止人身事故,修理调整和更换零件后,请一定确认螺丝、螺母的紧固。
3. 使用机器期间,请定期清扫机器。此时,为了防止突然的起动造成事故,请一定关掉电源之后再进行操作。
4. 为了防止人身事故,修理调整后,运转不正常时,请立即停止操作,委托本公司修理。
注意

ix
供料器 AP105 型
为了更加安全地使用机器的注意事项
1. 为了防止因卷入机器发生事故,请不要把手指、头发、衣服等靠近机器转动部分和附近,
也不要把物品放到机器上面。
注意
关于安全装置
这里说明的机器和安全装置是作为日本国内规格生产的机器和同包装的安全装置,出口地区和规格不同机器也
可能不同。
这是防止手、头发等卷入
飞轮的护罩。
飞轮护罩
警告标签
护罩内有转动零件,有发
生卷入、夹入的危险。
这是防止手指和冲压部
接触的护罩。
有切断手指的危险,请
绝对不要把手指放入安
全护罩。
警告标签
供料器侧
安全护罩
主机侧
警告标签
触摸后有发生烫伤的危险。
警告标签
内部有电气零件,有触电
的危险。
使用时的注意事项
操作压接机器时的最低
限度注意事项。
脚踏开关护罩
这是防止伤害到脚的危险
的护罩。

x
目 次
1.仕様............................................................................................................................................1
2.各部の名称................................................................................................................................1
3.アプリケーターの取り付け、取り外し方法..........................................................................3
(1)圧着機本体への取り付け.........................................................................................................................3
(2)圧着機本体からの取り外し......................................................................................................................3
4.圧着作業....................................................................................................................................5
4-1. リール端子の取り付け、取り外し方法.......................................................................................5
(1)圧着機本体へのリール端子の取り付け..................................................................................................5
(2)圧着機本体からのリール端子の取り外し..............................................................................................5
(3)アプリケーターへの端子の取り付け......................................................................................................5
(4)アプリケーターからの端子の取り外し..................................................................................................5
4-2.電線の準備.....................................................................................................................................7
(1)端末加工....................................................................................................................................................7
4-3.圧着作業準備.................................................................................................................................7
(1)圧着作業方法.............................................................................................................................................7
(2)クリンプハイトの調整方法......................................................................................................................9
5.圧着品質.................................................................................................................................11
5-1.圧着条件......................................................................................................................................11
5-2.圧着品質基準..............................................................................................................................11
6.メンテナンス.........................................................................................................................13
(1)給油.........................................................................................................................................................13
(1)- 1 . ラム摺動部 ................................................................................................................................13
(1)- 2 . 端子送り機構摺動部 .................................................................................................................13
(2)日常のお手入れについて......................................................................................................................13
(3)消耗部品の交換......................................................................................................................................15
(3)- 1 . クリンパの交換 ..........................................................................................................................15
(3)- 2 . アンビルの交換 ..........................................................................................................................15
(4)消耗部品一覧表......................................................................................................................................15
7.トラブル処置.........................................................................................................................17
(1)アプリケーター機能上トラブル...........................................................................................................17
(2)圧着品質上トラブル..............................................................................................................................19
(3)フィードフィンガーの位置調整...........................................................................................................21
(4)スクラップガードの取付位置調整.......................................................................................................21
(5)端子位置の調整方法..............................................................................................................................23
8.付録.........................................................................................................................................25
(1)主要部品名称..........................................................................................................................................25
(2)展開図.....................................................................................................................................................28

xi
CONTENTS
1.Specications .................................................................................................................2
2.Conguration..................................................................................................................2
3. Attaching/detaching the applicator ...............................................................................4
(1) Attaching the applicator to the main unit of the crimping machine ........................................... 4
(2) Detaching the applicator..................................................................................................................4
4. Crimping operation ........................................................................................................6
4-1. Attaching/detaching the reel terminal ................................................................................ 6
(1) Attaching the reel terminal to the main unit of the crimping machine ........................................ 6
(2) Detaching the reel terminal from the main unit of the crimping machine ..................................6
(3) Attaching the terminal to the applicator ........................................................................................6
(4) Detaching the terminal from the applicator ...................................................................................6
4-2.Preparing an electric cable .................................................................................................. 8
(1) Processing the terminal ..................................................................................................................8
4-3.Making preparation for crimping operation ....................................................................... 8
(1) How to conduct crimping operation ..............................................................................................8
(2) How to adjust the crimp height ....................................................................................................10
5. Crimping quality ..........................................................................................................12
5-1. Crimping conditions........................................................................................................... 12
5-2. Crimping quality standards ............................................................................................... 12
6. Maintenance...................................................................................................................14
(1) Lubrication ...................................................................................................................................... 14
(1)-1. Sliding section of the ram ..........................................................................................................14
(1)-2. Sliding section of the terminal feed mechanism ........................................................................14
(2) Routine maintenance and inspection ...........................................................................................14
(3) Replacing the expendable parts.................................................................................................... 16
(3)-1. Replacing the crimper................................................................................................................16
(3)-2. Replacing the anvil ...................................................................................................................16
(4) Expendable parts............................................................................................................................ 16
7. Troubleshooting ............................................................................................................18
(1) Troubles with respect to functions of the applicator .................................................................. 18
(2) Troubles with respect to crimping quality.................................................................................... 20
(3)Adjustingthepositionofthefeednger...................................................................................... 22
(4) Adjusting the mounting position of the scrap guard .................................................................. 22
(5) How to adjust the position of the terminal ..................................................................................24
8. Appendix ........................................................................................................................26
(1) Major component names................................................................................................................26
(2) Development ................................................................................................................................... 28

xii
目 录
1. 规格 ............................................................................................................................................................................2
2. 各部的名称 ..............................................................................................................................................................2
3. 供料器的安装、拆卸方法 ..................................................................................................................................4
(1) 向压接机主机的安装 ................................................................................................................................................................4
(2) 从压接机主机的拆卸 ................................................................................................................................................................4
4. 压接作业 ...................................................................................................................................................................6
4-1. 卷盘端子的安装、拆卸方法 ...................................................................................................................................6
(1) 向压接机主机安装卷盘端子 ..................................................................................................................................................6
(2) 从压接机主机拆卸卷盘端子 ..................................................................................................................................................6
(3) 向供料器安装端子 .....................................................................................................................................................................6
(4) 从供料器拆卸端子 .....................................................................................................................................................................6
4-2. 电线的准备 ....................................................................................................................................................................8
(1) 终端加工 ........................................................................................................................................................................................8
4-3. 压接作业准备 ...............................................................................................................................................................8
(1) 压接作业方法 ..............................................................................................................................................................................8
(2) 夹紧高度的调整方法 .............................................................................................................................................................10
5. 压接质量 ................................................................................................................................................................ 12
5-1. 压接条件 ...................................................................................................................................................................... 12
5-2. 压接质量标准 ............................................................................................................................................................ 12
6. 维修 .........................................................................................................................................................................14
(1) 加油 ..............................................................................................................................................................................................14
(1)-1 压头活动部 ................................................................................................................................... 14
(1)-2 端子传送机构活动部 ..................................................................................................................... 14
(2) 关于日常保养 ...........................................................................................................................................................................14
(3) 消耗零件的更换.......................................................................................................................................................................16
(3)-1 夹紧器的更换 .............................................................................................................................. 16
(3)-2 砧台的更换 .................................................................................................................................. 16
(4) 消耗零件 .....................................................................................................................................................................................16
7. 故障处理 ................................................................................................................................................................ 18
(1) 供料器功能的故障 ..................................................................................................................................................................18
(2) 压接质量的故障.......................................................................................................................................................................20
(3) 供料指的位置调整 ..................................................................................................................................................................22
(4) 废屑防护器安装位置的调整 ............................................................................................................................................... 22
(5) 端子位置的调整方法 .............................................................................................................................................................24
8. 附录 .........................................................................................................................................................................26
(1) 主要零件名称 ...........................................................................................................................................................................26
(2) 详细图 ........................................................................................................................................................................................28

−
1
−
1.仕様
項 目 仕 様
ワイヤークリンプハイト調整 ダイヤル回転式 16 段階調整
インシュレーションクリンプハイト調整
ダイヤル回転式 8 段階調整
外形寸法(ラム下死点時) 縦(高さ)170 mm X 横 170 mm X 奥行き 80 mm
重 量 5 kg
適合圧着機本体 CM-105 型
2.各部の名称
フィードレバー
シャンク
ワイヤーディスク
スペーサーディスク
ラム
インシュレーションクリンプハイト
調節ダイヤル
安全カバー
ワイヤーストッパー
スクラップガード
ベースプレート
ターミナルレール
カムレバー
*機種により形状の異なる場合があります。

−
2
−
1.Specications
Item Specication
Adjustment of the wire crimp height Adjustable in 16 stages by turning dial
Adjustment of the insulation crimp height Adjustable in 8 stages by turning dial
Outside dimensions 170 mm (length, height) x 170 mm (width) x 80 mm (depth)
(with the ram placed in its lower dead center)
Weight 5 kg
Main unit of applicable crimping machine Model CM-105
Feed lever / 供料杆
Shank / 轴
Wire disk / 线圆盘
Ram / 压头
Spacer disk / 衬垫圆盘
Insulation crimp height adjusting dial /
调整绝缘夹紧高度拨盘
Safety cover / 安全护罩
Wire stopper / 线止动器
Scrap guard / 废屑防护器
Base plate / 底板
Terminal rail / 台轨
Cam lever / 凸轮杆
2.Conguration
1. 规格
* There are cases where the shape may vary in accordance with the models.
※ 机种不同,形状与图示有可能不同。
2. 各部的名称
项目 规格
调整线夹紧高度 拨盘式 16 档调整
调整绝缘夹紧高度 拨盘式 8 档调整
外形尺寸 ( 压头下死点时 ) 纵 ( 高速 ) 170mm× 横 170mm× 进深 80mm
重量 5kg
适合压接机主机 CM-105 型

−
3
−
3.アプリケーターの取り付け、取り外し方法
注意
1) 圧着機本体の電源を OFF にしてください。
2) 圧着機本体への取り付けの際は、圧着機本体
CM-105 型取扱説明書記載の運転前動作確認を必
ず行い、ラムが上死点 1にあることを、確認して
ください。
3) アプリケーターベース下面 2とボルスタープレー
ト上面(接触面)3のゴミ・ホコリ等を完全に取
り除いてください。
4) フィード送りレバー 4を矢印方向に倒しつづけ、
シャンク 5を持ち上げ(完全に抜かないこと)、
本体の溝部 6に合わせてください。
5) アプリケーターをボルスタープレート 3上面に乗
せ、ストッパーブロック 7に突き当たるまで滑り
こませてください。この時、シャンク 5がラム
1に取り付いている事を確認してください。
6) クランプレバー 8を矢印 A方向に回して締め付
けてください。
(注意) これでアプリケーターの取り付けは完了です。こ
の状態での空打ちは絶対に行わないでください。
(2)圧着機本体からの取り外し
1) クランプレバー 8を矢印 B方向に回して緩め、
アプリケータを引くようにして取り外してくださ
い。
(注意) 取り外しの際、アプリケーターに手や指を挟まれ
ないようご注意ください。
不意の起動による事故を防ぐため、圧着機本体の電源を切ってから作業を行ってください。
2
1
37
5
6
6
4
1
5
A
7
B
8
(1)圧着機本体への取り付け

−
4
−
(1) Attaching the applicator to the main unit of the crimping machine
1) Turn off the power to the main unit of the crimping machine.
2) To attach the applicator to the main unit of the crimping machine, be sure to check the performance before
putting the machine into service referring to the Instruction Manual for the main unit of the crimping machine,
Model CM-105 to make sure that the ram is in its top dead center 1.
3) Thoroughly remove dust and stains from bottom face 2of the applicator base and top face (contact plane) 3
of the bolster plate.
4) Keeping terminal feed lever 4held tilted in the direction of the arrow, lift shank 5(do not completely draw it
out) to t in slit 6on the main shaft.
5) Place the applicator on the top face of bolster plate 3and slide it forward until it is pressed against stopper
block 7.
6) Press clamp lever 8in the direction of arrow Auntil it is secured.
At this time, make sure that shank 5is attaching on ram 1.
(Caution) This completes the installation of the applicator. Never carry out a false placement in this state.
(2) Detaching the applicator
1) Loosen clamp lever 8by turning it in the direction of arrow Band pull the applicator until it comes off.
(Caution)Whendetaching,becarefulnottoallowyourhand(s)ornger(s)tobecaughtintheapplicator.
CAUTION :
To protect against possible accidents due to abrupt start of the machine, start your work after
disconnecting the power to the main unit of the crimping machine.
3. Attaching/detaching the applicator
3. 供料器的安装、拆卸方法
为了防止突然的起动造成事故,请关掉压接机主机的电源之后再进行操作。
注意
(1) 向压接机主机的安装
1) 请关闭 (OFF) 压接机主机的电源。
2) 向压接机主机安装时,请一定确认压接机主机 CM-105 型使用说明书中记载的运转前的操作,请在压头移动到
上死点 1时进行确认。
3) 请把供料器座下面 2和承板上面 ( 接触面 )3的脏污、灰尘等彻底清扫干净。
4) 请向箭头方向慢慢地放倒供料杆 4,抬起轴 5( 不要全部拔出 ),对准主机的槽部 6。
5) 把供料器放到承板 3上面,滑动供料器顶到止动器 7。
6) 向箭头 A方向转动夹杆 8,然后拧紧固定。
此时,请确认轴 5安装在压头 1上。
( 注意 ) 这样供料器的安装完毕。在此状态下,请绝对不要空机运转。
(2) 从压接机主机的拆卸
1) 向箭头 B方向转动夹杆 8拧松,拉出供料器拆卸下来。
( 注意 ) 拆卸时,请注意不要被供料器的齿轮夹到手指。

−
5
−
3) ねじ 4を矢印 C方向に下げ、送り爪 6の先端が
端子キャリアのパイロット穴 7に入っていること
を確認してください。
リール端子を若干矢印 D方向に引き、カムレバー
1を矢印 E方向に回転させてください。これで
端子の取り付けは完了です。
(4)アプリケーターからの端子の取り外し
カムレバー 1を矢印 A方向に回転させ、送り爪 6
を矢印 B方向に上げてください。次に、端子を矢
印D方向に引き出して取り外してください。
4.圧着作業
注意 不意の起動による事故を防ぐため、圧着機本体の電源を切ってから作業を行ってください。
1) ちょうねじ 1を緩めフランジ 2を外し、リール
端子 3をリールシャフト 4に通してください。
2) 再びフランジ 2を入れ軽く押え、ちょうねじ 1
を締め、取り付けてください。
3
1
4
2
A
7
6
5
3
3
2A
1
4
5
1
D
6
B
(2)
圧着機本体からのリール端子の取り外し
1) 取り付け時と同様の作業を行い、リール端子を取
り外してください。
(3)アプリケーターへの端子の取り付け
1) カムレバー 1を矢印 A方向に回転させ、端子ガ
イド 2に沿って端子 3を挿入してください。
(注意) 紙テープがからまないように、注意してください。
2) さらに、ねじ 4を矢印 B方向に上げ、先頭の端
子が、アンビル 5の真上より若干右に行きすぎる
程度まで、挿入してください。
4
C
7
E
3) リール端子 3を矢印 A方向に回しながら、紙テー
プ5と共に、端子 6を引き出してください。
4) 端子 6は、圧着機本体左側を通りターミナルガイ
ド7からアプリケーターに挿入してください。
D
A
1
6
4-1. リール端子の取り付け、取り外し方法
(1)圧着機本体へのリール端子の取り付け
B

−
6
−
4. Crimping operation
4-1. Attaching/detaching the reel terminal
(1) Attaching the reel terminal to the main unit of the crimping machine
1) Loosen thumb-screw 1, remove ange 2, and pass reel terminal 3over reel shaft 4.
2) Re-place ange 2, lightly press it and re-tighten thumb-screw 1to the correct position.
3) Turning reel terminal 3in the direction of arrow A, draw out terminal 6together with paper tape 5.
4) Insert terminal 6into the applicator from terminal guide 7through the left-hand side of the main unit of the
crimping machine.
(2) Detaching the reel terminal from the main unit of the crimping machine
1) Detach the reel terminal following the same procedure as that taken to attach it.
(3) Attaching the terminal to the applicator
1) Turning cam lever 1in the direction of arrow A, insert terminal 3along terminal guide 2.
(Caution) Take care to avoid paper tape from entangling around the terminal.
2) Furthermore, lift screw 4in the direction of arrow B, and insert the terminal into the applicator until it goes
slightly beyond just above anvil 5in terms of the rightward direction.
3) Lower screw 4in the direction of arrow C. Check to be sure that the top of gathering pallet 6 ts in pilot hole
7in the terminal carrier.
Draw the reel terminal slightly in the direction of arrow Dand turn cam lever 1in the direction of arrow E.
This completes the installation of the terminal.
(4) Detaching the terminal from the applicator
Turn cam lever 1in the direction of arrow Aand lift gathering pallet 6in the direction of arrow B. Then, draw
out the terminal in the direction of arrow Duntil it comes off.
CAUTION :
To protect against possible accidents due to abrupt start of the machine, start your work after
disconnecting the power to the main unit of the crimping machine.
4. 压接作业
为了防止突然的起动造成事故,请关掉压接机主机的电源之后再进行操作。
注意
4-1. 卷盘端子的安装、拆卸方法
(1) 向压接机主机安装卷盘端子
1) 拧松蝶形螺丝 1,卸下凸缘法兰 2,请把卷盘端子 3穿过卷盘轴 4。
2) 然后再放入凸缘法兰 2并轻轻地按压,拧紧蝶形螺丝 1安装好。
3) 一边向箭头 A方向转动卷盘端子 3,一边拉出纸带 5和端子 6。
4) 把端子 6穿过压接机主机座侧,向台导向器 7插入供料器。
(2) 从压接机主机拆卸卷盘端子
1) 请与安装时那样,拆卸卷盘端子。
(3) 向供料器安装端子
1) 向箭头 A方向转动凸轮杆 1,沿端子导向器 2插入端子 3。
( 注意 ) 请注意不要缠住纸带。
2) 然后,向箭头 B方向上升螺丝 4,在移动到砧台 5上方稍右的位置插入端子。
3) 向箭头 C方向下降螺丝 4,请确认传送爪 6的前端是否进入了端子传送的操作孔 7。
向箭头 D方向稍稍拉卷盘端子,请让凸轮杆 1向箭头 E方向转动。这样端子的安装完毕。
(4) 从供料器拆卸端子
请让凸轮杆 1向箭头 A方向转动,向箭头 B方向提升传送爪 6。然后,向箭头 D方向拉端子就可以卸下。

−
7
−
2) 圧着機本体の電源プラグを電源コンセントに接続
し、主電源スイッチを ON にしてください。
3) 電線をストリップした先端を端子のほぼ真上で、
ワイヤーストッパー 4に軽く突き当ててくださ
い。
(注意) 電線がワイヤーストッパー 4から離れていたり、
ワイヤーストッパー 4に強く押し付けた状態で
圧着すると、圧着品質不良の原因となります。
4) フートスイッチを踏んでください。
すると、圧着機ラム部が1回上下動作することに
より、アプリケーターラムが上下動作し、圧着作
業が行われます。
注意
4-3.圧着作業準備
不意の起動による事故を防ぐため、圧着機本体の電源を切ってから作業を行ってください。
(1)圧着作業方法
1) ワイヤーディスク 1、スペーサーディスク 2、イ
ンシュレーションクリンプハイト調整ダイヤル 3
の位置を左図と同じ位置(A-W-1)にセットして
ください。
設定する位置
4-2.電線の準備
(1)端末加工
1) あらかじめ電線の先端の被覆をストリップしてお
いてください。(「5. 圧着品質」(P.11)、ストリッ
プ長さ参照)
2) ストリップの際は、芯線のキレ、キズ、ばらけ、
曲がりに注意して加工してください。
Setting Positions
设定的位置
1
2
3
4
Other manuals for CM-105
1
This manual suits for next models
1
Table of contents
Other HRS Crimping Tools manuals