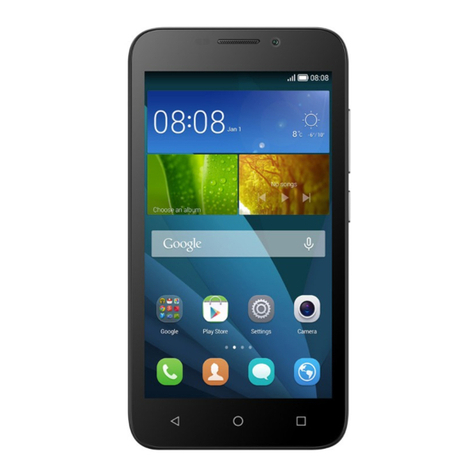
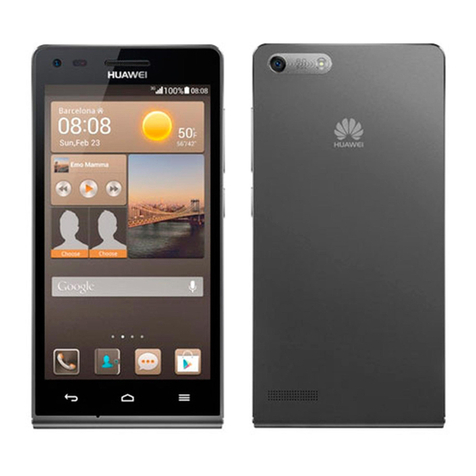
Huawei G7220 User manual

Copyright © Huawei Technologies Co., Ltd. 2012.
All rights reserved.
Trademarks and Permissions
, , and are trademarks or
registered trademarks of Huawei Technologies Co., Ltd.
The Bluetooth®word mark and logos are registered
trademarks owned by Bluetooth SIG, Inc. and any use of such
marks by Huawei Technologies Co., Ltd. is under license.
Other trademarks, product, service and company names
mentioned are the property of their respective owners.
NO WARRANTY
THE CONTENTS OF THIS MANUAL ARE PROVIDED “AS IS”.
EXCEPT AS REQUIRED BY APPLICABLE LAWS, NO WARRANTIES
OF ANY KIND, EITHER EXPRESS OR IMPLIED, INCLUDING BUT
NOT LIMITED TO, THE IMPLIED WARRANTIES OF
MERCHANTABILITY AND FITNESS FOR A PARTICULAR PURPOSE,
ARE MADE IN RELATION TO THE ACCURACY, RELIABILITY OR
CONTENTS OF THIS MANUAL.
TO THE MAXIMUM EXTENT PERMITTED BY APPLICABLE LAW,
IN NO CASE SHALL HUAWEI TECHNOLOGIES CO., LTD BE
LIABLE FOR ANY SPECIAL, INCIDENTAL, INDIRECT, OR
CONSEQUENTIAL DAMAGES, OR LOST PROFITS, BUSINESS,
REVENUE, DATA, GOODWILL OR ANTICIPATED SAVINGS.

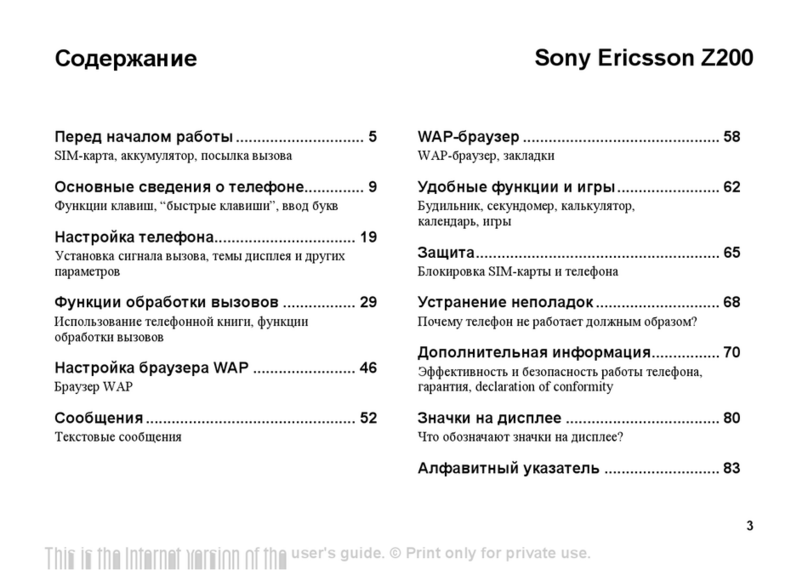
Contents
1 Getting to Know Your Phone ................................................1
Your Phone ........................................................................................... 1
Keys and Functions ........................................................................... 2
Main Screen Icons ............................................................................. 2
2 Getting Started .......................................................................4
Installing the SIM Card and Battery........................................... 4
Removing the Battery and the SIM Card................................. 4
Installing and Removing a microSD Card................................ 5
Charging the Battery........................................................................ 5
Calibrating the Screen ..................................................................... 6
Accessing Applications.................................................................... 6
Navigating with the Main Menu ................................................. 7
Phone Lock........................................................................................... 8
Mass Storage....................................................................................... 8
PIN and PUK ........................................................................................ 9
Locking the Screen..........................................................................10
3 Voice Services ...................................................................... 11
Making a Call.....................................................................................11
Answering a call ...............................................................................11
3 Text Input ............................................................................. 13
Changing the Text Input Mode..................................................13
Entering a Word ...............................................................................14

ii
Entering Numbers ...........................................................................14
Entering Symbols.............................................................................15
4 Messaging ............................................................................ 15
Writing and Sending a Text Message .....................................15
Writing and Sending a Multimedia Message......................16
5 Voice Mail ............................................................................. 18
6 Phonebook ........................................................................... 18
Creating a Contact ..........................................................................18
Searching for a Contact ................................................................19
Setting the Preferred Storage.....................................................19
Copying Contacts ............................................................................19
Contact Group...................................................................................20
7 Multimedia ........................................................................... 22
Camera.................................................................................................22
Video Recorder.................................................................................22
Media Player ...................................................................................... 23
Image Viewer ....................................................................................25
FM Radio .............................................................................................25
Sound Recorder................................................................................26
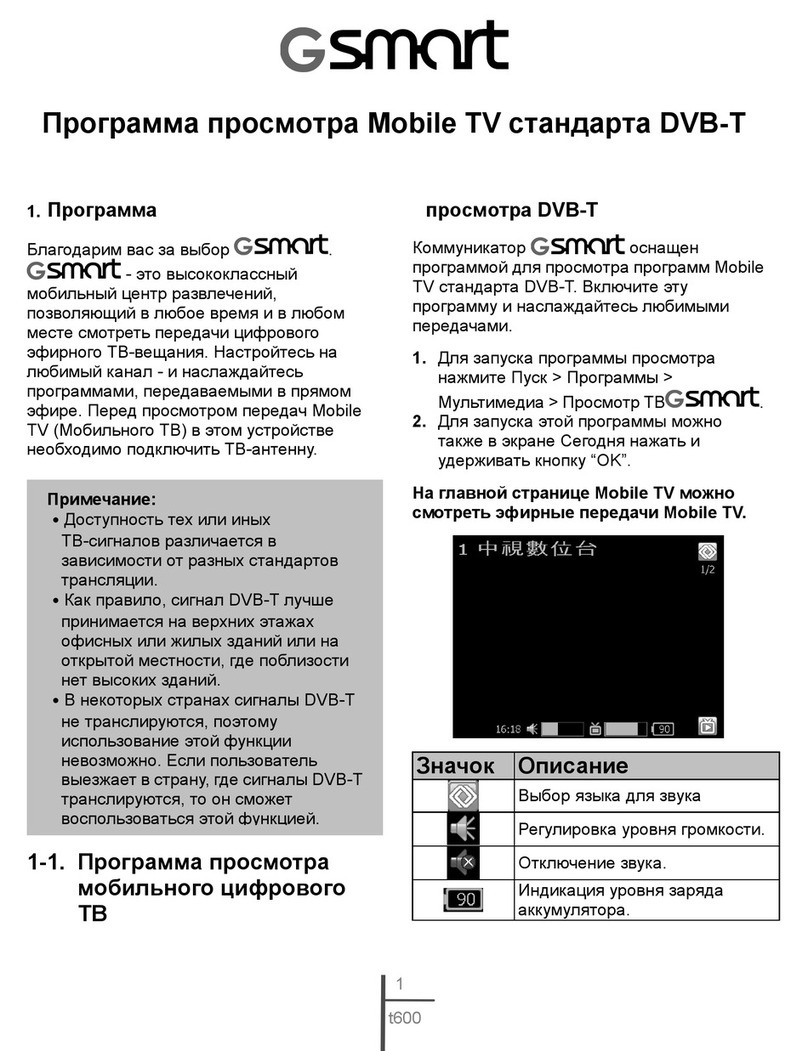
Mobile TV............................................................................................27
8 WAP Browser ....................................................................... 28
Editing a Data Account .................................................................28
Connecting to a WLAN ................................................................. 29
Configuring WAP Settings...........................................................29
Accessing a Website.......................................................................30

iii
9 Bluetooth.............................................................................. 30
Connecting a Bluetooth Headset to Your Phone...............30
Transferring Data .............................................................................31
10 File Manager ...................................................................... 32
11 Tools.................................................................................... 32
Alarms...................................................................................................32
Calendar...............................................................................................32
Tasks ......................................................................................................33
Calculator ............................................................................................33
12 Java ..................................................................................... 33
Installing a Java Application........................................................34
Running a Java Application.........................................................34
Removing a Java Application......................................................34
13 Chat Functions ................................................................... 35
14 Warnings and Precautions ............................................... 36

1
1 Getting to Know Your Phone
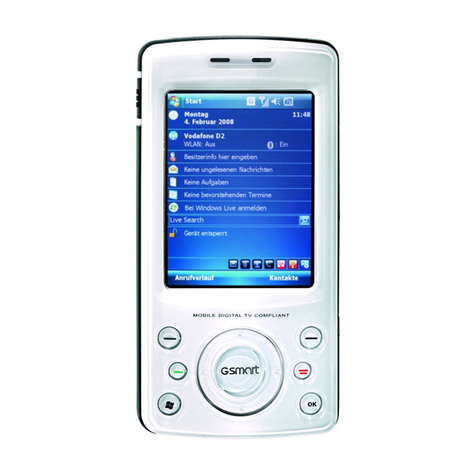
Your Phone
1 Earpiece 8 Power key
2 Indicator light 9
Charger jack/micro
Universal serial bus (USB)
port
3 Screen 10 Headset jack
4 Back key 11 Telescopic antenna
5 Home key 12 Camera
6 Call/Answer key 13 Volume keys
7 Microphone 14 Speaker

2
Keys and Functions
Press… To…
zMake a call.
zAnswer a call.
zEnd or reject a call.
zReturn to standby mode.
Access the main menu in standby mode.
zPower the phone on or off (press and hold this
key for about 3 seconds).
zEnd or reject a call.
zReturn to standby mode.
zLock the screen in standby mode. And when the
screen is locked, press the key to access the
unlock interface.
Increase the volume (press ) or decrease the
volume (press ).
Main Screen Icons
Icon Indicates…
Signal strength.

3
Icon Indicates…
Media player enabled.
Wireless local area network (WLAN)
connected.
New text messages.
New multimedia messages.
Call forwarding enabled.
Missed calls.
Alarms enabled.
Battery level.
General or My style profile activated.
Meeting profile activated.
Outdoor profile activated.
Silent profile activated.
Headset connected.
Bluetooth turned on.
microSD card installed.

4
2 Getting Started
Installing the SIM Card and Battery
When installing the SIM card, ensure that the chip of SIM
1 faces down and the chip of SIM 2 faces up.
Before installing the subscriber identity module (SIM) card,
ensure that the battery is removed.
Removing the Battery and the SIM Card
Before removing the battery and the SIM card, ensure that your
phone is powered off. And before removing the SIM card,
ensure that the battery is removed.

5
Installing and Removing a microSD Card
Before installing or removing a microSD card, power the
phone off. When the phone is powered back on, it
indicates whether the microSD card has been installed
correctly.
You can expand your phone's memory capacity by installing a
microSD card. When installing a microSD card, ensure that the
gold contact area faces down.
Charging the Battery
1. Connect the small end of the USB cable to the phone’s
charger jack and the larger end to the charger.
2. Connect the charger to a power socket.

6
3. Wait until the battery is fully charged.
While the battery is charging, the charging icon blinks. When
the charging icon is stops blinking, the battery is fully
charged.
4. Unplug the charger from the power socket and the USB
cable from the phone.
Calibrating the Screen
Press and hold when power on the phone, forced calibration
will be started. Once calibrated, the phone responds more
accurately to your touch on the screen.
1. In standby mode, tap and select > Phone
settings > Pen calibration. During the calibration, a series
of icons are displayed on the screen.
2. During the calibration, a sequence of are displayed on
the screen. Tap the center of each that appears on the
screen to complete the calibration.
During the calibration, tap each in a normal way to
ensure that the phone will respond accurately to your
touch.
Accessing Applications
In standby mode, flick your finger left or right to access the
following applications.

7
zDialer
Make a call, send a message, add a contact, or replace an
existing contact from a call record.
zMessaging
Write a text message or a multimedia message. Read the
current messages. Tap the relevant icon below the current
message to write, reply to, or delete a message.
zPhonebook
Add a new contact or a new group. Edit a contact or a group.
You can also make a call or send a message to a contact.
zMedia player
Access the media player. You can tap to configure the
relevant settings, and tap to play audio clips.
zWidgets
Tap Widgets to access the widget tab.
Navigating with the Main Menu
To navigate with the main menu:
1. In standby mode, tap .
2. Flick your finger left or right, and tap the desired application.
3. Flick your finger up or down, and tap the desired option.
4. Tap Back to return to the previous screen, press to
return to the main menu in an application screen or press
to return to standby mode in the main menu.

8
Phone Lock
The phone lock protects your phone from unauthorized use.
The preset phone unlock code is 1234. By default, the phone
lock is disabled. Once the phone lock is enabled, you must
enter the phone unlock code each time you powered on the
phone.
To enable the phone lock:
1. Tap and select > Security settings > Phone
security > Phone lock.
2. Tap the text box to access the on-screen keypad.
3. Enter the phone code, and tap OK.
To change the present phone unlock code:
1. Tap and select > Security settings > Phone
security > Change password.
4. Tap the text box to access the on-screen keypad.
5. Enter the present phone unlock code, tap OK.
6. Enter a new phone unlock code, and tap OK.
7. Enter the new phone unlock code again to confirm it.
Mass Storage
When the phone is connected to a personal computer (PC)
using a USB cable, Mass storage is displayed on the phone
screen.
In Mass storage mode, you can manage the files stored on the
phone and its microSD card from PC’s file manager utility.

9
The phone and its microSD card are displayed as removable
disks on the PC. You can perform the following operations:
zDouble-click a disk to open it.
zCopy, paste, or delete files.
zDisconnect the phone from the PC.
zEnsure that you connect and disconnect the USB cable
properly.
zDo not run the formatting command on the PC to
format the phone memory; doing so may permanently
damage the phone memory.
zYou can transfer data and charge the battery by
connecting the phone to the PC with the USB cable.
PIN and PUK
The personal identification number (PIN) protects your SIM
card from unauthorized use. The PIN unblocking key (PUK)
unlocks a blocked PIN. Both the PIN and the PUK are provided
with the SIM card. For details, contact your service provider.
To enable the PIN lock:
1. Tap and select > Security settings > SIM 1
security or SIM 2 security > PIN lock.
2. Tap the text box to access the on-screen keypad.
3. Enter the PIN, and tap OK.
If you enter the incorrect PIN a specified number of times the
phone prompts you to enter the PUK. If you enter the incorrect
PUK a specified number of times, the SIM card will become

10
permanently invalid. If this occurs, contact your service provider
for a new SIM card.
Locking the Screen
To lock the screen, press in standby mode.
To unlock the keypad, slide to . You can also slide
to the up/ left/ right side to access the relevant
application.
If the Screen auto lock function is enabled and the phone is in
standby mode for a preset period, the phone automatically
locks the keypad.
To enable the Screen auto lock function, tap and select
> Phone settings > Display > Screen auto lock, and
select the desired duration.
When the screen is locked, you can press to
answer a call.

11
3 Voice Services
Making a Call
1. Tap and select to access the onscreen keypad.
2. Enter a phone number.
zTo make an international call, tap key twice to enter the
plus sign (+). Then enter the country or region code, area
code, and phone number.
zTo call an extension number, enter the phone number, tap
three times to enter P, or four times to enter W, and
enter the extension number.
3. Press to dial the number.
4. Press to end the call.
zYou can also make a call from Call logs, Phonebook,
or Messaging screen.
zDuring a call, you can press to adjust the in-call
volume.
Answering a call
When there is an incoming call, do the following:
zPress or tap Answer to answer the call.

12
zTap Options and select Answer to answer the call.
zPress or tap Reject to reject the call.
zTap Silent to mute the ringtone.

13
3 Text Input
Changing the Text Input Mode
The current text input mode indicator is displayed in the upper
left corner of the screen. Tap on the input screen to switch
between text input modes.
Indicator Text Input Mode
s ABC, s abc and s
Abc Predictive input mode
123 Number input mode

14
zTap to hide the on-screen keyboard and tap the
text box to access the on-screen keyboard.
zTap once to delete the last character entered, or
tap and hold to delete all the characters.
zTap and hold ,then tap to switch
between the alphanumeric input screen and the
QWERTY input screen.
zOn the QWERTY input screen, tap to start a new
paragraph and tap to enter a space.
zOn the alphanumeric input screen, tap to
access the number/symbol keypad and tap to
enter a space.
Entering a Word
To enter a word on the QWERTY input screen, tap the keys
labeled with the letters that spell the word.
Entering Numbers
zOn the QWERTY input screen, tap to access the
number/symbol keypad, and enter the desired numbers.
zOn the alphanumeric input screen, tap to access
the number/symbol keypad, and enter the desired numbers.
zIn number input mode, tap the desired number keys.

15
Entering Symbols
zOn the QWERTY input screen, tap to access the
symbol/number keypad to display commonly used symbols.
If the symbol you want is not shown, tap / /
to access the complete symbol keypad to display all
available symbols.
zOn the alphanumeric input screen, tap to access the
symbol keypad, tap / / to access the
complete symbol keypad to display all available symbols.
4 Messaging
By default, messages are stored in SIM card.
Writing and Sending a Text Message
1. Tap and select > Write message > Text
message.
2. Write the text message.
3. Tap phone number input box to enter the recipient's phone
number. To add a recipient from the phonebook, tap
Options > Send, tap or tap directly.
To add multiple recipients, repeat this step.

16
4. Tap to send the message directly or tap Options for
the following options:
zSend: sends the message to the recipient.
zAdd recipient: allows you to add the recipient.
zInsert symbol: allows you to insert symbols.
zInput method: allows you to change the input method.
zInput method settings: allows you to configure the relevant
settings of input method.
zInsert template: allows you to add SMS templates to the
message.
zAdvanced: allows you to insert numbers or names in the
phonebook to the message.
zSave: saves the message to Drafts and exits the Write
message screen.
Writing and Sending a Multimedia
Message
1. Tap and select > Write message > Multimedia
message.
2. Write the multimedia message.
3. Tap phone number input box to enter the recipient's phone
number. To add a recipient from the phonebook, tap
Options > Send , tap or tap directly.
To add multiple recipients, repeat this step.
This manual suits for next models
1
Table of contents
Other Huawei Cell Phone manuals

Huawei
Huawei G3510 User manual

Huawei
Huawei Honor 8S User manual

Huawei
Huawei M735 User manual

Huawei
Huawei Honor 5C User manual

Huawei
Huawei NCO-LX1 User manual

Huawei
Huawei U5120 User manual

Huawei
Huawei G7002 User manual

Huawei
Huawei U5300 User manual

Huawei
Huawei G2200C User manual

Huawei
Huawei Mate 40 Pro User manual

Huawei
Huawei Ascend Mate User manual

Huawei
Huawei Ascend W1 User manual

Huawei
Huawei U1250-9 User manual

Huawei
Huawei FIG-LX1 User manual

Huawei
Huawei U1005 User manual

Huawei
Huawei C2901 User manual

Huawei
Huawei MT7-L09 Installation guide

Huawei
Huawei Mate20 Pro User manual

Huawei
Huawei STK-L21 User manual

Huawei
Huawei DRA-LX2 User manual