manuals.online logo
Brands
  1. Home
  2. •
  3. Brands
  4. •
  5. Hubbell
  6. •
  7. Outdoor Light
  8. •
  9. Hubbell Kim Lighting Wall Forms WF30H Series User manual

Hubbell Kim Lighting Wall Forms WF30H Series User manual

WALL FORMS®Round - WF30H Series
Installation Instructions
P.O. Box 60080 • 16555 East Gale Ave.
City of Industry, California 91716-0080
626/968-5666 • FAX 626/330-3861
WARNING: Fixtures must be grounded in accordance with local codes or the National Electrical Code.
Failure to do so may result in serious personal injury.
CAUTION: Use only the lamp type and watts shown on the fixture label on the electrical assembly. The fixture
label must indicate the same electrical data as the ballast label. KEEP THIS SHEET FOR FUTURE REFERENCE.
Revised 9/01/10 EC 100901003 Status 10 Part No. 95534
W30H WF31H
W32H WF33H
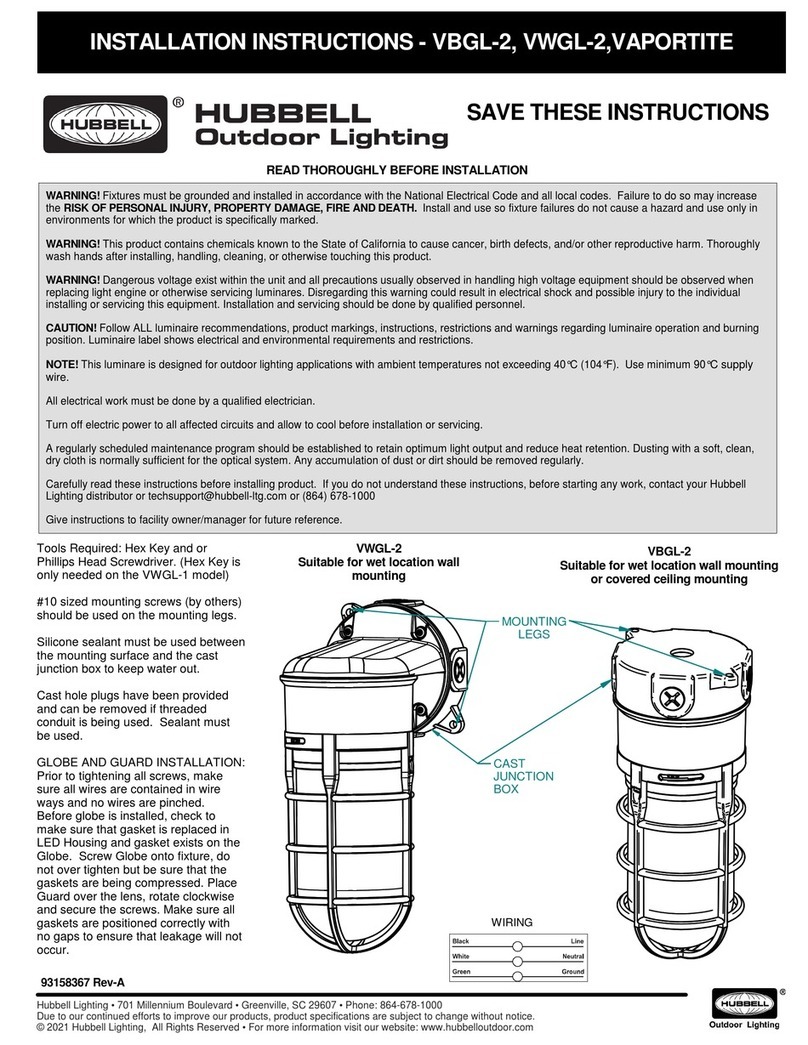
Tools Required: Flat Blade Screwdriver B" Allen Wrench Silicone Grease
ELECTRICAL ASSEMBLY INSTALLATION: Make sure electrical supply is OFF before installing equipment.
1. Remove fiberboard cover from front of housing. The cover and the screws may be discarded.
2. Remove the three (3) mounting screws from the bosses around the inside perimeter of the housing.
3. Connect quick disconnect plug assemblies.
4. Install the electrical assembly into the housing. Make certain no wires are pinched within the fixture and install
mounting screws.
Housing
Electrical Assembly
Mounting Screws
Diffuser Frame
Quick
Disconnect Plugs
IMPORTANT! All “H” recessed models (for hollow stud walls) are supplied with an insulation detector
(HID and Incandescent). No insulation is permitted above the housing or within 3” of sides and
bottom. Detector will cut power if fixture overheats due to insulation.
!
!
LAMP INSTALLATION: Make sure electricity is OFF before installing lamp.
1. Screw the proper lamp (as per fixture label) into the socket and tighten the lamp sufficiently to ensure a vibration
safe installation. L.E.D. if offered in 15W or 30W.
DIFFUSER FRAME ASSEMBLY INSTALLATION:
1. Check that the flange area of the housing is clean and free of any concrete or paint build-up. Make sure there is
no dirt in the four (4) screw holes on the inside of the circular flange.
2. Before installing the diffuser frame assembly, always coat the
four 10-32 captive screws with silicone grease.
3. Install the diffuser frame assembly by tightening
the four screws progressively and evenly to
insure even gasket seating
around the frame.
DO NOT exceed 20 in-pounds
torque on these screws.
!
Page 2 Kim Lighting • 16555 E. Gale Ave. • P.O. Box 60080 • City of Industry, CA 91716-0080 • 626/968-5666 • FAX 626/369-2695
Wall Forms®Round - WF30H Series Installation Instructions
KIM LIGHTING LIMITED WARRANTY
When installed in accordance with Kim Installation
Instructions and accepted trade practices, the following
shall apply:
General Product Limited Warranty Coverage
All material and component parts used in the
manufacture of Kim Products, are warranted to be free
from defects of material and/or workmanship for a period
of 1 year from date of sale, with the following exceptions:
Auxiliary Equipment
All auxiliary equipment (such as lamps, ballasts, and
transformers) provided by and/or included in Kim
Products shall carry the component manufacturer's
warranty.
Copper and Bronze Landscape Components
Copper and Bronze Landscape fixture components shall
be warranted against defects of material and/or
workmanship, and failure due to corrosion, for a period of
25 years from date of sale.
Composite In-Grade Components
Composite In-Grade fixture components installed below
grade, shall be warranted against defects of material
and/or workmanship, and failure due to corrosion for a
period of 7 years from date of sale.
Aluminum Landscape Components
Aluminum Landscape fixture components not in direct
contact with soil, shall be warranted from defects of
material and/or workmanship for a period of 3 years from
date of sale. Aluminum fixture components in direct
contact with soil shall be warranted from defects of
material and failure from corrosion for a period of 1 year
from date of sale.
Limit of Liability and General Conditions
Only products which are installed, used and maintained
in accordance with applicable Kim instructions,
specifications and accepted trade practices, are covered
by the Kim Warranty. During the warranty period, with
proof of purchase, Kim will repair or replace with the
same or similar product, at Kim's option, without charge.
Labor costs are the owner's responsibility and are
excluded from this warranty. This warranty is void if the
product is modified, tampered with, misapplied, poorly
installed, improperly maintained, or subjected to
abnormal conditions.
Repair or replacement as provided under this warranty is
the exclusive remedy of the purchaser. This warranty is
in lieu of all other warranties, expressed or implied,
including any implied warranty of fitness for a particular
application. Kim Lighting shall not be liable to the
purchaser for indirect or consequential damages.
MAINTENANCE Make certain electricity is OFF.
1. To replace lamp, proceed as follows:
a. Remove diffuser frame assembly.
b. Replace lamp with type and wattage shown on fixture
label.
c. Clean lens and diffuser frame gasket.
d. Coat diffuser frame screws with silicone grease and
install diffuser frame assembly. Tighten the four
screws progressively and evenly to insure even gasket
sealing around the frame. Do not exceed 20 in-pound
torque on these screws.
2. To replace electrical assembly, proceed as follows:
Make certain electricity is OFF.
a. Remove diffuser frame assembly and lamp.
b. Loosen the three (3) mounting screws securing
electrical assembly to housing. Remove electrical
assembly and unplug quick disconnect plug
assemblies.
c. If ballast type and/or watts are not the same as
replaced equipment, mark fixture label in housing to
correspond with new ballast information.
d. Connect quick disconnect plug assemblies.
e. Install the electrical assembly into the housing &
tighten screws.
f. Screw the proper lamp (as per fixture label) into the
socket and tighten the lamp sufficiently to ensure a
vibration safe installation.
g. Clean lens and diffuser frame gasket.
h. Coat diffuser frame screws with silicone grease and
install door frame assembly. Tighten the four screws
progressively and evenly to insure even gasket seating
around frame. Do not exceed 20 in-pounds torque on
these screws.
!
!
Diffuser Diffuser *Diffuser
Cat. No. Type Part No. Gasket Frame Assy.
WF30 Smooth 84133 85625
Prism 84136 85626
WF31 Smooth 84133 85627
Prism 84136 85628
WF32 Diffused 84140 82302 85629
WF33 Diffused 84141 82302 85630
WF 30 WF 31 WF 32 WF 33
REPLACEMENT PARTS LIST
*NOTE: When ordering a diffuser frame give model and
finish i.e., WF32/BL-P
82291
82291
How may we serve you better?
Please let us know. Visit our website at:
www.kimlighting.com
Your concerns are important to us.
WARNING:
This H.I.D. / Fluorescent fixture utilizes a lamp that may
contain mercury. For information on disposal of lamp, go to
website: www.lamprecycle.org
This manual suits for next models

4

Other Hubbell Outdoor Light manuals

Hubbell RFL2 User manual

Hubbell

Hubbell RFL2 User manual

Hubbell Kim Lighting KLV Series User manual

Hubbell

Hubbell Kim Lighting KLV Series User manual

Hubbell DDL-9L1 User manual

Hubbell

Hubbell DDL-9L1 User manual

Hubbell PERIMALITER III Service manual

Hubbell

Hubbell PERIMALITER III Service manual

Hubbell VBGL-2 User manual

Hubbell

Hubbell VBGL-2 User manual

Hubbell LUMASQUARE User manual

Hubbell

Hubbell LUMASQUARE User manual

Hubbell Kim Lighting Neo Sphere NS User manual

Hubbell

Hubbell Kim Lighting Neo Sphere NS User manual

Hubbell LNC4 User manual

Hubbell

Hubbell LNC4 User manual

Hubbell FXL LED FLOOD User manual

Hubbell

Hubbell FXL LED FLOOD User manual

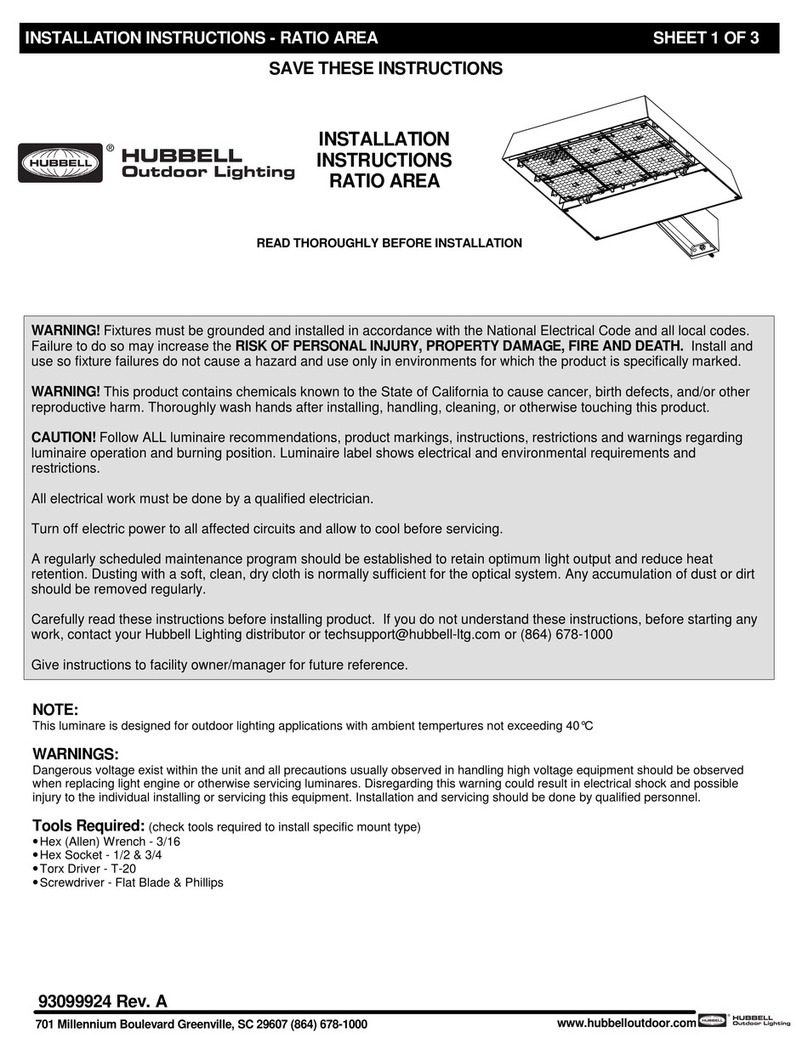
Hubbell RATIO AREA User manual

Hubbell

Hubbell RATIO AREA User manual

Hubbell KIM Lighting SCARAB Accent Series User manual

Hubbell

Hubbell KIM Lighting SCARAB Accent Series User manual

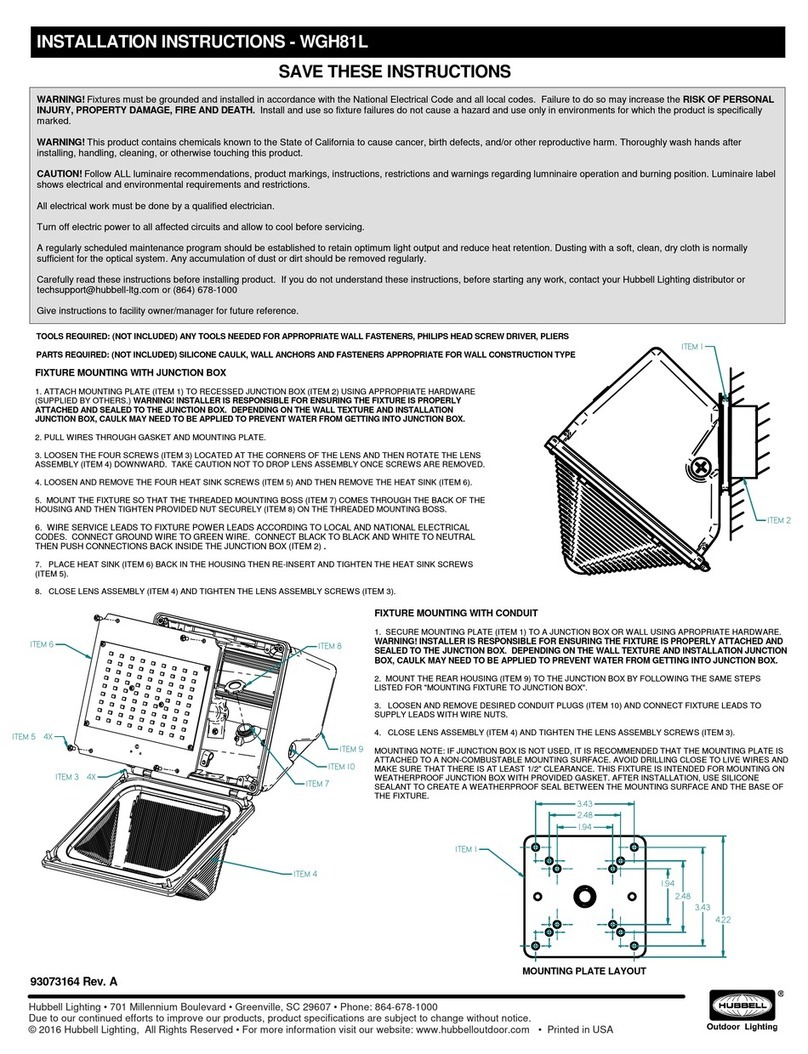
Hubbell WGH81L User manual

Hubbell

Hubbell WGH81L User manual

Hubbell Killark KFLX Series Instruction Manual

Hubbell

Hubbell Killark KFLX Series Instruction Manual

Hubbell KIM LIGHTING VSBC User manual

Hubbell

Hubbell KIM LIGHTING VSBC User manual

Hubbell SLING Service manual

Hubbell

Hubbell SLING Service manual

Hubbell KIM Path Pilot KLV101 User manual

Hubbell

Hubbell KIM Path Pilot KLV101 User manual

Hubbell KIM LIGHTING ARCHETYPE-LED-AR-LED User manual

Hubbell

Hubbell KIM LIGHTING ARCHETYPE-LED-AR-LED User manual

Hubbell AIRO User manual

Hubbell

Hubbell AIRO User manual

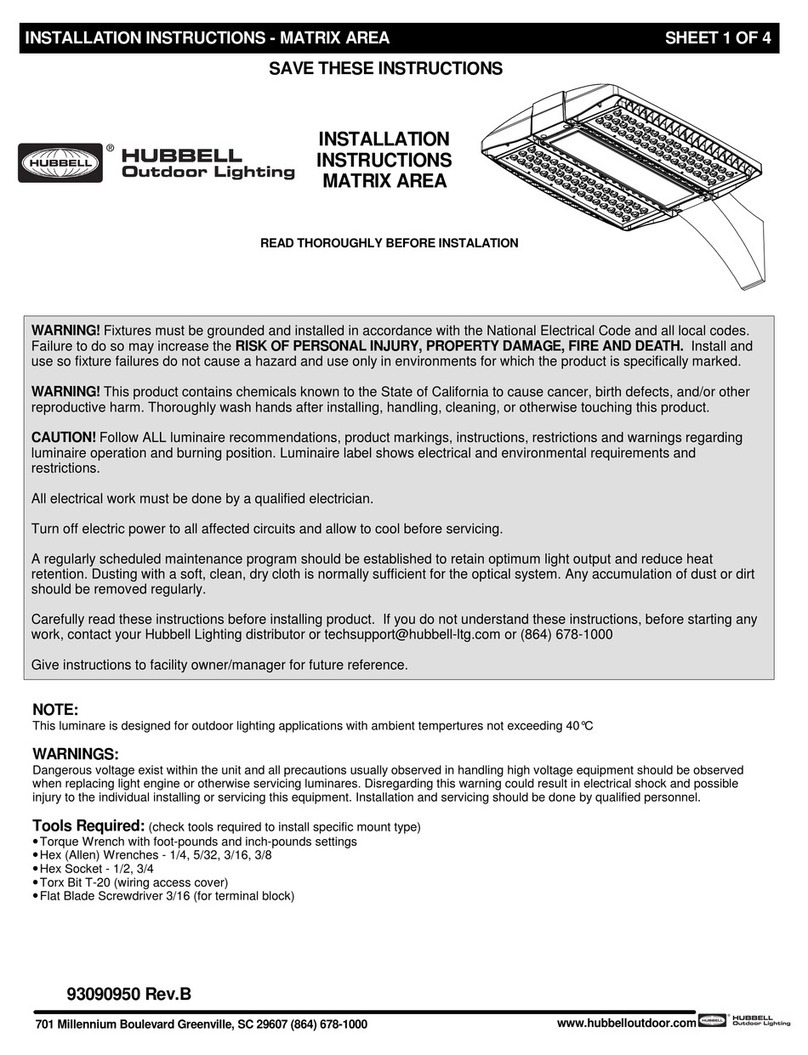
Hubbell MATRIX AREA User manual

Hubbell

Hubbell MATRIX AREA User manual

Hubbell DDL Series User manual

Hubbell

Hubbell DDL Series User manual

Hubbell Kim Pavilion PA7R User manual

Hubbell

Hubbell Kim Pavilion PA7R User manual

Hubbell Kim Lighting EL161 User manual

Hubbell

Hubbell Kim Lighting EL161 User manual

Hubbell KIM LIGHTINING C24 User manual

Hubbell

Hubbell KIM LIGHTINING C24 User manual

Hubbell Dual-Lite PGN Manual

Hubbell

Hubbell Dual-Lite PGN Manual

Popular Outdoor Light manuals by other brands

Expolite TOUR-PAR 18 user manual

Expolite

Expolite TOUR-PAR 18 user manual

Esseci HALL LED GROUND Assembly instructions

Esseci

Esseci HALL LED GROUND Assembly instructions

HAMPTON BAY QTP22a-R4-AC-2 Use and care guide

HAMPTON BAY

HAMPTON BAY QTP22a-R4-AC-2 Use and care guide

Heath Zenith DualBrite SH-4227-MB Installation and operating instructions

Heath Zenith

Heath Zenith DualBrite SH-4227-MB Installation and operating instructions

Heath Zenith 5212 Specification sheet

Heath Zenith

Heath Zenith 5212 Specification sheet

West Elm Clint Mini Task Lamp Assembly instructions

West Elm

West Elm Clint Mini Task Lamp Assembly instructions

HAMPTON BAY HD5887F3 Use and care guide

HAMPTON BAY

HAMPTON BAY HD5887F3 Use and care guide

HAMPTON BAY HDP06605BL Use and care guide

HAMPTON BAY

HAMPTON BAY HDP06605BL Use and care guide

HAMPTON BAY 29156 Use and care guide

HAMPTON BAY

HAMPTON BAY 29156 Use and care guide

HAMPTON BAY 19217-000 Use and care guide

HAMPTON BAY

HAMPTON BAY 19217-000 Use and care guide

Inlite WEDGE SLIM installation manual

Inlite

Inlite WEDGE SLIM installation manual

Heath Zenith Dual Brite HZ-4144 series Installation and operating instructions

Heath Zenith

Heath Zenith Dual Brite HZ-4144 series Installation and operating instructions

LIVARNO LUX 60305 Operation and safety notes

LIVARNO LUX

LIVARNO LUX 60305 Operation and safety notes

ledscom LC-L-275 Assembly instructions

ledscom

ledscom LC-L-275 Assembly instructions

North Light ST1016 SOLAR manual

North Light

North Light ST1016 SOLAR manual

Heath Zenith DualBrite 4127 Installation and operating instructions

Heath Zenith

Heath Zenith DualBrite 4127 Installation and operating instructions

North Light EL280HF WH quick start guide

North Light

North Light EL280HF WH quick start guide

EMU SHADE PRO Assembly and use instructions

EMU

EMU SHADE PRO Assembly and use instructions

manuals.online logo
manuals.online logoBrands
  • About & Mission
  • Contact us
  • Privacy Policy
  • Terms and Conditions

Copyright 2025 Manuals.Online. All Rights Reserved.