manuals.online logo
Brands
  1. Home
  2. •
  3. Brands
  4. •
  5. Hubbell
  6. •
  7. Outdoor Light
  8. •
  9. Hubbell KIM Path Pilot KLV101 User manual

Hubbell KIM Path Pilot KLV101 User manual

The Path Pilot®KLV101/106 Installation Instructions
P.O. Box 60080 •16555 East GaleAve.
City of Industry, California 91716-0080
626/968-5666 • FAX 626/330-3861
INSTRUCTIONS PERTAINING TO A RISK OF FIRE OR INJURY TO PERSONS
IMPORTANT SAFETY INSTRUCTIONS!
WARNING: To reduce the risk of FIRE OR INJURY TO PERSONS: Do notoverdrive fixtures with greater
than 12 volts or fixture over-heating and short lamp life will occur. Do notoverload the transformer by
installing (or relamping) higher wattage lamps than planned. Note: Total wattage of all lamps connected to one
transformer must not exceed the capacity of that transformer. Do notinstall luminaire within 10 feet (3.04 m) of
a pool, spa or fountain.
SAFETY WARNING: When relamping, be sure electrical supply is OFF. Lighted lamp is HOT! Low voltage
fixtures can become very hot depending on the lamp wattage used. Glass lenses and metal areas above
& around the lamp can become hot enough to blister hands. Use discretion when touching fixture and be sure
to allow fixture to cool before relamping. When relamping fixture avoid touching the lamp envelope with bare
hands. If touching the lamp is necessary during installation, clean the envelope with alcohol and dry with a
clean, soft cloth before turning ON. Contamination of the envelope may reduce lamp performance. Particular
care should be taken notto locate fixtures where small children can reach them if higher wattages are used.
NOTE: Keep the lamp free from impact while burning, as this may deform the filament and shorten the lamp life.
NOT INTENDED FOR INDOOR USE. All electrical work should be done by a qualified electrician.
KEEP THIS SHEET FOR FUTURE REFERENCE.
Revised 7/16/10 ECN 100715008 Status 15 Part No. 95477
Tools Required:Flat Head ScrewdriverSilicone Grease
!
talfruofevomer,pmalllatsnioT.3.daeherutxifotmetserutxifhcattA.1
head screws from bottom of husk.
4a. KLV106 only - Remove top cap, louvers
and globe.
Make certain electrical supply is OFF before starting fixture installation.
2. Attach complete assembly to de-
sired mounting. Note: KLV
Mounting Options can be installed
before fixture is attached.
Stem
Fixture
Head
Fixture Wire
Fixture Stem
Spear Mount
Fixture
Wire
Flat Blade
Screwdriver
Louvers
Top Cap
Globe
Screws
KLV106KLV101
!
4b. KLV101 only - Remove top cap and globe.
Top Cap
Screws
Globe
!
Page 2 KIM Lighting • P.O. Box 60080 • 16555 E. Gale Ave. • City of Industry, CA 91716-0080 • 626/968-5666 • FAX 626/330-3861
The Path Pilot®- KLV 101/106 Installation Instructions
6. Replace globe, louvers (KLV106
only), top cap and screws.
KIM LIGHTING LIMITED WARRANTY
When installed in accordance with Kim Installation Instructions and accepted
trade practices, the following shall apply:
General Product Limited Warranty Coverage
All material and component parts used in the manufacture of Kim Products,
are warranted to be free from defects of material and/or workmanship for a
period of 1 year from date of sale, with the following exceptions:
Auxiliary Equipment
All auxiliary equipment (such as lamps, ballasts, and transformers) provided
by and/or included in Kim Products shall carry the component manufacturer's
warranty.
Copper and Bronze Landscape Components
Copper and Bronze Landscape fixture components shall be warranted
against defects of material and/or workmanship, and failure due to corrosion,
for a period of 25 years from date of sale.
Composite In-Ground Components
Composite In-Ground fixture components installed below grade, shall be
warranted against defects of material and/or workmanship, and failure due to
corrosion, for a period of 7 years from date of sale.
Aluminum Landscape Components
Aluminum Landscape fixture components not in direct contact with soil, shall
be warranted against defects of material and/or workmanship for a period of 3
years from date of sale. Aluminum fixture components in direct contact with
soil shall be warranted from defects of material and failure due to corrosion for
a period of 1 year from date of sale.
Limit of Liability and General Conditions
Only products which are installed, used and maintained in accordance with
applicable Kim instructions, specifications and accepted trade practices, are
covered by the Kim Warranty. During the warranty period, with proof of
purchase, Kim will repair or replace with the same or similar product, at Kim's
option, without charge. Labor costs are the owner's responsibility and are
excluded from this warranty. This warranty is void if the product is modified,
tampered with, misapplied, poorly installed, improperly maintained, or
subjected to abnormal conditions.
Repair or replacement as provided under this warranty is the exclusive
remedy of the purchaser. This warranty is in lieu of all other warranties,
expressed or implied, including any implied warranty of fitness for a particular
application. Kim Lighting shall not be liable to the purchaser for indirect or
consequential damages.
KLV106 KLV101
7. Connect fixture cable to main
system cable with a KLV410
Sealed Connector.
(See KLV410
Sealed Connector
Installation
Instructions)
Caution: Always coat screws with
grease before reinstalling after initial
installation or future relampings.
Failure to do so could cause screws
to freeze up and become
unremovable. Install fixture in
desired location.
How may we serve you better?
Please let us know. Visit our website at:
www.kimlighting.com
Your concerns are important to us.
Lamp
(T-4)
Gasket
5. Observe warnings and cautions.
Install lamp of type and wattage
shown on fixture label and chart
below. Remember, the total
wattage of all lamps connected
to one transformer must not
exceed the capacity of that
transformer.
LAMP INFORMATION
Cat. No. Lamp Type Max. Watts Base
KLV101 T-4 Bipin 35 GY6.35
KLV106 T-4 Bipin 50 GY6.35
To Relamp turn off/unplug and allow
to cool before replacing lamp.
Replace per chart. Lamp gets hot
quickly. Contact only switch or plug
when turning on.
Additional wire and connectors may be
purchased fromKim Lighting:
KLV427 #12-2 Cable KLV432 #8-2 Cable
KLV410 Connector KLV411 Connector

This manual suits for next models

1

Other Hubbell Outdoor Light manuals

Hubbell LNC4 User manual

Hubbell

Hubbell LNC4 User manual

Hubbell Killark KFLX Series Instruction Manual

Hubbell

Hubbell Killark KFLX Series Instruction Manual

Hubbell LUMASQUARE User manual

Hubbell

Hubbell LUMASQUARE User manual

Hubbell VBGL-2 User manual

Hubbell

Hubbell VBGL-2 User manual

Hubbell KIM LIGHTINING C24 User manual

Hubbell

Hubbell KIM LIGHTINING C24 User manual

Hubbell RFL2 User manual

Hubbell

Hubbell RFL2 User manual

Hubbell DDL-9L1 User manual

Hubbell

Hubbell DDL-9L1 User manual

Hubbell Kim Lighting KLV Series User manual

Hubbell

Hubbell Kim Lighting KLV Series User manual

Hubbell SLING Service manual

Hubbell

Hubbell SLING Service manual

Hubbell AIRO User manual

Hubbell

Hubbell AIRO User manual

Hubbell WGH81L User manual

Hubbell

Hubbell WGH81L User manual

Hubbell Kim Lighting Wall Forms WF30H Series User manual

Hubbell

Hubbell Kim Lighting Wall Forms WF30H Series User manual

Hubbell Kim Lighting Neo Sphere NS User manual

Hubbell

Hubbell Kim Lighting Neo Sphere NS User manual

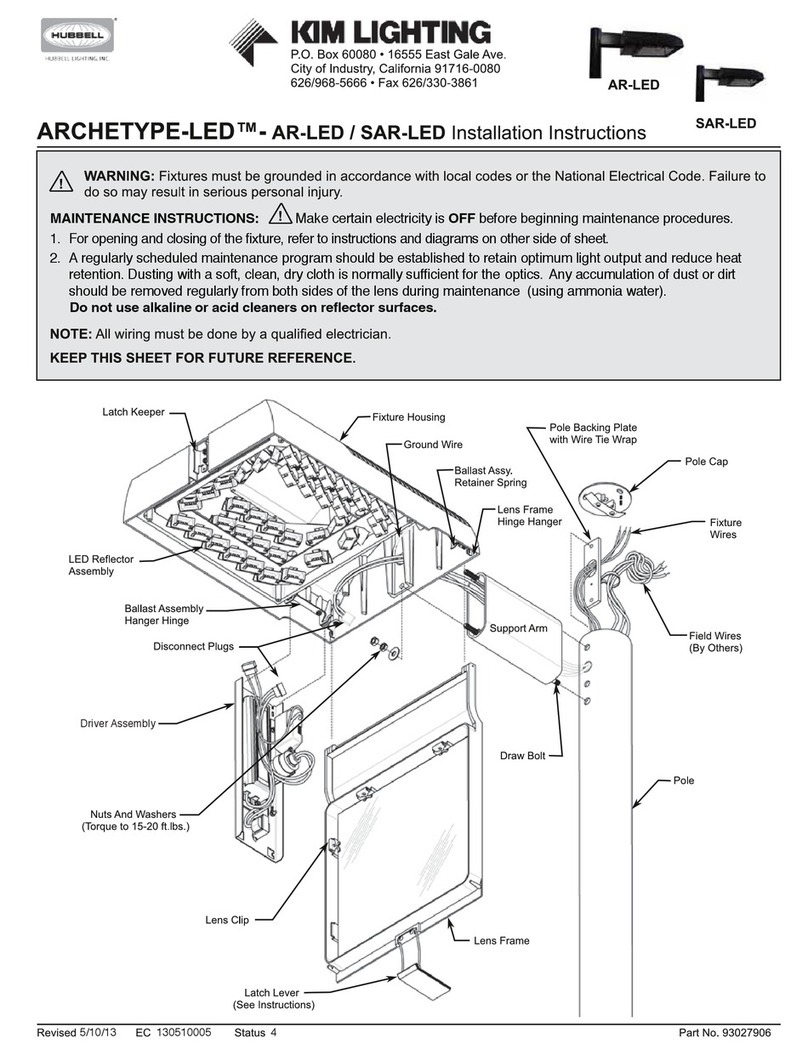
Hubbell KIM LIGHTING ARCHETYPE-LED-AR-LED User manual

Hubbell

Hubbell KIM LIGHTING ARCHETYPE-LED-AR-LED User manual

Hubbell PERIMALITER III Service manual

Hubbell

Hubbell PERIMALITER III Service manual

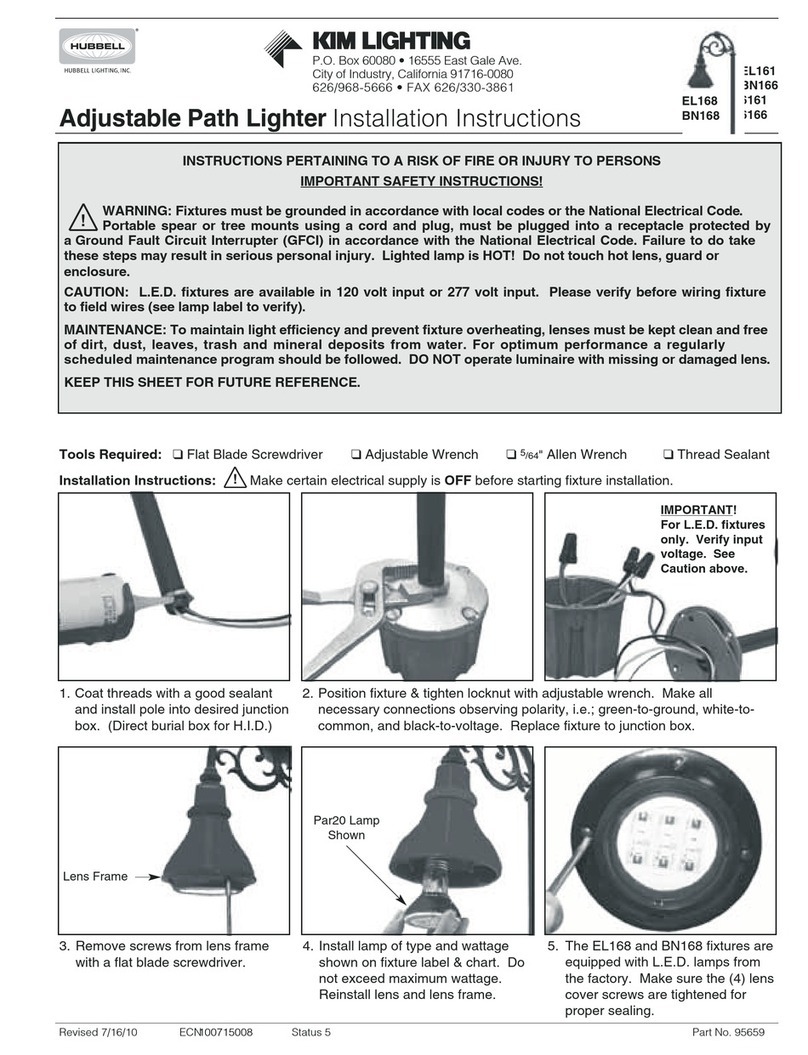
Hubbell Kim Lighting EL161 User manual

Hubbell

Hubbell Kim Lighting EL161 User manual

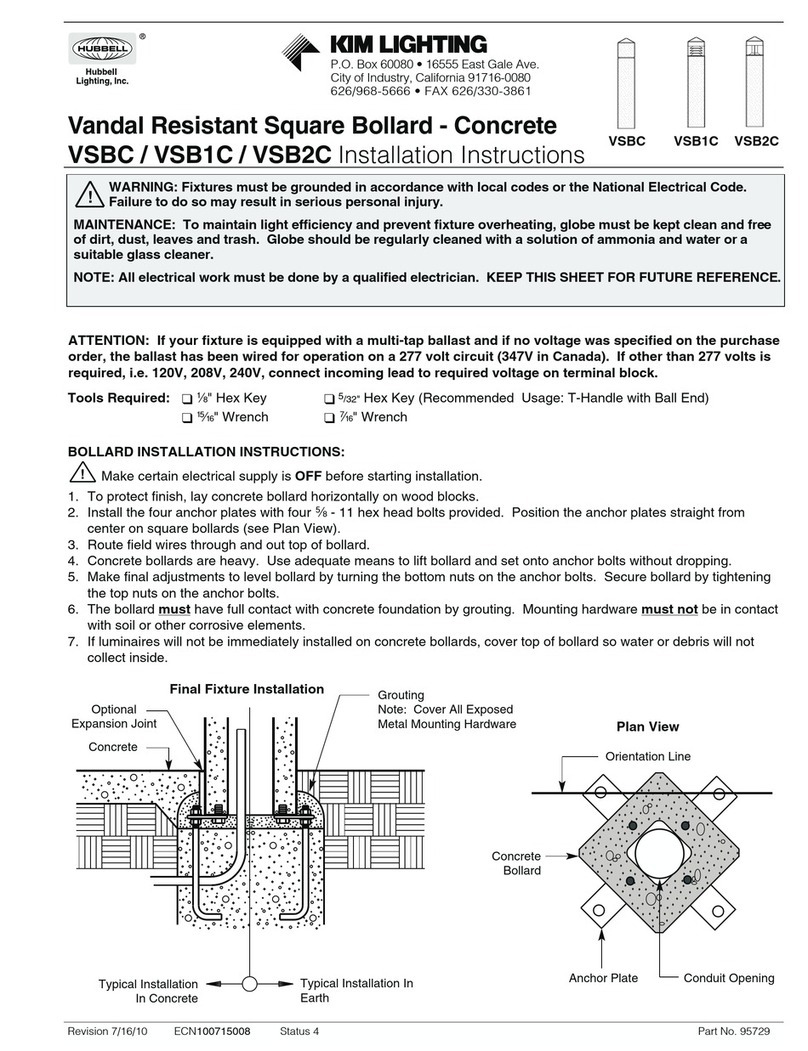
Hubbell KIM LIGHTING VSBC User manual

Hubbell

Hubbell KIM LIGHTING VSBC User manual

Hubbell KIM Lighting SCARAB Accent Series User manual

Hubbell

Hubbell KIM Lighting SCARAB Accent Series User manual

Hubbell RATIO AREA User manual

Hubbell

Hubbell RATIO AREA User manual

Hubbell FXL LED FLOOD User manual

Hubbell

Hubbell FXL LED FLOOD User manual

Hubbell MATRIX AREA User manual

Hubbell

Hubbell MATRIX AREA User manual

Hubbell DDL Series User manual

Hubbell

Hubbell DDL Series User manual

Hubbell Dual-Lite PGN Manual

Hubbell

Hubbell Dual-Lite PGN Manual

Hubbell Kim Pavilion PA7R User manual

Hubbell

Hubbell Kim Pavilion PA7R User manual

Popular Outdoor Light manuals by other brands

Lighting Technologies JET/T LED manual

Lighting Technologies

Lighting Technologies JET/T LED manual

Aourow SE90 Instructions for use

Aourow

Aourow SE90 Instructions for use

RZB Lighting Alu-Star Instruction

RZB Lighting

RZB Lighting Alu-Star Instruction

Kogan SMARTERHOME KAOTSSRGB1A user guide

Kogan

Kogan SMARTERHOME KAOTSSRGB1A user guide

Commercial Electric 51405141 Use and care guide

Commercial Electric

Commercial Electric 51405141 Use and care guide

LUTEC BRICK user manual

LUTEC

LUTEC BRICK user manual

DS Produkte GA-TS0006-01 instructions

DS Produkte

DS Produkte GA-TS0006-01 instructions

Gainsborough H234 instruction manual

Gainsborough

Gainsborough H234 instruction manual

deerdance HW0YDCG02 Use & care guide

deerdance

deerdance HW0YDCG02 Use & care guide

Thorn R2L2 XS installation instructions

Thorn

Thorn R2L2 XS installation instructions

Sulion YUKA manual

Sulion

Sulion YUKA manual

Surya Gavin GVLP-001 Assembly instructions

Surya

Surya Gavin GVLP-001 Assembly instructions

ET2 Alumilux E41290 manual

ET2

ET2 Alumilux E41290 manual

ALDI EASY HOME MT855F user guide

ALDI

ALDI EASY HOME MT855F user guide

Philips 169379316 user manual

Philips

Philips 169379316 user manual

ASTRO BRONTE instructions

ASTRO

ASTRO BRONTE instructions

Sunnydaze Decor INA-931 quick start guide

Sunnydaze Decor

Sunnydaze Decor INA-931 quick start guide

HEPER LP4034.682-EN Installation & maintenance instructions

HEPER

HEPER LP4034.682-EN Installation & maintenance instructions

manuals.online logo
manuals.online logoBrands
  • About & Mission
  • Contact us
  • Privacy Policy
  • Terms and Conditions

Copyright 2025 Manuals.Online. All Rights Reserved.