UNPACK YOUR BOX TAKING A MEASUREMENT
1. STANDARDIZATION – To begin, press
the Workspace Icon in the upper
right corner.
2. Congure the Standardization Mode
by selecting from the drop down
menu. Check the “Include Haze”
box if you plan to take both Color
and Haze Measurements.
Press “Standardize” to initiate this
hands-free function.
3. READ - Use the Read
Measurement button to read
samples. This button can be moved
around by pressing and dragging to
a new location.
4. VIEW FLIPPERS --
These semi-transparent buttons are
used to navigate between the
measurement screens.
To begin, press the WORKSPACE Icon in
the upper right corner of the screen:
1. COLOR SCALES-- Select and globally
congure Color Scales/Indices
/Differences.
2. TOLERANCES- Congure the
Tolerances of the selected Scales,
Indices and Differences.
3.VIEWS- Select the Color
Measurement Screens.
CONFIGURE YOUR
APPLICATION
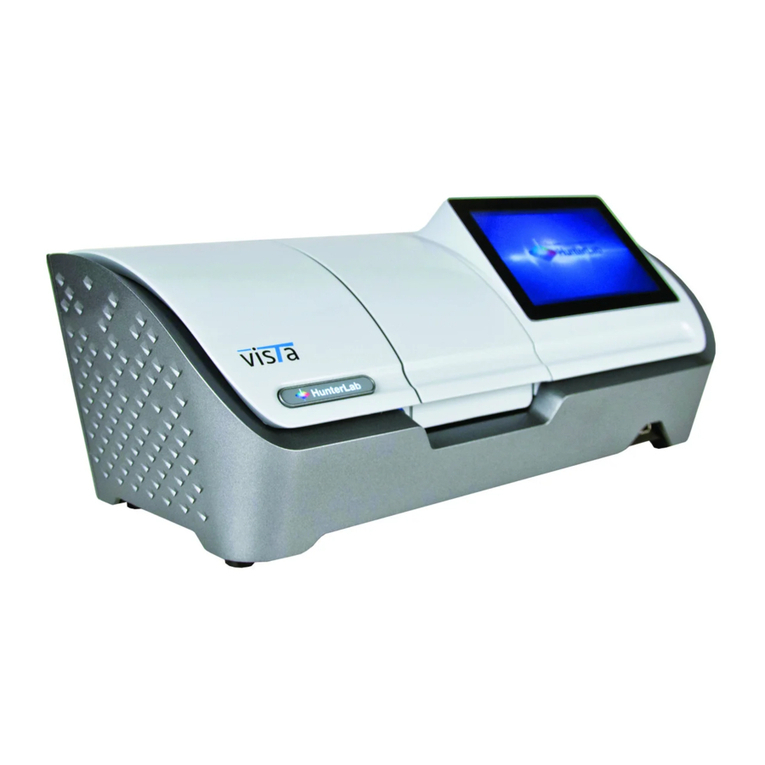
For more detailed instructions on using the instrument, please refer to the Vista User’s Manual.
Visit www.hunterlab.com for information on all our products.
1. Press the JOBS Icon in the upper
right corner.
From the “JOBS” menu,
2. Select “Save Job” to store the your
results in Vista’s on-board memory.
3. Select “Data” to output results to
a printer, email, or ash drive (CSV).
For more information, please refer
to the manual.
HunterLab warrants that Vista is free from
defects in material and workmanship
under normal use and service. The time
limit on this warranty is one year from date
of shipment. For more information, see the
Vista User’s Manual.
A list of sample measurement
accessories can be found at
www.hunterlab.com/vista
ABSAVE AND OUTPUT YOUR
RESULTS IN “JOBS”
D
ACCESSORIES
E
WARRANTY
F
C
1. Check your shipping carton and
accessories case for the following
items:
• Vista instrument
• Quick start guide
• Power supply
• Didymium diagnostic lter
• HunterLab 2GB USB ash drive
• Cleaning cloth
• Stylus
Note: Please retain the packaging in case
of instrument return to HunterLab.
2. Connect the power cord and all
optional peripheral devices (mouse,
keyboard, network cable, printer).
3. Turn the power on using the rocker
switch on the right side of the
instrument.
4. Once inside the software, the Color
Data screen is automatically
displayed.
A60-1017-551 ver. 1.0
Workspace icon
Jobs icon
Workspace icon
Read Measurement icon
