manuals.online logo
Brands
  1. Home
  2. •
  3. Brands
  4. •
  5. Husky
  6. •
  7. Indoor Furnishing
  8. •
  9. Husky BED1008 User manual

Husky BED1008 User manual

1
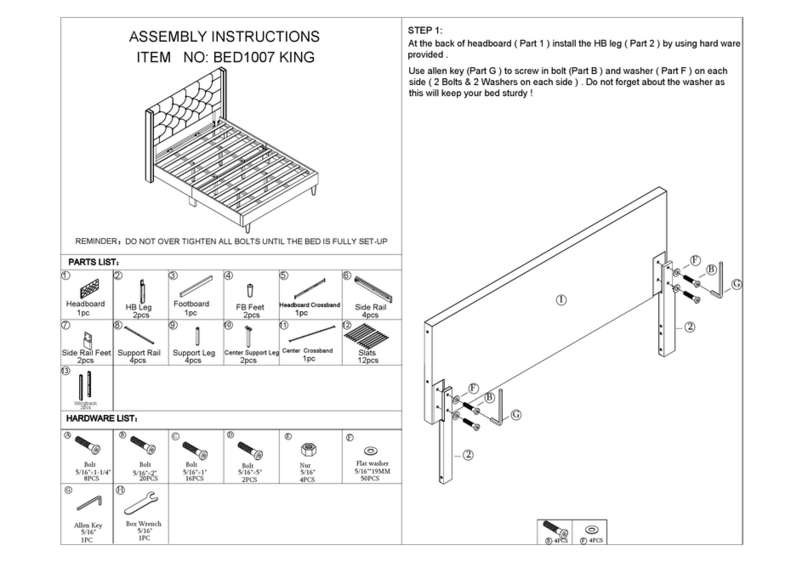
ASSEMBLY INSTRUCTIONS
ITEM NO: BED1008 TWIN/FULL/QUEEN
AF
E
H
B
G
CD
2 3 4 5 6
7 8 9 10 11 12
REMINDER DO NOT OVER TIGHTEN ALL BOLTS UNTIL THE BED IS FULLY SET-UP
13
Wingback
2pcs
Headboard
1pc HB Leg
2pcs
Footboard
1pc FB Feet
2pcs
Headboard Crossband
1pc
Headboard Crossband
1pc Side Rail
4pcs
Side Rail Feet
2pcs
Support Rail
2pcs
Support Leg
2pcs
Center Support Leg
1pc
Center Crossband
1pc Slats
12pcs
5/16"×1-1/4"
5/16"
5/16"×2" 5/16"
5/16"
5/16"×1" 5/16"×5"
15PCS
Bolt Bolt Bolt Bolt Nut Flat washer
5/16"*19MM
1PC 1PC
Allen Key Box Wrench
8PCS 14PCS 2PCS 2PCS 41PCS
B F
FB
G
1
2
2
FB
G
4PCS 4PCS
STEP 1:STEP 1:
At the back of headboard ( Part 1 ) install the HB leg ( Part 2 ) by using hard ware
provided .
Use allen key (Part G ) to screw in bolt (Part B ) and washer ( Part F ) on each
side ( 2 Bolts & 2 Washers on each side ) . Do not forget about the washer as
this will keep your bed sturdy !
C F
GCF
G
C
F
1
2
2
5
4
4
3
STEP 2 :STEP 2 : On the headboard (Part 1), install the HB crossband (Part 5) by
using hardware provided. Use the Allen Key (Part G) to screw in the
bolt (Part C) and the washer (Part F) on each side (2 Bolts & 2
Washers on each side).
STEP 3 : Turn the footboard (Part 3) over and screw in
the footboard legs (Parts 4)
4PCS 4PCS
A
G
F
6
6
6
6
7
7
A F C F
4PCS 4PCS
G
C
F
4PCS 4PCS
G
C
F
1
63
STEP 4 : Now its time to connect the side rails (Part 6), you must line
up 2 (Part 6's) together as shown in the photo. Take the side rail feet
(Part 7) and line up the holes of the side rails (You will see 2 holes on
each side of the side rails to bolt on the Side rail feet (Part 7),
pairs of side rails.You will use 2 bolts (Part A) and 2 washers (Part F)
on each side rail feet.
STEP 5: First, lock in your side rail and the footboard in (Look at
photo).You will now take one side of the completed Side Rail and
bolt that onto the Headboard, make sure the inside of the side rail is
facing inside, another way to know it is facing inside is that the Side
Rail feet should be on the inside of the bed. For this step you will
need 4 Part C and 4 Part F.
G
C
F
G
C
F
1
63
6
8
8
9
10
9
D F
4PCS 4PCS B F
4PCS 4PCS
G
B
F
G
B
F
G
B
F
STEP 6: You will be doing the same thing for Step 6 that you
step 5 (Only difference is your now connecting the right side rail),
please refer to step 5 if you are lost.
STEP 7: This step requires to properly bolt on the Center Support Rail (Part 8).
On each side of the center support rail, you will install 2 support leg (Part 9)
which will require Part B, F, & G. Simply put the support leg below the center
support rail and use 1 bolts on each legs on top (Washer first then Bolt), and use an
Allen key to tighten it up.
Now let's install center support leg ( Part 10 ) shown in the photo which is also a
support leg that has a holder on top to hold the weight of the center support rail, use
2 bolts & 2 washers on the leg on top, than use an Allen key to tighten it up.
BF
E C F
5
8
8
6
6
1
G
BFH
E
F
G
C
F
3
STEP 8: Take the center support rail from Step 7 and lay it in the middle of the
bed from headboard to footboard. You will need 2 Part B 4 Part F and 2 Part
E. Follow the diagram and bolt everything on from the center support rail to the
HB cross brand (Below the headboard)
STEP 9: Similar to Step 8, you will use the 2 bolts (Part C) and 2 washers
(Part F) and screw in the bolts to the footboard from the center support rail.
8
8
6
6
1
4PCS
2PCS
2PCS 2PCS 2PCS
BF
E
F

Other Husky Indoor Furnishing manuals

Husky UACT-H-270111 User manual

Husky

Husky UACT-H-270111 User manual
Husky H27PC1 User manual

Husky

Husky H27PC1 User manual

Husky H61HUTCH User manual

Husky

Husky H61HUTCH User manual

Husky HPRO27SLOCKERBLK User manual

Husky

Husky HPRO27SLOCKERBLK User manual

Husky HPRO72HUTCHBRD User manual

Husky

Husky HPRO72HUTCHBRD User manual

Husky ERPB4020B User manual

Husky

Husky ERPB4020B User manual

Husky HPRO63TLOCKERBLK User manual

Husky

Husky HPRO63TLOCKERBLK User manual

Husky HOLT46XDB12 User manual

Husky

Husky HOLT46XDB12 User manual

Husky HOTC5623BB2S User manual

Husky

Husky HOTC5623BB2S User manual
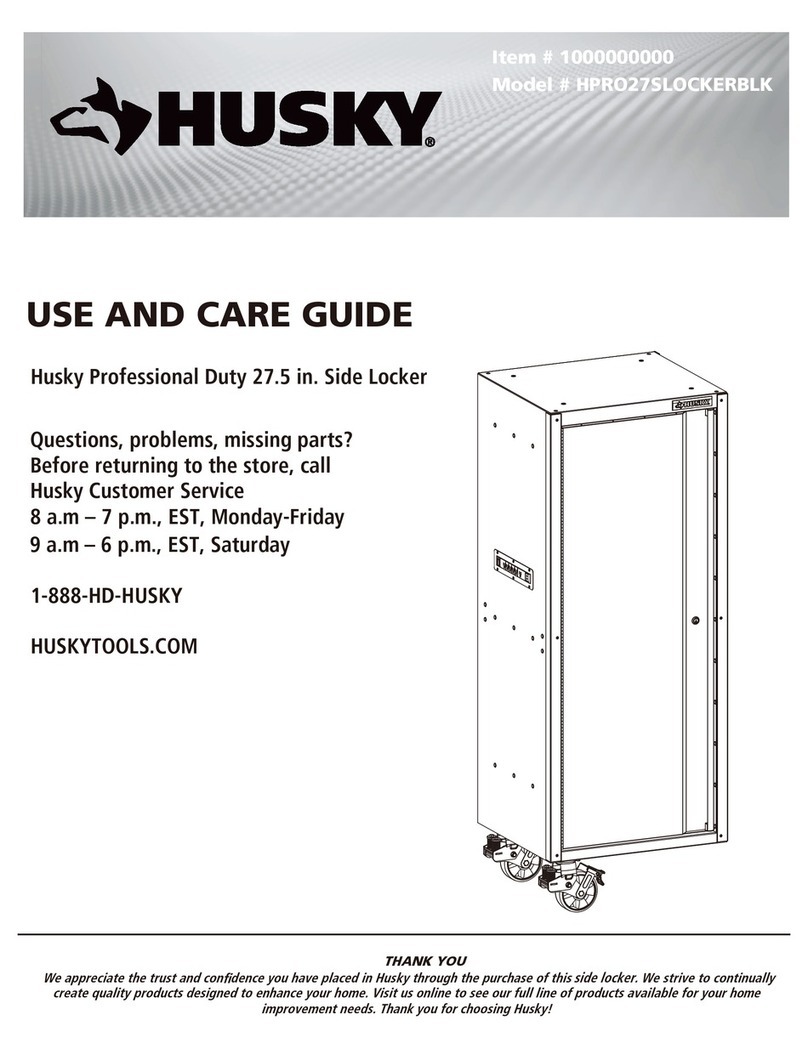
Husky H27LOCKER4 User manual

Husky

Husky H27LOCKER4 User manual

Husky UACT-H-270101 User manual

Husky

Husky UACT-H-270101 User manual

Husky HBR782478W4C User manual

Husky

Husky HBR782478W4C User manual

Husky HPRO27SLOCKERBL User manual

Husky

Husky HPRO27SLOCKERBL User manual

Husky HOLT5202B12 User manual

Husky

Husky HOLT5202B12 User manual

Husky MR482478W5 User manual

Husky

Husky MR482478W5 User manual

Husky HPRO72MWC20BLK User manual

Husky

Husky HPRO72MWC20BLK User manual

Husky HTA-102B12R User manual

Husky

Husky HTA-102B12R User manual

Husky HOLT62XDB11 User manual

Husky

Husky HOLT62XDB11 User manual

Husky HOTC5218B1QES User manual

Husky

Husky HOTC5218B1QES User manual

Husky HOTL6202B12 User manual

Husky

Husky HOTL6202B12 User manual

Husky H27LOCKER User manual

Husky

Husky H27LOCKER User manual

Husky HBR902490W5 User manual

Husky

Husky HBR902490W5 User manual

Husky HOLT7202B11 User manual

Husky

Husky HOLT7202B11 User manual

Husky BED1007 KING User manual

Husky

Husky BED1007 KING User manual

Popular Indoor Furnishing manuals by other brands

Regency LWMS3015 Assembly instructions

Regency

Regency LWMS3015 Assembly instructions

Furniture of America CM7751C Assembly instructions

Furniture of America

Furniture of America CM7751C Assembly instructions

Safavieh Furniture Estella CNS5731 manual

Safavieh Furniture

Safavieh Furniture Estella CNS5731 manual

PLACES OF STYLE Ovalfuss Assembly instruction

PLACES OF STYLE

PLACES OF STYLE Ovalfuss Assembly instruction

Trasman 1138 Bo1 Assembly manual

Trasman

Trasman 1138 Bo1 Assembly manual

Costway JV10856 manual

Costway

Costway JV10856 manual

moss DESIGN Caisson Credenza Assembly instructions

moss DESIGN

moss DESIGN Caisson Credenza Assembly instructions

Aquaglide FULL DECK 15.0 owner's manual

Aquaglide

Aquaglide FULL DECK 15.0 owner's manual

AREBOS AR-HE-SW30 user manual

AREBOS

AREBOS AR-HE-SW30 user manual

Till-Hilft Fulda 87005.330 Assembly instructions

Till-Hilft

Till-Hilft Fulda 87005.330 Assembly instructions

Twoey Outside 2010 quick start guide

Twoey Outside

Twoey Outside 2010 quick start guide

Hettich Easys 200 operating instructions

Hettich

Hettich Easys 200 operating instructions

The bedboss RELAX 404 Series owner's manual

The bedboss

The bedboss RELAX 404 Series owner's manual

Oeseder Möbelindustrie Bern 991 720 Assembly instructions

Oeseder Möbelindustrie

Oeseder Möbelindustrie Bern 991 720 Assembly instructions

Costway HW68469 user manual

Costway

Costway HW68469 user manual

Next ALIX A27743 Assembly instructions

Next

Next ALIX A27743 Assembly instructions

BROSA Hans Assembly guide

BROSA

BROSA Hans Assembly guide

Prodigg MINIKA PBA015T-FUR installation manual

Prodigg

Prodigg MINIKA PBA015T-FUR installation manual

manuals.online logo
manuals.online logoBrands
  • About & Mission
  • Contact us
  • Privacy Policy
  • Terms and Conditions

Copyright 2025 Manuals.Online. All Rights Reserved.