manuals.online logo
Brands
  1. Home
  2. •
  3. Brands
  4. •
  5. Husky
  6. •
  7. Indoor Furnishing
  8. •
  9. Husky MR481886W6B User manual

Husky MR481886W6B User manual

Model MR481886W6B
(48"w x 18"d x 86"h)
Safety & General Instructions
This unit should be placed on a level surface and should be
securely anchored to a wall or floor with suitable fasteners,
which are not included. Failure to do so can result in a
possible safety hazard. Do not use this unit for anything
other than the manufacturer’s intended purpose. DO NOT
STAND ON ANY PART OF THE UNIT OR USE AS A LADDER.
Use care when working with metal parts, wear gloves.
Evenly distribute the weight on each level and always keep
the heavier loads on the bottom.
The unit is assembled one level at a time. Each level is
assembled with two beams (b) and two braces (c) connected to
the posts (a) and one wire shelf (d). Assembly is done by fitting
the rivets of the beams and braces into the slots of the posts.
A rubber mallet should be used on the ledge of the beams and
braces to properly seat the rivets into the tapered ends of the
post slots. After assembly re-check each beam and brace for
engagement. The wire deck will rest on the ledge surface of the
beam or brace depending upon the orientation of the shelf level.
Retain this manual for future use.
Components
B: beam (long) C: brace (short)
A: post
D: wire shelf
Description Component Nominal
Size
Quantity
A. post URPS43-BLK 43” 8
B. beam TRBM48-BLK 48” 12
C. brace TRBR18-BLK 18” 12
D. wire shelf 1848W 18” x 48” 6
E. post coupler CPOUT-BLK -- 4
F. post cap RL-PC-B1 -- 4
G. post foot FP-HP -- 4
PARTS LIST
Recommended Items for Assembly
E: post
coupler
F: post
cap G: post
foot
Rubber Mallet (preferred) or Hammer (protect surface with cloth
or wood block) and Gloves
Warranty
Shouldyouhavequestions,problems,damageormissingparts,contactusforassistance:
Chat:www.edsal.com/chatorwww.edsal.com/contact
Email:support@edsal.com
Phone:773‐475‐3131
Toobtainreplacementpartspleaseprovide:ModelNumber,PartNumber&Description,LocationPurchased,andDatePurchased
Manufacturer:
EdsalManufacturingCompany
Chicago,IL60609
AssembledinU.S.withglobalanddomesticcomponents

USPatents&PatentsPending


Rev:C061518
GUARANTEED FOREVER. If your Husky tool or storage unit
ever fails bring it back and we will replace it for free. This full
warranty gives you specific rights which vary from state to state.
If this product is defective contact the manufacturer for repair or
replacement parts.
Assembly Instructions - MR481886W6B
STEP 1 … assemble post feet to post
• Check that each post is in the proper orientation. The post should be
positioned so that the tapered end of the hole is pointing downward.
• Place post foot on the bottom of each for the four lower posts.
STEP 2 … assemble bottom level
• Assemble one brace to two lower posts skipping one hole from
the bottom of each post. Be sure the longer ledge of brace is on top.
• Place the rivets into the posts, and tap lightly to seat the rivets.
• Repeat this with the other two lower posts and brace.
• Assemble the two beams into the two post and brace assemblies by
placing the rivets into the post. Tap lightly to seat the rivets. Be sure
the longer ledge of the beam on top.
• Place a wire shelf on the ledge of the assembled beams and
braces with the flat side facing upwards.
STEP 3 … assemble next two levels
• Connect another two braces and two beams to the posts for the next level.
• Check that each beam and brace is spaced equally.
• Place a wire shelf on the ledge of the assembled beams and braces for
each level with the flat side of the wire shelf upwards.
• Repeat for third level.
STEP 4 … connect posts with couplers
• Position the couplers on the top edge of each bottom post.
• Tap the couplers down to the mid-point of the coupler.
• Position another post into the top half of the coupler and tap down until the
two posts connect fully into the coupler.
STEP 5 … assemble the remaining three levels
• Connect additional braces and beams to the posts for each level.
• Check that each beam and brace is level and properly spaced.
• Place a wire shelf on the ledge of the assembled beams and braces for
each level with the flat side of the wire shelf upwards.
STEP 6 … assemble the post caps
• Place and fasten the post caps to the top of each post.
STEP 7 … final check
• Check each beam and brace connection to be sure that the rivets are
properly seated.
ALTERNATE HORIZONTAL CONFIGURATION ...
• Shelf can be split into two units and used side by side. Post couplers are not required for this configuration.
• Beams and braces should be positioned in the top and bottom two post holes of each section for stability.
• Follow steps 2, 3 and 7
NOTE: Additional post caps (F) and post feet (G) are not included for this alternate configuration, but may be
purchased by contacting customer service - see contact information below. Order quantity of 4 each of (F)
and (G) and follow steps 1 and 6 when order is received.
Wire Shelf
Beam
Brace
Post
Alternate horizontal
configuration
F
Tap lightly
G
A
Beam/Brace
Rivets
Post slot
tapered ends
points down
E
A
A
E
BraceandBeamlonger
ledgemustbeontop.
Insideview

Other Husky Indoor Furnishing manuals

Husky HOLT72XDB11 User manual

Husky

Husky HOLT72XDB11 User manual

Husky HBR902490W5 User manual

Husky

Husky HBR902490W5 User manual

Husky HOLT7202B11 User manual

Husky

Husky HOLT7202B11 User manual

Husky HOLT62XDB11 User manual

Husky

Husky HOLT62XDB11 User manual

Husky HOTC5218B1QES User manual

Husky

Husky HOTC5218B1QES User manual

Husky UACT-H-270101 User manual

Husky

Husky UACT-H-270101 User manual

Husky HOTL6202B12 User manual

Husky

Husky HOTL6202B12 User manual

Husky HOLT6202BJ2 User manual

Husky

Husky HOLT6202BJ2 User manual

Husky HOLT4602B12 User manual

Husky

Husky HOLT4602B12 User manual

Husky HOET5201B11XUS User manual

Husky

Husky HOET5201B11XUS User manual

Husky HPRO27SLOCKERBLK User manual

Husky

Husky HPRO27SLOCKERBLK User manual

Husky UACT-H-270111 User manual

Husky

Husky UACT-H-270111 User manual

Husky HPRO63TLOCKERBLK User manual

Husky

Husky HPRO63TLOCKERBLK User manual

Husky HPRO72HUTCHBRD User manual

Husky

Husky HPRO72HUTCHBRD User manual

Husky HOLT5202B11 User manual

Husky

Husky HOLT5202B11 User manual

Husky H27PC1 User manual

Husky

Husky H27PC1 User manual

Husky MR482478W5 User manual

Husky

Husky MR482478W5 User manual

Husky Work Table HOLT62XDB12 User manual

Husky

Husky Work Table HOLT62XDB12 User manual

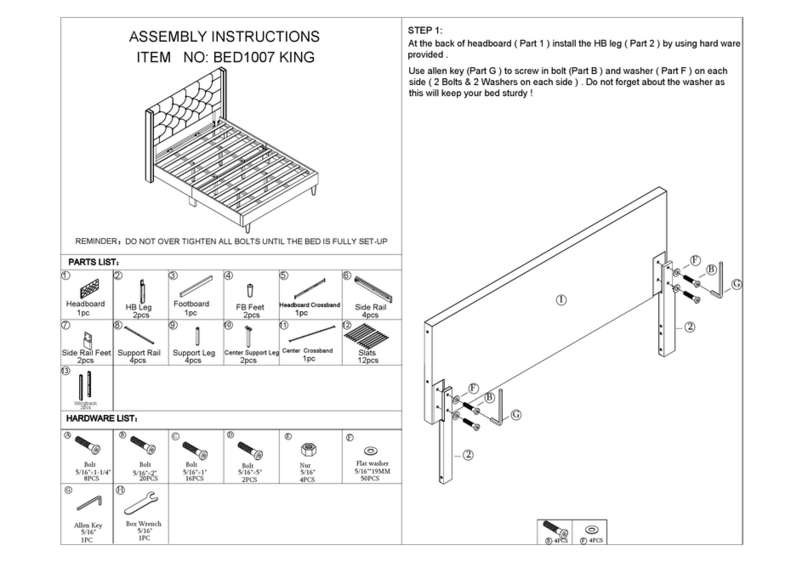
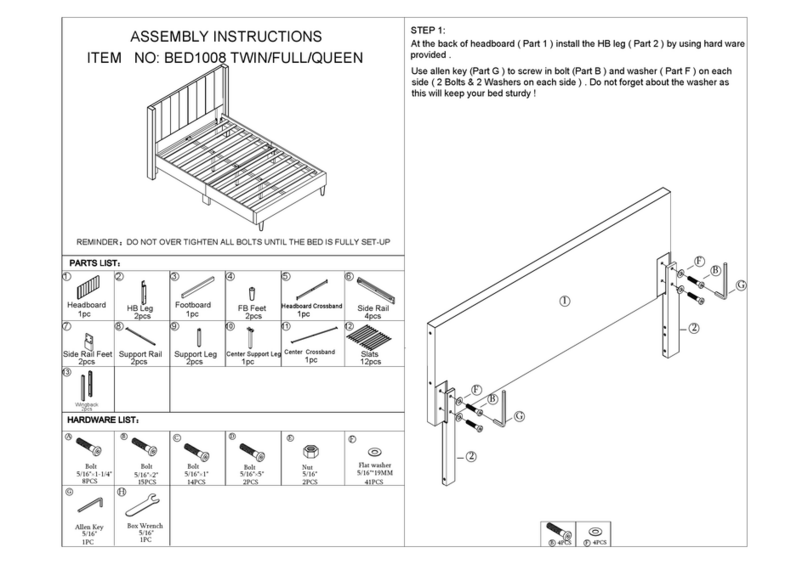
Husky BED1008 User manual

Husky

Husky BED1008 User manual

Husky HTA-102B12R User manual

Husky

Husky HTA-102B12R User manual

Husky H27LOCKER User manual

Husky

Husky H27LOCKER User manual

Husky HPRO72MWC20BLK User manual

Husky

Husky HPRO72MWC20BLK User manual

Husky HOLT5201B11 User manual

Husky

Husky HOLT5201B11 User manual

Husky HOLT7202B12 User manual

Husky

Husky HOLT7202B12 User manual

Popular Indoor Furnishing manuals by other brands

Philips 154948 operating instructions

Philips

Philips 154948 operating instructions

Pragma Sunny Dual Top Table user manual

Pragma

Pragma Sunny Dual Top Table user manual

Home affaire Laura 38054 Assembly instructions

Home affaire

Home affaire Laura 38054 Assembly instructions

Pulaski Furniture B027-024-825 Assembly instructions

Pulaski Furniture

Pulaski Furniture B027-024-825 Assembly instructions

Oeseder Möbelindustrie 992 580 Assembly instructions

Oeseder Möbelindustrie

Oeseder Möbelindustrie 992 580 Assembly instructions

Teknik Craft 5421407 manual

Teknik

Teknik Craft 5421407 manual

Mayline 1003 Assembly instructions

Mayline

Mayline 1003 Assembly instructions

ofichairs Dakar manual

ofichairs

ofichairs Dakar manual

FUFU & GAGA Armoire manual

FUFU & GAGA

FUFU & GAGA Armoire manual

MANTO MOVEIS 4312 Assembly lnstructions

MANTO MOVEIS

MANTO MOVEIS 4312 Assembly lnstructions

Forte OGXK0112 Assembling Instruction

Forte

Forte OGXK0112 Assembling Instruction

my wall HZ 41 L Assembly instructions

my wall

my wall HZ 41 L Assembly instructions

Zangra BUTTERFLY CHAIR Assembly instructions

Zangra

Zangra BUTTERFLY CHAIR Assembly instructions

Effegibrevetti WINCH Mounting-instructions and technical data

Effegibrevetti

Effegibrevetti WINCH Mounting-instructions and technical data

Steelcase 2 Series Removal and Installation Instructions

Steelcase

Steelcase 2 Series Removal and Installation Instructions

EXPEDO DITA R5D Assembly instruction

EXPEDO

EXPEDO DITA R5D Assembly instruction

Evans Evaglide ROMAN instructions

Evans

Evans Evaglide ROMAN instructions

ofichairs Ergocity manual

ofichairs

ofichairs Ergocity manual

manuals.online logo
manuals.online logoBrands
  • About & Mission
  • Contact us
  • Privacy Policy
  • Terms and Conditions

Copyright 2025 Manuals.Online. All Rights Reserved.