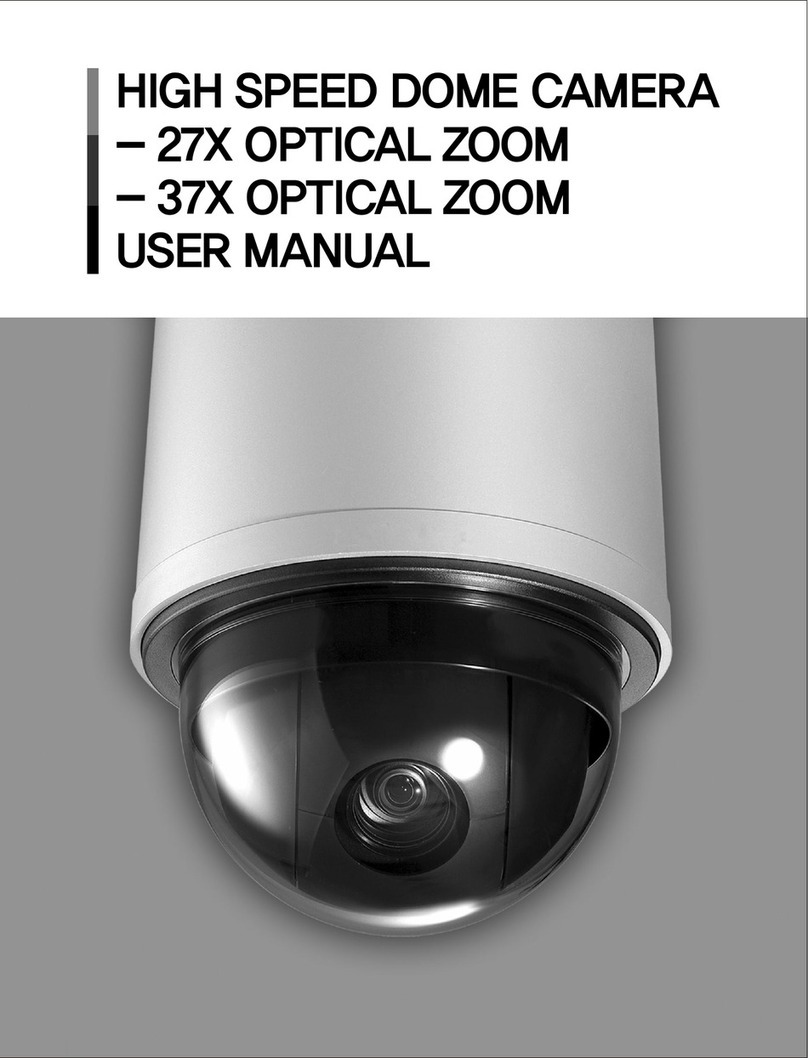
Huviron SK-V109 User manual

4. Camera installation
1) When you install the camera, you should install it after determining its
forward direction.
2) Self Tapping screws are included, but if you want to install it on a
concrete ceiling, you should use proper hardware.
3) Securely attach the lower part of the base on the ceiling. When installing
outdoors attach the supplied rubber pad onto the lower part of the base
so that no water may penetrate the screw holes and the cable entry.
<Caution> When you assemble the seal ring, pay attention to the leakage.
<Caution>
<Caution>
Check out the angle of view before installation.
Please do not connect the power during installation.
5. Install complete
After finishing installation, when the power turn on, the camera module
move to initial position.
3. Cable connections
Connect the camera using the supplied terminal block
1) Connect the control unit via a twisted, 2-conductor line(maximum
length 1200m) to the pin array 5(RS485A) and 6(RS485B).
Connect all cameras in parallel to this 2-conductor control line.
2) Feed the video signal at contact 3 via a shielded cable to the video
input of the following unit(e.g. Monitor, camera switcher, video splitter).
Connect the shield to contact 4. With a cable length of more than
300m a video amplifier should be inserted between the camera and
the cable to compensate for the line-level loss.
3) For power supply, connect a regulated 12V DC power supply unit
with a permanent rating of 1.5A or greater to contact 1(12V DC) and
the contact 2(ground).
<Caution>
[Warning]
Keep the pin array in mind.
And be sure to connect power only after all the installation is complete.
In case wrong connected power cable, may result in an electric shock,
fire, and or other hazard.
2. ID setup
- Use it when you use many cameras or if you want to use a special
camera ID.
- You can address up to 255 units.(Please refer to the table for camera
ID setup)
- Optional remote control(model SK-AR11/R1) can control up to 99
cameras.
1) Table for camera ID(Detail B : Address switch)
2) Protocol and Baud rate setting(Detail C : Setup switch)
※After setting above combination, turn off and on.
<Caution> 1. Please make sure the ID and protocol, it may not work in accordance
with environment of setting.
2. Factory default is PELCO - D 2400bps.
◐PRODUCT OUTLINE & FEATURES
◐WARNING & CAUTION
1. Product outline
2. Features
1. Please study the instruction manual before your applications and keep it
for your future reference.
2. Do not install the camera on a unstable surface. It will cause falling or
other hazards.
3. Do not use improper power, it could cause fire or electric shock.
4. Do not disassemble or remodel the camera, it could cause fire, electric
shock or other hazards.
5. This product should be installed by expert installer.
6. Do not install the product at the position exposed to the direct sun light.
7. Do not install the product where lighting is unstable.
8. Do not drop, hit strongly nor vibrate the product.
9. Unplug it when any inflammable or conductive material goes into the
product.
10. This product is produced only for the power 12V DC 1.5A.
This surveillance camera, as outdoor Pan/Tilt/Zoom dome, can be
controlled by using controller, SK-AR11/R1, SK-AR12, and SK-AR13
and DVRs with functions of 12Ⅹ optical zoom.
1) Modern & contemporary design.
2) Fast spin ning speed from up to per sec ond.
3) 128 prese ts. D well t ime in each po sition ca n be select ed.
4) Rem ote contro l available via RS-485
5) Com patible wi th va rious DVR's. (P ELCO -D)
6) Bui lt in t her ma l se n sor a n d co ol in g f an
7) Impa ct -re si st an t m a teri al . ( Al u mi n um & Po ly ca rb onat e )
8) Vand al proof and Weath er proof (I P66)
9) Up to 12Ⅹ opti cal z oom
2 0 0
◐ DIMENSION
◐ MOUNTING & INSTALLATION
First remove the white plastic shipping protection from the inside of the
case allowing the camera to move freely.
Used for RS-485 communication
ㆍ : Apply to terminal unit when communicating with PC or remote
control in 1:1 or in multi-communication.
(Apply when communication error occurs)
ㆍ : Apply to all the cameras except terminal(final) unit in multi-
communication.
1. Termination switch
ON
OFF
<Caution> If the termination switch is ON more than 2 units, a trouble on commu-
nication may happen.
2 3
6 7 85
4
12V DC
GND
VIDEO
GND
RS-485A
RS-485B
12V DC, 1.5A input
Connected to monitor
Connected to controller or DVR
1
2
3
4
5
6
Detail "D"
"D"
<Ceiling installation(Side piping)>
CABLE
CONNECTION
※The cabel must be pass
through a clamp then wrap
a cable half round a base
when you are assembling.
VANDAL-PROOF 192X ZOOM
PAN/TILT DOME CAMERA
SK-V109/Z946
MANUAL
Ø100
Ø150 Ø129
<Movable range>
REAR
FRONT
CAMERA FRONT
DIRECTION
SK-V109
360°Endless
Detail "A"
"A"
SCREW 4X25
4EA
WASHER SCREW
M3X8 3EA
CAMERA'S
ORIENTATION
MARK RING SEAL 3EA
TORX T10
SCREW M3X15 6EA
SCREW 4X25
4EA
WASHER SCREW
M3X8 3EA
CAMERA'S
ORIENTATION
MARK RING SEAL 3EA
PT 1/2
CABLE PIPE
TORX T10
SCREW M3X15 6EA
Baud rate
Protocol
Baud rateProtocol
SW 2 SW 3
OFF
O
OFF
N
ON
OFF
O
OFF
N
ON
OFF
FF
O
O
N
ON
OFF
FF
O
O
N
ON
SW 4
SW 1
Setup switch
2400bps
4800bps
9600bps
NONE
SK-P
(AUTO)
NONE
Pelco D Protocol
Protocol
Camera ID
1
2
3
4
5
6
7
8
9
10
11
12
13
14
15
SW 1
ON
OFF
ON
OFF
ON
OFF
ON
OFF
ON
OFF
ON
OFF
ON
OFF
ON
2
OFF
SW
ON
ON
OFF
OFF
ON
ON
OFF
OFF
ON
ON
OFF
OFF
ON
ON
3SW
OFF
OFF
OFF
ON
ON
ON
ON
OFF
OFF
OFF
OFF
ON
ON
ON
ON
4SW
OFF
OFF
OFF
OFF
OFF
OFF
OFF
ON
ON
ON
ON
ON
ON
ON
ON
5SW
OFF
OFF
OFF
OFF
OFF
OFF
OFF
OFF
OFF
OFF
OFF
OFF
OFF
OFF
OFF
6SW
OFF
OFF
OFF
OFF
OFF
OFF
OFF
OFF
OFF
OFF
OFF
OFF
OFF
OFF
OFF
7SW
OFF
OFF
OFF
OFF
OFF
OFF
OFF
OFF
OFF
OFF
OFF
OFF
OFF
OFF
OFF
8SW
OFF
OFF
OFF
OFF
OFF
OFF
OFF
OFF
OFF
OFF
OFF
OFF
OFF
OFF
OFF
ON OFF
ADDRESS
Detail "C"
Protocol/Baud rate setup
Detail "B"
ID setup
PROTOCOL
ON OFF
255(Abbreviation)
Ceiling piping<Ceiling installation( )>

10 11 129
13
14
Please read the instructions carefully for correct use of the product and
preserve it for reference purposes. This specification is subject to change
without any prior notice to improve the quality.
If the product is to be put out of operation definitively, take it to a
local recycling plant for a disposal which is not harmful to the
environment.
15
◐OSD Menu configuration ◐Specification
Set u p S equence / Rando m S c an, s can , p atte rn
Set additional information, Password/ Reboot/ Reset / Information
CCD
OPTICS
SYNC
ELECTRICAL
Model Number
e
Size
Effective Pixels
Optics
Min. Focus Distance
D. ZOOM
Angle Field of view
Scanning System
Synchronization
Frequency
Resolution
Min. Illumination
S/N (Y signal)
Video Output
Focus
Zoom Movement Speed
IRIS Control
Lens Initialize
Camera Title
Camera ID
Day & Night
Gain Control
White Balanc
Back Light
Compensation
Electronic shutter
speed
O.S.D
Motion Detection
SSNR
Privacy Function
FLIP
Preset
Communication
Baudrate
Function
Power Supply
Max PAN TILT SPEED
Current Consumption
Operation Temp
Preservation Temp
Demension
Weight
/SK-V109 Z946
1/4 inch, Interline Transfer CCD
12X, f=3.94 to 46.05mm(F1.67~F1.88)
1,000mm
OFF/ON (X2 ~ X16)
H : Appr. 51.54°(Wide) to 4.49°(Tele)
V : Appr. 39.28°(Wide) to 3.39°(Tele)
D : Appr. 62.4°(Wide) to 5.57°(Tele)
2:1 Interlace
Internal
0.2 Lux/F1.6 (50 IRE) ; Color / 0.004 Lux/F1.6 (50 IRE) ; B/W
52 dB
CVBS : 1.0Vp-p/75Ω
Auto/Manual/One push
1.9 sec : WIde to Tele (MAX SPEED)
Auto, Manual
Built-In
OFF/ON (Displayed 15 characters)
255 ID Selectable
Auto, COLOR, B/W
OFF,LOW,MIDDLE,High,MANUAL Selectable
OFF/BLC/HLC/SSDR Selectable
English,Deutsch,Italiano,Espanol
NTSC ,
PAL ( 5 retary)
(X512 ~ 1/60sec~ 1/120,000 sec )
X512 ~ 1/ 0sec~ 1/120,000 sec
560TV Lines(Min.): Color (WIDE) / 680 TV Lines(Min.) : B/W (WIDE)
V, H, Mirror, Off
, SK-P
7
ON/OFF(8 areas)
Low,Middle,High,Off
ON/OFF(8 areas)
128 Position(Store with Internal EEPROM)
PELCO - D
2400, 4800, 9600 bps
PRESET,SEQ,RANDOM,PATTERN
regulated 12 v DC +_10%
200'/s
Max 1. A
-10'c ~ +40'c
-20'c ~ +50'c
Φ150 x 135.4(H)mm
Approx.1.2Kg
3B25579A
◐ Function
SET UP
Set u p Ca mera/ Pan, Tilt/ Di s pla y C ame ra: S et the ge neral
ca mera m enu ex cep t S e quen ce/Rand om Scan . D igit al zo om
limit, Da y &Ni ght, BLC c an be adj usted i n t h is me nu.
Main M enu-> Setu p->Camera Setup
Pan/Tilt: S e t u p Pan/ Tilt . Adju s t Auto F lip
Main M enu-> Setu p->Pan/Tilt S e tup
Di s play : E x cep t M enu OS D, Cam era Nam e, Ad dre ss, L a bel
ca n b e adju sted.
Main M enu-> Setu p->Displ ay Set u p
Set up function by co ntrol ling OSD menus.
*OSD (Use SK-AR13 contro ller)
1. MENU : Sho wing main OSD me nu.
(P/T /Z wi ll stop while c ontrol O SD)
2. IRIS OPEN Key: Select to move to sub-menu / Fix the set ting value
3. IRIS CLOSE Key: Select to move to previous menu /
Move t he cursor to EXIT p osition
4. Joy s tic k
-Righ t: Move the cursor t o righ t / Move to below menu or cont rol
menu
-Left: Move the cursor to lef t / Esc ap e c ont rol mo de
-Up: Move the cursor to up / Move t o prev ious menu or increase
the numbers in co ntrol mode
-Do wn: Mo ve the curs or to dow n / Move to sub-menu o r
de cre ase the num bers in control mo de
PRESET
PRIVACY ZONE
Save the setting of location of Zoom/ Fo cus/ Camera setting.
Adjust Preset Camera setti ng, Motion detection setting when
Seq uence Scan /Rando m scan on action .
*Motion detection d oes not work when preset mode is on.
Main Menu -> Preset
If any move ment appears under location of preset, the alarm
starts. Adjust Motion Sensitivity(Low/Middle/High ), AUX
Set(Relay/Open/Collector/Off), Dome Act
Main menu -> Preset -> Motion&Camera
Select from CW/ CCW/Custom to auto scan of the place with
using endless pan. Adjust Scan Speed(0~ 20), Custom
Set(Left/Right Limit).
Main Menu->Motion Control->Au to S can
Set the pres et points of places to sca n regu larly or
randomly. It wo rks with Camera setting/ Mo ti on detection
on preset.
Main M enu-> Motion Cont ro l-> Seq Scan (S equen tial Scan)
Main M enu-> Motion Cont ro l->Random S ca n
(Random Scan)
User set th e pattern using controller to scan the location,
routine, speed , zoom and ratio to work the ca mera.
* The saving time varie s by Pan/Tilt/Zoom.
Main Menu->Pattern Set- >Star t Pattern Learn (Save)
Main Menu->Pattern Set- >Star t Pattern Run (S tart
Select the masking area wh ere n eeded to be covered. Max.
4 zone s can be selected and Mask color, location and size
can be set.
* Selecting Clear Mask will reset the pri vacy zone.
MOT IO N DE TE CT IO N
AUTO SCA N
Seq / Ra ndom S c an
Pattern Sc an
MOTION CONTROL
S Y S T E M
OS D M E NU
ATW / AWC /INDOOR, OUTDOOR,Manual (1700 K ~11,000 K)° °
768(H) x 494(V) (NTSC),
752(H) x 582(V) (PAL)
H:15.734 KHz/V:59.94 Hz (NTSC), H:15.625KHz/V:50Hz (PAL)
(NTSC)
This manual suits for next models
1
Other Huviron Security Camera manuals

Huviron
Huviron SK-N611 User manual

Huviron
Huviron SK-NV221 User manual

Huviron
Huviron SK-P461D/HD21 User manual

Huviron
Huviron SK-V251IR(D) User manual

Huviron
Huviron SK-P464D/M556AI User manual

Huviron
Huviron SK-P461D/HD21 User manual

Huviron
Huviron SK-S200 User manual

Huviron
Huviron SK-D302IR(D)/HD21 User manual

Huviron
Huviron SK-D300IR/HT21AI User manual

Huviron
Huviron SK-2020 User manual