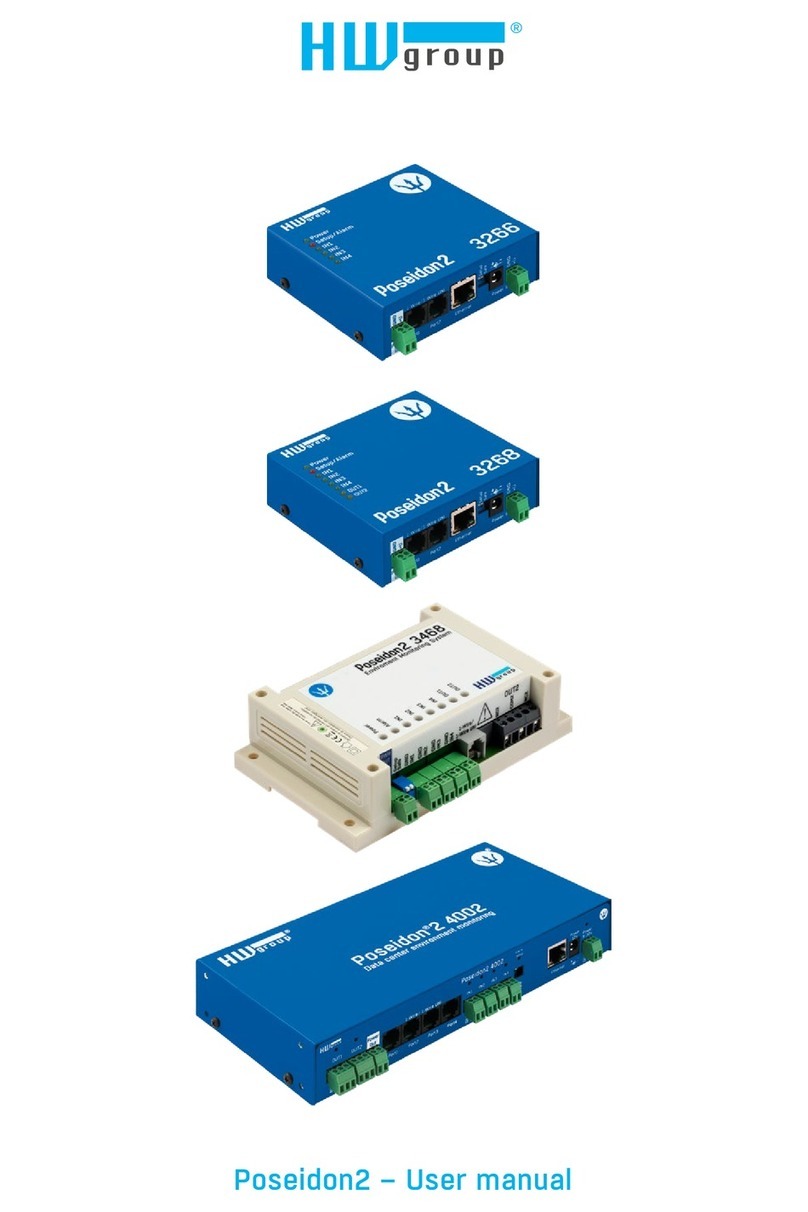
Poseidon 3266 – starting guide HW group
www.atel.com.pl 45-231 Opole tel. +48 (77) 455 60 76
Starting Guide - Poseidon 3266
First steps for measuring temperature with Poseidon
1) Connecting Poseidon 3266
•
Green POWER LED on RJ45 connector lights up – power supply is OK
•
Yellow LED on the RJ45 connector blinks – connection to 10 Mbit network is OK
Accessories
600 005 Temp-1Wire 3m Temperature sensor, 3m cable (1m = 600 242 , 10m = 600 056)
600 311 Temp-1Wire-Outdoor 3m Temperature sensor for outdoor use, food-safe steel, 3m cable
600 330 HTemp-Rack19 Temp & humidity sensor, installs into a RACK as a 1U device
600 279 Humid-1Wire 3m Humidity sensor, 3m cable (1m = 600 278)
600 040 Poseidon T-Box Hub to connect up to 5 sensors, 10cm cable
600 280 Poseidon T-Box2 Hub to connect 2 sensors, 3m cable
600 119 Door Contact Door contact to detect open door, connects to a Dry Contact input (I1..I4)
600 239 Gas Leak Detector
Flammable gas detector, connects to a Dry Contact input (I1..I4)
600 240 PowerEgg Voltage detector, 110/230V (connects to I1..I4 on the Poseidon)
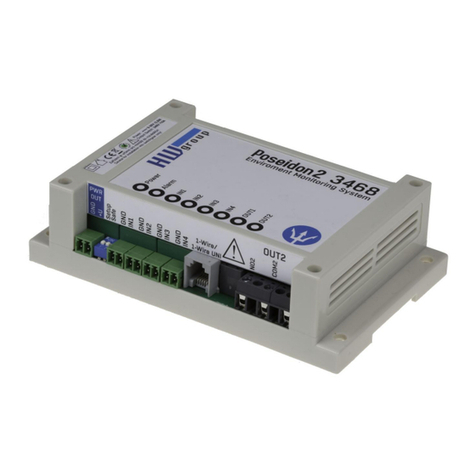
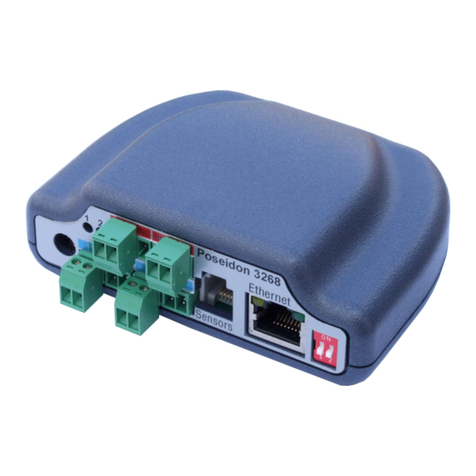
Poseidon 3266
Check DIP switches. For installation, set them as shown in
the picture on the right (DIP1=Off, DIP2=Off).
Connect temperature or humidity sensor to
(Temp-1Wire or Humid-1Wire - RJ12 connector), the
connector must click-in.
Connect power adapter to an outlet (230 / 110V) and
to the Poseidon power connector.
The connector must be plugged in fully, green LED lights
Poseidon to Ethernet
Dry contact inputs for connecting contacts. For sensors with
Dry Contact outputs (buttons, relay contacts, door contacts)
600 119
600 040
600 330
600 242
600 237
