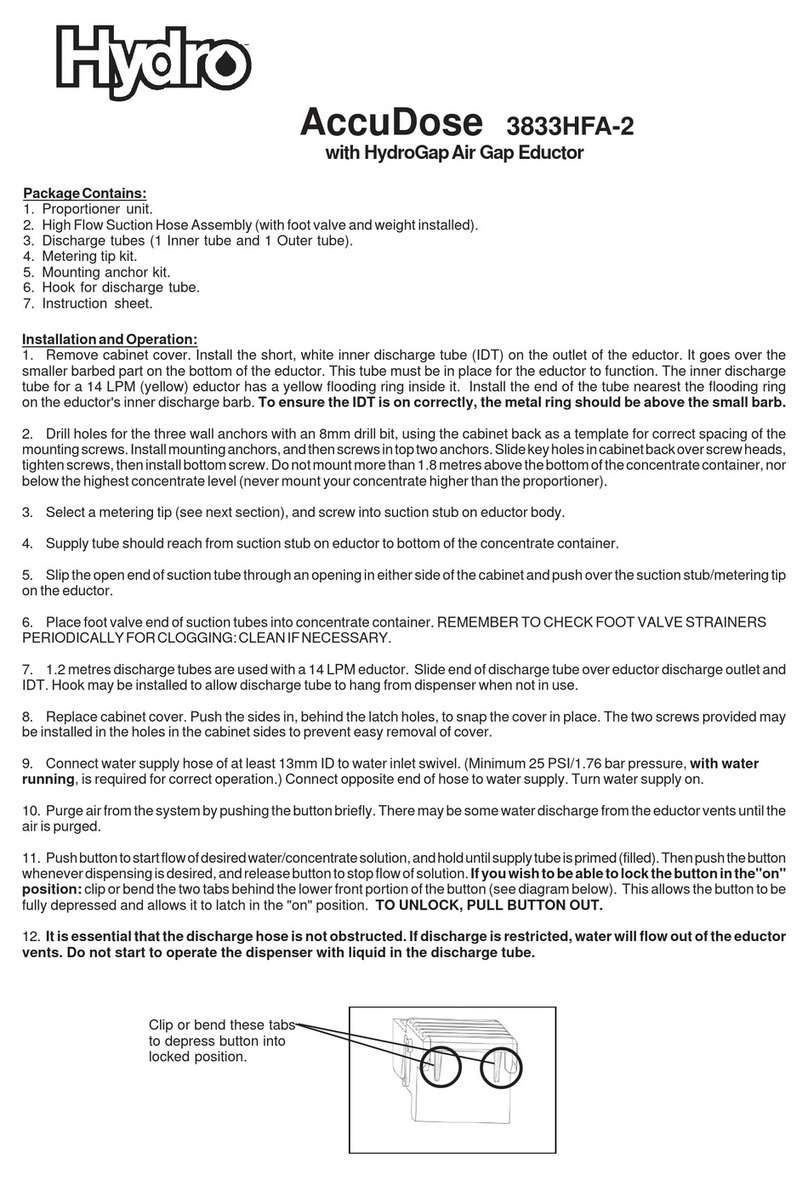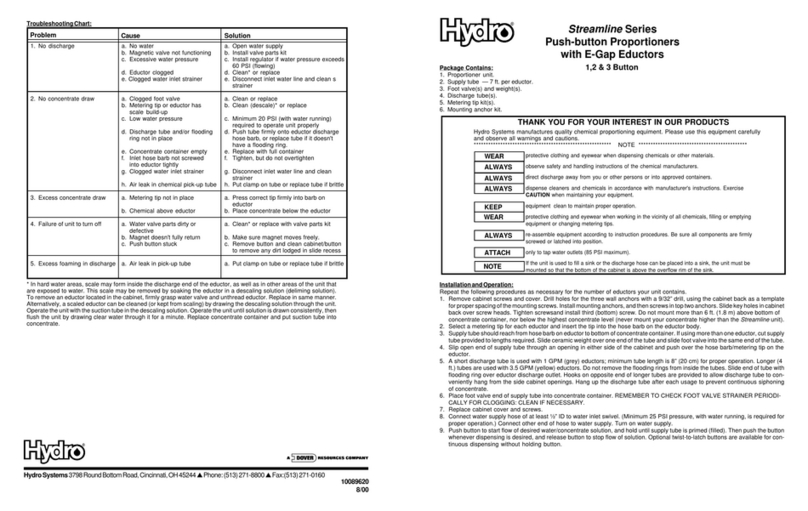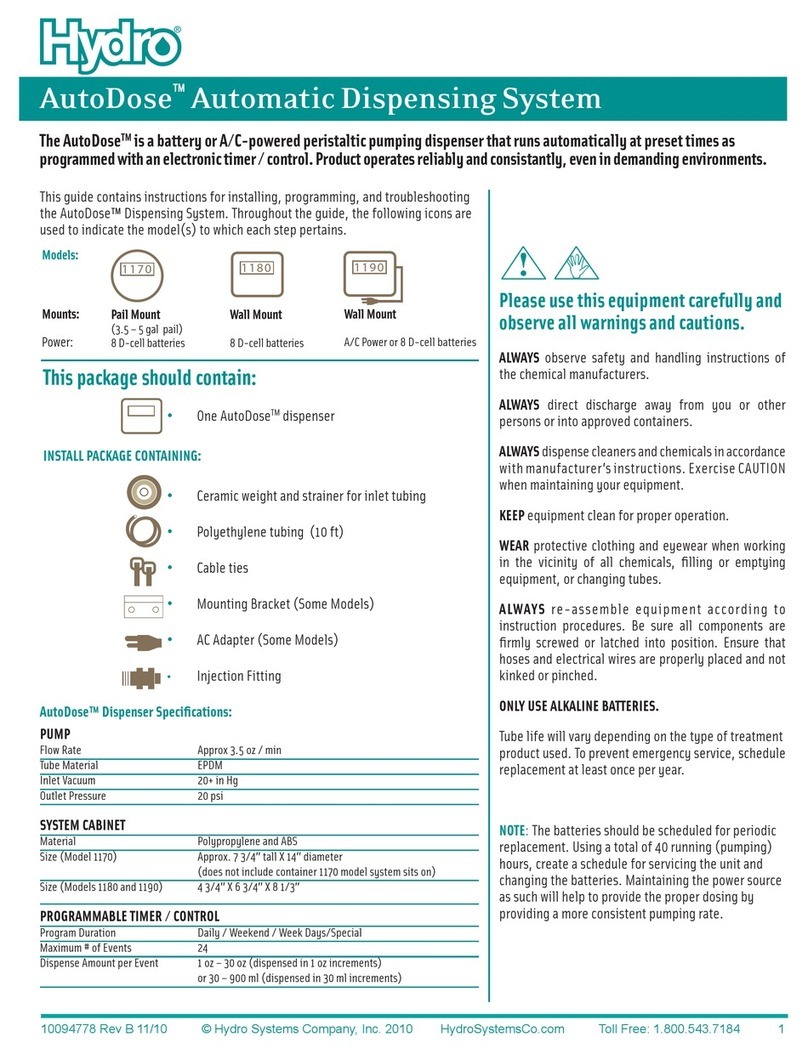
4. Return SET to the middle (RUN) position. Note that the display was
frozen during the setting process, but that the internal clock kept track of
the time elapsed since the switches were moved so the time of day is
preservedduringthesettingoperation.
To Program: SET CURRENT TIME AND DAY FIRST! (See page3.)
1. Place SET to the right (P) position. The display shows event 1. This is a
“turn on” event, signified by the light bulb in the display The time will be
blankiftheprogrammerhasbeenreset(R).Setthe hours(h)andminutes
(m) of this event.
2. By pressing “1 . . . 7”, select the day(s) this event is to occur. The display
startswithday7(Sunday),thenprogressesto1through6.Afterday6,the
display goes through the groups of days available. Pressing the “1 ... 7”
buttonafter thegroups ofdays willleave thedays blank.This canbe used
to remove an event that is not needed. If no days are selected for an
event, the event will not happen.
3. When the display is correct, press “P”. This enters the data for the event
1 and moves the display to event 2. This is a “turn off” event, so the light
bulb symbol is now absent. Event 2 should be set to be the “off” event corresponding to the “on” of event 1. Make sure
the day (or group of days) is the same as selected for event 1.
4. Completethe desiredremainingevents.Notethat “on”eventsareoddnumbered and“off”eventsareeven numbered.
If an undesired display is inadvertently created (such as displaying 9:00 instead of 8:00), continue to press the control for
the feature you wish to change: it will go through its list of available choices and return to the start of its sequence. The
16 possible program events can be indexed by pressing “P”. Return SET to the RUN (center) position so that the pump
runs according to program. If the pump starts running when both switches are in the middle but your program does not
call for it to be running, review the programs. Pay close attention to a.m./p.m. times and days the events are to happen.
5. To remove an event: Slide the SET (right) switch to the right (“P”). Use the “P” button to move to the event you want to
remove.Usethe“1...7”buttontoremovethedaysforthiseventtohappen.(Afterdisplayingthegroupsofdays,onemore
pressingofthebuttonwillremoveallthetrianglesunderthedaynumbers.)Besuretoremoveboththe“on”and“off”events.
6. To review a program: Slide the SET (right) switch to the right. The first event will be displayed. The rest of the events
can be displayed by pressing the “P” button in the lower left corner of the timer. When you are finished reviewing the pro-
gram,besuretoslidetheSETswitchbacktothecentersothatthedispenserwillrunaccordingtotheprogram.Reviewing
programs does not change the settings, but you can change the program while you are reviewing it by using the “1 ... 7”,
“h” and “m” buttons. If you are reviewing a program when a programmed “on” event should take place, the motor will not
start until you switch the unit back to automatic. In the case of an “off” event, the dispenser will not stop until you switch
the timer back to automatic mode.
7. Tochangeaprogram: Changingthetimeorprogramduringan“on”periodmaycausetheunittomalfunction.Tochange
the time or program, review the program first to be sure you will be finished before the next “on” period begins. Slide the
SETswitchtotheright.Pressthe“P”buttonuntiltheeventyouwanttochangeisdisplayed.Changetheeventbypressing
the “h”, “m” or “1 . . . 7” buttons to display the desired event. Any or all the events can be changed at one time.
8. If the unit is to be shipped after it is programmed, be sure to slide the mode (left) switch to the “O” position and
removebatteries (Models1060, 1065,1080 and1085), alongwith thebattery holder(models 1080& 1085),for shipping.
SkipFunction:
The program for any next day can be skipped by pressing the button at the lower right. This also causes the
symbol to appear in the display. When the next day begins, at midnight, the symbolwilldisappearfromthedisplay,and
duringthe24-hourperiodwheretheskipisinforce,theday-indicatingtrianglewillbeflashing.Theskipdecisioncanbeoverridden
before the “skip” day begins by pressing the button again. These commands must be entered with the switches in the
center positions.
ManualOperation(Priming):
Thepumpcanbeturnedonbymovingtheleft(MODE)switchtoitsleft(Ι)position.Thelightbulbsymbolappearsinthedisplay.
Runthesystemuntiltreatmentproductfillsallthetubingandhasjustbeguntobedischarged.WhentheMODEswitchisplaced
in its right (O) position, the controller is off, and the pump will not run. This will not affect the programmed time period settings
ortheclocktimer.NOTE:Iftheunitisbeingprimedandaprogrammedperiodbegins,theunitwillcontinuetorunwhenthemode
switch is returned to the center position. The motor will stop after the period times out. Remember to return the timer to the
automaticmodeifyouwishthepumptorunaccordingtotheprogrammedeventschedule.Primethesystemduringinstallation
and when the chemical or pump tube is changed.
REMEMBER:PUSHINGRESETDISCARDSTHEENTIREPROGRAMANDTIME,MAKINGTHEPROGRAMMERREADY
TO ACCEPT NEW SETTINGS. AFTER RESET IS PUSHED, ENTER THE NEW PROGRAM AS DESCRIBED ON THE
PRECEDING PAGES. TIME OF DAY MUST BE SET BEFORE EVENTS CAN BE PROGRAMMED OR PUMP RUN FOR
PRIMING NOTE:
Assure that programmer is in automatic mode (both switches in center positions) to operate according to the
programmedschedule.Check theset-up 7-10days after installationto insureproper set-up/operationofthe unit.
MODE SWITCH SET SWITCH
