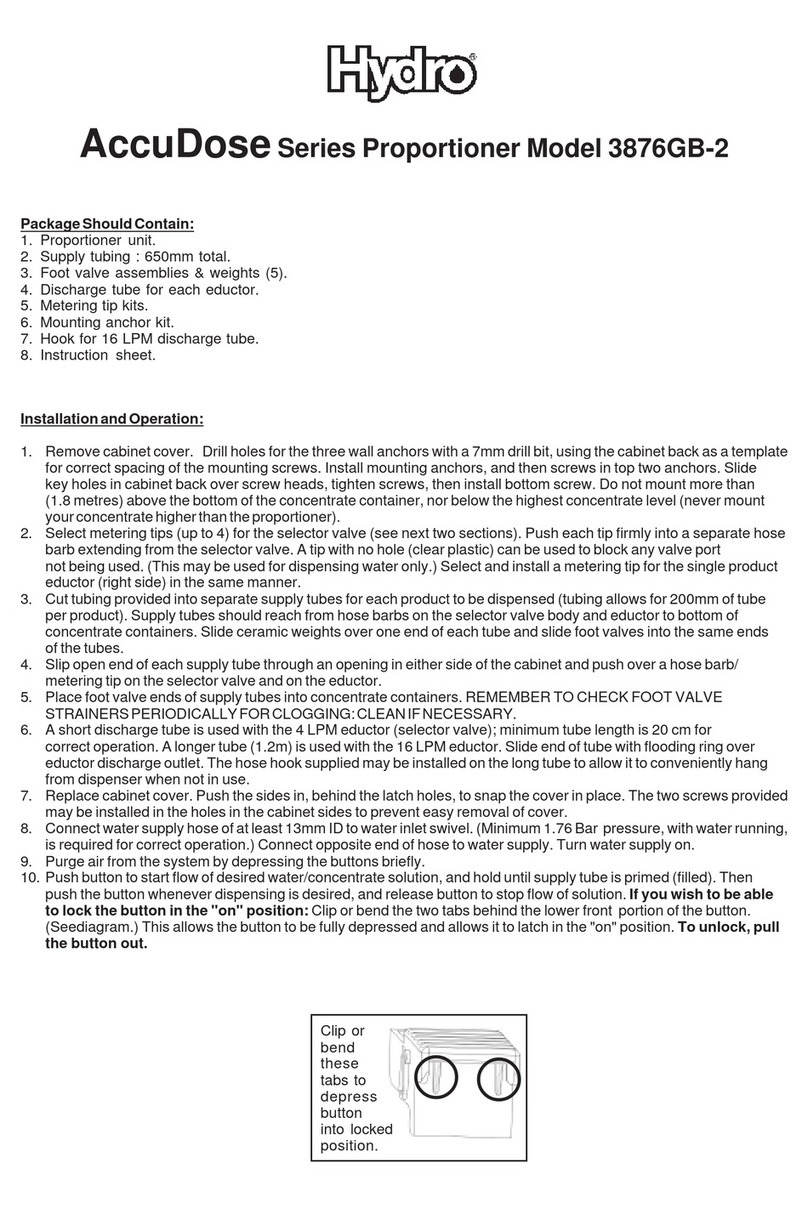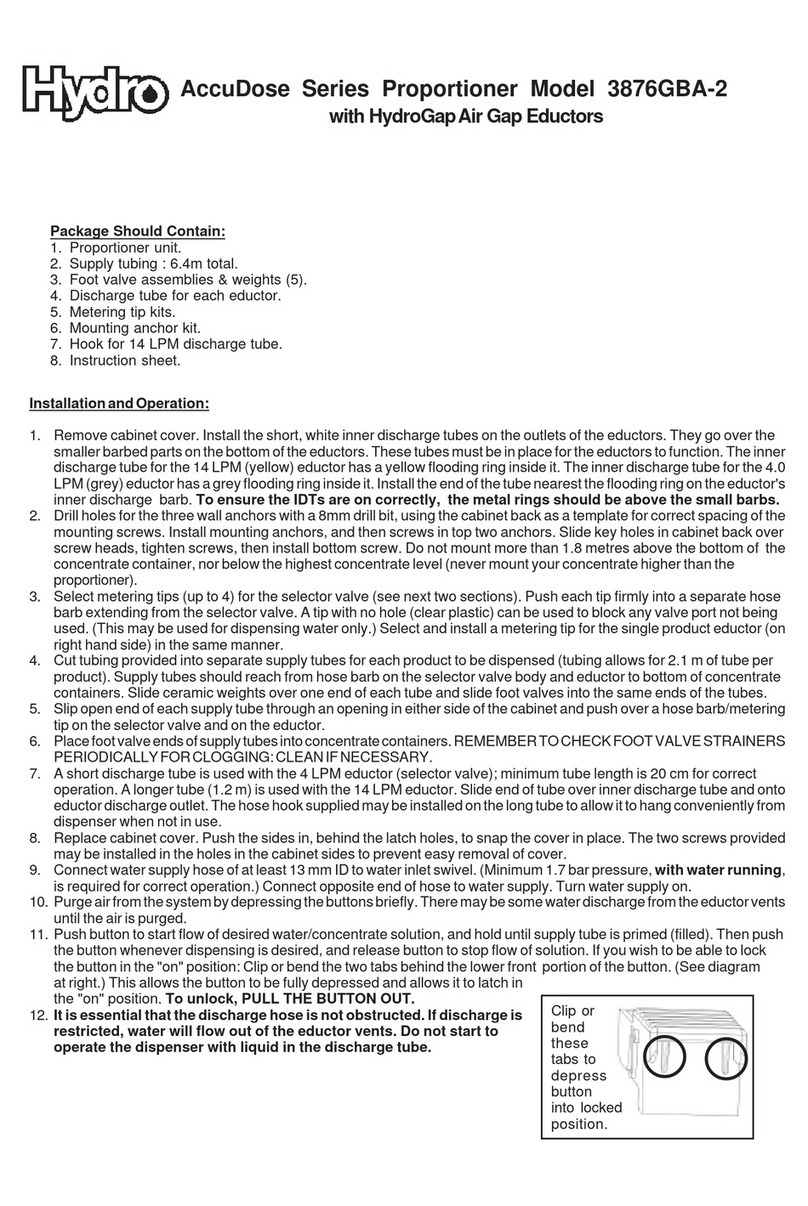
InstallationandOperation:
Repeat the following procedures as necessary for the number of eductors your unit contains.
1. Remove cabinet screws and cover. Drill holes for the three wall anchors with a 9/32” drill, using the cabinet back as a template
forproperspacingofthemountingscrews.Installmountinganchors,andthenscrewsintoptwoanchors.Slidekeyholesincabinet
back over screw heads. Tighten screwsand install third (bottom) screw. Do not mount more than 6 ft. (1.8 m) above bottom of
concentrate container, nor below the highest concentrate level (never mount your concentrate higher than the Streamline unit).
2. Select a metering tip for each eductor and insert the tip into the hose barb on the eductor body.
3. Supplytubeshouldreach fromhosebarbon eductortobottomof concentratecontainer.Ifusing morethanoneeductor, cutsupply
tubeprovided to lengthsrequired. Slide ceramicweight over oneend of thetube and slidefoot valve intothe same endof the tube.
4. Slip open end of supply tube through an opening in either side of the cabinet and push over the hose barb/metering tip on the
eductor.
5. A short discharge tube is used with 1 GPM (grey) eductors; minimum tube length is 8” (20 cm) for proper operation. Longer (4
ft.) tubes are used with 3.5 GPM (yellow) eductors. Do not remove the flooding rings from inside the tubes. Slide end of tube with
flooding ring over eductor discharge outlet. Hooks on opposite end of longer tubes are provided to allow discharge tube to con-
veniently hang from the side cabinet openings. Hang up the discharge tube after each usage to prevent continuous siphoning
of concentrate.
6. Place foot valve end of supply tube into concentrate container. REMEMBER TO CHECK FOOT VALVE STRAINER PERIODI-
CALLY FOR CLOGGING: CLEAN IF NECESSARY.
7. Replace cabinet cover and screws.
8. Connect water supply hose of at least ½” ID to water inlet swivel. (Minimum 25 PSI pressure, with water running, is required for
proper operation.) Connect other end of hose to water supply. Turn on water supply.
9. Push button to start flow of desired water/concentrate solution, and hold until supply tube is primed (filled). Then push the button
whenever dispensing is desired, and release button to stop flow of solution. Optional twist-to-latch buttons are available for con-
tinuous dispensing without holding button.
Streamline Series
Push-button Proportioners
with E-Gap Eductors
Package Contains:
1. Proportioner unit.
2. Supply tube — 7 ft. per eductor.
3. Foot valve(s) and weight(s).
4. Discharge tube(s).
5. Metering tip kit(s).
6. Mounting anchor kit.
10089620
8/00
HydroSystems3798RoundBottomRoad,Cincinnati,OH45244▲Phone:(513)271-8800▲Fax:(513)271-0160
1,2 & 3 Button
TroubleshootingChart:
*In hard water areas, scale may form inside the discharge end of the eductor, as well as in other areas of the unit that
are exposed to water. This scale may be removed by soaking the eductor in a descaling solution (deliming solution).
To remove an eductor located in the cabinet, firmly grasp water valve and unthread eductor. Replace in same manner.
Alternatively, a scaled eductor can be cleaned (or kept from scaling) by drawing the descaling solution through the unit.
Operatethe unit withthe suction tubein the descalingsolution. Operate theunit until solutionis drawn consistently,then
flush the unit by drawing clear water through it for a minute. Replace concentrate container and put suction tube into
concentrate.
1. No discharge a. No water a. Open water supply
b. Magnetic valve not functioning b. Install valve parts kit
c. Excessive water pressure c. Install regulator if water pressure exceeds
60 PSI (flowing)
d. Eductor clogged d. Clean* or replace
e. Clogged water inlet strainer e. Disconnect inlet water line and clean s
strainer
2. No concentrate draw a. Clogged foot valve a. Clean or replace
b. Metering tip or eductor has b. Clean (descale)* or replace
scale build-up
c. Low water pressure c. Minimum 20 PSI (with water running)
required to operate unit properly
d. Discharge tube and/or flooding d. Push tube firmly onto eductor discharge
ring not in place hose barb, or replace tube if it doesn't
have a flooding ring.
e. Concentrate container empty e. Replace with full container
f. Inlet hose barb not screwed f. Tighten, but do not overtighten
into eductor tightly
g. Clogged water inlet strainer g. Disconnect inlet water line and clean
strainer
h. Air leak in chemical pick-up tube h. Put clamp on tube or replace tube if brittle
3. Excess concentrate draw a. Metering tip not in place a. Press correct tip firmly into barb on
eductor
b. Chemical above eductor b. Place concentrate below the eductor
4. Failure of unit to turn off a. Water valve parts dirty or a. Clean* or replace with valve parts kit
defective
b. Magnet doesn't fully return b. Make sure magnet moves freely.
c. Push button stuck c. Remove button and clean cabinet/button
to remove any dirt lodged in slide recess
5. Excess foaming in discharge a. Air leak in pick-up tube a. Put clamp on tube or replace tube if brittle
SolutionCause
Problem
THANK YOU FOR YOUR INTEREST IN OUR PRODUCTS
protective clothing and eyewear when dispensing chemicals or other materials.
observe safety and handling instructions of the chemical manufacturers.
direct discharge away from you or other persons or into approved containers.
dispense cleaners and chemicals in accordance with manufacturer's instructions. Exercise
CAUTION when maintaining your equipment.
equipment clean to maintain proper operation.
protective clothing and eyewear when working in the vicinity of all chemicals, filling or emptying
equipment or changing metering tips.
re-assemble equipment according to instruction procedures. Be sure all components are firmly
screwed or latched into position.
only to tap water outlets (85 PSI maximum).
If the unit is used to fill a sink or the discharge hose can be placed into a sink, the unit must be
mounted so that the bottom of the cabinet is above the overflow rim of the sink.
WEAR
ALWAYS
ALWAYS
ALWAYS
KEEP
WEAR
ALWAYS
ATTACH
Hydro Systems manufactures quality chemical proportioning equiment. Please use this equipment carefully
and observe all warnings and cautions.
********************************************************* NOTE *********************************************
NOTE
