2 www.hydrofarm.com
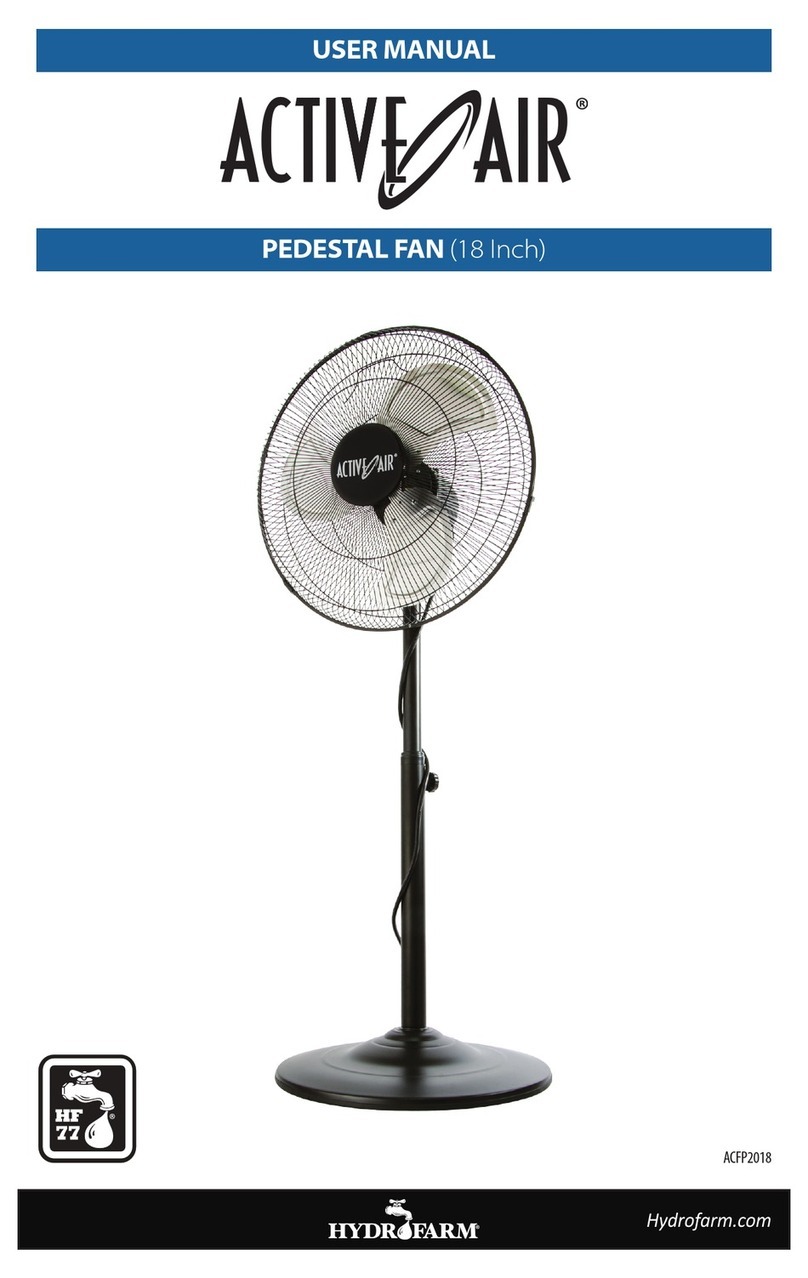
PUTTING TOGETHER THE FAN SUPPORT
1. Open the box and remove plasc from stand base and adjustable sha.
2. Find and open the hardware bag.
3. Match the four holes on the sha to the four holes on the stand base.
4. Tighten sha down rmly with four B bolts.
5. Remove collar from sha (loosen counterclockwise and slide o).
6. Slide on the bolt cover (comes in hardware bag).
7. Reinstall collar.
MOUNTING THE MOTOR AND FAN
1. Remove cardboard and plasc wrap from the fan motor.
2. Mount the rear fan blade cover to the motor by matching the four holes on the fan blade
cover to the four holes on the motor housing. NOTE: The small bolt on the rear cover
should be at the boom (facing the base), and the handle on the rear cover should be at
the top.
3. Insert fan blade onto motor drive-sha. Match the set screw on the fan blade to the at
spot on the drive-sha and ghten the screw. NOTE: Make sure the side of the blade with
the set screw is facing forward.
4. Test the fan blade by rotang it with your hand. Make sure it doesn’t contact the fan blade
cover at all. It should rotate freely. Repeat step 2 if the blade doesn’t spin freely.
5. Mount the front fan blade cover onto the rear cover by matching the hole on front cover
with the small bolt on rear cover. Then secure all ve clips and ghten the small bolt.
6. Loosen collar on sha and fully extend. Tighten collar.
7. Loosen bolt below motor housing so that sha can be inserted. Once inserted, ghten the
bolt to secure.
8. Fan height can be adjusted by loosening/ghtening the collar on the sha.
ADJUSTING THE SETTINGS
The boom dial on the fan is the fan speed adjuster. There are four fan speed sengs: o (0),
low (1), med (2) and high (3).
The knob on the motor controls the oscillaon. Li it up completely to stop oscillaon.
When the fan is in ON posion, you may hear a very faint mer-like clicking noise, even though
the mer itself is not set.
INSTRUCTION MANUAL
