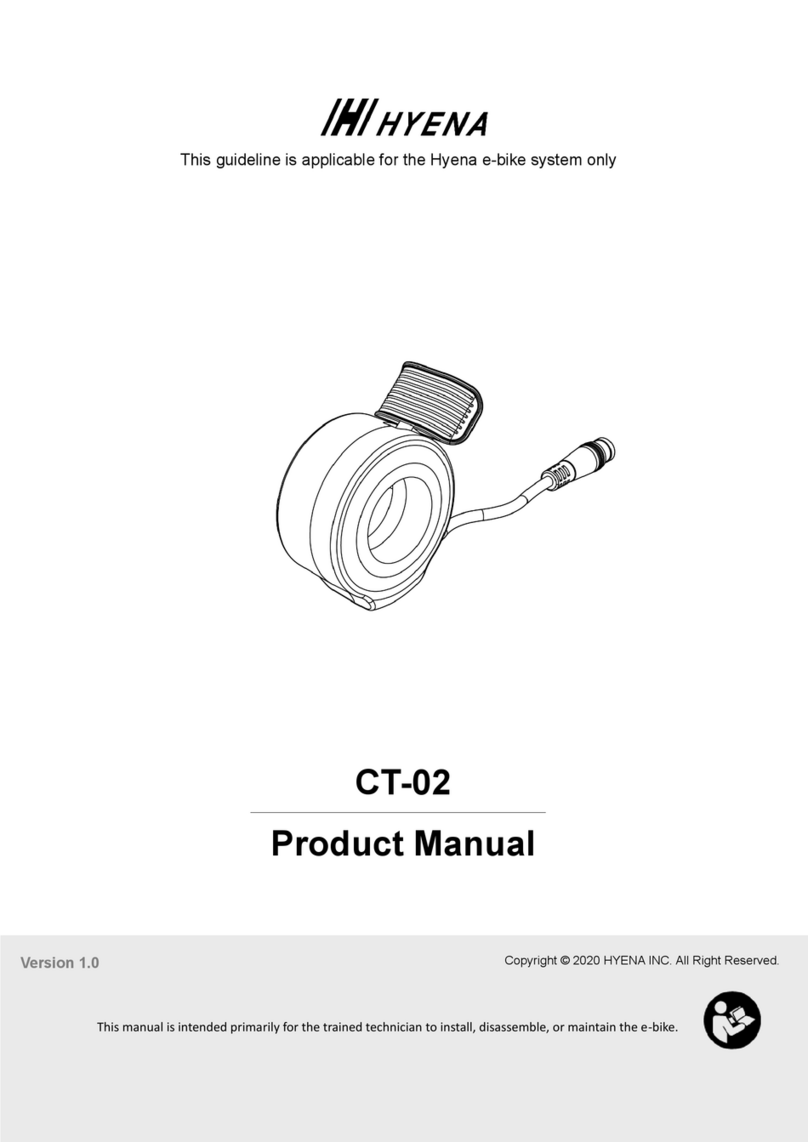
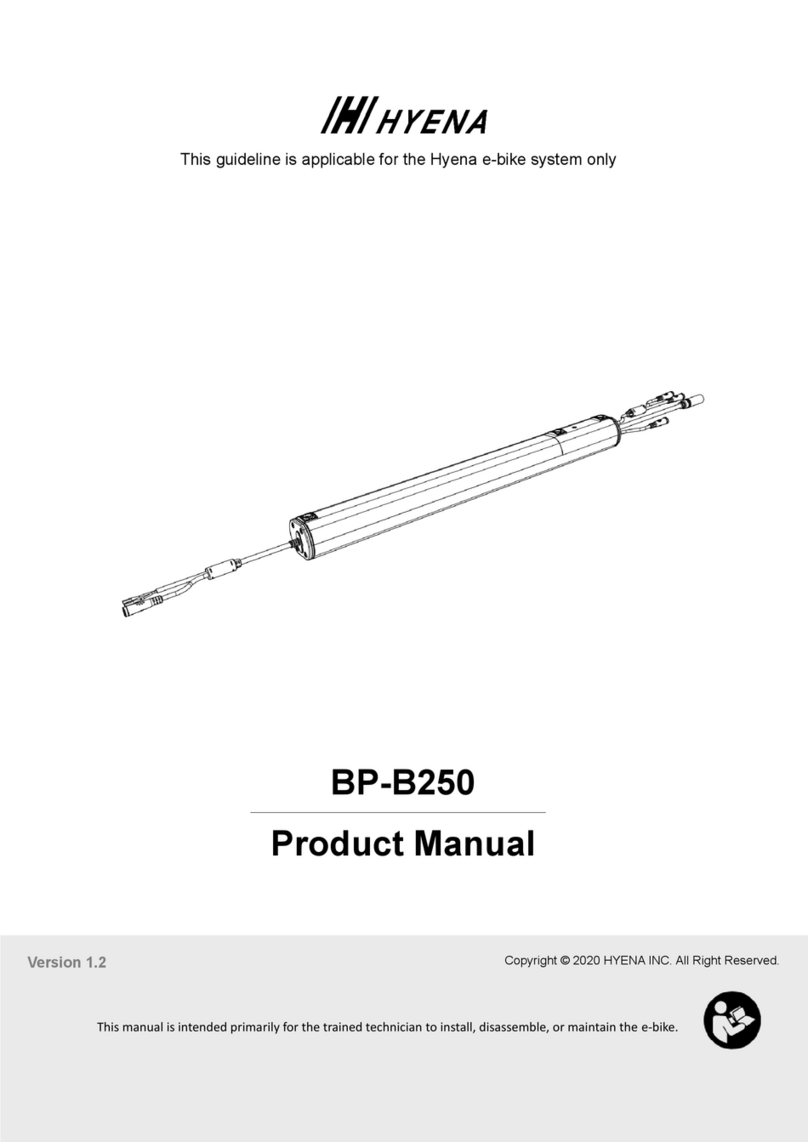
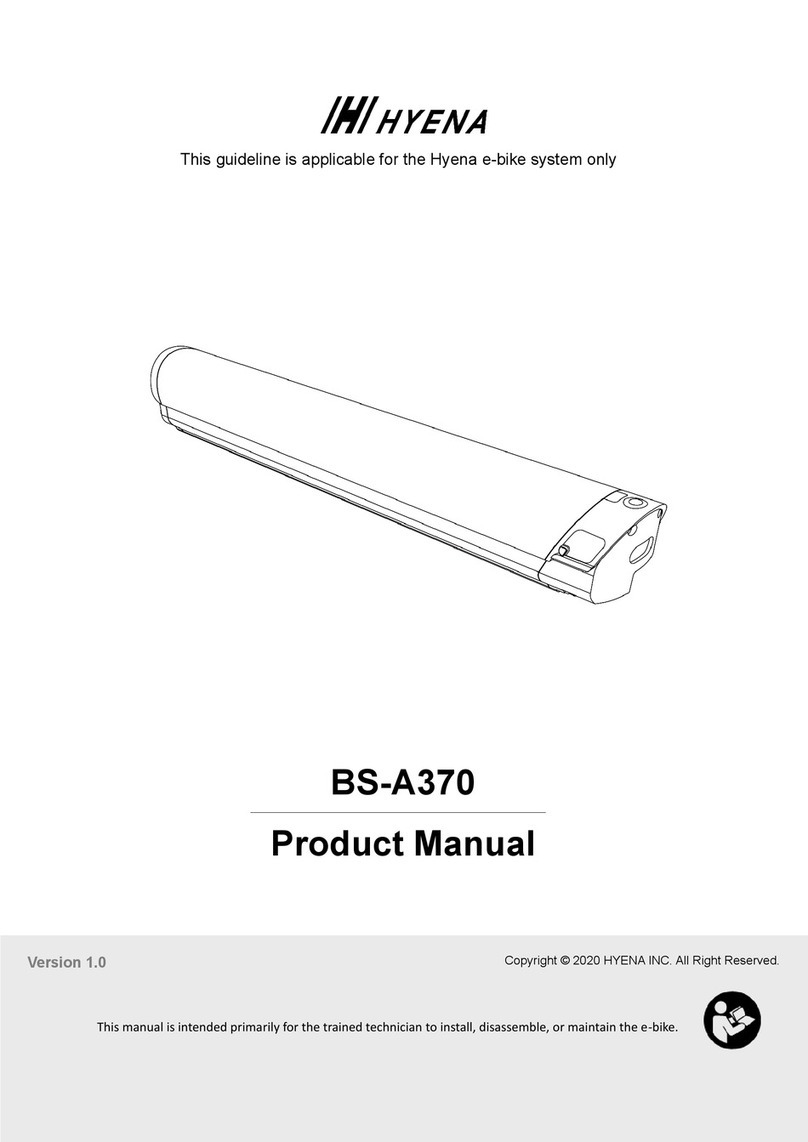
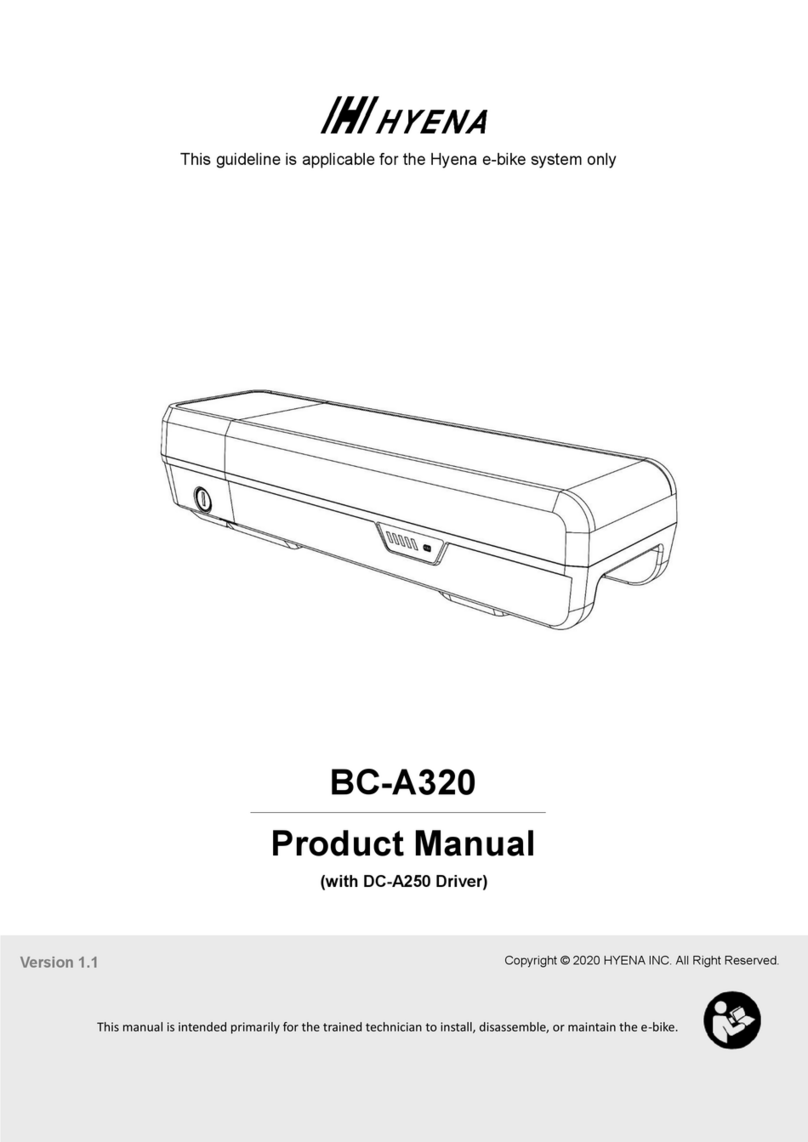
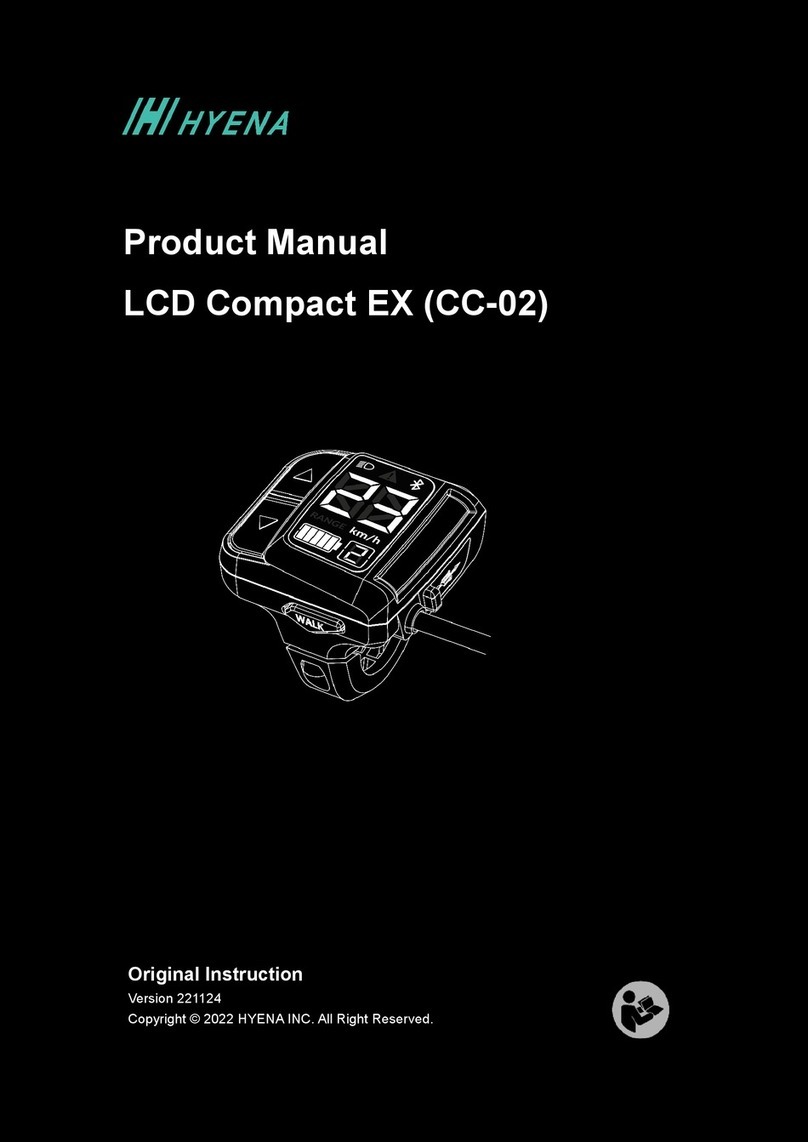
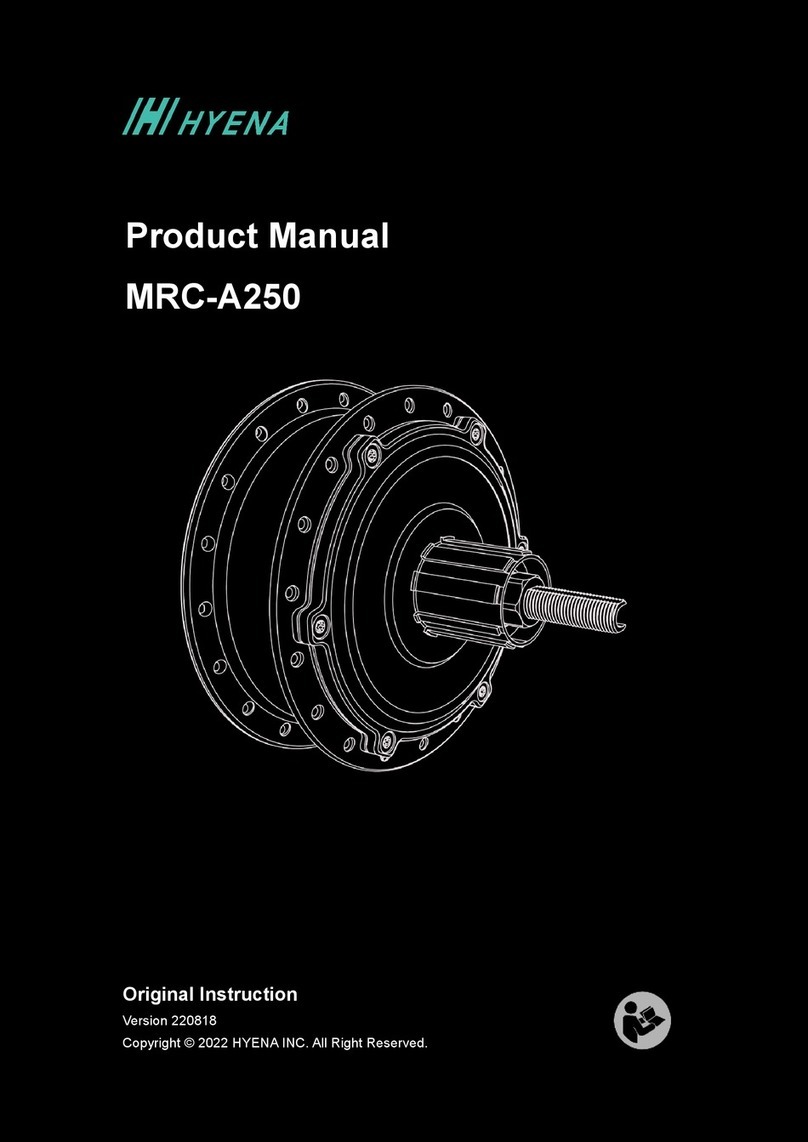
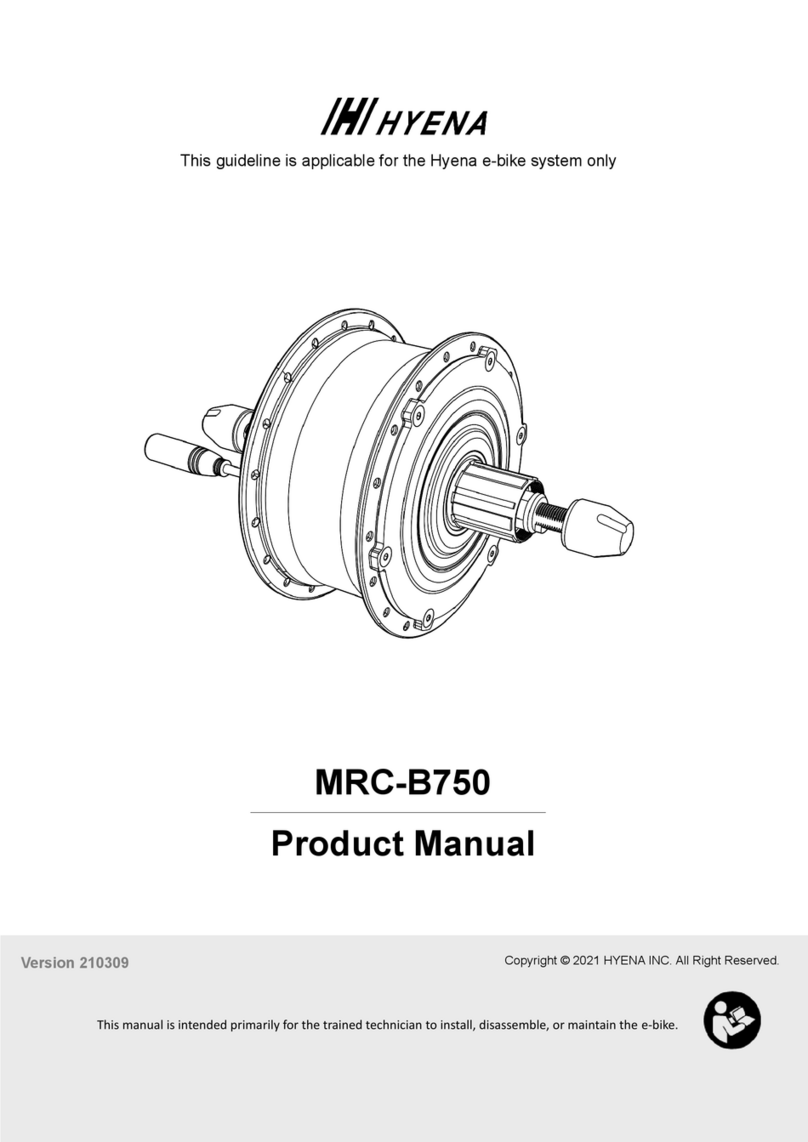
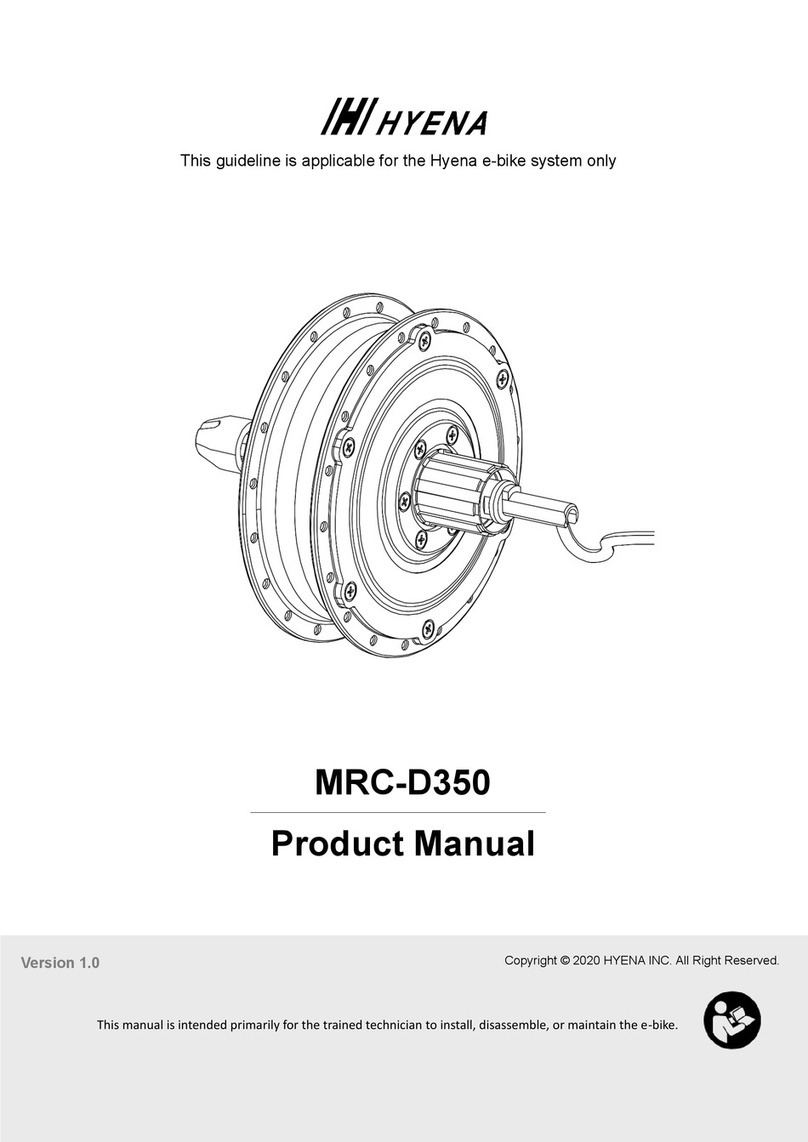
Hyena E-Road Series User manual

This guideline is applicable for the Hyena e-bike system only
This user’s manual is primarily intended for the owner to operate the e-bike.
Copyright © 2021 HYENA INC. All Right Reserved.Version E-Road KIT_211025
E-Road Series
User’s Manual
E-bike System


Content
1. Introduction .................................................................................... 1
1.1. Important notices ......................................................................................... 1
1.2. Safety instructions ....................................................................................... 1
1.3. Riding safety................................................................................................ 2
2. E-bike overview ............................................................................. 3
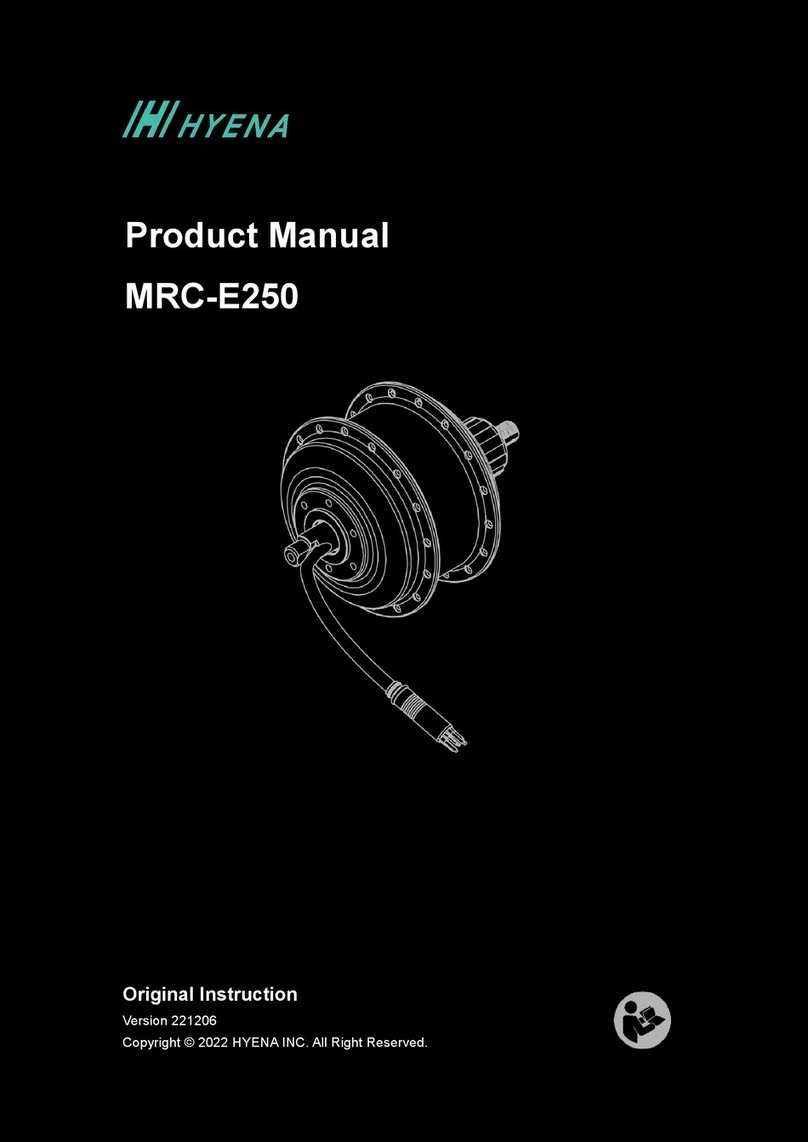
3. Drive unit instructions .................................................................... 4
3.1. Motor safety instructions.............................................................................. 4
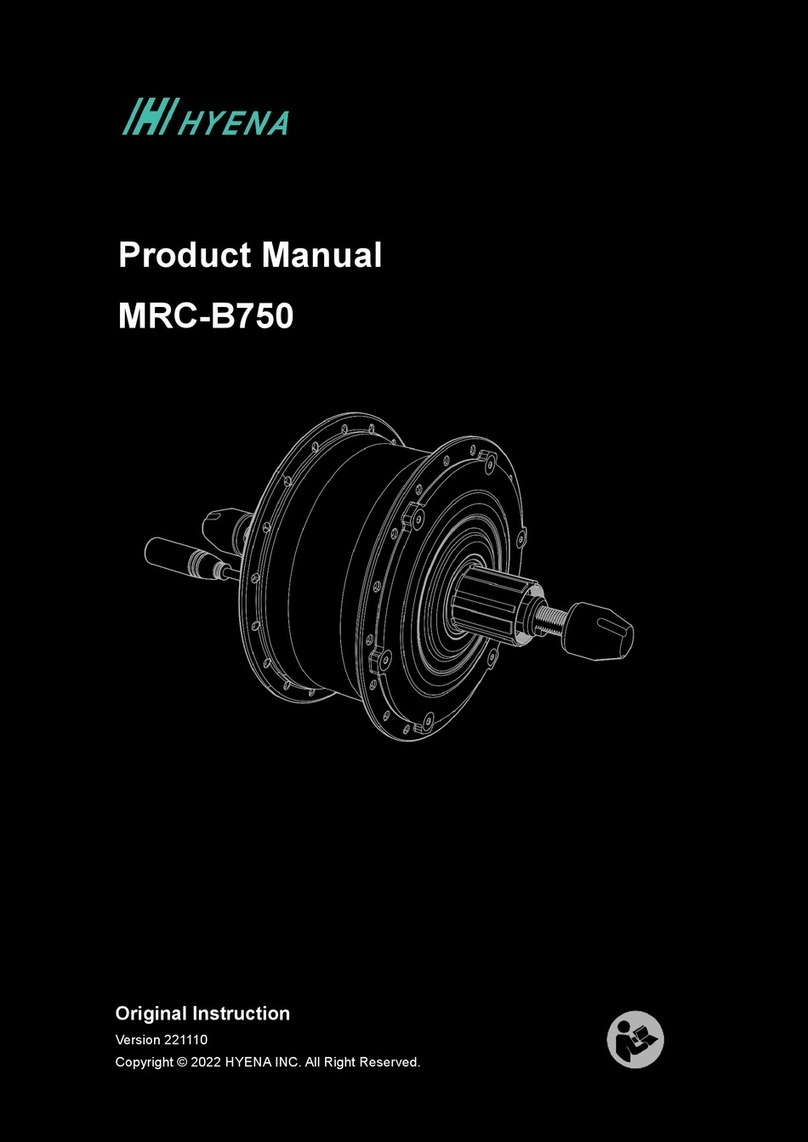
3.2. Technical data of the hub motor .................................................................. 4
4. Battery handling instructions.......................................................... 5
4.1. Battery safety instructions ........................................................................... 5
4.2. Technical data of the battery........................................................................ 5
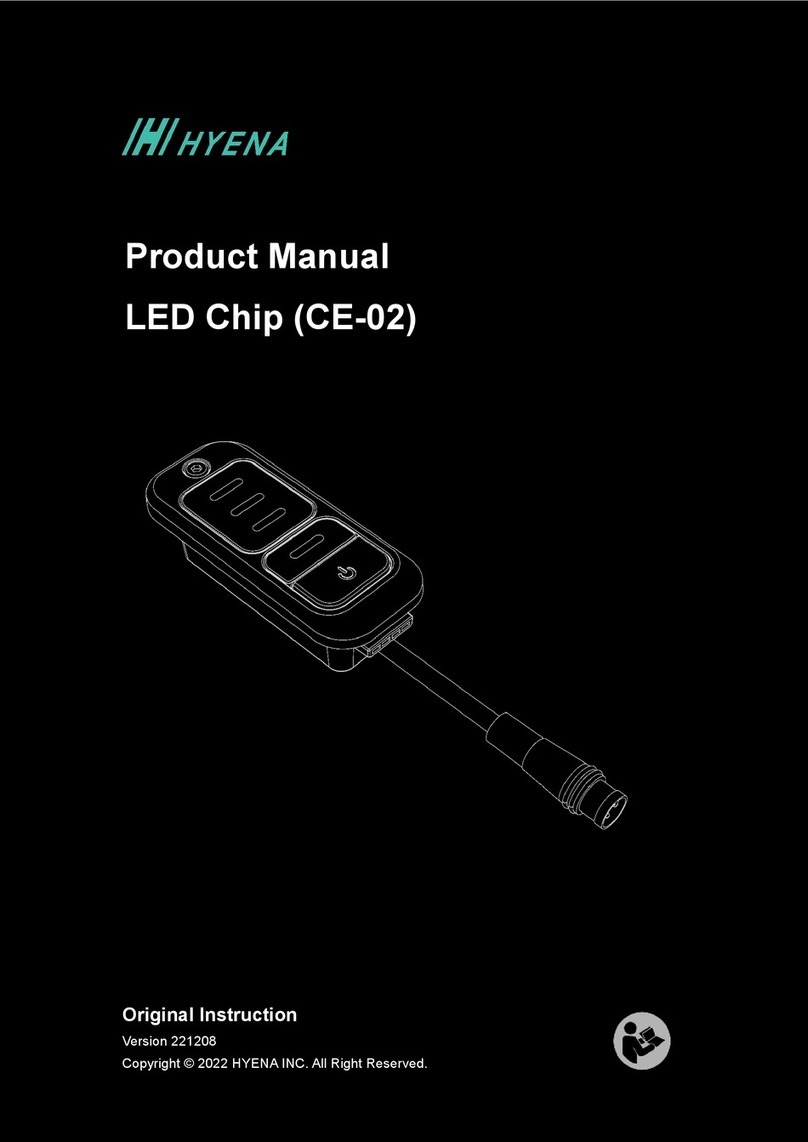
5. E-bike operation - LED Chip .......................................................... 6
5.1. HMI overview............................................................................................... 6
5.2. Technical data of the HMI............................................................................ 6
5.3. Turningthee-bikeon/o.............................................................................. 7
5.4. Select an assist level .................................................................................. 8
5.5. Charge level indicator.................................................................................. 9
5.6. Bluetooth connection ................................................................................. 10
5.7. Error alert signal ....................................................................................... 10
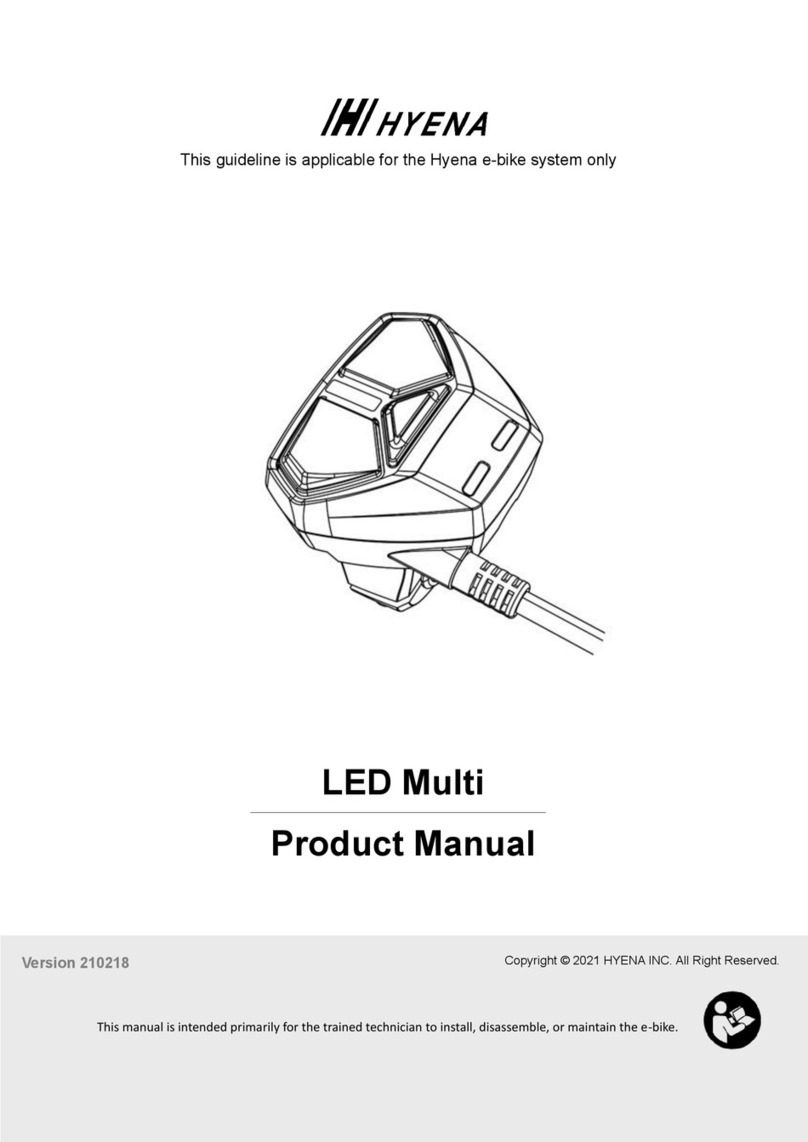
6. E-bike operation - LED Multi.........................................................11
6.1. HMI overview..............................................................................................11
6.2. Technical data of the HMI...........................................................................11
6.3. Turningthee-bikeon/o............................................................................ 12
6.4. Select an assist level ................................................................................. 12
6.5. Charge level indicator................................................................................ 13
6.6. Walk assistance......................................................................................... 14
6.7. Turningthelightson/o ............................................................................. 15
6.8. Bluetooth connection ................................................................................ 15
6.9. Error alert signal ....................................................................................... 15
7. Charging instructions ....................................................................16
7.1. Charging safety instructions ...................................................................... 16
7.2. Technical data of the charger .................................................................... 18
7.3. Charging the battery .................................................................................. 18

8. Storage and transportation instructions ........................................20
8.1. Storage ...................................................................................................... 20
8.2. Charging the battery before and during storage........................................ 20
8.3. E-bike transportation ................................................................................. 21
9. Troubleshooting ............................................................................22
9.1. System issues ........................................................................................... 22
9.2. Battery & charging issues.......................................................................... 22
9.3. Other issues .............................................................................................. 23
10. Cleaning........................................................................................24
11. Disposal ........................................................................................25

EN-1HYENA E-BIKE SYSTEMS
1. Introduction
Thank you for choosing your new e-bike with the Hyena riding assist system.
We sincerely hope that you will enjoy your ride.
Please read all the safety warnings and instructions carefully, failure to follow the warnings
and instructions may result in death or severe injuries.
• This user’s manual is primarily intended for the owner to operate the product.
• Save this manual for future reference.
1.1. Important notices
• Read and observe the safety warnings and directions contained in all the e-bike
operating instructions.
• Users who are not professionally trained for bicycle assembly should not attempt to
install, disassemble, or modify components themselves.
• If you have any concerns about the operation of the e-bike system or its components,
or if you suspect damage to the battery, visit your nearest authorized bicycle brand
dealer.
• The term “battery” is used in these instructions to mean all original batteries.
• Do not throw away this user’s manual or remove any safety warning labels or instructions
from any e-bike system components.
► About Safety Symbols
• This manual includes many “WARNING”, “CAUTION” and “NOTE” labels; these labels
refer to the safe methods to use, maintain, store, and check your e-bike.
• When a safety warning symbol is marked with “WARNING” text, it means failure to
comply with the instructions may result in dangerous situations of death or severe
injuries.
• When a safety warning symbol is marked with “CAUTION” text, it means failure to
comply with the instructions may result in minor, moderate injury, damage to the bicycle,
or the voiding of your warranty.
► About Images
• Thee-bikeimagesshowninthismanualmaydiervisuallyfromyourHyenasystem
equipped e-bike. All information provided in this manual is still applicable to your e-bike.
1.2. Safety instructions
Instructions Pertaining To A Risk Of Fire, Electric Shock, Or Personal Injury
⚠ WARNINGS
When using e-bikes, basic precautions should always be followed, including the
following:
• Read all the instructions before operating the e-bike system.
• To reduce the risk of injury, close supervision is necessary when the e-bike is used
near children.
• Do not put ngers or hands into any e-bike component or touch the cable terminal
with bare hands.

EN-2HYENA E-BIKE SYSTEMS
⚠ WARNINGS, CONTINUED.
• Do not use the e-bike if any exible power cord or output cable is frayed, has worn
insulation, or shows any other signs of damage.
• Always check the charger, cables, and power cord for any damage before charging
the battery.
• Only charge the battery using an original Hyena charger.
• Do not immerse the e-bike or any e-bike component in water.
• Do not place the e-bike or any e-bike system component (like the charger) near hot,
ammable objects or materials.
• The e-bike system parts are not intended to be used at ambient temperatures below
-10°C (14°F) or above temperatures of 45°C (113°F).
• Defective e-bike system parts may only be replaced with identical, original genuine
parts supplied by Hyena.
• Do not modify your e-bike system or t any other equipment to increase the power
or maximum speed of your e-bike system.
1.3. Riding safety
• The e-bike system provides electrical riding support. It will help you to cycle easily.
Based on your riding speed and the amount of pedaling force the e-bike system will
providepropersupportinyoureortsthroughoutyourjourney.
• Whenridingane-bike,makesurethatyouarefullyfamiliarwiththestarting-o
characteristics of the e-bike before riding it on roads with several vehicle lanes and
pedestrian footpaths.
• When you start riding, be aware of the riding support that will instantly be provided by
theassistsystem.Weadviseyoutodriveoinastraightline,usingthelowestassist
level.
• Do not allow yourself to be distracted by the HMI or smartphone while riding, this
increases the risk of being involved in an accident.
• Whenyouswitchotheridingsupport,selectedlevel0(withthesystemswitchedon),
or when the battery is empty, the e-bike will ride like a regular, non-electric powered
bicycle.
• The e-bike system is designed to provide riding support up to the speed limits in
compliancewithlocalregulations(e.g.25km/hintheEUregionand20mphinthe
USA/Canadaregion).Donotmodifyyoure-bikeortanyotherequipmenttoincrease
the power or maximum speed.
⚠ WARNINGS
• When the assist system is switched on and an assist level is selected, the riding
support is activated as soon as you step onto the pedals.
• You should be seated on the e-bike and engage at least one brake before starting to
pedal.
• With the e-bike system switched on, do not put one foot on a pedal and throw
another leg over the bicycle, as it could accelerate unexpectedly.
• Failure to follow this warning may result in serious personal injury or even death.

EN-3HYENA E-BIKE SYSTEMS
2. E-bike overview
The e-bike includes an electric drive and control unit; it features:
• Silent and powerful electric motor performance.
• Multi-sensor technology providing excellent, precise and natural feeling riding support.
• Easy to operate and ergonomic HMI providing a visual clarity of the e-bike status.
A
C D E
B
LED MultiLED Chip
System AB C D E
Battery HMI Motor Sensor Charger
E-Road BP-B250 LED Chip MRC-E250 ST-SQ-2 2A
E-Road G BP-B250 LED Multi MRC-E250 ST-SQ-2 2A

EN-4HYENA E-BIKE SYSTEMS
3. Drive unit instructions
Your e-bike is equipped with a 250 Watt rear-wheel electric motor, which forms the hub of
the rear wheel and also provides the electric riding assistance.
⚠ CAUTION
Do not dismantle the hub motor, the hub motor should only be repaired or maintained
by a certied mechanic, using genuine spare parts from Hyena.
3.1. Motor safety instructions
• Donotallowthemotortosueranymechanicalorphysicalimpactsormakeanyinternal
modications.
• The motor is built with components that are sealed against dust and splashed water and
can safely operate in rain and other adverse weather conditions.
However, do not deliberately immerse the rear wheel in water or clean it with pressured
water, also make sure your e-bike will get fully dry after riding in wet weather.
⚠ WARNINGS
• Do not modify any components that are part of the bicycle drivetrain. Changing
components could cause damage or overloading of the hub motor, and may lead to
serious injury or death.
• Do not obstruct pedals, cranks, or wheels when the e-bike system is on.
Wrong operations could cause damage or overloading of the hub motor, and may
lead to serious injury or death.
• The motor can heat up during long uphill runs. After riding, do not touch the metal
housing of the hub motor with your bare hands or legs.
3.2. Technical data of the hub motor
Item Specication
Product model MRC-E250
Rated voltage 36 V
Rated power
250 W
Max. torque at drive 40 Nm
Operating temperature -10°C(14°F)to50°C(122°F)
Storage temperature -20°C(-4°F)to70°C(158°F)
Protection rating IP54
Weight, approx. <2kg(4.4lbs)

EN-5HYENA E-BIKE SYSTEMS
4. Battery handling instructions
⚠ CAUTION
This e-bike is powered by a Lithium-Ion (Li-Ion) battery. Always read and adhere to the
instruction manual before handling or charging the battery or when using the e-bike.
⚠ WARNINGS
• If your battery or charger exhibits any signs of damage, do not use the bicycle and
immediately bring it to your nearest authorized bicycle brand dealer for inspection.
• Always turn o the e-bike system when not in use and/or when working on it.
• Always remove the battery during maintenance.
4.1. Battery safety instructions
• Do not allow the battery to suffer any mechanical or physical impacts or make any
internalmodications.
• If the battery has any visible damage, do not continue using the e-bike; otherwise, there
willbeariskofexplosionorreandmayresultinsevereinjuriesordeath.
• If the battery fluid leaked out due to damage or improper usage, avoid touching the
leakedbatteryuid.Ifyouaccidentallytouchedthebatteryuid,pleasecleanwithlarge
amounts of water immediately. If the battery fluid comes in contact with your eyes,
please seek further help from physicians. Leaking battery fluids may cause burns or
irritations to the skin.
• Store the e-bike in a dry and well-ventilated environment; keep the e-bike away from
humid environments and water sources for battery safety.
• Keep the battery charging socket away from the contact of paper clips, coins, keys, nail
clippers, screws, or other objects that can generate metallic attraction, to avoid a short
circuit between the poles.
4.2. Technical data of the battery
Item Specication
Product model BP-B250
Nominal capacity 7Ah
Energy 252Wh
Rated voltage 36V
Operating temperature -10°C(14°F)to60°C(140°F)
Storage temperature
1month-20°C(-4°F)to50°C(122°F)
3months-20°C(-4°F)to40°C(104°F)
1year-20°C(-4°F)to20°C(68°F)
Permitted charging
temperature range 0°C(32°F)to45°C(113°F)
Protection rating IPX5
Weight, approx. 1.45kg(3.2lbs)

EN-6HYENA E-BIKE SYSTEMS
5. E-bike operation - LED Chip
⚠
CAUTIONS
Before you ride:
• Regardless of your experience level, you should read the “Introduction”
chapter of this User Manual and carry out all important safety checks.
• The e-bike system can only be activated when the battery is suciently
charged.
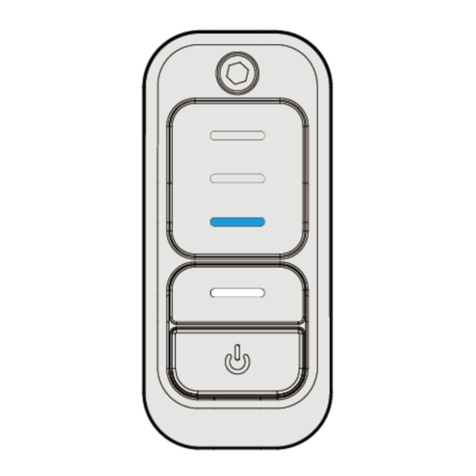
5.1. HMI overview
Control the e-bike with the
LED Chip
HMI,includingswitchingon/o,selectingthelevelof
riding support, and checking the battery level.
5.2. Technical data of the HMI
Item Specication
Operating temperature -10°C(14°F)to60°C(140°F)
Storage temperature -20°C(-4°F)to70°C(158°F)
Protection rating IPX5
Weight, approx. 21g(0.05lbs)
A. Battery capacity & support level
indicator
B.Functionindicator
C.Poweron/obutton&supportlevel
button
ABC

EN-7HYENA E-BIKE SYSTEMS
5.3. Turning the e-bike on/o
• Single press the power button to switch on the system.
•Pressthepowerbuttonforlongerthan2secondstoswitchothesystem.
Riding with the assist system turned off is like riding a normal, non-electric powered
bicycle.
NOTES
• Always turn o the e-bike system after riding or when parking the e-bike.
• If the e-bike is not used and no buttons are pressed, the e-bike system will
automatically turn o after six minutes to save power.
ON: Press < 0.5 sec OFF:Press>2secs

EN-8HYENA E-BIKE SYSTEMS
5.4. Select an assist level
Short press to adjust the riding support level, the indicator would turn to show the
currently selected level. Under the support level adjusting mode, release the button for 3
seconds(nooperation),theindicatorturnsbacktobatterystatus.
⚠ CAUTION
For safety reasons, always start riding at level 0 or level 1 and gradually increasing the
levels.
⚠ WARNING
It is strongly advised to ride away in a straight line with a low support level selected.
Never select assistance over level 2 while maneuvering or riding away in a sharp
corner. The powerful reaction of the motor might cause the e-bike to surge forward into
a sharp turn resulting in loss of balance.
NOTES
• When the e-bike system is switched on and a support level is selected, the e-bike
system is activated as soon as you start pedaling.
• The assist support modes aect how much support the assist system delivers based
on your pedaling input.
• Generally, more support provides faster acceleration and easier climbing at the
expense a shorter range. Lower assist levels that provide less support result in
longer battery run times, longer range, and more control in situations where traction
is limited.
• If your e-bike is equipped with gears, change gears appropriately, in addition to
adjusting assist modes, to get the most use out of your battery.
• The e-bike drive output only supports to a maximum speed as demanded by local
regulation (e.g. 25 km/h in the EU region, 20 mph in the USA/Canada region); as
soon as you have reached this speed limit, the e-bike suspends the riding support,
then automatically reactivates when your speed comes below this.
Level 0
(Supporto)
Level 1
(140%)
Level 2
(250%)
Level 3
(390%)

EN-9HYENA E-BIKE SYSTEMS
5.5. Charge level indicator
The icon shows the battery capacity.
• Whenthebatteryisempty,theHMIwillturnoautomatically;pleasechargethebattery
as soon as possible.
• Whenthebatteryisunder9%,thebatterystatuslightwillkeepashing,pleasecharge
the battery immediately.
NOTE
At 4% charged, the riding support will stop. The remaining charge capacity is reserved
to power the lights for up to two hours (if lights are equipped; and powered by the
assist system).
<9%
Flashes
11-40% 41-70% 71-100%

EN-10HYENA E-BIKE SYSTEMS
5.6. Bluetooth connection
With the system switched on, press the power on/off button twice to connect the app.
When Bluetooth is connected with the app, the bottom indicator shows blue; when
connecting failed or disconnected, the bottom indicator shows white.
5.7. Error alert signal
If the error alert indicator on the bottom light of display lights up, please stop operating
the system immediately and check chapter 9 "Troubleshooting" for further information and
handlinginstructions. Iftheproblem cannotbeidentied orsolved,pleasecontact your
nearest authorized bicycle brand dealer.
• Inalertmode,theerroralertindicatorwillash.
• After3seconds,thedisplaywillreturntothegeneralmode(rangedisplay)for10
seconds, then go back to the error alert again and loop continuously.
Error Alert General Mode
Loops until error
has been solved.
10 secs
Flash3secs
Bluetooth connected

EN-11HYENA E-BIKE SYSTEMS
6. E-bike operation - LED Multi
⚠ CAUTIONS
Before you ride:
• Regardless of your experience level, you should read the “Introduction” chapter of
this User Manual and carry out all important safety checks.
• The e-bike system can only be activated when the battery is suciently charged.
6.1. HMI overview
Controlthee-bikewiththeLEDMultiHMI,includingswitchingon/o,selectingthelevelof
ridingsupport,turnthelightson/o,andusingthewalkassistancefunction.
A
B
E
D
A. Upbutton(Increasesupportlevel
andswitchingon/olights)
B. Riding support/walk assist level
indicator
C. Downbutton(Decreasesupport
levelandwalkassist)
D. Poweron/obutton
E. Battery charge status indicator
F.Bluetooth/Erroralertindicator
C
F
6.2. Technical data of the HMI
Item Specication
Product model LED Multi
Operating temperature -10°C(14°F)to60°C(140°F)
Storage temperature -20°C(-4°F)to70°C(158°F)
Protection rating IPX5
Weight, approx. <0.05kg(<0.11lbs)

EN-12HYENA E-BIKE SYSTEMS
6.3. Turning the e-bike on/o
• Single press the power button to switch on.
• Longpressthepowerbuttontoswitcho.
Ridingwiththeassistsystemturnedoislikeridinganormal,non-electricpoweredbicycle.
NOTES
• Always turn o the e-bike system after riding or when parking the e-bike.
• If the e-bike is not used and no buttons are pressed, the e-bike system will
automatically turn o after six minutes to save power.
6.4. Select an assist level
Single press the up/down button to select the desired support level:
level0(noassistance),level1 (approx.140%assistance),level2(approx.250%
assistance),ormaximumLevel3(approx.390%assistance).
⚠ CAUTION
For safety reasons, always start riding at level 0 or level 1.
⚠ WARNING
When learning to ride an e-bike, start at the lowest assist level and gradually increase
levels.
< 0.5 sec ON >2secsOFF
Level1(140%) Level2(250%) Level3(390%)
Shortpress(<0.5secs)
Level0(Supporto)

EN-13HYENA E-BIKE SYSTEMS
⚠ WARNING
It is strongly advised to ride away in a straight line with a low support level selected.
Never select assistance level 2 or 3 while maneuvering or riding away in a sharp
corner. The powerful reaction of the motor might cause the e-bike to surge forward into
a sharp turn resulting in loss of balance.
NOTES
• When the e-bike system is switched on and a support level is selected, the e-bike
system is activated as soon as you start pedaling.
• The assist support modes aect how much support the assist system delivers based
on your pedaling input.
• Generally, more support provides faster acceleration and easier climbing at the
expense of shorter range. Lower assist levels that provide less support result in
longer battery run times, longer range, and more control in situations where traction
is limited.
• If your e-bike is equipped with gears, change gears appropriately to get, in addition
to adjusting assist modes, the most use out of your battery.
• The e-bike drive output only supports to a maximum speed as demanded by local
regulation (e.g. 25 km/h in the EU region, 20 mph in the USA/Canada region); as
soon as you have reached this speed limit, the e-bike suspends the riding support,
then automatically reactivates when your speed comes below this.
6.5. Charge level indicator
EachcoloroftheLEDontheHMIrepresentsapproximately25%capacity.
• When the battery is almost empty, the LED indicator will turn red; please charge the
battery as soon as possible.
• Whenthebatteryisunder9%,theLEDindicatorwillashinred,pleasechargethe
battery immediately.
NOTE
At 4% charged, the riding support will stop.
The remaining charge capacity is reserved to power the lights for up to two hours (if
lights are equipped; and powered by the assist system).
Green100-76% Blue75-51% Yellow50-26% Red25-1%

EN-14HYENA E-BIKE SYSTEMS
6.6. Walk assistance
The walk assist mode can help you push your e-bike more easily, e.g. against a slope,
withamaximumspeedofupto6km/h(4mph).
You can only enable the walk assistance when the system is switched on and you are
pushing the e-bike.
• Long press and hold the down button on the HMI for two seconds to activate the walk
assist mode.
• When walk assist mode is activated, the assist level indicators on the HMI begin
blinking.
• Press and hold the up button to start the walk assist. As long as you are holding the up
button, your e-bike will be propelled forward at a slow speed.
• Release the up button to stop pushing your e-bike.
• At the walk assist mode, if no buttons are pressed in 5 seconds, the walk assist mode
willautomaticallyturnoforsafety.
⚠ WARNINGS
• The walk assistance function may only be used when pushing the e-bike; make sure
you are ready and stand steady before activating the walk assistance.
• Do not activate the walk assistance when you ride on the e-bike or if the wheels are
not in contact with the ground.
>2secstoactivate
<0.5secstoturnoLong press to push the e-bike
Activated

EN-15HYENA E-BIKE SYSTEMS
6.7. Turning the lights on/o
Withthesystemswitched on,longpresstheup buttontoturnonorothelights (ifthe
frontandrearlightsareequippedandpoweredbytheassistsystem).
• Ifthechargeindicatorisashing(at<9%charge),thebatteryisalmostempty.
Charge the battery.
• At4%charge,theridingsupportwillstop.
Theremainingchargeisreservedtopowerthelights(ifequipped;andpoweredbythe
assistsystem)foruptotwohours.
6.8. Bluetooth connection
With the system switched on, Bluetooth can be connected. When Bluetooth is connected
with the app, the Bluetooth indicator turns blue. The Bluetooth indicator will turn back into
white while Bluetooth disconnected.
6.9. Error alert signal
Iftheerroralertindicatorisashingred, pleasestopoperatingthesystemimmediately
and check chapter 9 "Troubleshooting" for further information and handling instructions. If
theproblemcannotbeidentiedorsolved,pleasecontactyournearestauthorizedbicycle
brand dealer.
>2Secs
NOTES
• Be aware the lighting might not work due to an
empty battery.
• An empty battery has a reserve of maximum two
hours for lighting.

EN-16HYENA E-BIKE SYSTEMS
7. Charging instructions
Your e-bike is equipped with a charging socket on the frame to charge the integrated
battery.
7.1. Charging safety instructions
⚠ CAUTIONS
• The e-bike battery cannot be used immediately after shipment; in order to ensure
that the battery has full and sucient power, please charge your battery fully before
using it for the rst time.
• For battery health and safety reasons, the e-bike battery will automatically turn into
sleep mode if its charge is below 70% and has not been used for over 72 hours.
Please charge the battery again to wake up the battery.
⚠ WARNINGS
• Only charge the battery by following all safety instructions in this manual and on the
battery and charger labels.
• Please read and follow the instructions for using the battery charger.
► About charging
• Charge the e-bike indoors at room temperature, to avoid exposure to heavy rain or
strong wind. Do not use the charger outdoors or in environments with high humidity.
• Do not leave a charging battery unattended. Once the battery is fully charged,
disconnect it from the charging cable right away.
• Do not try to use the e-bike or charge the battery if the location where the battery is
mounted(downtube)hasanysignsofdamage.
• When charging the e-bike, do not move the battery charger. The battery charger's AC-
plugmaycomeloosefromtheelectricaloutlet,resultinginariskofre.
• Do not leave the charger plugged in the e-bike for more than 24 hours.
If the charging is not complete in 24 hours, contact your nearest authorized bicycle
brand dealer for assistance.
► About the charger
• OnlyuseagenuinecertiedHyenachargertochargeyourHyenabattery.Theuseof
anuncertiedbatterychargerpresentsarerisk,whichmayresultinseriousinjuryor
death.
• Do not place the battery charger at locations that are easily accessible to children.
• Donotplacethebatterychargerontheoororotherdustyplaceswhenusingit.
• Placethebatterychargeronastable,reproofsurfacesuchasatablewhenusingit.
• Do not cover or place any objects on top of the battery charger or its cable.
• Do not use the battery charger with commercially available electrical transformers
designedforoverseasuse(travelconverters).Theymaydamagethebatterycharger.
• Prevent the charger from getting wet. If the charger is wet, do not touch any parts of the
charger, electric shocks may occur.
This manual suits for next models
2
Table of contents
Other Hyena Bicycle Accessories manuals

Hyena
Hyena E-Trekking Series User manual

Hyena
Hyena BP-B250 User manual

Hyena
Hyena LED Chip User manual

Hyena
Hyena MRT-A250 User manual

Hyena
Hyena CC-02 User manual

Hyena
Hyena MRC-B750 User manual

Hyena
Hyena BS-A500 User manual

Hyena
Hyena LCD Compact EX User manual

Hyena
Hyena DC-A250+ User manual

Hyena
Hyena MRC-E250 User manual

Hyena
Hyena BS-A370 User manual

Hyena
Hyena CE-02 User manual

Hyena
Hyena E-Urban Series User manual

Hyena
Hyena TREK User manual

Hyena
Hyena MRC-A250 User manual

Hyena
Hyena LED Multi User manual

Hyena
Hyena ST-SQ-2 User manual

Hyena
Hyena MRC-D500 User manual

Hyena
Hyena MRC-B750 User manual

Hyena
Hyena BC-A320 User manual