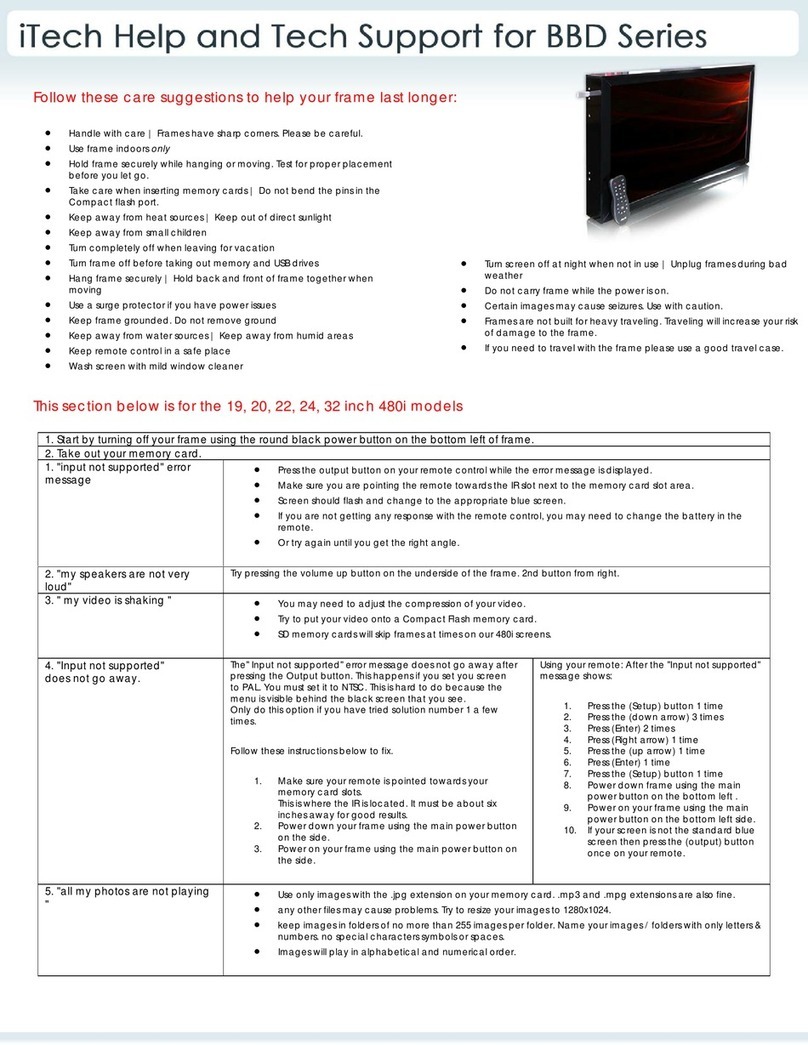
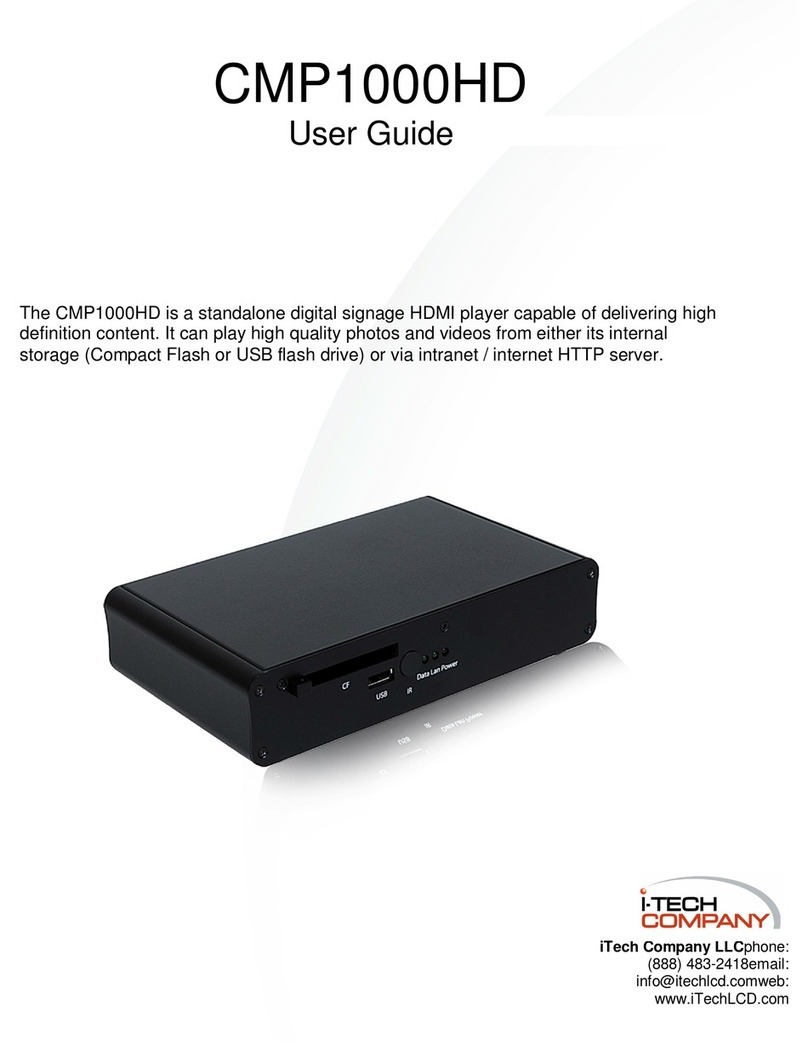
I-Tech CIMP1080AHD User manual

CIMP1080AHD / CIMP1080HHD
Quick Start Guide
The CIMP1080AHD is a standalone digital signage DVI player capable
of delivering high definition content. It can play high quality photos
and videos from either its internal storage (Compact Flash or USB
flash drive) or via intranet / internet HTTP server.
The CIMP1080HHD shares all the software and user functions of the
CIMP1080AHD but has HDMI output instead of DVI.
i-Tech Company LLC
TOLL FREE: (888) 483
-
2418 • EMAIL:
info@iTechLCD.com
• WEB:
www.iTechLCD.com

Contents
1. Introduction
1.1 Operation Type
1.2 Operation Mode
1.2.1 Autoplay Mode
1.2.2 Interactive Mode
1.3 System Requirements
1.3.1 Display
1.3.2 Storage
1.4 Product Components
1.5 Remote Control Hot Keys
2. System Installation and Setup
2.1 Standalone Display
2.2 Internet and Real-time Network Mode
2.2.1 Internet Update
2.2.2 Real-time Update
2.3 Playlist and Message Setup
3. Configuring the CIMP1080AHD
3.1 Video / Audio
3.1.1 Video Configuration
3.1.2 Audio Configuration
3.2 Server Setup
3.3 LAN Setup
3.4 WLAN Setup
3.5 Screen
3.5.1 Auto Run Configuration
3.5.2 Slide Effect
3.5.3 Message Caption
3.5.4 Auto Scaling
3.6 Time
3.6.1 Current Time Setting
3.6.2 NTP Server
3.6.3 Time Zone
3.6.4 Time Display / Color / BG Color
3.6.5 Auto On / Off
3.7 Advanced Setup
3.7.1 Screen Saver
3.7.2 File Sort
3.7.3 OSD Message On / Off
3.7.4 Language Support
3.7.5 Font Size
3.7.6 Return to Initial State
3.7.7 Software Upgrade
4. File Support

1. Introduction
1.1 Operation Type
The CIMP1080AHD is a standalone high definition digital signage player that is
also capable of limited network playback through an HTTP server.
Standalone player
Plays advertising content located on internal or external storage, such as a USB
flash drive or Compact Flash memory card.
Real-time streaming using local PC server
Plays advertising content located on a PC server that is connected via LAN. You
will not need storage media for this option and content will be controlled by using
a text-based playlist file.
Internet update using HTTP server
Plays advertising content located on an internet HTTP server PC server that is
connected via internet. You will need a compact flash card as your storage
device and content will also be controlled by using a text-based playlist file.

1.2 Operation Mode
The CIMP1080AHD is set to autoplay mode by default. In this mode, the player
will automatically start in playback mode and read the storage devices for media
content. If both a USB flash drive and CF card are used, the USB drive will have
playback priority. The CIMP1080AHD can also start in interactive mode by
disabling autorun in the main menu. In interactive mode, the user will use the
remote control and manually select what media to play.
1.2.1 Autoplay Mode
There are 6 selectable autoplay modes to select from.
Disable: Auto play mode off
All files: plays all files in the storage device
Movie: plays movie only
Music: plays music only
Picture Slide: show picture with configured slide effect
Music Slide: play picture and movies with background music

1.2.2 Interactive Mode
If the CIMP1080AHD starts in interactive mode, the main navigation browser will
be displayed after power up. Use the remote control and manually select a media
item to play.
Movie Menu - Go to movie navigation browser. User can select folder, file and
play a movie. Photo Menu - Go to photo navigation browser.
User can select folder, file and
play a photo. Music Menu - Go to music navigation browser.
User can select folder, file and
play a music. Setup Menu - Go to system setup navigation
browser. User can configure the
system.
1.3 System Requirements
1.3.1 Display
VGA or DVI input display with stereo input.
1.3.2 Storage
-High speed Compact Flash card
-High speed USB Flash drive
-FAT, FAT32 file system format on the flash media (the player does not support
NTFS)

1.4 Product Components
- CIMP1080AHD / CIMP1080HHD HD Digital Signage Player
- Remote Control
- VGA Cable
- Audio Cable
- Power Adapter
Front View (CIMP1080AHD)
Back View (CIMP1080AHD)

Front View (CIMP1080HHD)
Back View (CIMP1080HHD)

1.5 Remote Control Hot Keys
The AUDIO button is used to toggle audio output port but currently, the
CIMP1080AHD currently only supports Stereo mode. This button is reserved for
future use.
The DISPLAY button is used for toggling the video output mode in this order;
VGA, DVI, S-Video and YPbPr. User must configure video resolution after the
player sets to the specified video mode. User must wait at least 3 seconds to
change to a new video output mode.
The SCR SIZE button is used to toggle video screen ratio between 16:9 and 4:3
during playback. This setting is applied only for current picture or video.
The VIDEO button is used to navigate to the movie navigation browser. This
button can be used at main navigation browser, music browser and photo
browser. This button is not accepted at setup navigation browser.
The AUDIO button is used to navigate to the music navigation browser. This
button can be used at main navigation browser, movie browser and photo
browser. This button is not accepted at setup navigation browser.
The PHOTO button is used to navigate to the photo navigation browser. This
button can be used at main navigation browser, movie browser and music
browser. This button is not accepted at setup navigation browser.
The SETUP button is used to navigate to the main setup screen. This button can
be used at main navigation browser, movie browser and music browser.
The AUTO button is used start autoplay mode. This button can be used at main
navigation browser, movie browser and music browser.

2. System Installation and Setup
2.1 Standalone Display
The CIMP1080AHD by default is setup as a standalone digital signage player.
It will read contents from either a compact flash card or USB flash drive and
output to your display.
1. Connect the audio and video cable to the CIMP1080AHD and the display.
2. Insert CF card or USB flash drive into the memory slot on the
CIMP1080AHD (note that USB has priority over the CF slot. All media
contents need to be stored in the root folder on the storage device).
3. Connect the 12V DC power adapter.
4. Once the contents are preloaded, the CIMP1080AHD will start
playback automatically.
2.2 Internet and Real-time Network Mode
In addition to standalone mode, the CIMP1080AHD can also take advantage of
realtime network update via a local LAN server or the internet from an HTTP
server. A text based playlist (see 2.3 below) file is used to update content in
addition to scheduling time and date playback. Make sure folder and file sharing
permissions are enabled on the server before attempting to connect.
2.2.1 Internet Update
Internet mode is used when there is a server outside of the local network that
the CIMP1080AHD is located at. This server (most likely HTTP server) will
contain the playlist and media content files which the CIMP1080AHD will
download to its storage media, read and then playback.

Internet mode setup on HTTP server
1. Create folder in root directory of HTTP server.
2. Add media files in the folder and enable permissions.
3. Create a text file and name it playlist.txt (see section 2.3).
4. If adding a scrolling message, create another text file and name it
message.txt (see section 2.3).
Internet mode setup on CIMP1080AHD
1. Insert a blank CF card into the CIMP1080AHD and plug in the network
cable to the side RJ45 port.
2. Go to server setup in the main menu and enter HTTP server IP address.
3. Enter the server folder where the files reside and port number. In most
cases, the port number will be 80.
4. Restart the CIMP1080AHD.
5. After rebooting, the CIMP1080AHD will allocate a network address from
the local router and attempt to locate the HTTP server. If successful, the
playlist will be downloaded first, followed by the contents and playback of
the media files in the order that they appear on the playlist. If certain files
are scheduled, the CIMP1080AHD will skip over them until the correct time
and date specified on the playlist. By default, the CIMP1080AHD will
check for a new playlist update every 1 to 2 minutes and this option
cannot be changed.
2.2.2 Real-time Update
Much like internet update mode, real-time mode uses a playlist file to
administer media contents. Unlike internet mode however, real-time is typically
used in a LAN environment and without a storage device (no CF card or USB
drive) in the CIMP1080AHD - the player will “stream” the media file straight from
the server. The most apparent advantage is since media files will be streamed
from a server hard drive, storage capacity will exceed the 4GB maximum
supported size for both compact flash and USB solid state media. However when
there are more than two or three CIMP1080AHD units connected to the server,
network bandwidth speed during video streaming could diminish.
Real-time mode setup on local server
1. Create folder on C: drive of the server.
2. Right click on the folder and select Sharing and Security from the menu.
3. Select Share this folder and input the same share name as your folder.
4. Add media files in the folder and enable permissions.
5. Create a text file and name it playlist.txt (see section 2.3).
6. If adding a scrolling message, create another text file and name it
message.txt (see section 2.3).

Real-time mode setup on CIMP1080AHD
1. Plug in the network cable to the side RJ45 port.
2. Go to server setup in the main menu and enter local server IP address.
3. Enter the server folder where the files reside and port number. In most
cases, the port number will be 80.
4. Enter a login name and password used to login to the server. This should
either be an administrator account or a user account with similar
permissions.
5. Restart the CIMP1080AHD.
6. After rebooting, the CIMP1080AHD will allocate a network address from
the local router and attempt to locate and login to the local server. If
successful, the playlist will be accessed first, followed by the contents
and playback of the media files in the order that they appear on the
playlist. If certain files are scheduled, the CIMP1080AHD will skip over
them until the correct time and date specified on the playlist. By default,
the CIMP1080AHD will check for a new playlist update every 1 to 2
minutes and this option cannot be changed.

2.3 Playlist and Message Setup
The CIMP1080AHD can organize media contents by using a simple text based
playlist file. Located in the same root directory as the media files, you can
configure a playlist to schedule certain files to play at different times of the day or
days of the week.
In addition, the CIMP1080AHD can scroll a message much like a ticker in a
preset area of the screen. This is controlled through a message text file that will
be called in the playlist.
The playlist is configured using week and time parameters. The week directives
are <MON>, <TUE>, <WED>, <THU>, <FRI>, <SAT>, <SUN> and the time
directives are assigned in 24 hour format and also enclosed in brackets. For
example, to schedule a series of files to be played from 3pm to 4pm the time tag
<15:00-16:00> would be added before the media files on the playlist. The
playlist file must have at least one default play list, and if there is nothing to
schedule, the user can implement a default playlist only.
- Default Playlist - A default playlist will not have any time or week directives. In
the example below, the default playlist will be looped repeatedly until 5pm
upon which the scheduled playlist will loop until 7pm. After this schedule block
has been completed, the default playlist will resume until the next scheduled
playlist on Saturday. Unless otherwise specified, the player will use
“message.txt” as the default message playlist.
- Time Scheduled Playlist - Time schedule playlists download a file from a
server when that file is scheduled to be played. Scheduled playback can be
assigned by using a time directive and file list. The user can specify special
message advertisements as well.

A text editor such as notepad may be used to create a playlist. In the following
example, the “#” denotes a comment.
example of a playlist text file

to use message captioning, enable captions in the main menu
example of message text file.

3. Configuring the CIMP1080AHD
The CIMP1080AHD can be configured by pressing the setup button on the
remote control.
3.1 Video / Audio
3.1.1 Video Configuration
The CIMP1080AHD has two primary output modes in VGA and DVI. Display
resolutions for both modes are as follows:
-VGA: 640x480, 800x600, 1024x768, 1280x768, 1280x1024, 1366x768,
1440x900, 1920x1080
-DVI: 480p, 720p, 1080i, 1080p, 800x600, 1024x768, 1280x1024, 1366x768
The default setting is 1024x768 and the current display resolution is highlighted by
red text that is next to the Video Output label.
3.1.2 Audio Configuration
The CIMP1080AHD only supports stereo output.
3.2 Server Setup
Please refer to SECTION 2 above for instructions on how to setup the
CIMP1080AHD for Real-time and Internet update mode.

IP address and DNS server address allocation is handled by the
CIMP1080AHD automatically. To input an address manually, select the
option fixed.
3.4 WLAN SetupWireless LAN is not available with the current CIMP1080AHD version.
3.3 LAN Setup

3.5 Screen
3.5.1 Auto Run Configuration
There are 6 methods of automated playback outlined below:
- Disable: auto play mode is disabled
- All files: plays all files, default setting
- Movie: plays movies only
- Music : plays music only
- Picture Slide : shows picture with configured slide effect
- Music Slide : plays pictures and movies with background music
3.5.2 Slide Effect
Select from a pool of picture transition effects like Random,Cross fade,
Rightward,Leftward,Upward,Increase and Decrease way. In addition to
these effects, Transition Time can also be changed here.
The default setting is Cross fade,Transition time 3 seconds.
3.5.3 Message Caption
Please refer to SECTION 2 above for instructions on how to setup message
captioning with your playlist.

3.5.4 Auto Scaling
The CIMP1080AHD video chipset can auto-scale a picture or video to the output
display resolution. If auto-scaling is disabled, the actual resolution of the image or
video will be displayed on the screen. Auto-scaling is enabled by default.
3.6 Time
The CIMP1080AHD has an internal clock that can be adjusted through the
Time settings.
3.6.1 Current Time Setting
User can configure current time manually or obtain from the NTP server.
3.6.2 NTP Server
Select from 5 preset NTP servers.
3.6.3 Time Zone
User can configure time zone here.

3.6.4 Time Display / Color / BG Color
User can configure where to display the time stamp, or to disable. Time stamp
font and background color is also configured here.
3.6.5 Auto On / Off
User can enable an auto on and off time.
3.7 Advanced Setup
The advanced setup menu contains options to upgrade firmware, select
language type and disable/enable OSD messages among many. Please take
note that DSP mode is set to standard on the CIMP1080AHD by default and the
player may not operate correctly if this setting is changed.
3.7.1 Screen Saver
User can set screen saver time from 5 to 10 minutes. This setting is disabled by
default.
3.7.2 File Sort
By default, the CIMP1080AHD sorts files alphabetically by name or user can set
sort by size or date.

3.7.3 OSD Message On / Off
User can set whether to turn on or off the On Screen Display status messages.
3.7.4 Language Support
The CIMP1080AHD supports English (default) and Chinese.
3.7.5 Font Size
User can set a larger font size. Default is on small font.
3.7.6 Return to Initial State
Reset the CIMP1080AHD to default values.
3.7.7 Software Upgrade
The CIMP1080AHD supports firmware upgrades. Please contact your Caltron
sales rep for the latest firmware version.
1. Copy “DSSImage” file onto a USB flash drive or CF card.
2. Insert storage media into slot on the CIMP1080AHD and turn on the
system.
3. Go to Advance menu option on the Setup page and select S/W Upgrade.
4. Check the *.bin firmware file.
5. Select Ok (Do not shut off the power during update process).
6. The update process will usually take 10-15 minutes. Once finished, the
CIMP1080AHD will automatically reboot.
This manual suits for next models
1
Table of contents
Other I-Tech Media Player manuals

I-Tech
I-Tech CMP2000N User manual

I-Tech
I-Tech MP3 Headphone User manual

I-Tech
I-Tech CMP1000HD User manual

I-Tech
I-Tech Interactive Media Player User manual

I-Tech
I-Tech BBD Series User manual

I-Tech
I-Tech EMP100 User manual

I-Tech
I-Tech EMPIOO User manual

I-Tech
I-Tech CMP2000N User manual

I-Tech
I-Tech CMP1000 User manual