manuals.online logo
Brands
  1. Home
  2. •
  3. Brands
  4. •
  5. Ice
  6. •
  7. Arcade Game Machine
  8. •
  9. Ice TAITO PANIC MUSEUM DELUXE User manual

Ice TAITO PANIC MUSEUM DELUXE User manual

DELUXE ASSEMBLY INSERT
INNOVATIVE CONCEPTS IN ENTERTAINMENT INC.
10123 MAIN STREET, CLARENCE, NY 14031
SERVICE: 1-716-759-0360
FAX: 1-716-759-0884
E-MAIL: [email protected]
WEBSITE: www.icegame.com
The specifications of this product and the contents of this manual may be changed without notice for improvement.
Deluxe Cabinet Assembly:
The panels are numbered 1 through 6. Locate and arrange the panels as shown in figure A.
If your game has 1/2 panels (2’x2’) then begin by placing like numbered panels together and using 4
1/4-20 bolts and nuts attach them together. See figure B.
Step 1: Attach panels 3 and 4 together with six 1/4-20x5/8 bolts and 1/4-20 nuts. This will form the
back wall. On these panels you will find Velcro attached to the bottom of the panels. This will cover
the electronics when cabinet assembly is complete. See figure C.
Step 2: Next attach the spacer 7 to panel 2. Panel 2 slides into spacer 7 and bolts from the outside.
It will be necessary to temporary remove the wood pieces to attach the bolts. See figure D.
Step 3: Now attach spacer 7 to panel 3. See Figure D.
Step 4: Now attach spacer 8 to panel 5. Panel 5 slides into spacer 8. It will be necessary again to
temporary remove the wood pieces to attach the bolts. See Figure D.
Step 5: Now attach spacer 8 to panel 4. See Figure D.
Step 6: Now attach panel 1 to panel 2 and attach panel 6 to panel 5. Do not attach the upper bolts
at this time. See Figure D.
Step 7: Attach the left and right marquee brackets. Be sure to attach the panels with the graphics to
the outside. See figure E.
Step 8: Locate ceiling support 9 which will have speakers mounted onto it. Insert the pem studs into
the mounting holes located on top of the walls. Secure with supplied nuts Insert 1/4-20 bolts and
nuts into the remaining mounting holes. Locate ceiling supports 10 and 11. Insert pem studs into
the top mounting holes. Attach with included nuts. Secure remaining holes with supplied 1/4-20
bolts and nuts. See figure F.
Step 9: Locate ceiling support 12 and slide into mounting bolts and tighten. Secure remaining holes
with supplied 1/4-20 bolts and nuts. See figure F.
Step 10: With two people lift screen onto wood mounting found at back of cabinet. Be sure to re-
move the tape holding the wiring. There are four mounting bolts that attach the screen. . See figure
G.
Step 11: Lift the back wall assembly slightly to insert the wire channel and center support bar
(labeled 12) onto floor. Attach floor plates as shown in figure H.
Step 12: Attach floor supports 13 (there are two) as shown in figure I.
Step 13: Remove the back panel of the podium. Two bolts are located at the top of the podium.
See figure N. Slide the podium onto center floor mount and attach with two mounting bolts and nut.
Do not tighten at this time. See Figure J.
Step 14: Locate the front panels 14 and 15. 14 attaches to the left side and 15 attaches to the right.
The podium has studs already mounted that the panel slides into. The side that connects to the
wall slides into the wall itself. Use self tappers to attach to the walls and nuts to attach to the po-
dium. See figure K.
Step 15: Now tighten the two mounting bots used to attach the podium to floor supports in step 14.
See Figure J.
Step 16: At this time you will need to run the sensor wiring, speakers and upper AC through the
center wiring channel and up the center of the back wall. The AC wiring and speaker wires should
be routed through the top of the back wall behind the screen. The harness can be discounted at the
podium. Plug the two fans located at the back of the ceiling support. Plug in the two speakers lo-
cated also at the back of the ceiling supports.
Step 17: Attach the marquee onto the front support bar. Use 1” bolts for the top holes and 2” shoul-
der bolts for the bottom two. The ac harness routes out the top of the marquee. See Figure L.
Step 18: Locate the three ceiling panels labeled 19,20,and 21. 19 is the back most panel, 20 is the
center and 21 is the front. The mounting holes only correct aligns when the proper panel is at-
tached. Make sure the marquee AC power is routed on top of the ceiling. See figure M.
Your game is now assembled.
Panel 1
Panel 2
Panel 3
Panel 4
Panel 6
Panel 5
Spacer 7
Spacer 8
Panel Layout - Figure A
Podium
Panel 4
Panel 3
Back Wall Panel Assembly - Figure C
Panel 4
Panel 3
Spacer 7
Spacer 8
Panel 1
Panel 2
Spacer 7
Spacer 8
Panel 6
Panel 5
Panel 4
Panel 3
Side Wall Panel Assembly - Figure D
Marquee Support - Figure E
Do not install at this time.
Ceiling Supports - Figure F
Support 9
Support 10
Support 12
Support 11
Screen Install - Figure G
Floor Support - Figure H
Floor Support - Figure I
Podium Install - Figure J
Front Panels - Figure K
Marquee - Figure L
Ceiling Panels - Figure M
Podium - Figure N

Other Ice Arcade Game Machine manuals

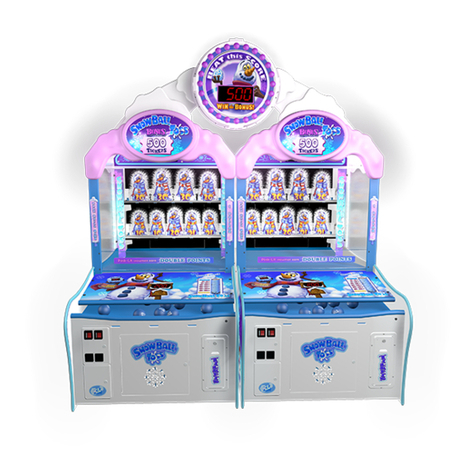
Ice SNOWBALL TOSS User manual

Ice

Ice SNOWBALL TOSS User manual

Ice Free Fallin Standart User manual

Ice

Ice Free Fallin Standart User manual

Ice MONOPOLY ROLL-N-GO User manual

Ice

Ice MONOPOLY ROLL-N-GO User manual

Ice Hoopla User manual

Ice

Ice Hoopla User manual

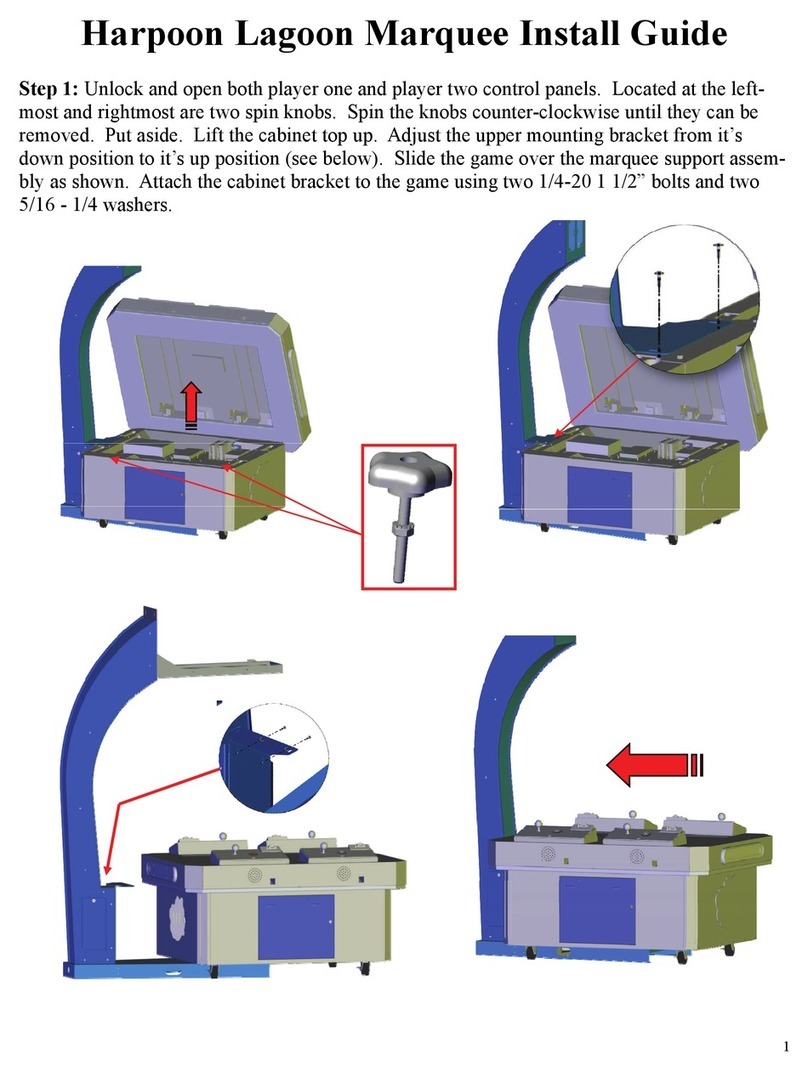
Ice Harpoon Lagoon Marquee User manual

Ice

Ice Harpoon Lagoon Marquee User manual

Ice MONOPOLY ROLL-N-GO User manual

Ice

Ice MONOPOLY ROLL-N-GO User manual

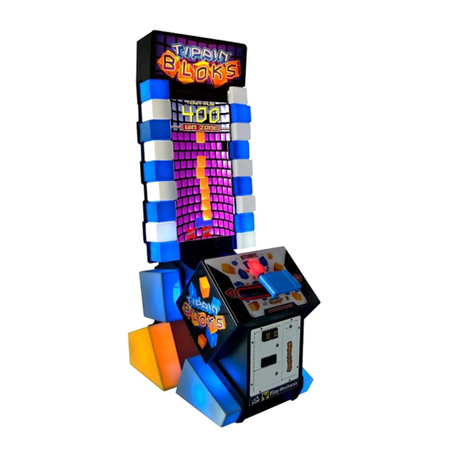
Ice TIPPIN' BLOKS Instruction Manual

Ice

Ice TIPPIN' BLOKS Instruction Manual
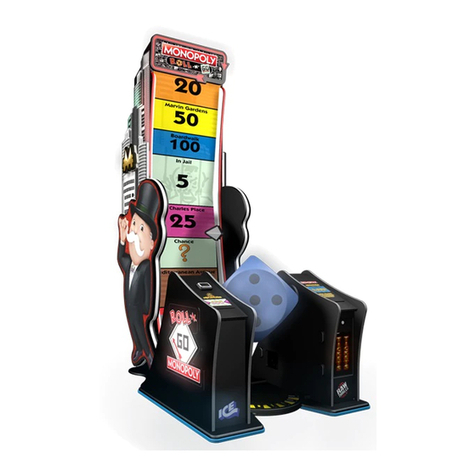
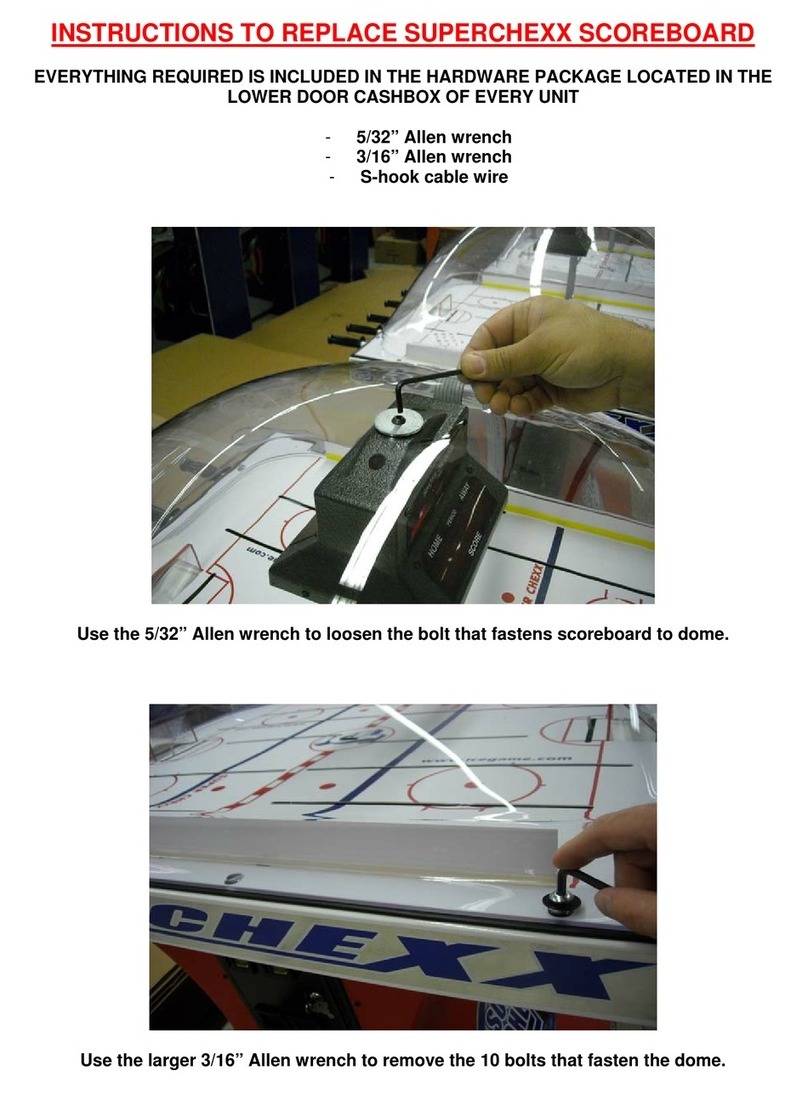
Ice SUPERCHEXX User manual

Ice

Ice SUPERCHEXX User manual
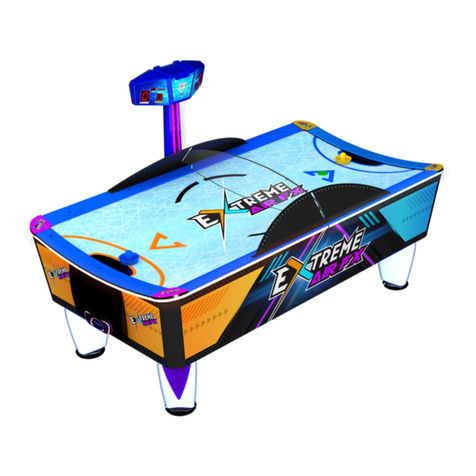
Ice EXTREME AIR FX User manual

Ice

Ice EXTREME AIR FX User manual

Popular Arcade Game Machine manuals by other brands

Universal Space Panning for Gold Operation manual

Universal Space

Universal Space Panning for Gold Operation manual

Adrenaline Amusements Hungry Hungry Hippos HIP-54-4001 Operation & service manual

Adrenaline Amusements

Adrenaline Amusements Hungry Hungry Hippos HIP-54-4001 Operation & service manual

Fusion Shuffle Master Auto Roulette Getting started

Fusion

Fusion Shuffle Master Auto Roulette Getting started

ARCADE1UP Bandai Namco Legacy user manual

ARCADE1UP

ARCADE1UP Bandai Namco Legacy user manual

Tecway Kid racing instruction manual

Tecway

Tecway Kid racing instruction manual

HomingGame Key Master 2017 manual

HomingGame

HomingGame Key Master 2017 manual

SereneLife SLMTGTFD81B user guide

SereneLife

SereneLife SLMTGTFD81B user guide

PlayMechanix Minecraft Dungeons Arcade Setup and Operaton Service Manual

PlayMechanix

PlayMechanix Minecraft Dungeons Arcade Setup and Operaton Service Manual

MD SPORTS ESPN BG132Y20016 Assembly instructions

MD SPORTS

MD SPORTS ESPN BG132Y20016 Assembly instructions

MD SPORTS 57001 Assembly instructions

MD SPORTS

MD SPORTS 57001 Assembly instructions

MD SPORTS ARC084 017E Assembly instructions

MD SPORTS

MD SPORTS ARC084 017E Assembly instructions

MecPower Tecway Alien Fireman manual

MecPower Tecway

MecPower Tecway Alien Fireman manual

Sega Harley Davidson & L.A Riders owner's manual

Sega

Sega Harley Davidson & L.A Riders owner's manual

Icegame Angry Birds Arcade Service manual

Icegame

Icegame Angry Birds Arcade Service manual

NAMCO LUCKY & WILD manual

NAMCO

NAMCO LUCKY & WILD manual

Sega MIB owner's manual

Sega

Sega MIB owner's manual

Tandy 12 owner's manual

Tandy

Tandy 12 owner's manual

Bandai Namco PAC-MAN BATTLE ROYALE CHOMPIONSHIP DELUXE Operation manual

Bandai Namco

Bandai Namco PAC-MAN BATTLE ROYALE CHOMPIONSHIP DELUXE Operation manual

manuals.online logo
manuals.online logoBrands
  • About & Mission
  • Contact us
  • Privacy Policy
  • Terms and Conditions

Copyright 2025 Manuals.Online. All Rights Reserved.