IKA KMO 3 basic User manual

26 Device setup Safety instructions 27
A“Power“ button
BStandby LED
CDisplay
D“Set-up plate illuminated“ button
E“Lock“ button
F“Lock“ LED
G“Start / Stop“ button
Explication of symbols
Device setup
/// KMO 3 basic
H“+ / -“ button
I“Reverse rotation“ button
JThreaded hole for stand
KSet-up plate
LPower connection
MInterface USB
G
C
B
K
H
I
A
D
E
F
ML
J
Safety instructions
/// About our warning symbols
Indicates an imminently hazardous situation, which,
if not avoided, will result in death, serious injury.
Indicates handling, which, if not avoided,
can result in equipment damage.
Indicates a potentially hazardous situation, which,
if not avoided, can result in death, serious injury.
Indicates a potentially hazardous situation, which,
if not avoided, can result in injury.
Attention!
Indicates the risks of magnetism.
!

Safety instructions 2928 Safety instructions
/// General information
› Read the operating manual in its entirety before using
the KMO 3 basic and follow the safety instructions.
› Keep the operating manual in a location that is easily
accessible by everyone in the laboratory.
› Ensure that only trained staff operates the device.
› Follow the safety instructions, (laboratory) guidelines, occupational
health and safety and accident prevention regulations (OSHA).
Attention – Magnetism! ( )
Effects of the magnetic field have to be taken into
account (e.g. data storage media, cardiac pacemakers ...).
/// Device design
Danger! ( )
› Do not operate the device in explosive atmospheres, or under water.
› Set up the device in a spacious area on an even,
stable, clean, non-slip, dry and fireproof surface.
› The feet of the device must be clean and undamaged.
› Check the device and accessories for damage before each use.
Do not use damaged components.
Caution! ( )
Device surface is partially made of glass!
› Glass surface can be damaged by impact.
› If glass surface is damaged it could cause injury, don‘t use
the device anymore and contact your IKA Service team.
/// Permissible medium /
contaminants / side reactions
Warning! ( )
Beware of hazards due to:
› glass breakage.
› incorrect container size.
› overfilling of media.
› unsafe condition of container.
› Process pathogenic materials only in closed
vessels under a suitable fume hood.
Please contact IKA if you have any questions.
Danger! ( )
› Only process media that will not react dangerously to the extra energy
produced through processing. This also applies to any extra energy pro-
duced in other ways, e.g. through light irradiation.
›Please consider any possible contaminations and unwanted
chemical reactions.
› It may be possible for wear debris from rotating accessory parts
to reach the material being processed.
› When using PTFE-coated magnetic bars, the following has to be noted:
Chemical reactions of PTFE occur in contact with molten or solute alkali
metals and alkaline earth metals, as well as with fine powders of metals in
groups 2 and 3 of the periodic system at temperatures above 300 °C –400 °C.
Only elementary fluorine, chlorotrifluoride and alkali metals attack it; halo-
genated hydrocarbons have a reversible swelling effect.
(Source: Römpps Chemie-Lexikon and ”Ulmann”, Volume 19)
Safety instructions 3130 Safety instructions
/// Procedures during sample runs
Warning! ( )
Wear your personal protective equipment in accordance with the hazard
category of the media to be processed. There may be a risk from:
›splashing and evaporation of liquids.
›ejection of parts.
› release of toxic or combustible gases.
Reduce speed if:
› medium splashes out of vessel because the speed is too high.
› device is not running smoothly.
› container moves on the working plate.
› an error occurs.
/// Accessories
› Safe operation is only guaranteed with the accessories
described in the ”Accessories” chapter.
› Always disconnect the power before attaching accessories.
› Observe the operating instructions of the accessories.
› Accessories must be securely attached to the device so that
they cannot come off by themselves. The centre of gravity of
the assembly must lie within the surface on which it is set up.
/// Power supply / Switching off
Place the power supply outside the working area of the device.
› The voltage stated on the ratings plate must correspond to
the mains voltage.
› The outlet for the power supply must be easily accessible.
› The device can only be disconnected from main power by
unplugging the power supply from the outlet or removing the
connector plug at the unit.
Warning! ( )
› The device will automatically restart in mode b following
any interruption to the power supply.

Proper usage 3332 Safety instructions
> 100 mm
> 100 mm
> 100 mm
/// About protecting your device
› The device may only be opened by qualified
and IKA approved technicians.
› Do not cover the device, even partially e.g. with
metallic plates or film. This may result in overheating.
› Protect the device and accessories from bumps and impacts.
› Keep base plate clean.
› Observe the minimum distances:
between devices min. 100 mm,
between device and wall min. 100 mm,
above the device min. 800 mm.
Proper usage
/// Basics
Usage
› The KMO 3 basic magnetic stirrer has been
designed for mixing liquids.
Area of use (only indoors)
›laboratories
› pharmacies
› universities
› schools
This device is suitable for use in all areas except
› residential areas.
› areas that are connected directly to a low-voltage
supply network that also supplies residential areas.
The safety of the user cannot be guaranteed
› if the device is operated with accessories that are not
supplied or recommended by the manufacturer.
› if the device is operated improperly or contrary to
the manufacturer’s specifications.
› if the device or the printed circuit board are modified
by third parties.

Start-up 3534 Start-up
Start-up
/// Operation
Check whether the voltage given on the ratings plate corresponds to the
available mains voltage. If these conditions have been met, the device is
ready for operation when the power supply is plugged in. If these conditions
are not met, safe operation is not guaranteed and the device could be
damaged. Observe the ambient conditions (temperature, humidity, etc.)
listed under “Technical data”.
General power supply information
When the power supply adapter is connected to the device, the device changes
to the standby mode, the red LED “Standby“ (B) is on and the display (C) will
not show any information.
A display self-test will be performed following any interruption to the power
supply. The display cycles through the following information:
1. All segments light up.
2. Software version.
3. The selected operating mode.
4. If the drive has not been started the display reads “OFF“.
5. If the drive has been started the selected speed is displayed
(only in operating mode b).
Power-up
1. Insert the power supply adapter into the power outlet (L).
2. The device is switched on and off via the “Power“ button (A).
Stirring
1. The stirring function is started and stopped by pressing
the “Start / Stop“ button (G).
2. Increase or reduce the speed from 0 rpm to 1,500 rpm (in 10 rpm
steps) by pressing the “+ / -“ buttons (H). Press and hold the “+ / -“
button (H) may quicken the adjustment of the speed.
› The display (C) will only show the set value. If the actual speed is
lower than the set speed, the set value on the display will be flashing.
The set value on the display will stop flashing once the actual speed
reaches the set speed.
/// Operating mode
To toggle between operating modes, press the “Reverse rotation“
button (I) for 2 seconds when the device is powered on.
› Factory setting: mode A
Operating mode A
All settings will be stored if the device is disconnected from the power
supply. The agitation and “Set-up plate illuminated“ functions will be
set to “OFF“ when the device is powered on. The “Start / Stop“ button
(G) starts the device with the set parameters.
Operating mode b
All settings will be stored if the device is disconnected from the power
supply. The agitation and “Set-up plate illuminated“ functions will be
set to “ON“ or “OFF“ when the device is powered on, depending on
the previous status of the device.

Start-up 3736 Start-up
/// Automatic reverse rotation
To activate the “Reverse rotation” function, press the “Reverse rotation”
button (I). When the “Reverse rotation“ function is switched on, a decimal
point appears on the LCD display.
Decimal point
The running time (30, 60, 90 or 120 sec) is set by pressing the
“Reverse rotation” button (I) followed by the “+ / -“buttons (H).
After the preset running time, the drive is switched off and
restarted in the opposite direction.
Note! ( )
The activation and deactivation of the „Reverse rotation“ is only
possible if the drive is switched off.
/// Set-up plate illuminated
The illumination brightness can be adjusted by pressing the “Set-up plate
illuminated“ button (D). After adjustment the brightness value will be shown
on the display for 2 seconds.
› Factory setting: Off
Button
pressing time
Set-up plate
illuminated
Illumination
brightness value *
1 × On 50 %
2 × On 75 %
3 × On 100 %
4 × Off 0 %
* Sequence 50 – 75 – 100 – 0 – 50 – 75 – 100 – 0 – 50 – etc.
/// Lock
The “Lock“ button (E) allows the user to lock or unlock the other control
buttons (including buttons D, G, Hand I) of the device.
› Press the “Lock” button (E) for 2 seconds to activate
or deactivate the “lock” function.
› When the “Lock” function is activated, the green LED “Lock“ (F) is on.
› When the “Lock” function is deactivated, the green LED “Lock“ (F) is off.
The device keeps the status of “unlock” or “lock” when the power is switched
off and switched on again, which is important for operating mode “b”.

Technical data 3938 Technical data
Technical data
/// KMO 3 basic in detail
KMO 3 basic
Nominal voltage DC 24 / 500 mA
Power input 13 W
Power input standby 0.8 W
Number of stirring positions 1
Stirring quantity max. (H2O) 5 l
Motor rating output 9 W
Direction of rotation right / left
Speed display set-value LED
Speed control button
Speed range 0 / 10 – 1,500 rpm
Setting accuracy speed 10 rpm
Speed variation (no load, nominal voltage,
at 1,500 rpm, RT: + 25 °C) ± 2 %
Stirring bar length 20 – 80 mm
Self-heating of the plate by max. stirring
(RT: + 22 °C / duration: 1 h) + 2 K
Set-up plate material glass
Set-up plate dimensions 140 × 120 mm
Automatic reverse rotation yes
Set-up plate illuminated yes
Technical data KMO 3 basic
Dimensions (W × H × D) 153 × 62.5 × 227 mm
Weight 1.2 kg
Permissible ambient temperature 5 – 40 °C
Permissible relative humidity 80 %
Protection class according to DIN EN 60529 IP 42
USB interface yes
Power supply
Input
AC 100 – 240 V
0.6 A
50 / 60 Hz
Output 24 V DC
36 W LPS (Limited Power Source)
Protection class II (double insulated)
Other manuals for KMO 3 basic
2
Table of contents
Other IKA Paint Sprayer manuals

IKA
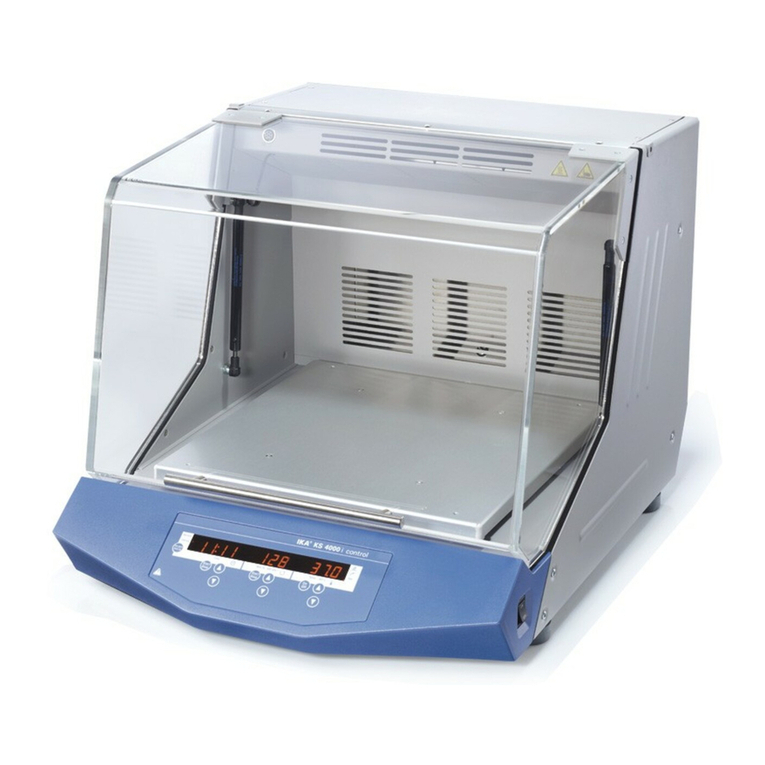
IKA KS 4000 i control User manual

IKA
IKA HS 260 Basic User manual

IKA
IKA Vortex 3 User manual

IKA
IKA Vortex 3 User manual

IKA
IKA KS 4000 i control User manual

IKA
IKA MS 3 basic User manual

IKA
IKA Vortex 1 User manual

IKA
IKA KS 3000 i control User manual

IKA
IKA KS 4000 i control User manual

IKA
IKA MS 3 basic User manual