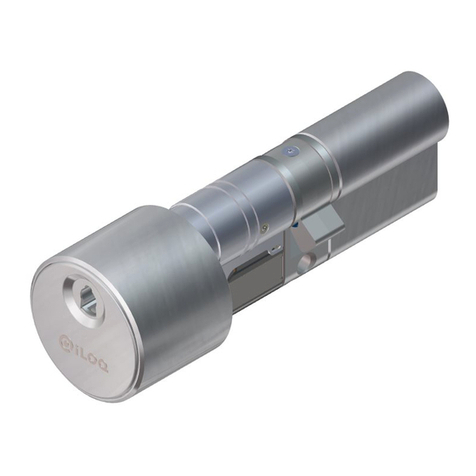
iLoq D50S Series Installation guide

iLOQ Oy • Oulu, Finland • www.iLOQ.com • iLOQ is registered trademark of iLOQ Oy •
©2018 iLOQ Oy. All Rights Reserved •
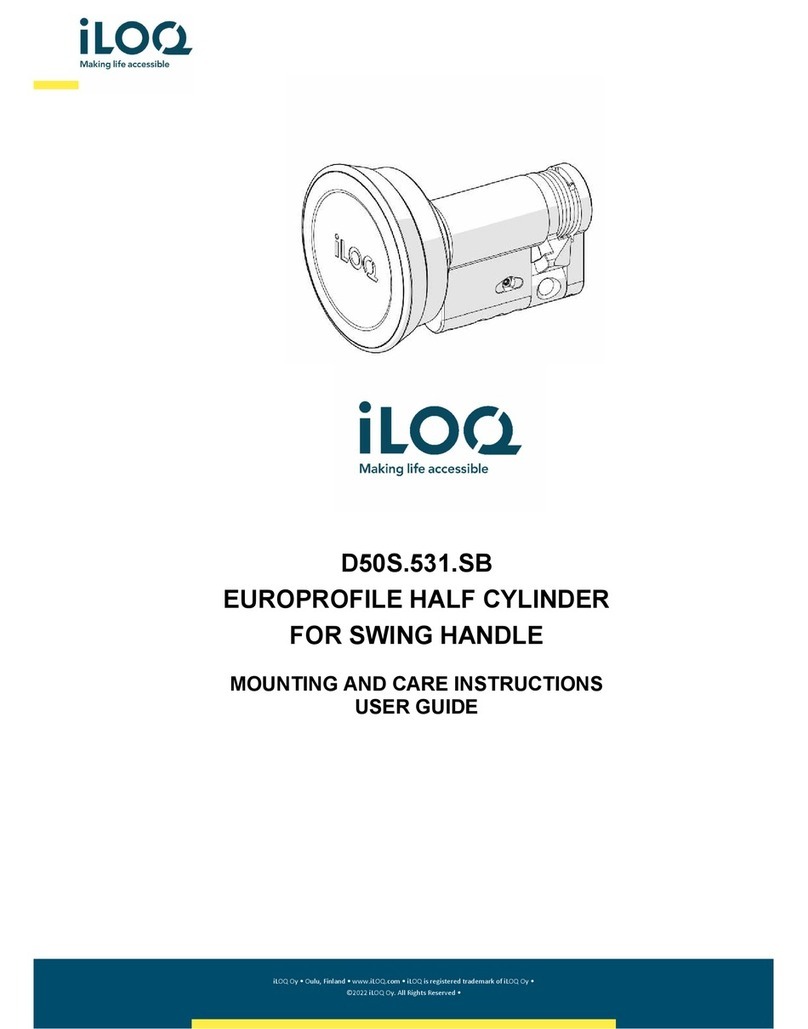
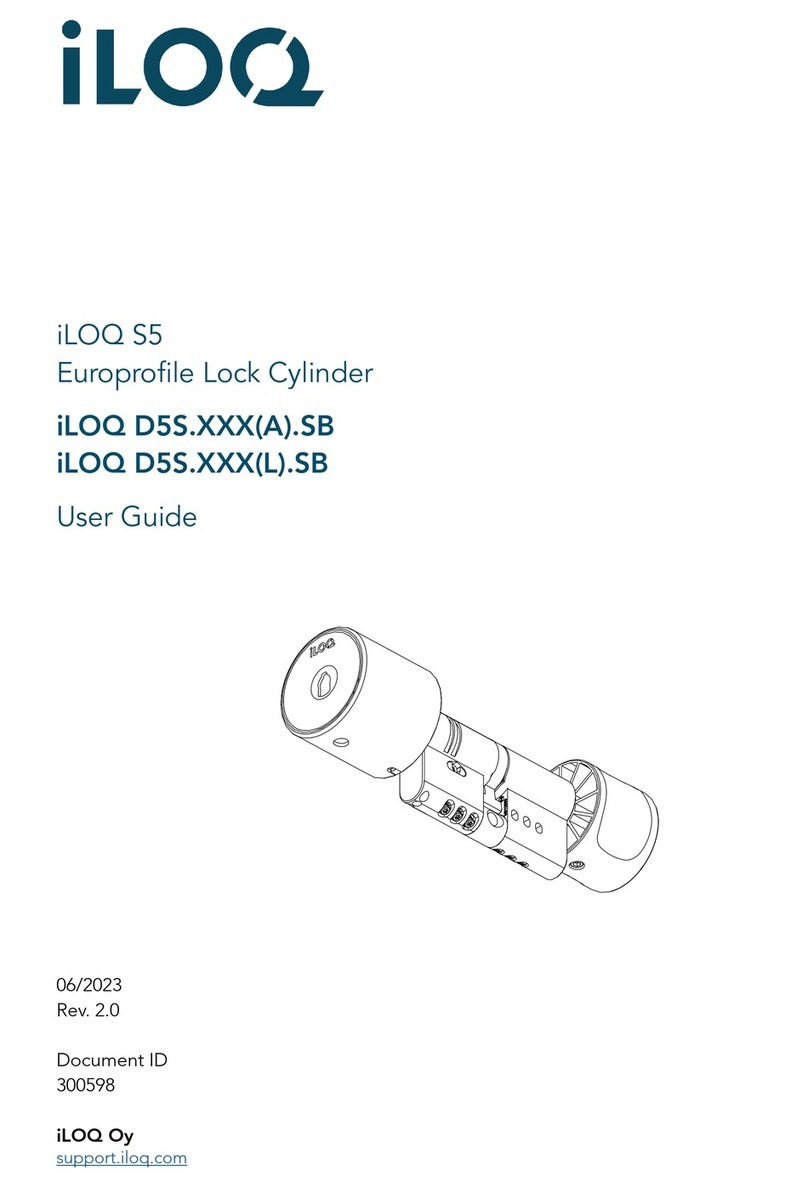
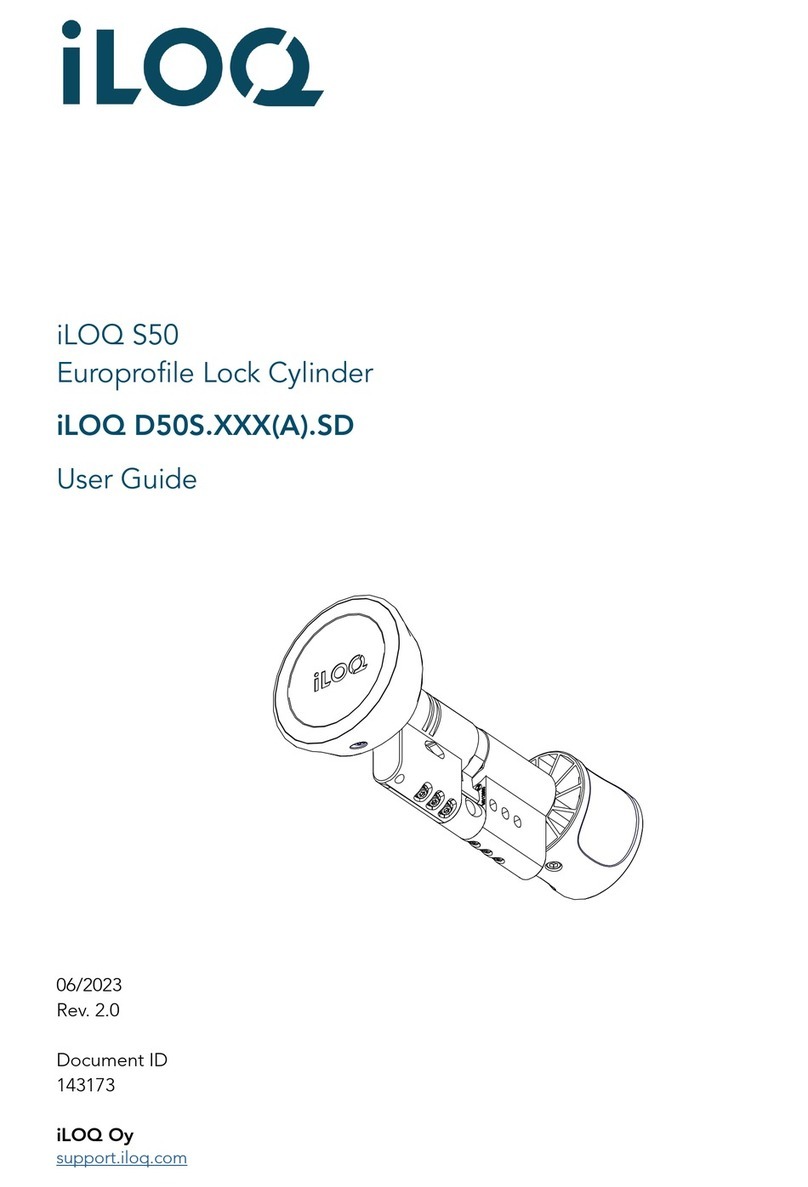
D50S.XXX(A).SD
EUROPROFILE LOCK CYLINDER
MOUNTING AND CARE INSTRUCTIONS
USER GUIDE

iLOQ Oy • Oulu, Finland • www.iLOQ.com • iLOQ is registered trademark of iLOQ Oy •
©2018 iLOQ Oy. All Rights Reserved •
TABLE OF CONTENTS
1. BEFORE INSTALLATION .................................................................. 3
2. AFTER INSTALLATION ..................................................................... 3
3. CARE .................................................................................................. 4
4. INSTALLATION OF ILOQ D50S.1XX(A).SD SERIES ........................ 4
5. INSTALLATION OF ILOQ D50S.2XX(A).SD SERIES ........................ 5
6. INSTALLATION OF ILOQ D50S.3XX(A).SD SERIES ........................ 6
7. INSTALLATION OF ILOQ D50S.7XX(A).SD SERIES ........................ 7
8. KNOB CHANGE / DISTANCE ADJUSTMENT ................................... 7
9. CYLINDER EXTENSIONS .................................................................. 8
10. INSTRUCTIONS FOR USE .............................................................. 10
11. GENERAL NOTES ........................................................................... 11
12. DECLARATION OF CONFORMITY ................................................. 11
143173 C

iLOQ Oy • Oulu, Finland • www.iLOQ.com • iLOQ is registered trademark of iLOQ Oy •
©2018 iLOQ Oy. All Rights Reserved •
1. BEFORE INSTALLATION
1. The instructions should be carefully followed during installation. These instructions
and any maintenance instructions should be passed on by the installer to the user.
2. iLOQ D50S cylinders must be installed and used carefully without excessive force.
3. The product should not be modified in any way except in accordance with the
modifications described in these instructions.
4. Where the D50S cylinder is manufactured in more than one size it is critical that the
correct size is selected.
5. Care should be taken to ensure that any seals or weather-stripping fitted to the complete
door assembly, does not inhibit the correct operations of D50S cylinder.
6. Care should be taken to ensure that no projection of the D50S cylinder and associated
parts, can prevent the door swinging freely.
7. All components necessary for the specific installation should be fitted in order to
ensure compliance with EN15684 standard.
8. Before fitting D50S cylinder to a fire/smoke resisting door, the fire certification
should be examined, to ensure conformity.
9. The iLOQ cylinders are successfully tested according the EN 1634-1 (EUFI29-19003368) for 120
minutes in a hinged single leaf steel door.
10. The cylinder must project less than 1 mm on outside of the door to ensure proper operation.
11. No liability is accepted for damage to the doors or components due to incorrect installation.
12. To extend the cylinder length use only the associated D50 cylinder extensions
(AD50.Exx).
13. It is not allowed to uninstall resp. demount the anti-panic mechanism because due
to that the mechanism and functionality of the panic functionality can not be
guaranteed anymore.
14. In the case the panic mechanism of the panic mortise locks can be blocked or
influenced in a negative way by the cylinder cam, it is mandatory to install the panic
cylinder (D50S.7xx). The use of the other cylinder types (D50S.1xx/2xx/3xxx etc.) are
only allowed if the lock do not need a specific cam position resp. the cam could not
block the panic functionality. Please double-check the declaration of conformity of the
mortise lock manufacturers.
15. When used in combination with panic locks, it is essential to ensure after installation that
all parts of the lock are in an operational condition and that the panic function of the
mortise lock is guaranteed.
16. To meet the German VdS (VdS Schadenverhütung GmbH) requirements class CZ+ on
burglary threatened doors use D50S.XXXA.SD high security cylinder installed with a VdS
approved security lock furniture of class B or C.
17. The cylinders may only be used for the purpose of opening and locking doors; other use
is not permitted.
18. We reserve the right to make modifications or further technical developments without further
notice.
19. If there are any deviations from the contents in foreign language versions of the
documentation, the English original shall apply in case of doubt.
2. AFTER INSTALLATION
Test the cylinder functionality after installation to ensure that it doesn’t prevent the lock case from
working properly.
iLOQ Oy • Oulu, Finland • www.iLOQ.com • iLOQ is registered trademark of iLOQ Oy •
©2018 iLOQ Oy. All Rights Reserved •
C
3. CARE
The product is designed to be maintenance-free. It doesn’t require any regular maintenance.
4. INSTALLATION OF ILOQ D50S.1XX(A).SD SERIES
A B
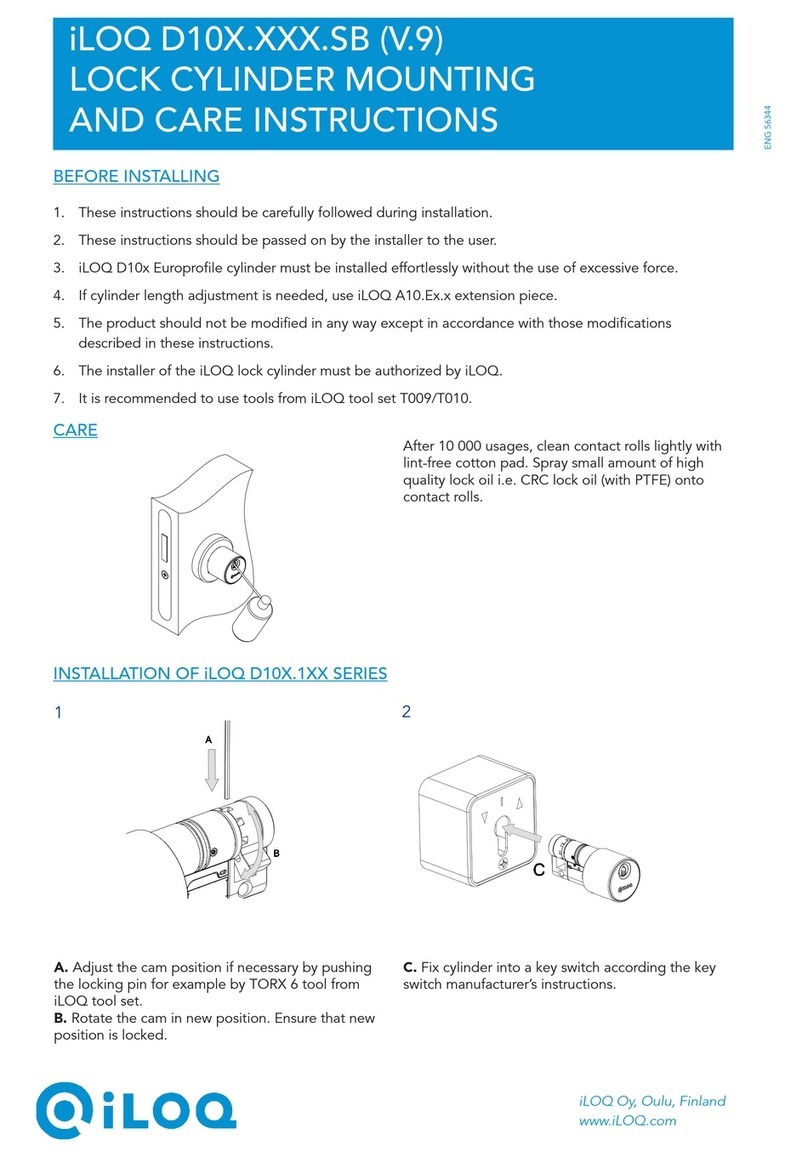
A. Ensure the cam is pointing downwards. Slide the lock cylinder through the lock case.
B. Fix the cylinder into the lock case using an iLOQ fixing screw A10.64. If necessary, cut the screw.
Use a tightening torque of 0.9...1.1 Nm. Make sure the cylinder frame is a maximum of 1.0 mm
from the door leaf or escutcheon.
C. The knob distance can be adjusted if needed. Please refer to chapter 8 KNOB
CHANGE / DISTANCE ADJUSTMENT for details.

iLOQ Oy • Oulu, Finland • www.iLOQ.com • iLOQ is registered trademark of iLOQ Oy •
©2018 iLOQ Oy. All Rights Reserved •
5. INSTALLATION OF ILOQ D50S.2XX(A).SD SERIES
A B
A. Loosen the screw using a Torx T10 tool.
B. Remove the knob from the other side of the cylinder.
Attention: in high-security versions, the outside lock unit is marked with text ”Outside”.
C. Ensure the cam is pointing downwards. Slide the lock cylinder through the lock case. Make sure
the cylinder frame is a maximum of 1.0 mm from the door leaf or escutcheon.
F
D E
D. Fix the cylinder into the lock case using an iLOQ fixing screw (A10.64). If necessary, cut the
screw. Use a tightening torque of 0.9 … 1.1 Nm.
E. Slide the knob onto the knob shaft.
F. The knob distance can be adjusted if needed. Please refer to chapter 7 for details.
C

iLOQ Oy • Oulu, Finland • www.iLOQ.com • iLOQ is registered trademark of iLOQ Oy •
©2018 iLOQ Oy. All Rights Reserved •
E
F
6. INSTALLATION OF ILOQ D50S.3XX(A).SD SERIES
A B C
A. Loosen the screw from the turning knob using a 2-mm Allen key.
B. Remove the turning knob.
C. Ensure the cam is pointing downwards. Slide the lock cylinder through the lock case. Make
sure the cylinder frame is a maximum of 1.0 mm from the door leaf or escutcheon.
D G
D. Fix the cylinder into the lock case using an iLOQ fixing screw (A10.64). If necessary, cut the
screw. Use a tightening torque of 0.9…1.1 Nm.
E. The knob distance can be adjusted if needed. Please refer to chapter 8 KNOB CHANGE / DISTANCE
ADJUSTMENT for details.
F. Put the turning knob in place.
G.Tighten the screw. Use a tightening torque of 0.55…0.65 Nm.

iLOQ Oy • Oulu, Finland • www.iLOQ.com • iLOQ is registered trademark of iLOQ Oy •
©2018 iLOQ Oy. All Rights Reserved •
C
7. INSTALLATION OF ILOQ D50S.7XX(A).SD SERIES
A B
A. Ensure the cam is pointing downwards. Slide the lock cylinder through the lock case.
B. Fix the cylinder into the lock case using an iLOQ fixing screw A10.64. If necessary, cut the screw.
Use a tightening torque of 0.9...1.1 Nm. Make sure the cylinder frame is a maximum of 1.0 mm
from the door leaf or escutcheon.
C. The knob distance can be adjusted if needed. Please refer to chapter 8 KNOB CHANGE / DISTANCE
ADJUSTMENT for details.
According the standards EN179/EN1125 it is recommended to check regular the correct and faultlessly
functionality of the panic door.
8. KNOB CHANGE / DISTANCE ADJUSTMENT
A B
A. Loosen the screw so that the knob can be moved.
B. Adjust the knob to the right distance and tighten the screw. Use a tightening torque of 1.5Nm. The
screw will find its way into the nearest screw hole and fix the knob in position.

iLOQ Oy • Oulu, Finland • www.iLOQ.com • iLOQ is registered trademark of iLOQ Oy •
©2018 iLOQ Oy. All Rights Reserved •
9. CYLINDER EXTENSIONS
The cylinder length is easily adjustable in 5-mm increments from a basic length of 30 mm up to 100
mm by using the extension piece system. The extension piece can be added to both sides of the
cam in all D50S cylinder configurations except for the D50S.1XX.SD (here only the knob side is
extendable). The anti-panic cylinders D50S.7xx.SD will be shipped in fixed length due to safety
reasons, means for this version not possible to change the length. Please note, there can be only
one extension piece on one side at a time. It is not possible to chain multiple extension pieces.
A B
A.
Remove the three body fixing screws with a Torx T6 tool.
B.
Take the lock unit apart.

iLOQ Oy • Oulu, Finland • www.iLOQ.com • iLOQ is registered trademark of iLOQ Oy •
©2018 iLOQ Oy. All Rights Reserved •
C
C.
Insert the round extension piece inside the housing extension part opposite the side with the
black sealing, so that the recess is placed next to the black O-ring.
D.
Fix the extension piece with the fixing screw.
E F G
E.
Insert the lock unit with the extension piece onto the other part of the cylinder.
F.
Fix the lock unit onto the cylinder using 3 fixing screws with a Torx T6 tool.
G.
Tighten the screws. Use a tightening torque of 0.55…0.65 Nm.
D

iLOQ Oy • Oulu, Finland • www.iLOQ.com • iLOQ is registered trademark of iLOQ Oy •
©2018 iLOQ Oy. All Rights Reserved •
10. INSTRUCTIONS FOR USE
1. Hold a valid key against the lock-reader knob and wait until the key shows a green light.
Please note: Due to the large variety of Android phone models and operating system
versions, iLOQ cannot guarantee that all NFC-enabled Android phones will work
seamlessly with our locks.
Before using the locks, please check where the NFC antenna is located in your phone so that
you know the best position to hold the phone against the lock-reader knob.
2. Turn the lock-reader knob to unlock the door.
3. Open the door.

iLOQ Oy • Oulu, Finland • www.iLOQ.com • iLOQ is registered trademark of iLOQ Oy •
©2018 iLOQ Oy. All Rights Reserved •
11. GENERAL NOTES
1. To meet the German VdS (VdS Schadenverhütung GmbH) requirements class CZ+ on
burglary threatened doors use D50S.XX0A.SD high security cylinder installed with a VdS
approved security lock furniture of class B or C. Such security lock furniture corresponds to
DIN 18 257 class ES 2 and ES 3.
2. To meet the Dutch SKG*** requirements use the D50S.XXXA.SD high security cylinder.
Consult iLOQ sales representative for correct configuration.
3. Before fitting the cylinder to a fire/smoke resisting door, the fire certification should be
examined to ensure conformity. Consult iLOQ sales representative for correct configuration.
4. The iLOQ cylinders are successfully tested according the EN 1634-1 (EUFI29-19003368) for
120 minutes in a hinged single leaf steel door.
5. In the case the panic mechanism of the panic mortise locks can be blocked or influenced in a
negative way by the cylinder cam, it is mandatory to install the panic cylinder (D50S.7xx).
The use of the other cylinder types (D5S.1xx/2xx/3xxx etc.) are only allowed if the lock do not
need a specific cam position resp. the cam could not block the panic functionality. Please
double-check the letter of conformity of the mortise lock manufacturers.
6. When used in combination with panic locks, it is essential to ensure after installation that all
parts of the lock are in an operational condition and that the panic function of the mortise lock
is guaranteed.
7. Care should be taken to ensure that any seals or weather-stripping fitted to the complete
door assembly, does not inhibit the correct operations of the cylinder.
8. Care should be taken to ensure that no projection of the cylinder and associated parts, can
prevent the door swinging freely.
9. All components necessary for the specific installation should be fitted.
10. The key is to be kept securely so that only authorized person may have access.
11. In case of losing a key, blocklisting of the lost key shall be done with the iLOQ Manager
software and affected locks shall be reprogrammed.
12. DECLARATION OF CONFORMITY
The products mentioned inside this user guide are in conformity with the requirements of the following
directives:
2014/53/EU Radio Equipment Directive (RED)
2011/65/EU Restriction of the use of certain hazardous substances (RoHS)
The conformity was assessed in accordance with RED module A by using the following harmonized
and other EN standards:
RED:
Art 3.1(a) Safety EN 62368-1:2014 (2nd Ed)
EN 60065:2014 (8th Ed)
EN 60950-1:2005 (2nd Ed) + A1:2019 + A2:2013
Art 3.1(b) EMC EN EN 301 489-1 v2.2.3
EN 301 489-3 v2.1.1
Art 3.2 Spectrum EN 300 330 v2.1.1
RoHS EN 50581:2012
Other standards used:
EN 15684:2020
This manual suits for next models
4
Table of contents
Other iLoq Lock manuals

iLoq
iLoq D50S.531.SB Installation guide

iLoq
iLoq G50S.2x1 Installation guide

iLoq
iLoq H50S.31.HC Series Installation guide

iLoq
iLoq S5 User manual

iLoq
iLoq D5S SB Series User manual

iLoq
iLoq D5S.5X0.SB User manual

iLoq
iLoq S50 User manual

iLoq
iLoq D10S Series User manual

iLoq
iLoq S50 User manual

iLoq
iLoq P55S.1 User manual