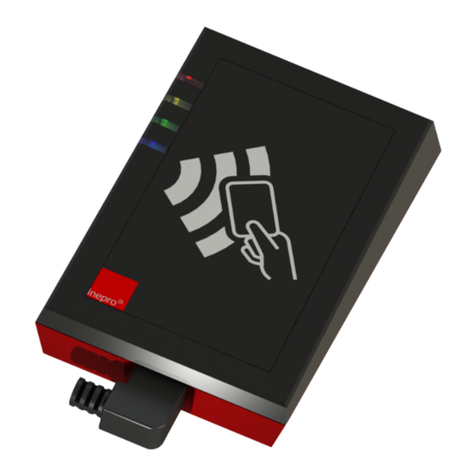
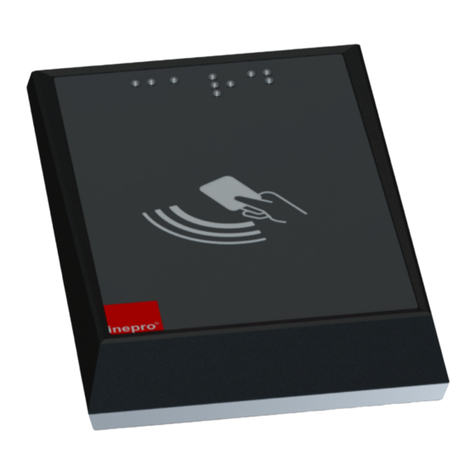
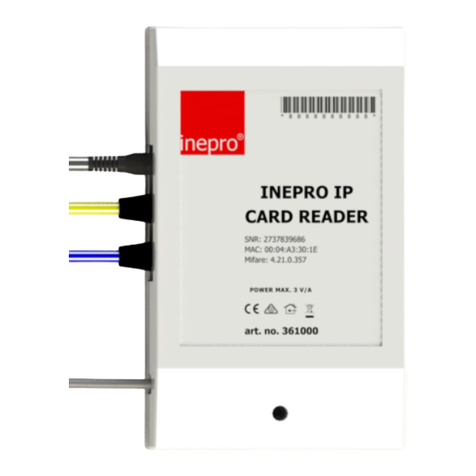
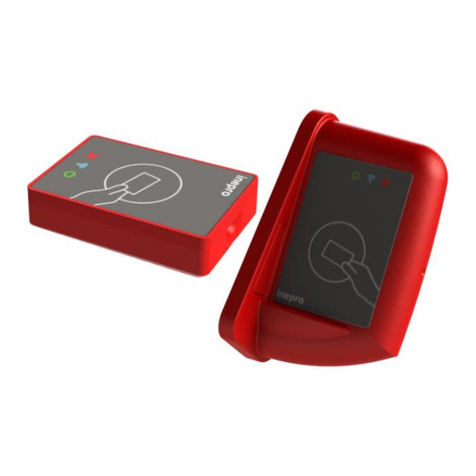
Inepro PayCon II User manual

© 2019 Inepro B.V. All rights reserved
Technical Manual | PayCon II
PayCon II

PayCon II
Congratulations on your selection of the PayCon. We are certain you will be pleased
with your purchase of one of the finest payment solutions of the market.
We want to help you to get the best result from your PayCon and show you how to
operate it. This manual contains information on how to do that; please read it
carefully. Due to continuous product improvements this manual is subject to changes
without notice.
Your Inepro business partner is dedicated to your satisfaction and will be pleased to
answer your questions and your concerns.
Best wishes,
Inepro BV.
The most versatile payment solution

All rights reserved. No parts of this work may be reproduced in any form or by any means -
graphic, electronic, or mechanical, including photocopying, recording, taping, or information
storage and retrieval systems - without the written permission of the publisher.
Products that are referred to in this document may be either trademarks and/or registered
trademarks of the respective owners. The publisher and the author make no claim to these
trademarks.
While every precaution has been taken in the preparation of this document, the publisher and
the author assume no responsibility for errors or omissions, or for damages resulting from the
use of information contained in this document or from the use of programs and source code
that may accompany it. In no event shall the publisher and the author be liable for any loss of
profit or any other commercial damage caused or alleged to have been caused directly or
indirectly by this document.
Revision number R 11. This revision of the manual can be applied to products with version 5000
or higher.
Publisher
Managing Editor
Technical Editors
Cover Design
Inepro B.V.
K. de Graaf
P. Grimmerink
K. de Graaf
Production
Inepro B.V.
Team Coordinator
R. Groen
H. Wagenaar
J. van den Berg
PayCon II
P. Blom

Table of Contents
Introduction 1
.................................................................................................... 2Intr oduction
.................................................................................................... 3Secur ity basics
.................................................................................................... 4Car d T ypes
Quick Start 7
.................................................................................................... 8Unpacking
.................................................................................................... 9Mounting the PayCon
.................................................................................................... 1 0Connecting the PayCon
.................................................................................................... 1 3Setting up the PayCon
.................................................................................................... 16T esting the P ayCon
Menu Structure 18
.................................................................................................... 19A ccess and activation
.................................................................................................... 2 0Navigation
.................................................................................................... 22Changing settings
.................................................................................................... 26Most important items
Submenu's 33
.................................................................................................... 34Control A ctions
.................................................................................................... 34Products
.................................................................................................... 35Counters
.................................................................................................... 35T erminal
.................................................................................................... 36Card / ID
.................................................................................................... 37System Cards
.................................................................................................... 37DB Connectivity
.................................................................................................... 41Copier
.................................................................................................... 42IT A menu
.................................................................................................... 42T ransaction printer
.................................................................................................... 43Hardwar e
.................................................................................................... 49ECO S
PayCon Browse Tool 51

http://www.inepro.com
Table of Contents
.................................................................................................... 52What is the Br owse T ool
.................................................................................................... 52How does the Browse T ool wor k?
PayCon Update Tool 53
.................................................................................................... 54T he P ayCon Fir mwar e
.................................................................................................... 56What is a PayCon bundle?
.................................................................................................... 57What is the Update T ool?
.................................................................................................... 57How does the Update T ool work?
.................................................................................................... 58How to use the Browse T ool?
How To 63
.................................................................................................... 64How to use the Update T ool?
.................................................................................................... 67T erminal
............................................................................ 67View the serial number
............................................................................ 67Change the language
.................................................................................................... 68Cards
............................................................................ 68Create a user card
............................................................................ 69Delete a user card
............................................................................ 69Reload a user card
............................................................................ 71Edit / view a user card
............................................................................ 72Unlock a user card
............................................................................ 73Change the maximum balance
.................................................................................................... 73Change the network configuration
.................................................................................................... 75Service Cards
............................................................................ 75Create an administrator card
............................................................................ 76Create a command card
............................................................................ 77Use a command card
.................................................................................................... 77Products
............................................................................ 77Product Basics
............................................................................ 78Add a product
............................................................................ 79Edit product properties
.................................................................................................... 81Counters
............................................................................ 81Read out the counters
............................................................................ 82Print the counters
............................................................................ 83Clear the period counters
Table of Contents
.................................................................................................... 84Copier s
............................................................................ 84Change the connected copiertype
.................................................................................................... 84Hardwar e
............................................................................ 84Adjust the contrast / backlight
.................................................................................................... 86ECO S
............................................................................ 86Add ECOS modules
Troubleshooting 91
.................................................................................................... 94Br owse T ool
.................................................................................................... 95Update T ool
Appendixes 96
.................................................................................................... 97A ppendix I
.................................................................................................... 112A ppendix II
.................................................................................................... 115A ppendix III
.................................................................................................... 119A ppendix IV
.................................................................................................... 126A ppendix V
.................................................................................................... 129A ppendix VI
.................................................................................................... 132A ppendix VII
.................................................................................................... 134A ppendix VIII
.................................................................................................... 136A ppendix IX

ATTENTION!!
Read this manual carefully before installing the P ay C on II!
Mains connection
Guar entee
Security
Before connecting the appliance to the mains, check that the mains supply v oltage corresponds
to the v oltage printed on the ty pe plate of the adapter. If the mains v oltage is different, consult
y our supplier.
No guarantee can be giv en if safety regulations are not follow ed.
A lw ay s disconnect the pow er supply before handling any thing inside the dev ice.
Directives
This dev ice is in conformity w ith the EMC directiv e and low -v oltage directiv e.
CE Confor mité Eur opeène (C onform European Nor m)
WEEE Dir ective ( Waste of Electr ical and Electronic Equipment)
Inepro considers it important to properly take the climate into account. We therefore produce as
many climate-friendly products. Your new dev ice contains materials w hich can be recy cled and
then reused. A t the end of life, specialized companies can dismantle the dev ice, to materials w hich
can be reused in order to recy cle and reuse. F or example, the materials that must be discarded w ill
be limited to a minimum. P lease take into account the rules and regulations in y our area regarding
the rules about disposal of packaging materials, exhausted batteries and old equipment.
Thank y ou, Inepro BV
Indoor User O nly
Due to continuous product improv ements this manual is subject to change without notice. This
document describes the technical and functional operation of the P ay C on II. Greatest care has
been taken drafting the information in this manual and it may be said that it is reliable. H ow ev er,
the producer is not liable for any shortcomings in the text or incompleteness of the information.
Thank y ou for y our decision to use the Pay C on II.
T his document:
This dev ice may only be used indoors.

I
Introduction
Part

Introduction
2
Introduction
When we use the word 'PayCon' it can be replaced by
'PayMatic', unless both systems are specified. This is done to
increase the readability of this document.
The PayCon is a versatile payment and administration device that
can be used the register and conduct sales (like copies, prints,
candy, soda drinks and more), open door locks, revalue the amount
of money on your user account on the PayCon itself, a server or
revalue money on the user's card.
This manual will guide you trough the menu structure of the PayCon
and inform you of all the possibilities and options
We have tried to cover every aspect of the PayCon and PayMatic in
this manual.
This first part of this manual will guide you through the installation
and setup of the PayCon.
We will then introduce you to all the menu's and examine all the
options.
The PayCon software tools will be introduced next.
In the How To Chapter we will describe how to complete certain
procedures or tasks.
If you encounter some trouble, we will try to provide a solution in the
troubleshoot section.

Introduction
3 - PayCon II
And the appendixes will contain the complete menu structure and
other complex information.
Optional Components
The PayCon can have extra components that are added when you
use a specific type of hardware or if an ECOS module is added.
An ECOS module will be added if you need some specific
functionality that is not provided with the standard PayCon.
These components are optional, to mark this the optional component
icon will be added to the menu name.
Contact
If you in spite of this manual still have a question or problem you
want to address about the PayCon or PayMatic, don't hesitate to
contact your dealer. When you call the helpdesk make sure you
have the version number of the software suite, the version number of
the PayCon firmware and the version of the manuals at hand. The
version number of this manual is 2.0.11.
We hope you will enjoy our product!
Security Basics
The PayCon has a simple, yet effective way to manage multiple
locations and installations. The security and site information is
based upon 2 main parameters:
·
Service Group
·
Project ID
Service Group

Introduction
4
Inepro programs each PayCon with a specific service group ID. This
service group ID can not be changed.
Project ID
The project ID can be referred to as a site or customer ID. All
PayCons with the same project ID are compatible with each other.
All PayCons are by default shipped with a project ID which equals
the serial number of the (main) PayCon.
If you have a new site with multiple PayCons you can configure your
PayCons that all cards (Service and User Cards) can be used on all
PayCon systems. During installation you need to make sure that all
PayCons are programmed with the same project ID. This is only
possible with a Service card.
If you want to make multiple Projects compatible with each other but
if you do not have a Service card, this must be done with the menu
option “Make compatible” in the “Terminal” menu. If you do this all
cards can be used in both systems.
Card Types
There are 2 main categories of card types which can be used in the
PayCon:

Card Types
5 - PayCon II
·
User Cards: they are not permitted to enter the menu structure
·
System Cards: cards to configure or administer the PayCon
Level
Intended for
User
All normal users if the sy stem
Read Only
Administration Personnel, entitled to register counters
Operator
Operator or janitor, able to change prices and other setting needed f or
maintenance
Administrator
Sy stem administrator who is entitled to change sy stem settings, prices,
IP-addresses
Serv ice
Dealer who can manage multiple projects / customers
User Cards
User cards are those cards which are intended for normal users in
their day-to-day business. These cards can be used as ID-cards,
cards with an online account, or with one or more e-purses on the
card. These cards do not have any access to the PayCon menu
structure; it is not possible to change any setting with a user card.
System Cards
For those people who need to maintain the system there are system
cards. Depending on the level of rights these cards can be divided
into multiple categories:
Read Only cards
These cards are intended for the system operator who is for example
entitled to read out the counters but is not allowed to change any
setting. The only item an operator can change when using his card
is closing a sales period.
A Read Only card is related to a service group and a project ID.

Introduction
6
Operator cards
Operator cards are intended for the person who is maintaining the
devices that the PayCon is connected to, like the janitor. With this
card he is able to change prices and other settings needed in his
maintenance job.
Administrator cards
Administrator cards are provided to the local “system” administrator
of your PayCon solution. With an administrator card it is possible to
modify system settings like prices, IP-settings, currency settings,
product names, etc.
An Administrator card is related to a service group and a project ID.
Service cards
A Service card is only handed out to the dealer channel, after
receiving an in-depth PayCon training. With a Service card all
system settings can be altered.
A Service card is only related to a service group so it is possible to
use it for all customers.

II
Quick Start
Part

Quick Start
8
Quick Start
This quick start will guide you trough the process of receiving the
PayCon system trough testing the fully installed system.
1. Unpacking
2. Mounting
a. Pillar
b. Wall / vending bracket
c. Hardware bracket
3. Connect
a. Power cord
b. Network cable
c. Copier
4. Set Up
a. Local time zone
b. Card Purses / Terminal Accounts / Server Accounts
c. Currency
d. Copier
e. Network
f. DB connectivity
g. Products
5. Test
a. Connection with the network
b. Connection with the copier
c. Connection with the Inepro Back Office Manager
d. Create cards
Unpacking

Unpacking
9 - PayCon II
1. Unpack the PayCon or PayMatic and all accessories
2. Remove all packaging and foam
3. Check if there is any external damage to the PayCon
4. If there is damage, please contact your dealer
Mounting the PayCon
1. Use the instructions with the pillar (if you ordered a pillar,
otherwise go to 2) to construct the pillar
2. Use the instructions with the bracket to mount the PayCon on
the bracket and the bracket on the hardware, wall or pillar.
3. For detailed instructions use the instructions with the bracket or
contact your dealer

Quick Start
10
Connecting the PayCon
a. Power cable
Direct current (DC) connection f or
use with the adaptor
Alternating Current (AC)
connection f or use with(in) a
v ending machine
1. Check if the cable is connected to the PayCon
2. Connect the other end to the power outlet
The AC and DC connectors may never be used at the same
time!

Connecting the PayCon
11 - PayCon II
b. Network cable
RJ-45 Network connector
JST Network Connector
1. Check if the network cable is connected to the PayCon, if it isn't
plug it in the RJ-45 or JST connector
2. Connect the other end to a network outlet
The JST and RJ-45 connectors can not be used at the same
time! When you use the PayCon switch, it is connected to the JST
port, so do not use the RJ-45 connector in combination with the
PayCon switch.
c. Cables
Copier, MDF
To connect a copier or MDF to the PayCon use the following
instructions:

Quick Start
12
4-pins 'COPY OUT' connector
10-pins 'COPY IN' connector
Most of copiers we support are connected in the same manner:
1. Connect the large 10-pin connector to “COPY_IN”
2. Connect the 4-pin connector to “COPY_OUT”
If your cables do not match or fit, or if you have any doubts if the
copier you are connecting uses the same connection as described
in this section, do not connect the cables and look up the
information in our technical manual or the copier database or contact
your dealer for more information.

Setting up the PayCon
13 - PayCon II
Setting up the PayCon
a. Local time zone
1. Check if the time and date are correct
2. Set the time zone to your local time zone by
picking a time zone from the list
3. Leave the menu by pressing [Stop] several
times until you see the 'Welcome Payment
please' message on your display.
b. Card Purses / Terminal Accounts / Server Accounts
The user's money will be stored on either the
card, the terminal or the server.
The generic settings will effect all three storage places.
Table of contents
Other Inepro Card Reader manuals

Inepro
Inepro SCR808 User manual

Inepro
Inepro IP Card Reader User manual

Inepro
Inepro IP Card Reader User manual

Inepro
Inepro Biometric Fingerprint User manual

Inepro
Inepro SCR708 User manual

Inepro
Inepro 276001 User manual

Inepro
Inepro IP Card Reader User manual

Inepro
Inepro Spider RFID Reader User manual

Inepro
Inepro MK II User manual

Inepro
Inepro Reader Bracket for MFP User manual