infaco v5000p3AF User manual

3
PW3, a multi-function handle 4
Compatible tools 5
Precautions before use 6
Personal protection equipment 6
Protection of the environment 6
General product view 7
Specifications 7
Compatible batteries 8
User guide 9
Speed adjustment 17
Tool gap adjustment 18
Precautions for use and safety 19
Servicing and maintenance 20
Safety instruction 23
Warranty conditions 24
Advice 25
Troubleshooting 26
Technical information 29
Contents EN

54
PW3
+ TR9
PW3
+ SC160P3
PW3
+ THD600P3
PW3
+ THD700P3
PW3
+ PWMP3
+ PWP36RB
PW3
+V5000P3ET
PW3
+V5000P3AF
PW3
+V5000P3EF
PW3
+ PW930P3
+ TR9
PW3
+ PW930P3
+SC160P3
PW3
+ PW930P3
+ THD700P3
PW3
+ PW930P3
+ THD600P3
Compatible tools
PW3
+ PS1P3 (sarclage)
PW3
+EP1700P3
PW3
+EC1700P3
PW3
+ PB100P3 (hoeing)
+PB150P3 (hoeing)
+PB220P3 (hoeing)
+PN370P3 (sweeping)
Pole tools
Hand tools
PW3, a multi-function handle
rEfErence description
THD600P3 Double hedge-trimmer, blade length 600mm.
THD700P3 Double hedge-trimmer, blade length 700mm.
TR9 Arborists chainsaw, maximum cutting capacity Ø150mm.
SC160P3 Saw head, max cutting capacity Ø100mm.
PW930p3 Carbon extension, length 930mm.
Pw1830p3 Carbon extension, length 1830mm.
PWT1650p3 Carbon extension, length 1650mm.
Ps1p3 Fixed tying pole 1480mm.
PB100P3 Fixed hoe pole 1430mm Cutting head Ø100mm.
PB150P3 Fixed hoe pole 1430mm Cutting head Ø150mm.
PB220P3 Fixed hoe pole 1430mm Cutting head Ø200mm.
PN370P3 Fixed sweeping pole 1430mm Brush Ø370mm.
PWMP3 + PWP36RB De-cankering tool (mill diameter 36mm)
PWMP3 + PWP25RB De-cankering tool (file diameter 25 mm)
EP1700P3 Desuckering tool (telescopic pole 1200mm to 1600mm).
EC1700P3 Blossom thinner (telescopic pole 1500mm to 1900mm).
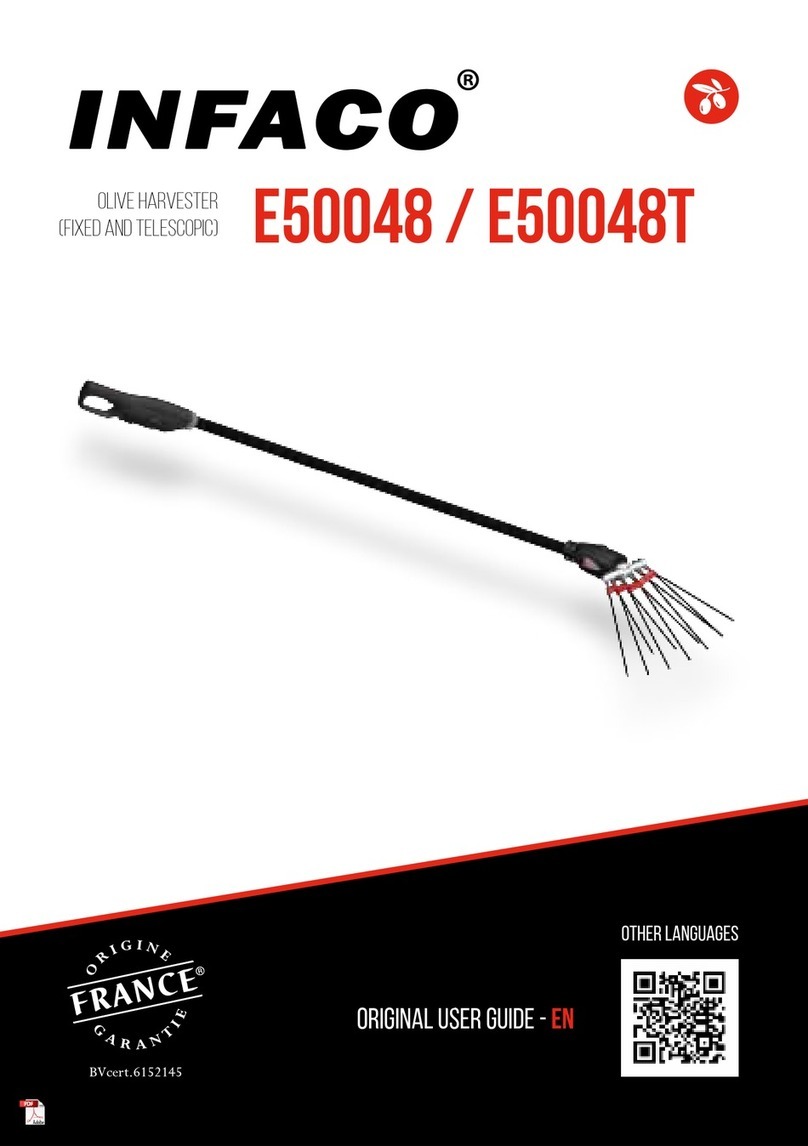
V5000p3ef Olive harvester (fixed pole 2500mm).
v5000p3et Olive harvester (telescopic pole 2200mm to 2800mm).
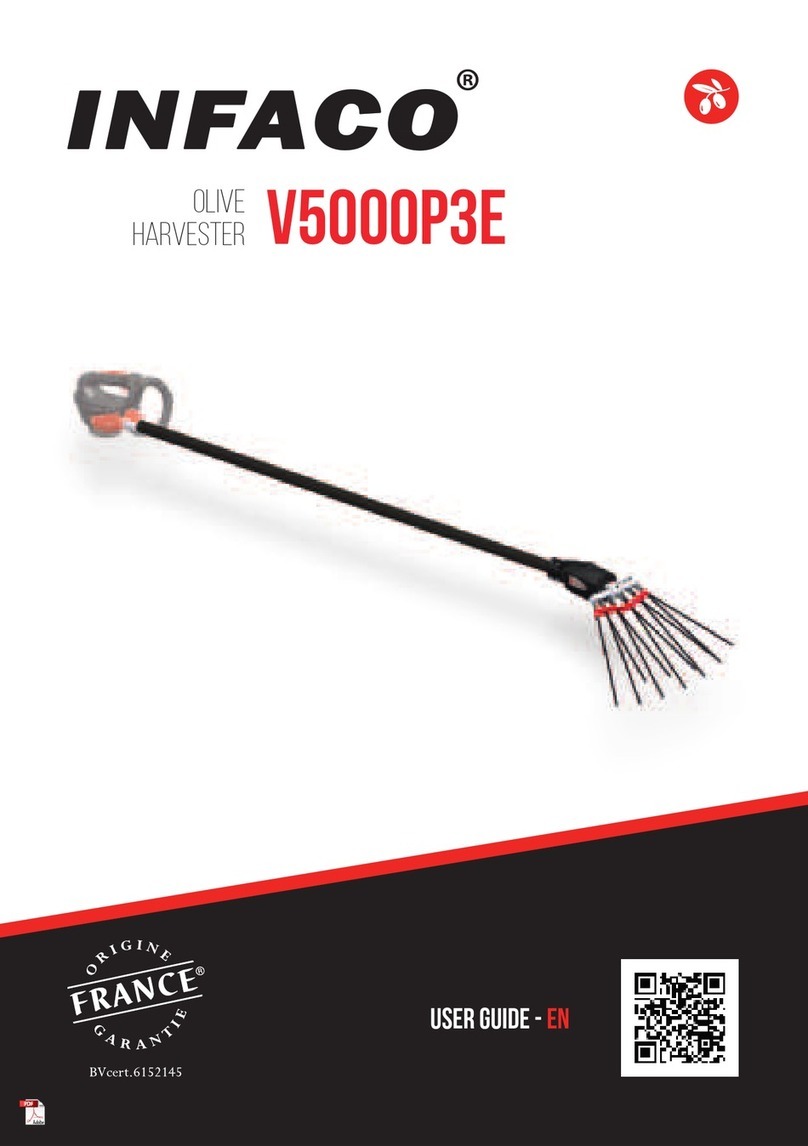
v5000p3AF Alternative olive harvester (fixed pole 2250mm)

76
Box contents
2Comb supports
10 rods
Manual
Precautions before use
Protection of the environment
Read the instructions for use carefully, especially the safety instructions.
The wearing of a hard hat, eye and ear protection is MANDATORY
Hand protection using cut-prevention work gloves.
Foot protection using safety footwear.
Face protection using a visor
Body protection, using cut protection overalls.
IMPORTANT! Extensions can be made of conductive materials. Do not use near
sources of electricity or electric wires
IMPORTANT! Do not approach any part of the body to the blade. Do not remove
the cut material or hold the material to be cut while the blades are moving.
WARNING. Read all the safety warnings and all the instructions. Failing to
heed warnings and follow instructions may lead to an electric shock, a fire and/or
serious injury.
Keep all warnings and instructions for future reference. The term “tools” in the war-
nings refers to your battery powered electric tool (with power cord), or your tool operating
on a battery (without power cord).
Observe all country-specific waste disposal rules and regulations.
>Power tools must not be disposed of with household refuse.
>The device, accessories and packaging must be taken to a recycling centre.
>Ask the approved INFACO dealer for up-to-date information on the eco-
compatible elimination of waste.
Personal protection equipment
Reference v5000p3AF
Rated power supply 48VDC
Max power 960W
Weight 3200g
Length 2.25m
Speed 1040 beats / minute
These specifications are given as an indication only. Under no circumstances may they be considered as
contractually binding. They are subject to modification without prior notice in the interests of product
development.
Patented equipment
General product view
Specifications
Pole
Vibrating head
Left comb
Right comb

98
Ref : E710
First use
The first time you use the equipment, we strongly recommend you to ask the advice of your
dealer, who is qualified to give you all the advice you need for correct use and optimum
performance. It is imperative to carefully read the device and accessory user manuals before
handling or connecting the device.
Fitting the comb
VPlease ask your dealer for advice on fitting the comb.
Incorrect assembly can cause wear on the comb or rods
User guide
The use of the INFACO (E710) screwdriver when tightening is strongly recommended
to avoid damaging the tightening tips.
Compatible batteries
120Wh battery
831B
Cable compatibility
825S
500Wh battery
L810B
Cable compatibility
PW225S
150Wh battery
731B
Cable compatibility
PW225S (requires fuse
replacement by 539F20).
820Wh battery
L850B
Cable compatibility
L856CC

1110
xx44
Left comb assembly: Right comb assembly
xx44

1312
Comb assembly:
WASHER
Ref : E712
Ref : CLE13COUNTER FORCE
WASHER
COUNTER FORCE

1514
Installation and connection
Only use INFACO brand batteries with a 48 Volt power supply.
Any use with batteries other than INFACO batteries may lead to damage. The
warranty on the motorized handle will be void if batteries other than those
manufactured by INFACO are used.
In wet weather, it is imperative to carry the battery belt under waterproof clothing
to keep the battery unit protected from the rain.
Using the machine
> Fit the harvester onto the handle
FAILSAFE
> Tighten the wing nut
> Connect the power cable

1716
22
> First power up & Exit from standby mode
2 short presses on the trigger ON
> Connect the battery
> 2 start-up modes
1 short press on the trigger = ON
1 short press on the trigger = OFF
1 long press on the trigger = ON
Release the trigger = OFF
Speed adjustment
10 speed settings configurable
> When powering on
Short presses to access the ten settings (1 press = 1 setting )
Press until the machine stops to validate.
> Required speed is selected using successive short trigger presses.
There are 10 available speed settings.
> Validate the required speed and exit adjustment mode by pressing the trigger until the
machine stops.
The machine is ready to run, the speed will be memorised until the next adjustment. The
machine is fitted with an electronic protection. Whenever the comb encounters too much
resistance, the electronics cut the motor.
> To switch to speed adjustment mode, press
the trigger until the machine starts

1918
No movements
Presence of movements
GAP OK
ADJUST THE GAP
It is imperative to disconnect the machine.
Tool gap adjustment
The tool is fitted with an electronic protection system. As soon as the tool jams due to
excessive resistance, the electronic system stops the motor. Restart the tool: see the “User
manual” section.
We also advise keeping the tool’s protective packaging for possible returns to factory
customer service.
For the transport, storage, servicing, maintenance of the tool, or any other
operations not related to tool function operations, it is imperative to disconnect
the device.
Disconnect
before transport
and storage
Disconnect
before transport
and storage
Precautions for use and safety

2120
Servicing and maintenance
All servicing and maintenance operations must be
carried out with the tool disconnected from all power
sources:
Adapt the servicing frequencies to your tool use.
Occasional use, space out the frequency. Intensive use,
increase the frequency.
Before starting work
At the end of the day
Each time the battery is charged
Once per week
Once per month
Once per year
In the event of damage
In the event of a malfunction
When necessary
Complete machine
Visual inspection of its
condition
Cleaning
Inspection by the dealer
Comb fixing Inspection
Accessory assembly
Cleaning and lubrication
Gap check
Adjust the gap
Carbon rod
Visual inspection of its
condition
Cleaning
Replacement
Vibrating head
Gap check
Lubrication
Inspection by the dealer
Power cord Visual inspection of its
condition
Battery Visual inspection of its
condition
Vest Visual inspection of its
condition
Handle Visual inspection of its
condition
Grease reference
class 2
Greasing
Generously grease the vibrating head at least once every day, in the morning before starting
work. Use NLGI class 2 grade type grease
> Unscrew the screws
> Grease through the conical hole

2322
Lubricate at least
once per week
> Re-tighten the screw when greasing is OK
> Handle + tip greasing
IMPORTANT. To reduce the risk of electric discharges, injuries and fire when using electric
tools, follow the fundamental safety measures indicated below. Read and follow these
instructions before using the tool, and keep the safety instructions!
Outside operations related to the use of the tool, your tool and its accessories must
be disconnected and stored in their relevant packaging.
It is imperative to disconnect your tool from all power sources for the following
operations:
- Servicing.
- Battery charging.
- Maintenance.
- Transport.
- Storage.
When the tool is running, always remember to keep the hands away from the accessory head
being used. Do not work with the tool if you are tired or feeling unwell. Wear the specific
recommended personal protection equipment for each accessory. Keep the equipment out
of the reach of children or visitors.
Do not use the tool if there is a risk of fire or explosions, for example in presence of
flammable liquids or gases.
Never carry the charger by the cord, and do not pull on the cord to disconnect it from the
socket.
Keep the cord away from heat, oil and sharp edges.
Never use the tool at night or in bad light without setting up additional lighting. When using
the tool, keep both feet on the ground and keep as much balance as possible.
Caution: extensions can be made of conductive materials. Do not use near sources
of electricity or electric wires.
Safety instruction

2524
Your tool has a two year warranty for manufacturing defects or faults.
The warranty applies to the normal use of the tool and does not cover:
- damage due to poor maintenance or lack of maintenance,
- damage due to incorrect use,
- wear parts,
- tools that have been taken apart by unauthorised repairers,
- external factors (fire, flood, lightning, etc.),
- impacts and their consequences,
- ltools used with a battery or charger other than those of the INFACO brand.
The warranty is only applicable when the warranty has been registered with INFACO
(warranty card or online declaration on www.infaco.com).
If the warranty declaration was not made when the tool was purchased, the factory
departure date will be used as the warranty start date.
The warranty covers factory labour but not necessarily dealer labour. The repair
or replacement during the warranty period does not extend or renew the initial
warranty.
All failings regarding the storage and safety instructions will void the manufacturer’s warranty.
The warranty cannot entitle to compensation for:
The possible immobilisation of the tool during repairs.
All work carried out by a person other than approved INFACO agents will cancel the tool
warranty.
The repair or replacement during the warranty period does not extend or renew the initial
warranty.
We strongly recommend INFACO tool users to contact the dealer that sold them the tool in
the event of a failure.
To avoid all disputes, please note the following procedure:
- Tool still under warranty, send it to us carriage paid and we will pay the
return.
- Tool no longer under warranty, send it to us carriage paid and the return
will be at your expense by cash on delivery. If the cost of the repair were to
exceed € 80 excluding VAT, you will be supplied with a quote.
Warranty conditions
Keep your work area tidy. Clutter in work areas increases risks of accidents.
Take into account the work zone. Do not expose electric tools to rain. Do not use electric
tools in a damp or wet environment. Make sure the work area is properly lit. Do not use
electric tools near inflammable liquids or gases.
Protect yourself from electric shocks. Avoid bodily contact with surfaces connected to the
earth, such as battery chargers, electric multi-plugs, etc.
Keep away from children! Do not allow third parties to touch the tool or cable. Keep them
away from your work area.
Store your tools in a safe location. When not in use, tools must be stored in a dry, locked
location in their original packaging and out of the reach of children.
Wear suitable work clothing. Do not wear loose-fitting clothing or jewellery. It could be
caught up in moving parts. When working in the open air, wearing rubber gloves and non-
slip sole footwear is recommended. If your hair is long, wear a hair net.
Wear protective eye-wear. Also wear a mask if the work being carried out generates dust.
Protect the power cord. Do not carry the tool using its cord and do not pull on the cord to
disconnect it from the socket. Protect the cord from heat, oil and sharp edges.
Maintain your tools carefully. Regularly check the plug and power cord condition and,
if they are damaged, have them replaced by a recognised specialist. Keep your tool dry and
free of oil.
Remove the tool keys. Before starting the machine, make sure the keys and adjustment
tools have been removed.
Check your tool for damage. Before reusing the tool, carefully check that the safety
systems or slightly damaged parts are in perfect working order.
Have your tool repaired by a specialist. This tool is compliant with applicable safety
rules. All repairs must be carried out by a specialist and only using original parts, failure to do
so could result in serious risks to user safety.
Advice

2726
Disruptions Causes Solutions
Significant abnormal
vibrations
Incorrect comb assembly
Refit the comb by following the
procedure and contact the dealer if
necessary.
Incorrect comb tightening Re-tighten the comb by following
the procedure.
Incorrect rod tightening Re-tighten the rods by following
the procedure.
Comb wear
Check that one of the combs is not
loose or damaged, and contact the
dealer if necessary.
Defective tool detection Contact your dealer.
Broken carbon rod Wear Replace the broken and/or worn
rod.
Noise in the extension Extension guide damaged Contact your dealer.
The machine will not start
Battery discharged
red steady Recharge the battery.
No power supply Re-connect the machine.
Other Contact your dealer.
Unexpected machine
stoppages
Too strong a pulse
Mechanical jam
red flashing
Change the work method or ask
your dealer for advice. Restart by
pressing the trigger once.
Battery discharged
red steady Recharge the battery.
Troubleshooting
27
Dealer part
Part to be kept by the dealer.
Serial number > ............................................. Ref > .......................................................
Name > ............................................................................................................................
First name > .....................................................................................................................
Company name > ............................................................................................................
Full address > ...................................................................................................................
.........................................................................................................................................
City > ...............................................................................................................................
Postcode > .....................................................
Phone number > ............................................
Purchase date > ............ / ............ / ..............
Remarks > ......................................................
To be returned to infaco
To validate the warranty, REGISTER IMMEDIATELY ONLINE ON :
www.infaco.com, your warranty declaration or send this form filled out
IN BLOCK CAPITALS AS SOON AS THE TOOL IS PURCHASED.
Name > .......................................................... Prénom > ................................................
Company name> .............................................................................................................
Full address > ...................................................................................................................
.........................................................................................................................................
City > ............................................................. Postcode > ..............................................
Phone number > ............................................
Email > ..........................................................
Purchase date > ............ / ............ / ..............
Serial number
>
- Ref > ..................................
Remarks > ......................................................
customer signature
Dealer’s stamp
Orchards
Oil production
Vine growing Parks & gardens

28
Manufacturer > INFACO S.A.S. - 81140 CAHUZAC-SUR-VÈRE (FRANCE)
Type > POWERCOUP PW3 V5000
Ref > V5000P3AF
Weight > 3200 g
Maximum power > 860W
Battery rated voltage > 48 Volts
These specifications are given as an indication only. Under no circumstances may they be
considered as contractually binding.They are subject to modification without prior notice in
the interests of product development.
Technical information
or customer service
INFACO S.A.S.
Bois de Roziès
81140 CAHUZAC-SUR VERE France
Phone: (+33) 05 63 33 91 49 - Fax: (+33) 05 63 33 95 57
Email: [email protected]
Technical videos available on the website: www.infaco.com
Serial number
To be kept by the dealer
for the customer
file
customer file
dealer
equipment manufactured
in france
Table of contents
Other infaco Lawn And Garden Equipment manuals
infaco
infaco V5000P3E User manual

infaco
infaco E50048 User manual
infaco
infaco ELECTRO'LIV E5000 User manual

infaco
infaco P9T120B User manual

infaco
infaco AT1000 User manual

infaco
infaco Powercoup PW2 User manual

infaco
infaco E500012V2 User manual

infaco
infaco E500 User manual

infaco
infaco electro'flor User manual
Popular Lawn And Garden Equipment manuals by other brands

Coopers of Stortford
Coopers of Stortford 9489 instructions

Gardena
Gardena T 1030 1805 operating instructions

SNOWJOE
SNOWJOE Aquajoe AJHN100-2PK quick start guide

Espina
Espina XTP115 instruction manual

red roo
red roo CMS80 Series Safety precautions and operating instructions

Fimco
Fimco BK-120 owner's manual