manuals.online logo
Brands
  1. Home
  2. •
  3. Brands
  4. •
  5. Ingersoll-Rand
  6. •
  7. Lock
  8. •
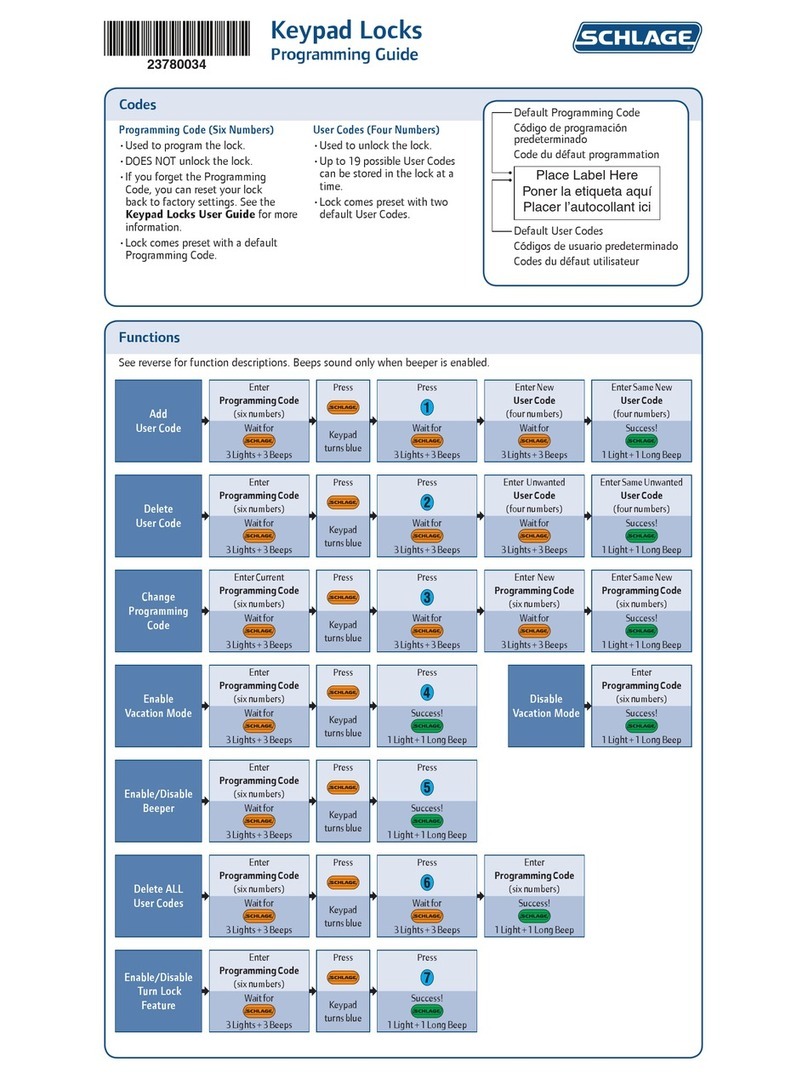
  9. Ingersoll-Rand Schlage e.PRIMUS Le Series Quick start guide

Ingersoll-Rand Schlage e.PRIMUS Le Series Quick start guide

Other Ingersoll-Rand Lock manuals

Ingersoll-Rand VON DURPIN GUARD-X Series User manual

Ingersoll-Rand

Ingersoll-Rand VON DURPIN GUARD-X Series User manual

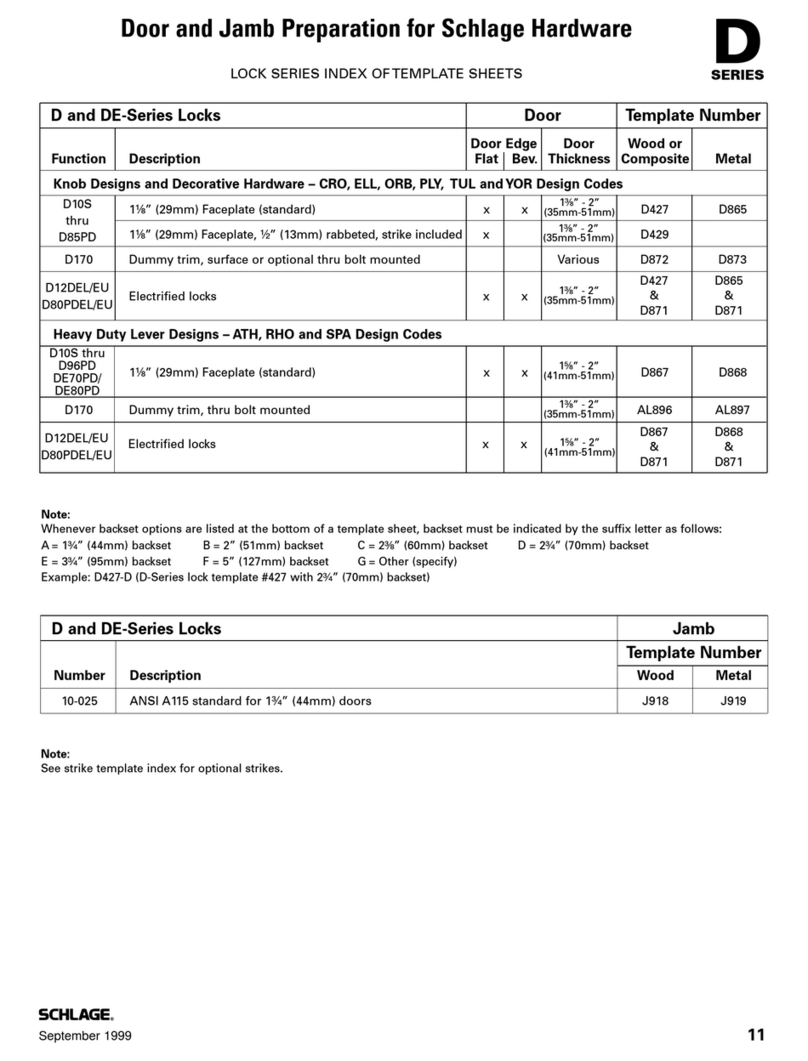
Ingersoll-Rand D Series User manual

Ingersoll-Rand

Ingersoll-Rand D Series User manual

Ingersoll-Rand Schlage Camelot FE365-CAM-GEO Operating instructions

Ingersoll-Rand

Ingersoll-Rand Schlage Camelot FE365-CAM-GEO Operating instructions

Ingersoll-Rand Schlage LiNK FE599 User manual

Ingersoll-Rand

Ingersoll-Rand Schlage LiNK FE599 User manual

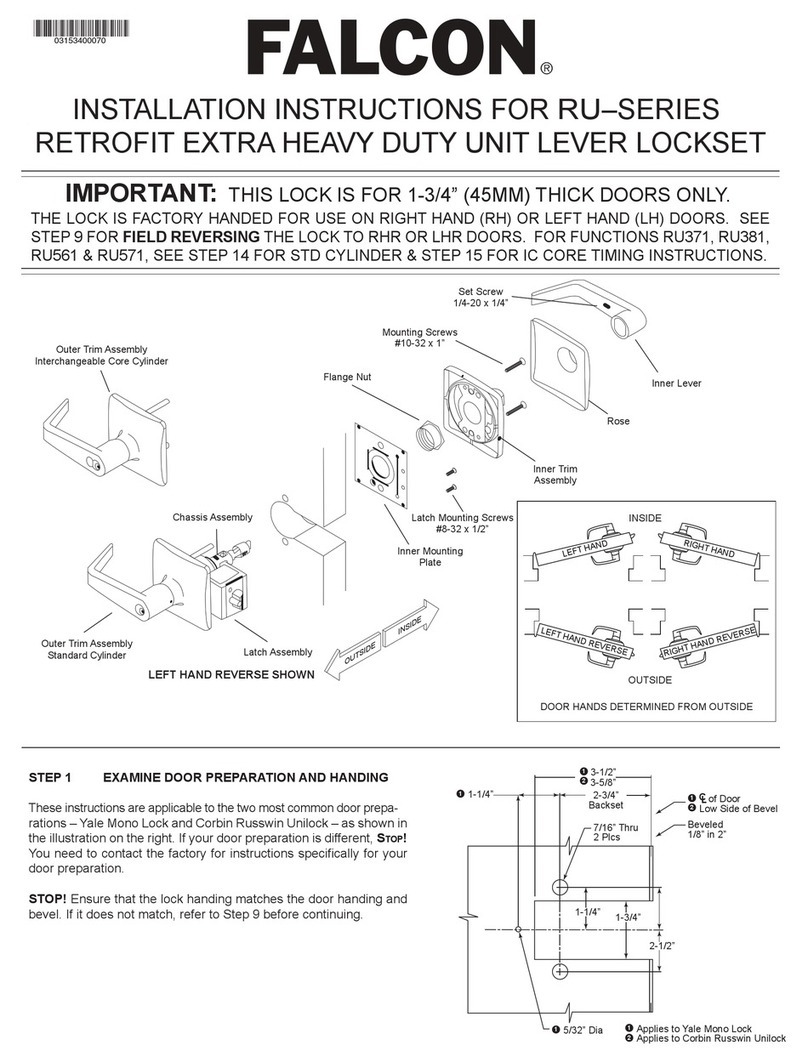
Ingersoll-Rand Falcon RU Series User manual

Ingersoll-Rand

Ingersoll-Rand Falcon RU Series User manual

Ingersoll-Rand Schlage ND Series User manual

Ingersoll-Rand

Ingersoll-Rand Schlage ND Series User manual

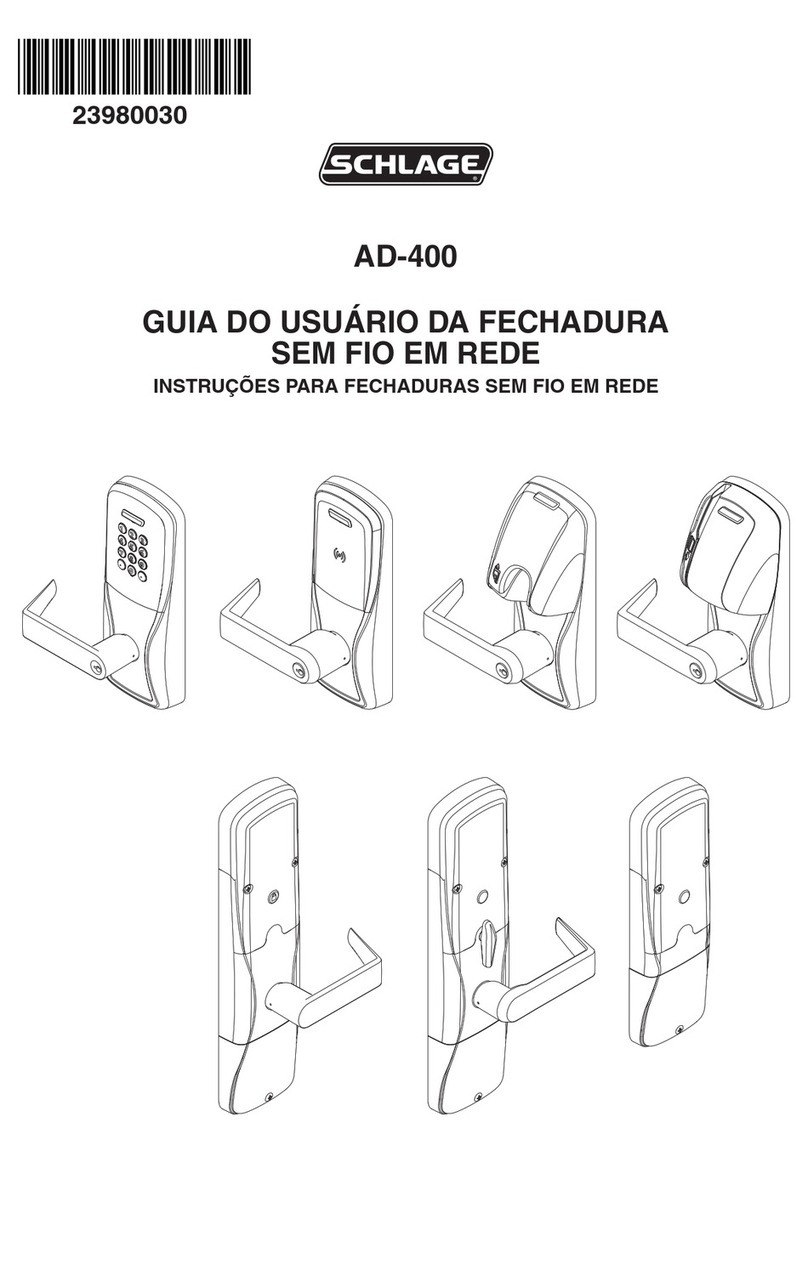
Ingersoll-Rand Schlage AD-400 User manual

Ingersoll-Rand

Ingersoll-Rand Schlage AD-400 User manual

Ingersoll-Rand SCHLAGE Everest User manual

Ingersoll-Rand

Ingersoll-Rand SCHLAGE Everest User manual

Popular Lock manuals by other brands

Magic 105 manual

Magic

Magic 105 manual

Gantner GAT NET.Lock 7020 System Installation, configuration & operation

Gantner

Gantner GAT NET.Lock 7020 System Installation, configuration & operation

Dorma Studio Classic Installation instruction

Dorma

Dorma Studio Classic Installation instruction

Securam ECSL-601 quick start guide

Securam

Securam ECSL-601 quick start guide

Sudhaus 3003 operating manual

Sudhaus

Sudhaus 3003 operating manual

Safety 1st 48517 user guide

Safety 1st

Safety 1st 48517 user guide

Pado FDS-10 user manual

Pado

Pado FDS-10 user manual

Esco systeQ Series installation instructions

Esco

Esco systeQ Series installation instructions

COMPX National D8951 instruction sheet

COMPX

COMPX National D8951 instruction sheet

secureo Key Box instruction manual

secureo

secureo Key Box instruction manual

Stock Loks C8713 instruction sheet

Stock Loks

Stock Loks C8713 instruction sheet

COMPX 1T-058 Information

COMPX

COMPX 1T-058 Information

Auslock T11 user manual

Auslock

Auslock T11 user manual

Stealth SAFES ShadowVault Instructions & Troubleshooting

Stealth SAFES

Stealth SAFES ShadowVault Instructions & Troubleshooting

Knox KeySecure 5 Admin & user guide

Knox

Knox KeySecure 5 Admin & user guide

Kwikset 48334/01 Quick installation guide

Kwikset

Kwikset 48334/01 Quick installation guide

Metra Electronics Door Access Terminal Combo Technical manual

Metra Electronics

Metra Electronics Door Access Terminal Combo Technical manual

Kilitronik miniK10m operating manual

Kilitronik

Kilitronik miniK10m operating manual

manuals.online logo
manuals.online logoBrands
  • About & Mission
  • Contact us
  • Privacy Policy
  • Terms and Conditions

Copyright 2025 Manuals.Online. All Rights Reserved.

Upgrade Instructions
e.PRIMUS®Le-Series
Heavy Duty Mortise Lock
Tools Required
For Lock Installation
Phillips screwdriver
Spanner wrench
Tamper resistant screw tool (if required)
ESD wrist strap
Small flat-head screwdriver (optional)
IMPORTANT: This procedure is to be performed by
authorized personnel only.
CAUTION: After the inside escutcheon screws are removed,
the escutcheon will become loose. DO NOT allow the
electronics escutcheon to hang by theY-cable. Hold the
escutcheon to ensure the wires are not pulled.
1. Remove INSIDE LEVER and ESCUTCHEON
SCREWS.
a. Using a spanner wrench, loosen the lever bushing
and remove the lever from the inside escutcheon.
b. Using a Phillips screwdriver, remove the two (2)
escutcheon screws.
2. Disconnect the Y-CABLE.
Disconnect the motor and target wires from the Y-cable by
grasping the wire connectors and NOT the actual wires. If
the wires are not easily separated, use the tip of a small,
flat-head screwdriver to release the connector snaps.
3. Remove the four (4) AA BATTERIES
4. Remove ELECTRONICS COVER.
a. Place the tip of a small, flat-head screwdriver into the
battery cover slot.
b. Twist the screwdriver to release the side clips.
Y-Cable
Remove Inside Trim
1
Electronics Cover
Slot
S
C
H
L
A
G
E
S
C
HL
A
GE
IMPORTANT: DO NOT handle the circuit board
unless you are wearing the wrist strap included in the
kit.
1. Attach WRIST STRAP.
Follow the instructions included with the wrist strap.
2. Insert MEMORY BUTTON(s).
3. Perform a J2 MASTER CLEAR.
a. Touch the tip of a screwdriver against both the J2-1
and the J2-2 pins. Listen for a single beep.
b. Once you hear a single beep, remove the screwdriver
and listen for a double beep. The double beep means
that the master clear is complete.
1. Install FOUR (4) AA BATTERIES and replace
ELECTRONICS COVER.
NOTE: Ensure proper polarity when installing batteries.
Check the battery contacts and make sure they are
touching both ends of the battery.
2. Reconnect TARGET and MOTOR wires to the
Y-cable.
a. Connect the target wire (violet wire) to the violet side
of the Y-cable.
b. Connect the motor wire (red wire) to the red side of
the Y-cable.
CAUTION: Make sure that wires are not pinched during
installation of screws.
3. Insert and tighten the two (2) ESCUTCHEON
SCREWS.
3. Test LOCK for proper operation.
a. Touch the BLUE test key to the touch receptor.
b. Check lever for correct lock operation.
4. Install INSIDE LEVER.
a. Insert lever onto spindle.
b. Using a spanner wrench, tighten bushing.
Upgrade Lock
2
Replace Inside Trim
3
Y-Cable
J2-1
J2-2
S
C
HL
A
GE
S
C
HL
A
GE
ESD Warning
©2001 Schlage Lock Company
Printed in U.S.A.
P512-024 Rev. 05/01