manuals.online logo
Brands
  1. Home
  2. •
  3. Brands
  4. •
  5. Ingersoll-Rand
  6. •
  7. Lock
  8. •
  9. Ingersoll-Rand VON DURPIN GUARD-X Series User manual

Ingersoll-Rand VON DURPIN GUARD-X Series User manual

Other Ingersoll-Rand Lock manuals

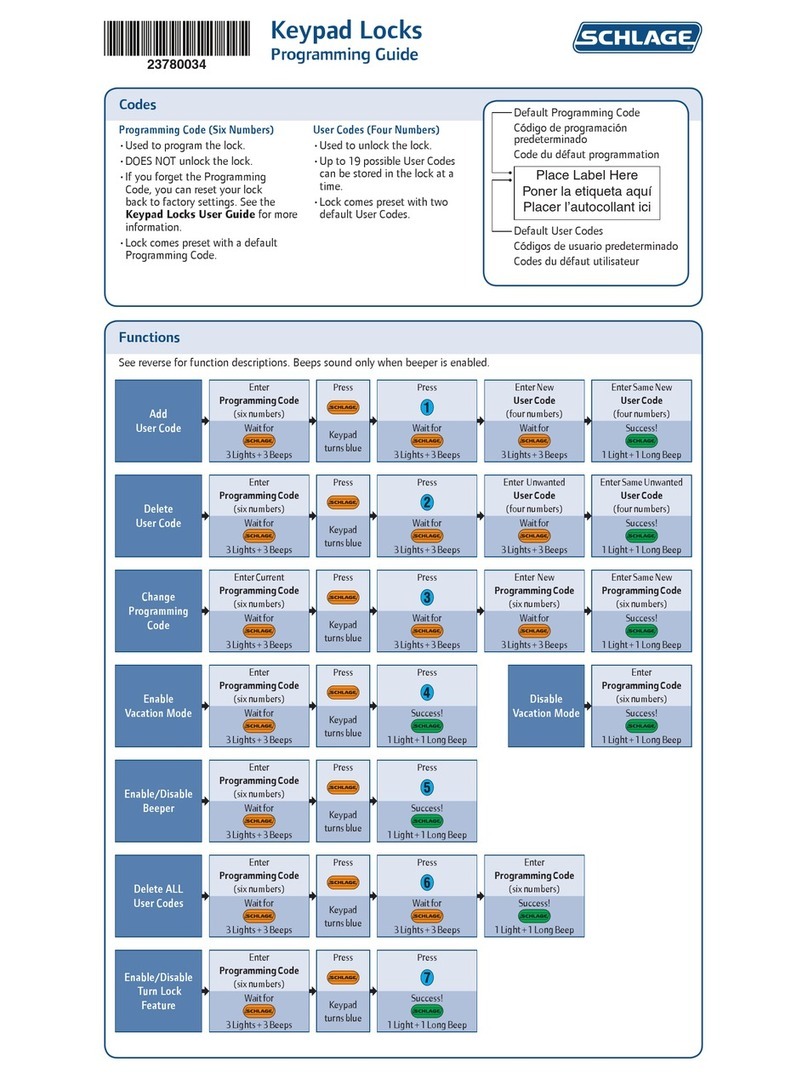
Ingersoll-Rand Schlage Camelot FE365-CAM-GEO Operating instructions

Ingersoll-Rand

Ingersoll-Rand Schlage Camelot FE365-CAM-GEO Operating instructions

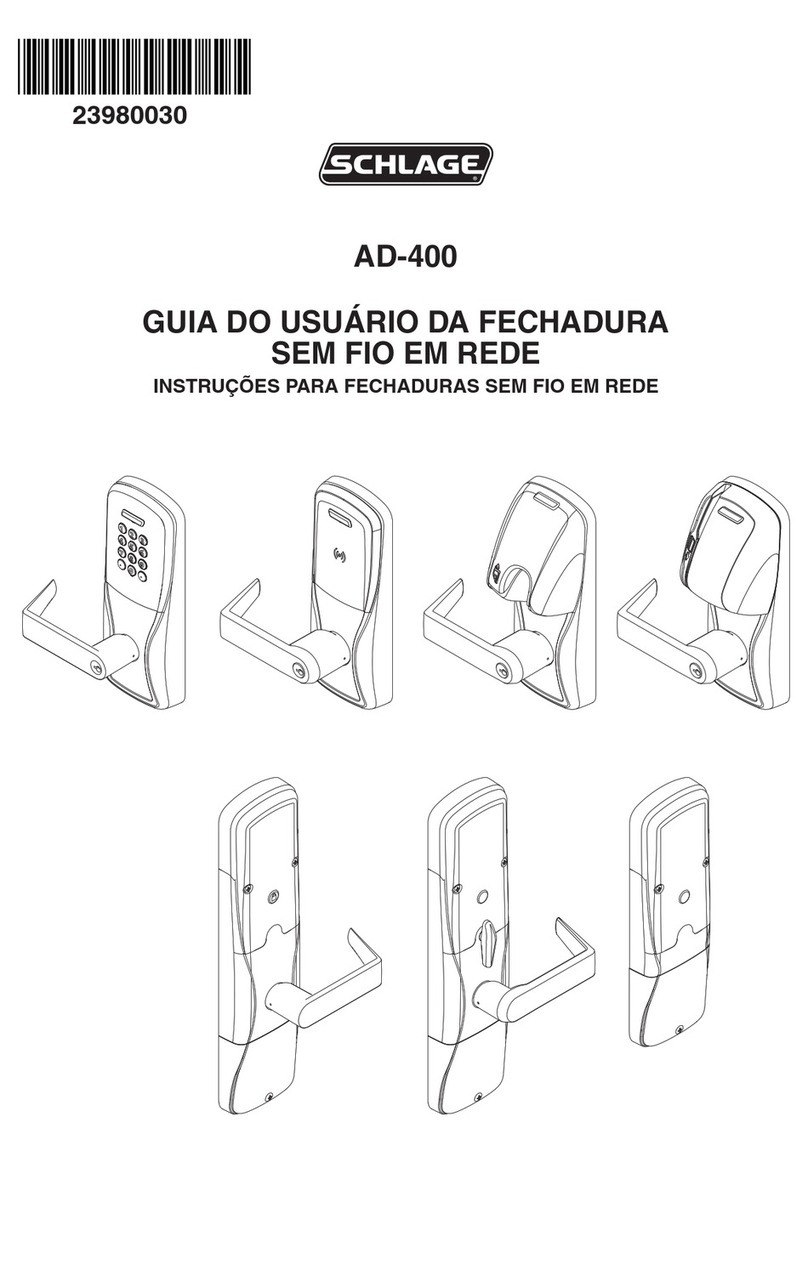
Ingersoll-Rand Schlage AD-400 User manual

Ingersoll-Rand

Ingersoll-Rand Schlage AD-400 User manual

Ingersoll-Rand Schlage e.PRIMUS Le Series Quick start guide

Ingersoll-Rand

Ingersoll-Rand Schlage e.PRIMUS Le Series Quick start guide

Ingersoll-Rand SCHLAGE Everest User manual

Ingersoll-Rand

Ingersoll-Rand SCHLAGE Everest User manual

Ingersoll-Rand Schlage LiNK FE599 User manual

Ingersoll-Rand

Ingersoll-Rand Schlage LiNK FE599 User manual

Ingersoll-Rand Schlage ND Series User manual

Ingersoll-Rand

Ingersoll-Rand Schlage ND Series User manual

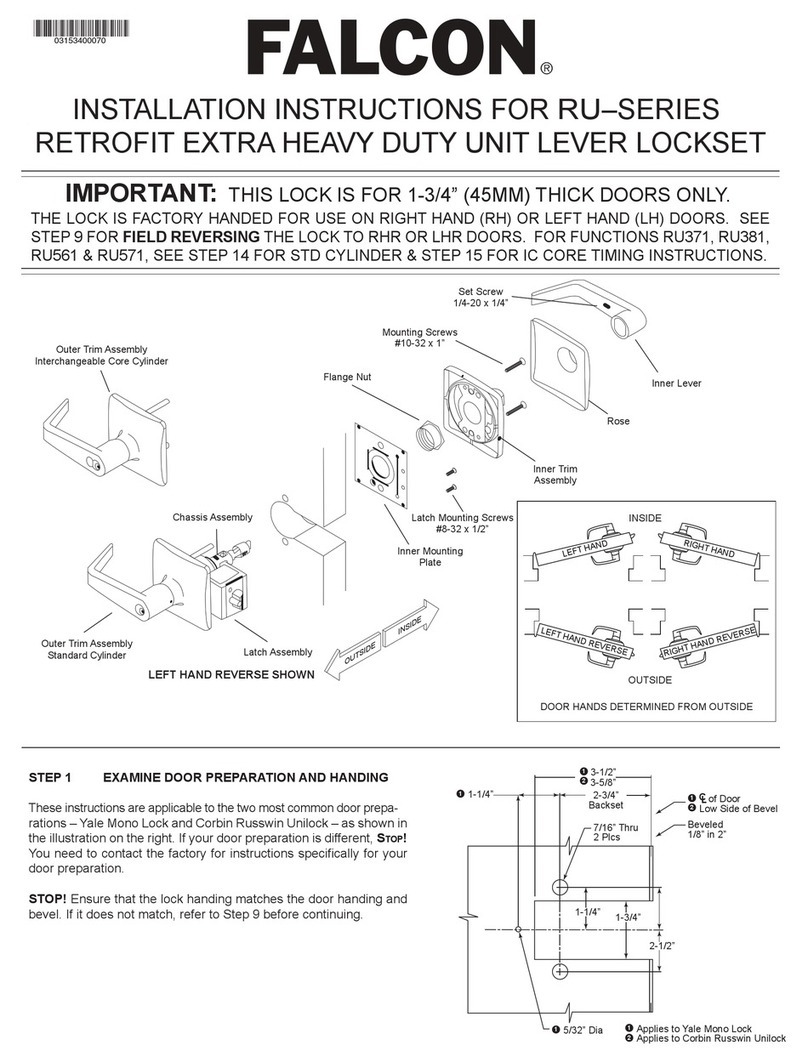
Ingersoll-Rand Falcon RU Series User manual

Ingersoll-Rand

Ingersoll-Rand Falcon RU Series User manual

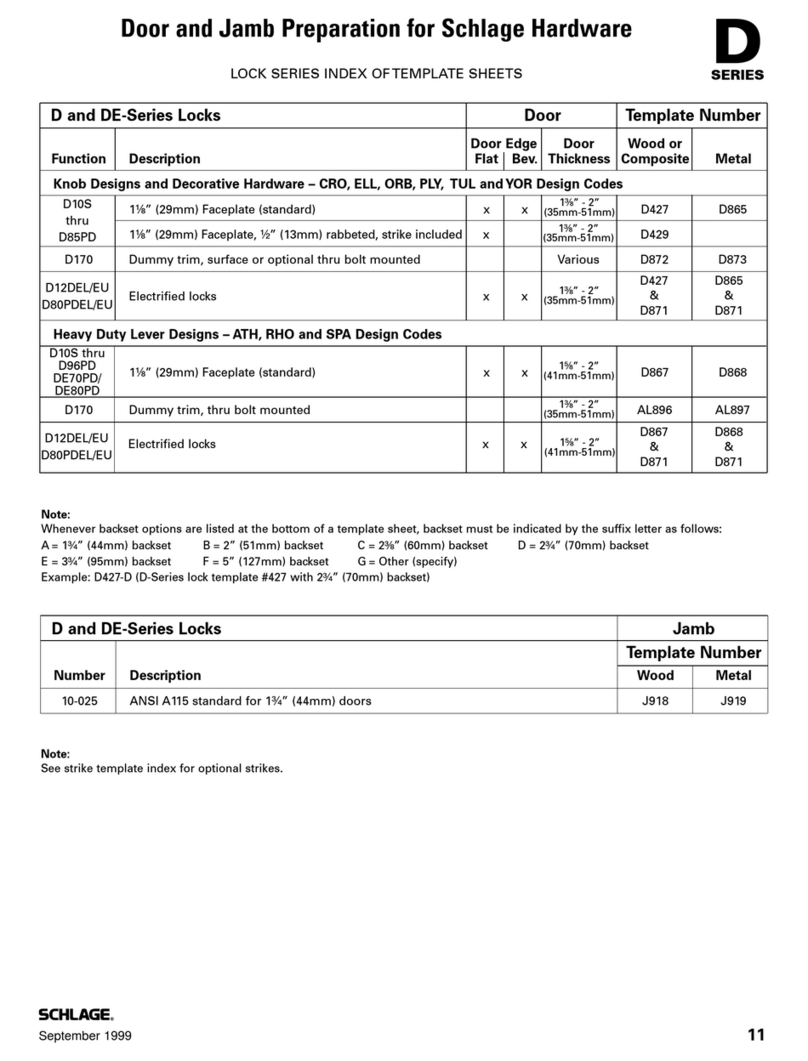
Ingersoll-Rand D Series User manual

Ingersoll-Rand

Ingersoll-Rand D Series User manual

Popular Lock manuals by other brands

Magic 105 manual

Magic

Magic 105 manual

Gantner GAT NET.Lock 7020 System Installation, configuration & operation

Gantner

Gantner GAT NET.Lock 7020 System Installation, configuration & operation

Dorma Studio Classic Installation instruction

Dorma

Dorma Studio Classic Installation instruction

Securam ECSL-601 quick start guide

Securam

Securam ECSL-601 quick start guide

Sudhaus 3003 operating manual

Sudhaus

Sudhaus 3003 operating manual

Safety 1st 48517 user guide

Safety 1st

Safety 1st 48517 user guide

Pado FDS-10 user manual

Pado

Pado FDS-10 user manual

Esco systeQ Series installation instructions

Esco

Esco systeQ Series installation instructions

COMPX National D8951 instruction sheet

COMPX

COMPX National D8951 instruction sheet

secureo Key Box instruction manual

secureo

secureo Key Box instruction manual

Stock Loks C8713 instruction sheet

Stock Loks

Stock Loks C8713 instruction sheet

COMPX 1T-058 Information

COMPX

COMPX 1T-058 Information

Auslock T11 user manual

Auslock

Auslock T11 user manual

Stealth SAFES ShadowVault Instructions & Troubleshooting

Stealth SAFES

Stealth SAFES ShadowVault Instructions & Troubleshooting

Knox KeySecure 5 Admin & user guide

Knox

Knox KeySecure 5 Admin & user guide

Kwikset 48334/01 Quick installation guide

Kwikset

Kwikset 48334/01 Quick installation guide

Metra Electronics Door Access Terminal Combo Technical manual

Metra Electronics

Metra Electronics Door Access Terminal Combo Technical manual

Kilitronik miniK10m operating manual

Kilitronik

Kilitronik miniK10m operating manual

manuals.online logo
manuals.online logoBrands
  • About & Mission
  • Contact us
  • Privacy Policy
  • Terms and Conditions

Copyright 2025 Manuals.Online. All Rights Reserved.

Exit Alarm Lock
PARTS LIST
Item Quantity Description
1 1 GUARD-X Exit Alarm Lock
2 1 Center case cover
3 2 10-16 x 1-1/2 flat head sheet metal screw
4 6 10-16 x 5/8 flat head sheet metal screw
5 1 Hinge side case cover
6 1 Signage insert
7 1 Strike shim
8 1 Single door strike
9 1 Double door strike
Item Quantity Description
10 1 Standard rim cylinder (required; not supplied)
11 1 Cylinder mounting bracket
12 2 Rim cylinder mounting screws
13 1 Cylinder tailpiece extension
14 1 10-16 x 5/8 pan head machine screw
15 1 12-24 x 3/4 pan head machine screw
16 1 Outside cylinder plate
17 1 9 volt battery
18 6 1/4-20 x 3/4 pan head machine screw and
6 1/4-14 x 1 pan head sheet metal screw
19 4 1/4-20 x 1 flat head machine screw and
4 1/4-14 x 1-1/4 flat head sheet metal screw
EMERGENCYEXIT ONLY
ALARM WILL SOUND
6
5
4
18
4
2
3
10
14 18
11
18
17
19
19 16
7
8
1
12
4
TM
15
13
19
9
911514_00(2)
Copyright © 2001 Ingersoll Rand Company.
All rights reserved.
*
*
*Supplied with single door strike
OR double door strike.
NOTE
!
Use long screws here to
provide tamper resistance.
Pinch points. Can cause injury when
pushpad is pressed with center case
cover removed. Keep clear.
WARNING
!
Test device as described below. If device fails any step, chec cross slot alignment (see Step 13 of
installation instructions) and battery installation (see Step 14 of installation instructions).
1. Close door and turn cylinder ey 360 degrees cloc wise. Dead bolt will extend and red light on
device will blin every 16 seconds indicating that device is armed.
2. Press pushpad to open door. Alarm will sound.
3. Close door. Turn cylinder ey 360 degrees cloc wise. Dead bolt will extend, alarm will stop,
and red light on device will blin every 16 seconds indicating that device is armed.
4. Turn cylinder ey 360 degrees countercloc wise to retract dead bolt. Red light on device will
stop blin ing indicating that device is not armed.
5. Press pushpad to open door. Alarm will not sound.
TESTING
OPERATION
BATTERY CONDITION
When the 9 volt battery in the device is running low, the device will emit a beep every 16 seconds.
When this occurs, remove the center case cover and change the battery. When changing the
battery, be careful of the pinch points (see Warning below).
When reinstalling the center case cover, be sure to use long screws where shown in the Parts List
(other side) for tamper resistance.
911514-00
nside Cylinder Outside Cylinder
Turning key Extends dead bolt, Retracts dead bolt
360 degrees stops sounding alarm, and disarms device
clockwise and arms device (red light is off)
(red light blinks every
16 seconds)
Turning key Retracts dead bolt Extends dead bolt,
360 degrees and disarms device stops sounding alarm,
counterclockwise (red light is off) and arms device
(red light blinks every
16 seconds)