CALEC®energy master installation and operating instructions 7
4 Pattern approval, versions, marking
4.1 Pattern approval and conformity assessment (Prot)
4.1.1 European conformity assessment for heating applications
For custody transfer, all three component parts of a combined energy calculator must have pattern
approval and a conformity assessment. The device with protective housing complies with Directive
2004/22/EC (Measurement Instruments Directive, MID). If the device is approved according to MID,
then the conformity assessment replaces the initial calibration, which is the normal procedure for de-
vices with national approval.
The parts of the CE marking have the following meaning:
CE M 08 0102 CE: CE marking
M 08: Metrology mark and year of manufacture
0102: Identification number of the named body that was involved in the confor-
mity assessment (0102: PTB Germany).
A facsimile of the declaration of conformity is shown in chapter 23.
Calibration-relevant data can be changed with an authorisation code. This will result in the
invalidation of the calibration, and the action will be entered in the calibration log.
4.1.2 National approval for air-conditioning applications
The device has also a national aaproval for custody transfer according to the german PTB K7.2, (ap-
proval no, 22.75/08.01) for:
•Thermal energy metering in air-conditioning applications
•Thermal enegy metering in combined heating and air-conditioning applications ( BDE function).
•
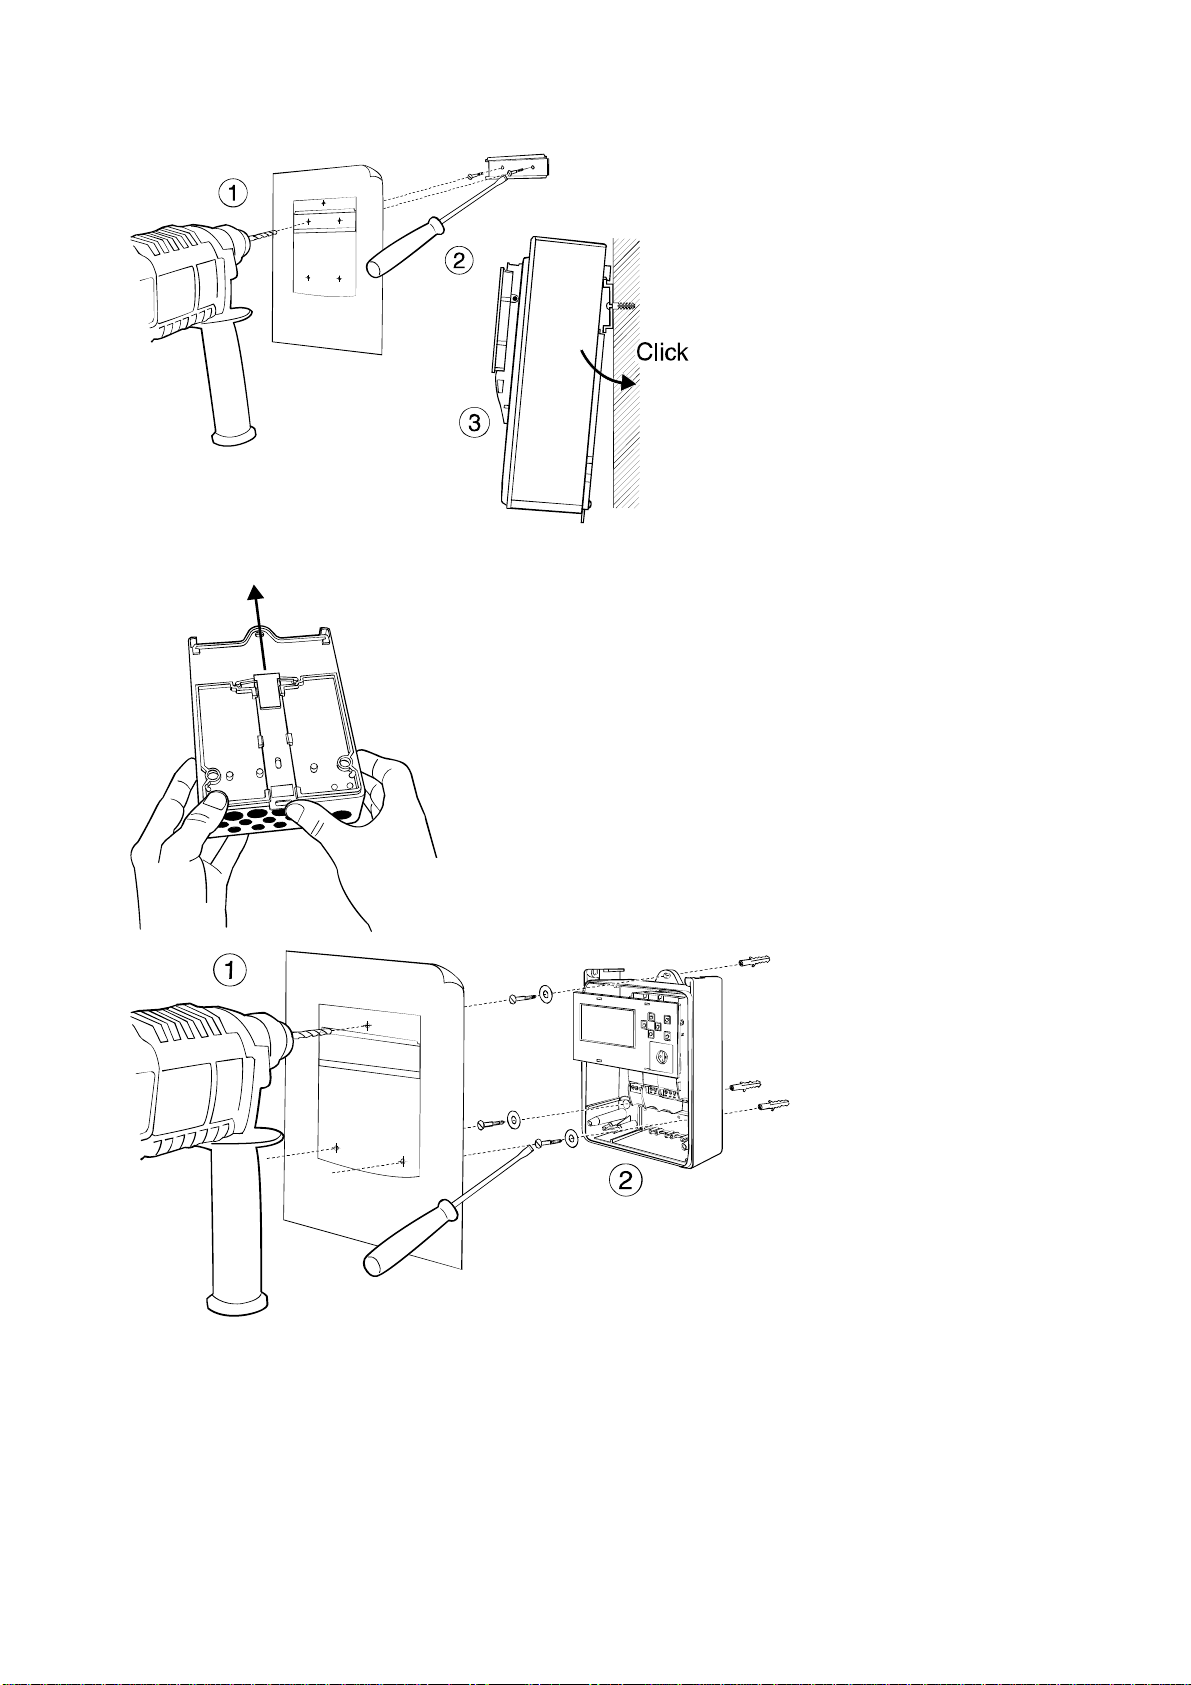
4.2 Device identification and labelling
A basic unit consists of a minimum of 4 modules:
•Power supply (24 VDC or 100-240 VAC)
•CPU module with the device-specific function and 2 signal inputs
•Input module with 2 inputs
•Display module
The device can be expanded with additional modules (separate order).
A device is clearly identified by the following details (example):
Art. No. Short text Firmware Version (FWV)
CPU module Hardware No. (HW_No.)
CPU module
94157 EM-101-Prot-AC[...I]C-T 1.00 1234567
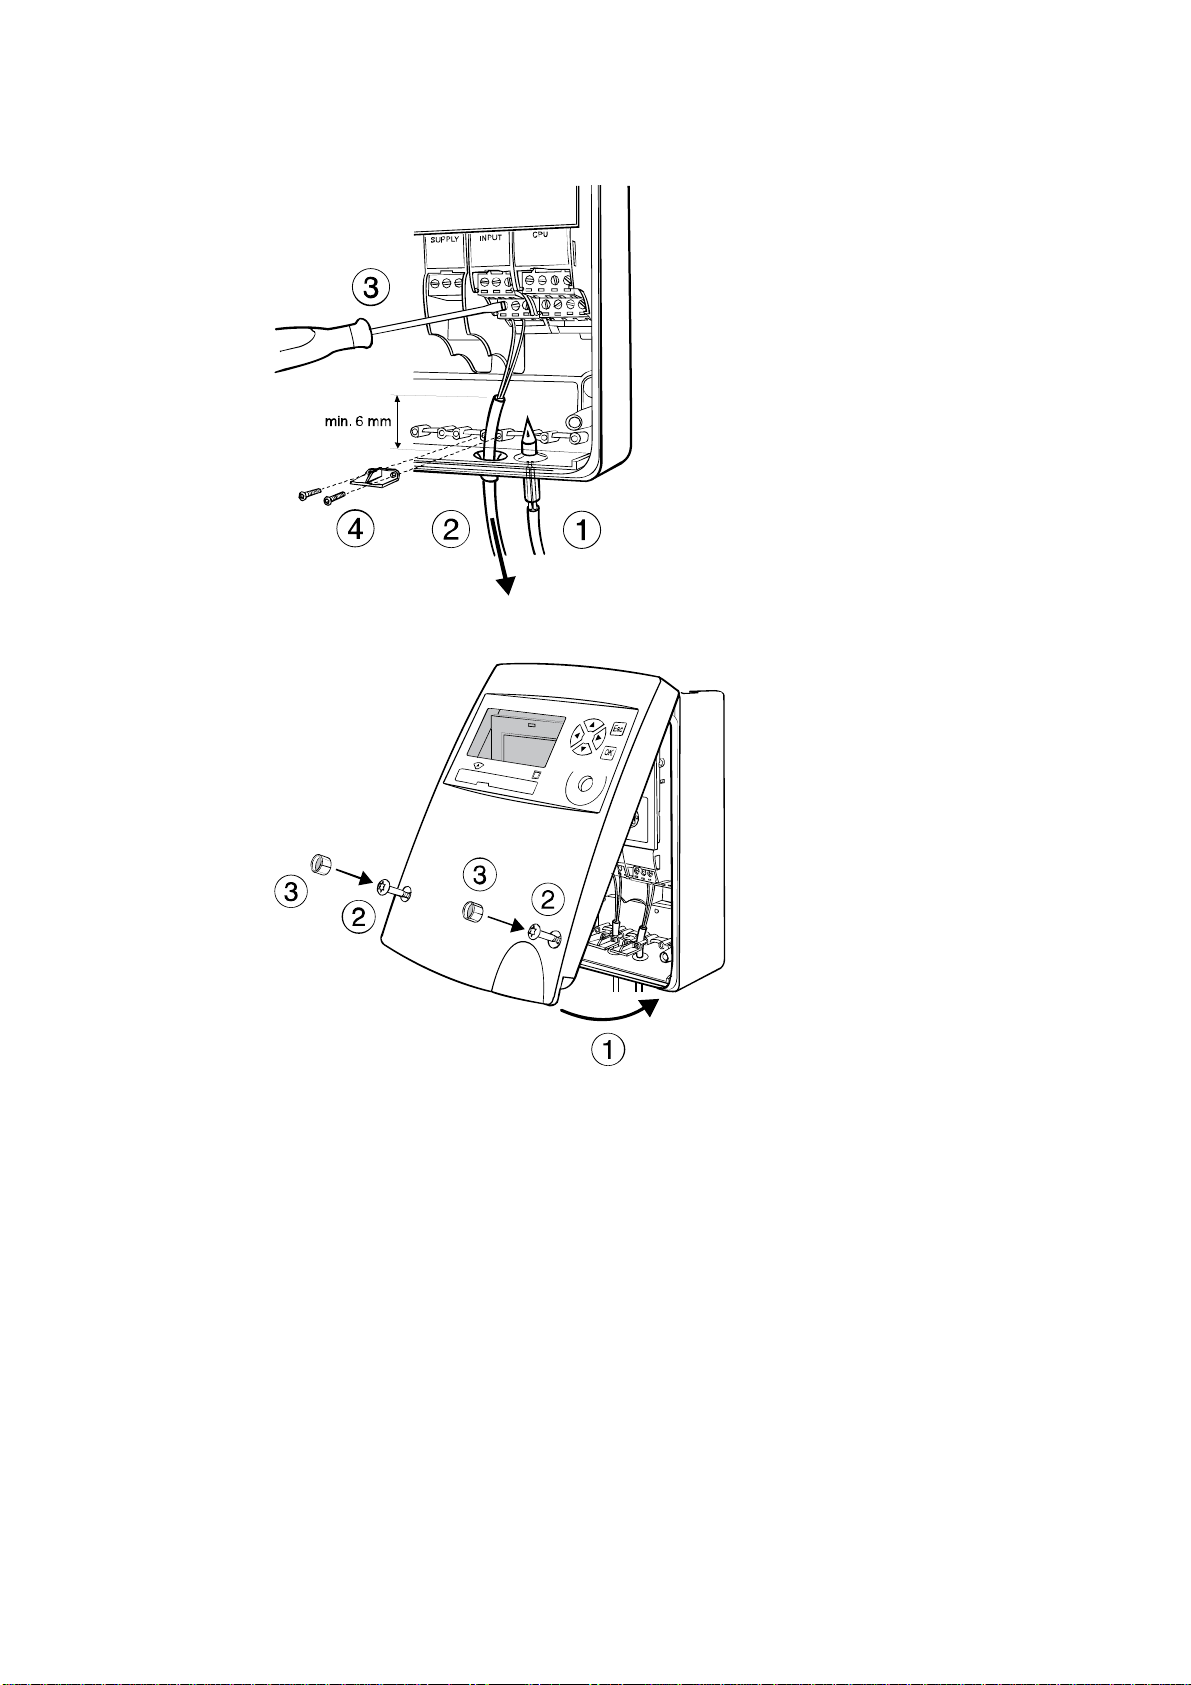
Device type, fabrication number, fabrication date, firmware version, batch no., hardware no. and
checksum of the CPU module are displayed in the Diagnosis/System submenu.
An article number defines a basic device without ancillary modules. The short text indicates the de-
vice version and the module assembly at the time of delivery. This short text is printed on the wiring
diagram on the inside of the housing cover. If the module assembly is changed in the field, then this
identification will no longer correspond to the actual assembly.