5 6
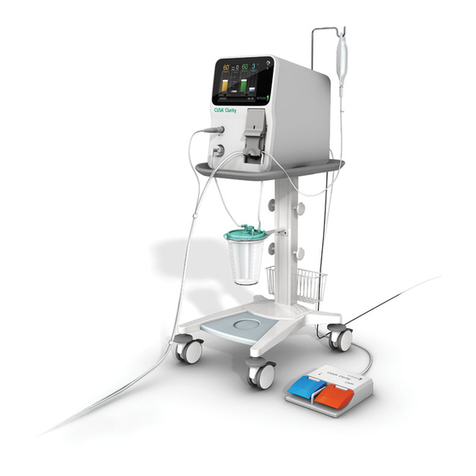
Integra®CUSA®Clarity – Ultrasonic Surgical Aspirator System
Disassembling, Cleaning, and Sterilizing the System
Detaching the Contamination Guard
Powering Down the System
Press the Power buon on the front of the console. The touchscreen will go dark. Do not unplug power cord until system has pow-
ered down.
Cleaning the System
Cleaning the Touchscreen
Make sure the console is unplugged before cleaning it. Clean the touch screen with a lint-free wipe and a cleaner, such as window/
glass cleaner, eyeglass cleaner, or a quaternary ammonia disinfectant.
Cleaning the Console and Cart
1. Unplug the power cord from the wall receptacle and the console.
2. Clean the surface with a lint-free wipe soaked with one of the following:
• 70% IPA
• Super Sani-Cloth®
• Sani-Cloth® Bleach
3. Make sure the surfaces remain visibly wet for a minimum of two (2) minutes, then air dry.
4. Clean the wheels at the base of the system cart to ensure that the four anti-static wheels function correctly.
Cleaning the Handpiece, EUT, and Torque Base
The handpieces, extended use tips, and torque base may be cleaned by either the manual cleaning or autowash cycle process prior
to sterilization. For Sterilization Parameters, see “Sterilizing the System” on page 8.
Manual Cleaning
1. Use the provided cleaning brush to clean out the internal channels of both the handpiece and tip. Continue to pass the brush
through the tip and handpiece until it comes out clean.
2. Clean the exterior of the handpiece and tip with a lint free cloth soaked with warm water and a non-alkaline detergent.
3. Use the cloth to manually clean the junction where the tip aaches.
4. Rinse the entire handpiece and tip thoroughly with water and dry with a so cloth.
Cleaning Brush
The CUSA Clarity Cleaning Brush is intended to be used primarily to clean the internal pathways, as needed, of the CUSA Clarity
handpiece following use, during the manual cleaning process or as the first step of the automated cleaning process, just prior to
autowashing.
The CUSA Clarity cleaning brush is provided non-sterile and is not intended for use in a sterile environment. It is intended to be used
and stored only in the reprocessing unit of the healthcare facility.
Autowash Cycle
Before autowashing, use the provided cleaning brush to thoroughly clean the internal channels of the handpiece and tip. Continue to
pass the brush through the tip and handpiece until it comes out clean.
In a Steelco DS50 DRS or equivalent washer/disinfector, perform a prewash cycle of 5 minutes.
Next, clean using a CE marked or FDA recognized Mid-Alkaline detergent solution (pH10.4-10.56) such as neodisher® MediClean forte
or equivalent. Ensure to follow the instructions for use, indications, including warning and handling information provided by the
detergent manufacturer.
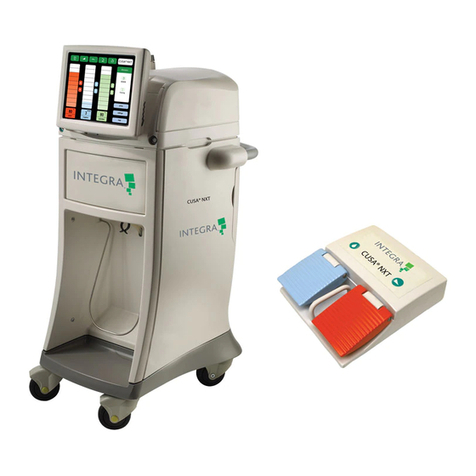
Cleaning the Footswitch
1. Disconnect the footswitch from the console.
2. Wipe it clean.
3. If the footswitch is contaminated with blood or fluid:
a. Immerse the footswitch in warm water containing detergent or disinfectant.
b. Rinse the footswitch with clean water.
4. Allow the footswitch to drain aer rinsing.
Sterilization Tray Cleaning
Use a neutral detergent to clean the tray.
CAUTION Product damage may result if you do not follow the
instructions described in the cleaning section.
WARNING Electric Shock Hazard - Always unplug
the CUSA Clarity System before cleaning it.
NOTE The contamination guard should not be removed from the console unless
it is time to replace it (every six months or when the color changes).
NOTE Do not wipe the touch screen with a sponge
because it may scratch the surface.
NOTE
Make sure that the surface of the wheels is free
from dirt and dust. Make sure that the surface is
completely dry before using the system again.
NOTE Do not submerge the footswitch connector.
NOTE Do not clean the sterilizer tray with abrasives. Product
damage will result.
NOTE Do not submerge the handpiece cable connector.
NOTE Never apply cleaner directly to the touch screen.
WARNING Do not allow fluids to enter the console.
1. Detach the aspiration tubing from the patient
port on the canister.
2. Disconnect the contamination guard tubing from the
vacuum port of the canister.
