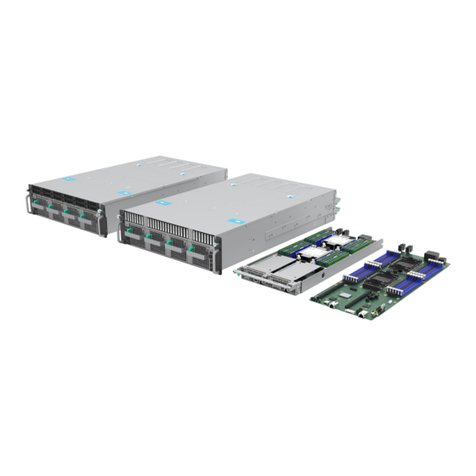
Intel® Server System M50FCP1UR System Integration and Service Guide
8
5.4 Server Board Features..................................................................................................................................................52
5.5 System Configuration and Recovery Jumpers ..................................................................................................54
6. System Service and FRU Replacement................................................................................................................ 55
6.1 System Top Cover Removal / Installation ...........................................................................................................56
6.1.1 System Cover Removal................................................................................................................................................56
6.1.2 System Cover Installation...........................................................................................................................................57
6.2 System Fan Replacement ...........................................................................................................................................58
6.3 Memory Module Replacement .................................................................................................................................60
6.4 Power Supply Replacement ......................................................................................................................................62
6.5 Processor Replacement...............................................................................................................................................63
6.5.1 Processor Heat Sink Module (PHM) and Processor Removal......................................................................64
6.5.2 Processor Heat Sink Module (PHM) Assembly ..................................................................................................66
6.5.3 Processor Installation...................................................................................................................................................68
6.6 Riser Card Replacement..............................................................................................................................................71
6.7 Front Drive Replacement............................................................................................................................................75
6.7.1 2.5” SSD Drive Removal...............................................................................................................................................75
6.7.2 7 mm 2.5” SSD Drive Replacement ........................................................................................................................76
6.7.3 2.5” SSD Drive Installation .........................................................................................................................................77
6.8 2.5” Drive Mounting Rail Replacement .................................................................................................................78
6.9 Ethernet Network Adapter for OCP* Replacement..........................................................................................80
6.9.1 OCP* Adapter with Pull Tab Replacement ..........................................................................................................80
6.9.2 OCP* Adapter with Internal Lock Replacement ................................................................................................81
6.10 M.2 Storage Device Replacement............................................................................................................................82
6.11 Intel® RAID Maintenance Free Backup Unit (RMFBU) Replacement..........................................................83
6.12 Backplane Replacement..............................................................................................................................................85
6.12.1 4 X 2.5” Backplane Replacement.............................................................................................................................85
6.12.2 12 X 2.5” Backplane Replacement..........................................................................................................................87
6.13 System Battery Replacement....................................................................................................................................89
6.14 Server Board Replacement ........................................................................................................................................90
Appendix A. Getting Help .......................................................................................................................................... 93
Appendix B. Memory Population Rules.................................................................................................................. 94
B.1 DDR5 DIMM Population Rules ..................................................................................................................................94
B.2 Intel® Optane™ Persistent Memory (PMem) 300 Series Module Rules....................................................94
B.3 Intel® DDR5 DIMM Support Disclaimer .................................................................................................................96
Appendix C. System Status LED Operating States and Definition ................................................................... 97
Appendix D. POST Code Diagnostic LED Decoder............................................................................................... 99
D.1 Early POST Memory Initialization MRC Diagnostic Codes......................................................................... 100
D.2 BIOS POST Progress Codes.................................................................................................................................... 101
Appendix E. POST Code Errors .............................................................................................................................. 105
E.1 POST Error Beep Codes ........................................................................................................................................... 111
E.2 Processor Initialization Error Summary............................................................................................................. 112
Appendix F. System Packaging Assembly Instructions.................................................................................... 113
