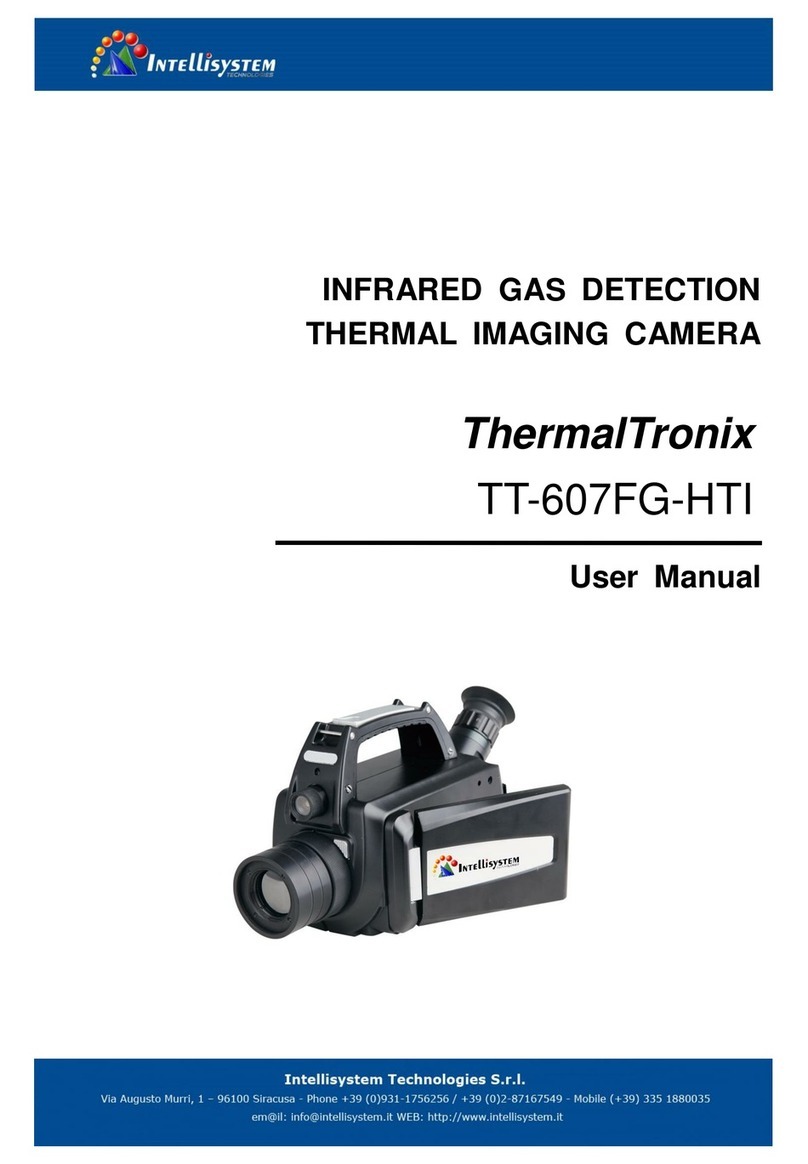
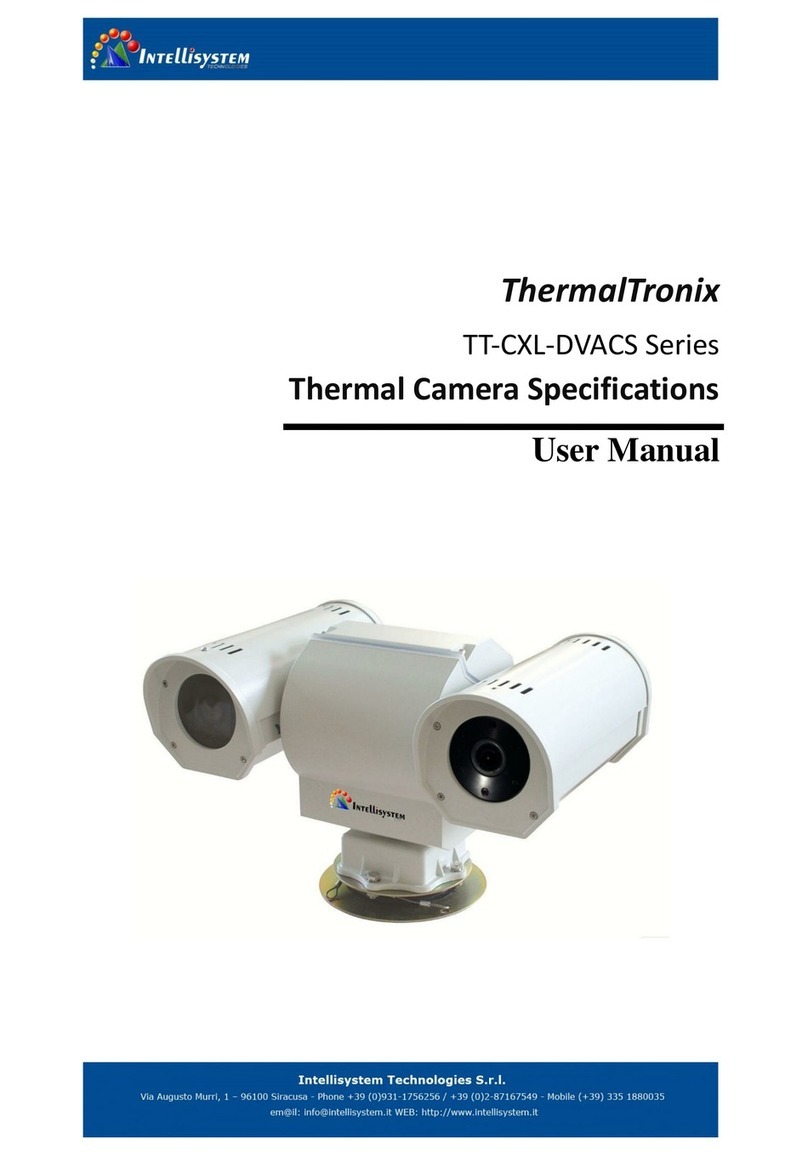
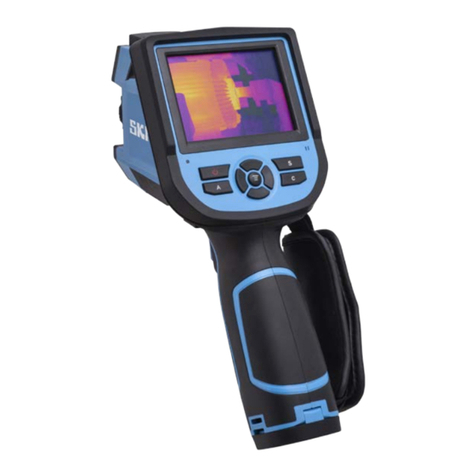
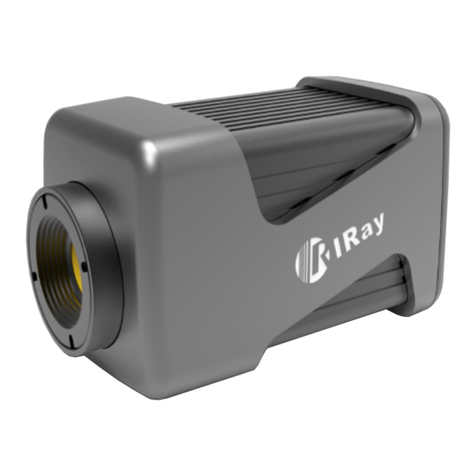
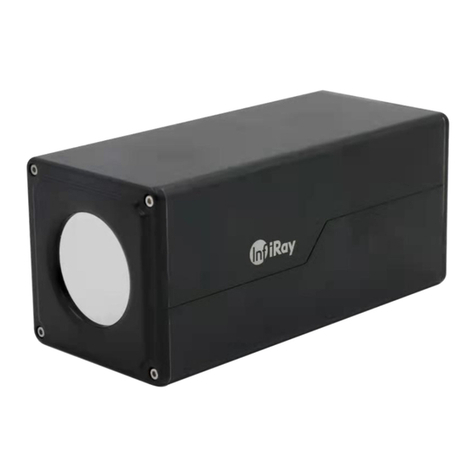
Intellisystem ThermalTronix TT-1100B-UTCM User manual

ThermalTronix
TT-1100B-UTCM
Thermal Imaging Module
User Manual

1
Please read this User’s Manual before using the module!
Warnings
Avoid aiming the window (with lens or not) at extreme high temperature radiation source (such as
the sun, molten steel and laser) in any case (power on/off), or the detector may be damaged.
Do not contact the detector window with bare skin in order to avoid contaminating and damaging
it owing to static. Pay attention to protection for the detector window when installing lens to
avoid causing abrasion, scratch even breach to it. Otherwise, it will reduce badly the module
performance, even damage the module.
This module is a high-precise photo electricity product, so please protect properly during using,
storage, transportation, rough handling (such as drop, collision causing scathe to the detector
outer cover, inner connecting wire rupture occurring in installation, being affected with damp,
rain) is likely to incur module performance-reduction, even damage the module.
Make sure that the power control connection is reliable. If the power control wire is in bad
connection when switch on the module, it will damage the module or even the detector.
During installing the module, protecting the lead-out wire and circuit board is recommended, or
the static will cause module’s performance-reduction, even improper operation.
If the product works abnormally, please contact the dealer or the nearest after-sale service center.
Please do not dismantle or replace it in any manners.
Please use the power supply according with product specifications or the module may work
abnormally or even be damaged.
This module is a universal-used component, exclusively for user to develop further. Therefore, it
is different from the complete product with integrated protective measures. The user needs to
pay attention to the protection. Damage to the module is caused by the foregoing reasons, the
supplier should not be responsible for repairing free of charge.
CONTENTS
1. INTRODUCTION.............................................................................................................1
2. FUNCTIONS...................................................................................................................1
3. MAIN TECHNICAL SPECIFICATIONS.................................................................................1
3.1 Detector...............................................................................................................1
3.2 Module ................................................................................................................1
4. INTERFACE ....................................................................................................................2
5. OPERATION GUIDE ........................................................................................................2
5.1 Operation process ................................................................................................2
5.2 Control Key function explanations ........................................................................3
4 CONTROL KEY CHART.........................................................................................................4
5 OPERATING INTERFACE......................................................................................................5
5.1 Main menu.................................................................................................................5
5.2 System menu..............................................................................................................6
5.3 Menu of communication protocol...............................................................................8
5.4 Mode menu................................................................................................................8

1
1. Introduction
TT-1100B-UTCM Thermal Imaging Camera is specially developed for long range surveillance
purpose especially under different environment situation.
2. Functions
1. Image Noise Reduction function, reduce Image background noise.
2. Image enhancing function: enhance the ability to detect small object
3. Manual calibration
4. Start-up auto calibration
5. Manual brightness and gain adjustment
6. Auto brightness and gain adjustment
7. Numerical 2X zoom function
8. Polarity (white hot/ black hot)
9. Crosshair display/movement/save
10. Standard PAL video output
11. Standard RS 485 interface
12. Viewer switch function
13. Auto focus function
14. Prevention of lightning
Product Informations
NO.
Model
Lens FOV characteristics
Remarks
Wide FOV
Narrow FOV
1
TT-1100B-UTCM
23.22ºX
17.21º
8ºX 6º
F98/33
3. Main technical specifications
3.1 Detector
Type: Microblometer
Thermal Response Time: 7ms
Resolution: 384x288
Wavelength: 8~14μm
Dead Point Number: <1%
3.2 Module
Brightness/Gain control: Auto/Manual
NETD: ≤100mk@30℃
Video: PAL
Frame Rate: 50Hz
Power Supply: DC12V±20%
Power Consumption: < 5W (Under normal temperature of 30℃, motor not working)
Working temperature: -40℃~60℃
Storage temperature: -40℃~70℃

2
4. Interface
Pin definition of cable output
Pin
Definition
Description
Remarks
1
DC12V
Input Power+
/
2
GND
Power Ground
/
3
KEY5(F)
Crosshair setting key
/
4
KEY3(C)
Single calibration key
/
5
VIDEO1
Video Output 1
Lower level trigger
6
GND
Video Ground
Lower level trigger
7
A+
485
/
8
B-
485
/
9
KEY4(M)
Menu Key
/
10
KEY1(+)
UP Key
/
11
KEY2(-)
Down Key
/
12
VIDEO2
Video Output 2
/
5. Operation Guide
5.1 Operation process
5.1.1 Startup
● connect all cables and start camera
●within next 6s, it is normal with this product that the screen keeps stable with no changes.
● Camera start working after another 15s.
5.1.2 Image Adjustment
● Open lens cap.
● Adjust lens focus to reach clearest IR image.
● Menu Key: setup various parameters to adjust brightness/gain values to adjust IR image
under different environment.
● Calibration Key: System is already developed with auto calibration function. After long
time operation, operator could manually calibrate camera according Image displaying.
5.1.3 FOV switch
● Small object: switch view to narrow FOV
● Search object in wide area, switch view to wide FOV
5.1.4 Shutoff camera
Disconnect power, camera will be turned off.

3
5.2 Control Key function explanations
KEY1 (+): When the menu system is active, adjust the selected item parameter. Press the key to
increase the parameter value. When the menu system is not active, press the key to focus
forwards.
KEY2 (-): When the menu system is active, adjust the selected item parameter. Press the key to
decrease the parameter value. When the menu system is not active, press the key to focus motor
backwards.
KEY3 (C): Press it to activate image calibration.
KEY4 (M): Press it to activate or conceal the menu, select the operation function, use KEY1 (+),
KEY2 (-) to adjust the selected parameter value. When Press KEY4 (M), each operation function is
selected in cyclic order. After a cycle, system will conceal menu and save the menu setup. When
module restarts after shutdown, each operation parameter setup is same as the setting last time
when it shutdown.
KEY5 (F): Press to activate crosshair.
F
KEY5
(F)
KEY1
(+)
KEY2
(-)
KEY3
(C)
KEY4
(M)
GND
+
-
C
M

4
4 control key chart
If with RS485, thermal camera address is 1, baud :9600, PELCO_D, details refer to 5.3.
Control key in rear camera:
1)Iris close (M key): without Menu, Press M key into MENU ;Press M key to
choose items in Menu。Change the value of choose with 『-』and 『+』。 Auto save
value after power off 。address is 1 and PELCO-D protocol. command is:FF 01 04 00 00
00 06,terminate order is :FF 01 00 00 00 00 02。
2)Iris open (C key): manually calibration press this key 。address is 1 and PELCO-D
protocol. command is:FF 01 02 00 00 00 04,terminate order is:FF 01 00 00 00 00 02。
1)Near Focus(—): if not in the menu ,manually adjust lens to near focusing if press
key; in menu,Change the value of choose items if press this key。address is 1 and
PELCO-D protocol. command is:FF 01 01 00 00 00 03,terminate order is:FF 01 00 00
00 00 02。
2)Far Focus(+): if not in the menu ,manually adjust lens to Far focusing if press key;
in menu,Change the value of choose items if press this key。address is 1 and PELCO-D
protocol command is: FF 01 00 80 00 00 82,terminate order is:FF 01 00 00 00 00 02。
3)ZOOM KEY: auto focusing if press this key。address is 1 and PELCO-D protocol
command is:FF 01 00 40 00 00 42,terminate order is:FF 01 00 00 00 00 02.
Note: the second bit is address in the protocol.

5
5 OPERATING INTERFACE
5.1 Main menu
Trigger『Aperture- off』to go to main menu, shown as Fig. 6:
Fig. 6
When the menu pops-up , trigger the 『Aperture- off』to move the cursor , use『near focus』and
『far focus』to modify the values or options. When you exit the menu, parameters automatically
are saved.
1、Auto:XDisplay the current image auto mode. Three options:
Auto 0:manual gain, manual brightness. Module won’t adjust gain、
brightness automatically according to the observed object.
Auto 1:manual gain, auto brightness. User can manually adjust gain while
adjust brightness according to the observed object.
Auto 2:auto gain, auto brightness.
2、Mode:XDisplay the current image mode. Module has ten configuration setups under
Auto2 mode. Mode 0 and Mode 1 are fixed factory default settings and Mode
2-9 are user-defined settings. Details please refer to chapter 4.4.
0:Suitable for observation of big-object under good weather condition
1:Suitable for observation of target within sky-line under good weather
condition
2~9:User-defined based on different practical occasions.
3、G:XXX Gain value, range: 0-255. This function is only effective when the auto imaging
mode setup is Auto 0 or Auto 1. In Auto 2 mode, gain is automatically adjusted.
When trigger『Aperture- off』, cursor will skip gain setup option.

6
4、B:XXXX Brightness value, range: -2048-+2048. This function is only effective when the auto
imaging mode setup is Auto 0. In Auto 1 or Auto 2 modes, brightness is
automatically adjusted. When trigger『Aperture- off』, cursor will skip brightness
setup option.
5、P:XWhite/black hot display mode
0: black hot 1: white hot
6、Z:X Zoom status
1: No zoom 2: 2
7、FOV:X FOV mode display
N: narrow W: wide
8、E: X NC
9、C:XCross cursor display
Y: on N: off
10、Setting: use『near focus』and 『far focus』to go to internal menu.
11、Exit:XXX use『near focus』and 『far focus』to exit the menu
Note: When exiting the main menu, all change will be saved automatically and will be taken
effect when restarting next time.
5.2 System menu
In the main menu, move the cursor to “setting”, and use『near focus』or『far focus』to go
to system menu.
You need to input password when go to system menu, the password is『Aperture-on』『 Far
Focus』『Aperture-on』『 Near Focus』『Aperture-on』『 Aperture-on』. With the correct password,
you will come to the system menu shown as Fig. 7:
Fig. 7
Trigger『Aperture- off』and move the cursor, use『near focus』and 『far focus』to modify
the values or options. When you exit the menu, parameters will automatically be saved.

7
1、Com:XXX Please do not change the items within this menu, or the thermal
camera may not be normally controlled.
2、Mode:XXX use『near focus』and 『far focus』to go to internal menu to setup mode
parameters, please refer to 4.4.
3、Modify: For factory debugging
4、AF:Xauto-focus switch status of the current object, "N" is recommended.
Y:on N:off
5、RS:XXX auto calibration switch status of the current object.
Long:long means boot to calibration one time, and correct once every
2 minutes within 10 minutes; correct once every 5 minutes within
10 to 30 minutes; correct once every 10 minutes within 30 to 1
hour; correct once every 20 minutes above 1 hour.
Short:short means boot to calibration one time, and correct once
every 1 minute within 10 minutes; correct once every 2 minutes
within 10 to 30 minutes; correct once every 5 minutes within 30 to
1 hour; correct once every 10 minutes above 1 hour.
Off:Manually calibration
6、Video:XXX Sensitivity, three modes:
Low sensitivity: User may select Low sensitivity when the ambient
or object in high temperature
Middle sensitivity
High sensitivity: User select High sensitivity when the ambient or
object in low temperature.
7、GEN:XSet the switch status to protect the detector from being burned
8、Alarm:XNC
9、Recover:XXX Recover all menus setting for factory default, Aperture-off (M) key
for restore, and Aperture-on (C) key for cancel.
10、Exit:XXX use『near focus』or 『far focus』to exit the menu.

8
5.45.3Menu of communication protocol
In menu,move to “Com” ,press『near focus』or『far focus 』in to menu of communication
protocol.
Then input the passport:『 Iris open』『far focus』『Iris open』『near focus』『iris open』『 iris open 』。
As show in the picture 9。
PICTURE 9
In menu,press『iris close 』to move cursor ,press『near focus』and 『far focus 』to change
the value of choose items 。auto save after exit.
1、ID:XAddress set。
2、Baud Rate:XX baud set 。
3、Protocol:XXX protocol set 。
4、Exit:XXX press key 『near focus』or 『far focus』exit menu 。
5.4 Mode menu
In the system menu, move the cursor to “mode”, and use『near focus』or『far focus』to go to
mode menu.
You need to input password when go to system menu, the password is『Aperture-on』『 Far Focus』
『Aperture-on』『 Near Focus』『Aperture-on』『 Aperture-on』. With the correct password, you

9
will come to the mode menu shown as Fig. 8.
Fig. 8
Trigger 『Aperture- off』and move the cursor, use『near focus』and 『far focus』to modify the
values or options.
1、Mode:Xdisplay the current mode No.
2、Gain:XXX Gain value, range: 0~255;
3、Bright:XXXX Brightness value, range: 0~255;
4、E:XXX Image enhancement status, range: 1~255. Effective only in Mode1 or
Mode 2. The bigger the value is, the clearer the object is.
5、Save: XXX use『near focus』or『far focus』to save the mode.
6、Exit: XXX use『near focus』or『far focus』to exit the menu.
Note:
When configuration user-defined setup is activated, it is automatically changed into Auto 2,
and goes back to original working state after exit.
Table of contents
Other Intellisystem Thermal Camera manuals

Intellisystem
Intellisystem ThermalTronix TT-1007D MARINE User manual

Intellisystem
Intellisystem ThermalTronix TT-1040S-UTCM User manual

Intellisystem
Intellisystem ThermalTronix TT-1060MD-FTM Series User manual

Intellisystem
Intellisystem ThermalTronix TT-CXL-DVACS Series User manual

Intellisystem
Intellisystem ThermalTronix TT-1T80-HTI User manual

Intellisystem
Intellisystem ThermalTronix TT-CXS-DVACS User manual

Intellisystem
Intellisystem ThermalTronixTT-G2F-HTI Series User manual

Intellisystem
Intellisystem ThermalTronix TT-L-UTCM Series User manual

Intellisystem
Intellisystem ThermalTronix TT-J Series User manual

Intellisystem
Intellisystem ThermalTronix TT-L-BFTC Series User manual