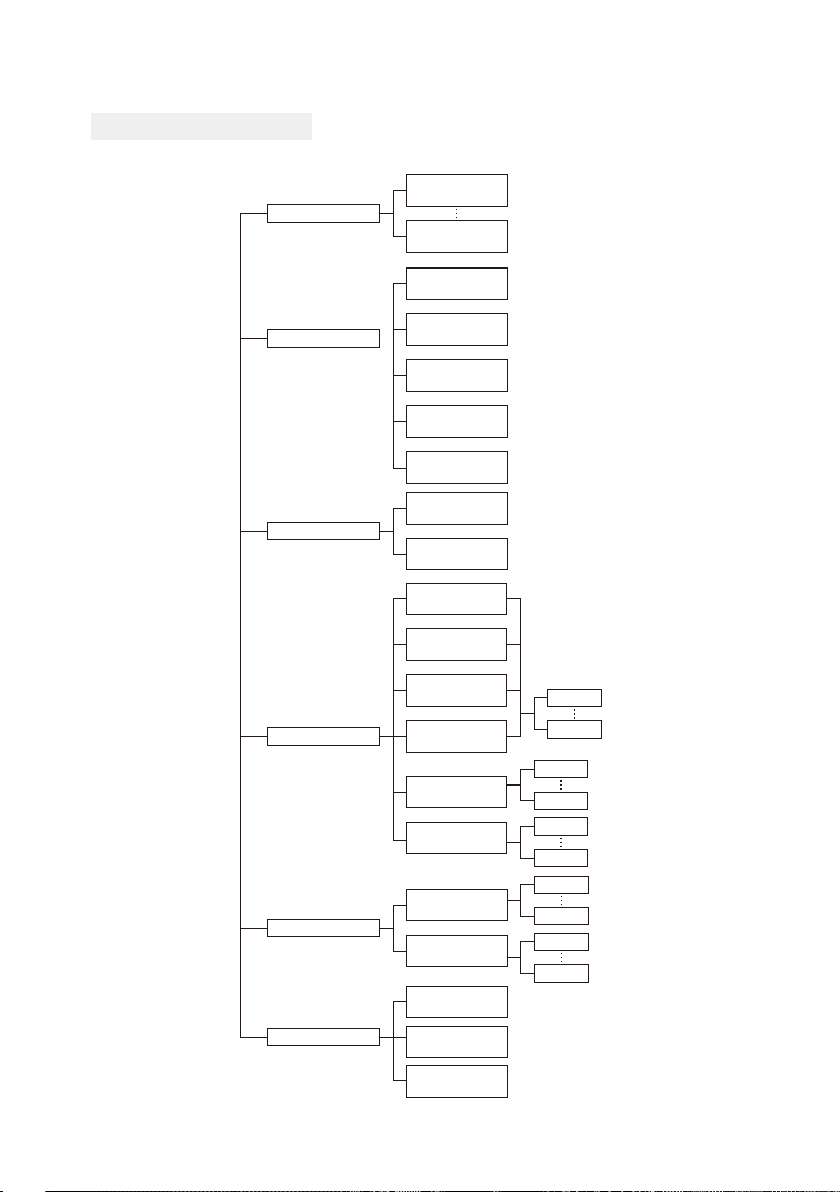
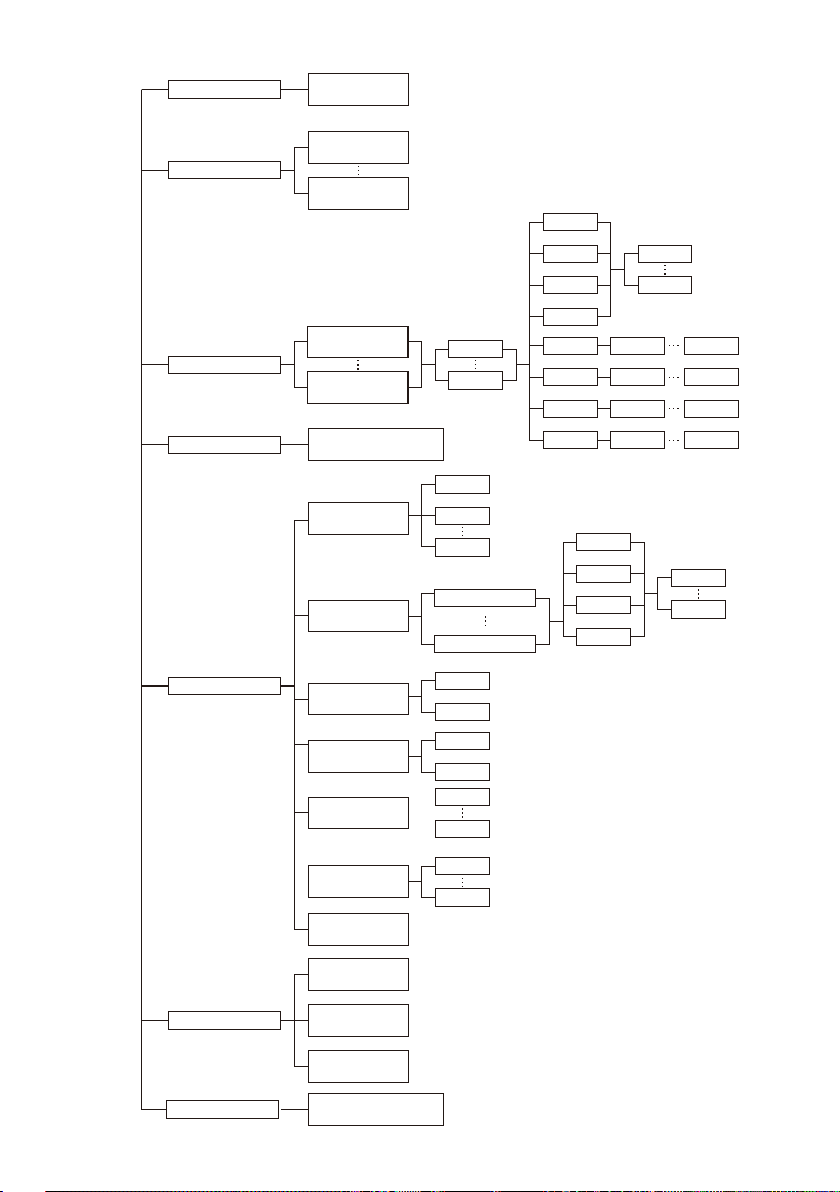
2. Press “ENTER” button, and open the “EDIT” mode to edit the custom programs from“PR.01” to
“PR.11”.And there are 32 scenes that can be edited in each custom program.
3. You can edit a scene by adjusting the value of “RED (0~255)”, “GREEN (0~255)”, “BLUE (0~255)”,
“WHITE (0~255)”, “FADE (0~30)”, “FLASH (0~30)”, “STROBE (0~30)” & “TIME (0~30)” as you like.
Then the data will be saved, when you press the ENTER button for 5 seconds.
UPLOAD-In this menu, you can connect several pieces of lights with MAX cables and set one light as
the MASTER and others in SLAVE mode. Then upload the custom program in the MASTER light to
the lights in SLAVE mode.
1. Press “ENTER” button and then UP or DOWN button until “UPLOAD” is showed.
2. Press “ENTER” button to upload the custom programs from the MASTER light to the
SLAVE ones. The password is [UP ] + [DOWN ] + [ UP ] + [DOWN ].
SET UP-In this menu, you can adjust the value of the function.
1. Press “ENTER” button and then UP or DOWN button until “SET UP” is showed.
2. Press “ENTER” button, and there will be nine options. Then, press ENTER to select the option and
press UP or DOWN button to select the value you desire as below.
1) ID number - You can select an ID Number in this menu. Then, you can adjust the value of channel
11 to the corresponding scope and control the light individually with control console.
2) CAL WHITE- You can select the value of 11 different white color. And there are 11 pre-programmed
White colors that can be edited by adjusting the value of “Red”, “Green”, “Blue”, “White”.
3) LCD BLACK - In this item, you can select “ON” or “30S”. If you select “ON”, the displayer will be on
all the time. And if you select “30S”, the displayer will extinguish about ten seconds later.
4) Key locks - You can select whether the password is ON or 30S in this menu , and the password is
[UP ] + [DOWN ] + [UP ] + [DOWN ] .If you select “ON”, then you have to input the password before
pressing the buttons. Otherwise, the light won’t respond to your order.
5) Max temp - You can set the your desired Max working temperature about the light in this
menu. When the working temperature of the light exceeds the Max temperature, the color of letter
“Temp xx°C” showed in the menu will change from white to yellow. Meanwhile, the light will adjust the
working temperature automatically.
6) Dimmer ALL - You can adjust the brightness of each color in this menu.
7) Factory Reset – You can reset the light.
INFORMATION-In this menu, you can learn about the information of software, hardware and the
working time of the light.
1. Press “ENTER” button and then UP or DOWN button until “INFORMATION” is showed.
2. Press “ENTER” button, and “Software” “Hardware” or “Fix times” will be showed. Then press
ENTER, and you can see three items as below:
1) Software - This item displays the Software information.
2) Hardware - This item displays the Hardware information.
3) Fix times - This item displays the working hours about the light.
RESET-In this menu, you can reset all the value of the system.
1. Press “ENTER” button and then UP or DOWN button until “RESET” is showed.
2. Press the ENTER button to reset all the value of the system.
7
12
7
8
9
10
0 - 9
10 - 255
0 - 7
8 - 17
18 - 37
38 - 57
58 - 77
78 - 87
88 - 97
98 - 107
108 - 117
118 - 127
128 - 137
138 - 147
148 - 157
158 - 167
168 - 177
178 - 187
188 - 197
198 - 207
208 - 255
0 - 255
0 - 49
50 - 99
100 - 149
150 - 199
200 - 255
Default
strobe(0Hz - 20Hz)
Default
Auto 1
Auto 2
Auto 3
Auto 4
Auto 5
Auto 6
Auto 7
Custom1
Custom2
Custom3
Custom4
Custom5
Custom6
Custom7
Custom8
Custom9
Custom10
Custom11
Speed when auto is enable
Off dimmer speed
Dimmer speed 1
Dimmer speed 2
Dimmer speed 3
Dimmer speed 4
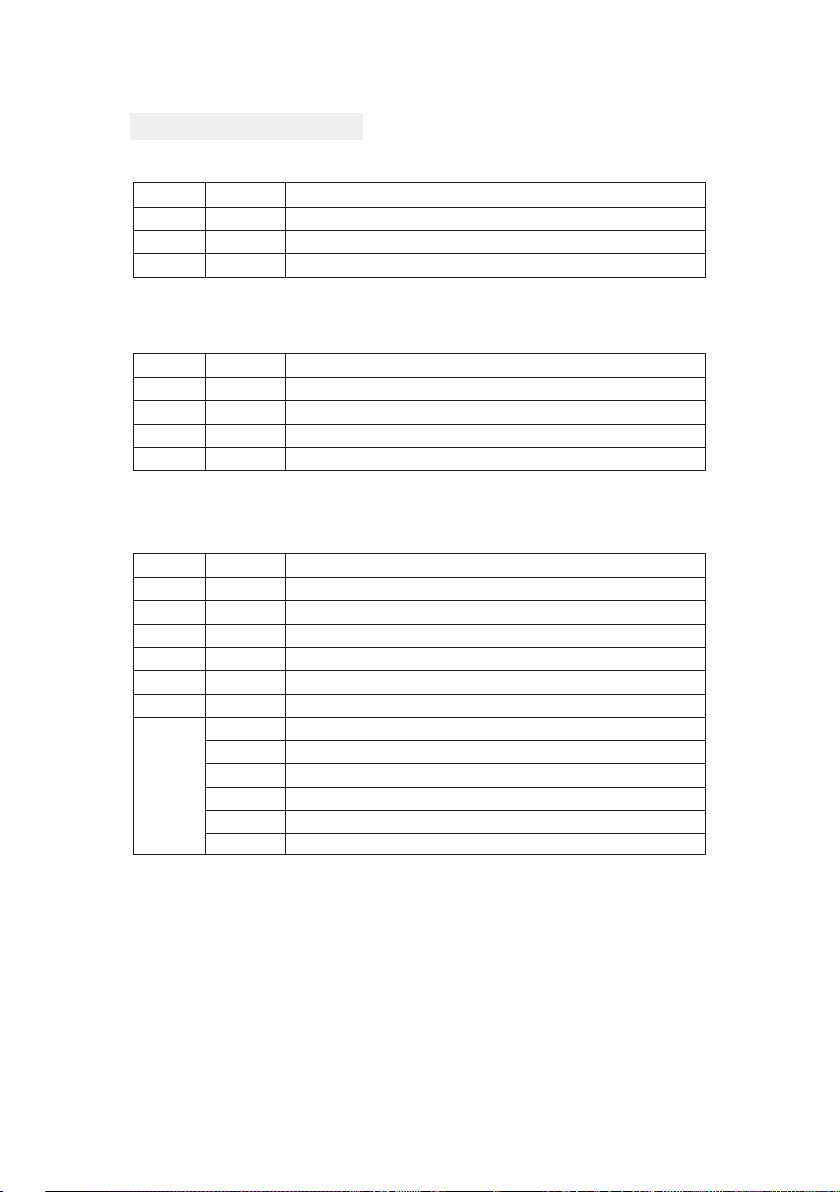
DMX control mode
811
DMX 3 channel
channel
1
2
3
value
0 - 255
0 - 255
0 - 255
function
Hue
Saturation
Value(brightness)
DMX 4 channel
channel
1
2
3
4
value
0 - 255
0 - 255
0 - 255
0 - 255
function
Adjust red LEDs Dimmer from low to high
Adjust green LEDs Dimmer from low to high
Adjust blue LEDs Dimmer from low to high
Adjust white LEDs Dimmer from low to high
DMX 7 channel
channel
1
2
3
4
5
6
7
value
0 - 255
0 - 255
0 - 255
0 - 255
0 - 255
0-9
10-255
0 - 49
50 - 99
100 - 149
150 - 199
200 - 255
function
0 = Off 1 - 255 = Master dimmer
Adjust red LEDs Dimmer from low to high
Adjust green LEDs Dimmer from low to high
Adjust blue LEDs Dimmer from low to high
Adjust white LEDs Dimmer from low to high
No function
Strobe from slow to fast
default dimmer
Dimmer mode 1
Dimmer mode 2
Dimmer mode 3
Dimmer mode 4
DMX 11 channel
channel
1
2
3
4
5
6
value
0 - 255
0 - 255
0 - 255
0 - 255
0 - 255
0 - 10
11 - 20
21 - 30
31 - 40
41 - 50
51 - 60
61 - 70
71 - 80
81 - 90
91 - 100
101 - 110
111 - 120
121 - 130
131 - 140
141 - 150
151 - 160
161 - 170
171 - 180
181 - 190
191 - 200
201 - 205
206 - 210
211 - 215
216 - 220
221 - 225
226 - 230
231 - 235
236 - 240
241 - 245
246 - 250
251 - 255
function
0 = Off 1 - 255 = Master dimmer
Adjust red LEDs Dimmer from low to high
Adjust green LEDs Dimmer from low to high
Adjust blue LEDs Dimmer from low to high
Adjust white LEDs Dimmer from low to high
No function
R100%/Gup/B0%/W0%
Rdown/G100%/B0%/W0%
R0%/G100%/Bup/W0%
Rup/Gdown/B100%W0%
Rup/G0%/B100%/W0%
R100%G0%Bdown/W0%
R100%/G0%/B0%/Wup
R100%/G0%/B0%Wdown
R↑/G↓/B0%/W0%→R↓G↑/B0%/W0%
R↑/G0%/B↓/W0%→R↓/G0%B↑/W0%
R0%/G↑/B↓/W0%→R0%/G↓/B↑/W0%
R↑/G↑/B↓/W0%→R↓/G↓/B↑/W0%
R↑/G↓/B↓/W0%→R↓/G↑/B↑/W0%
R↑/G↓/B↑/W0%→R↓/G↑/B↓/W0%
R↑/G0%/B↓/W0%→R↓/G↑/B0%/W0%→R0%/G↓/B↑/W0%
R↑/G100%/B↓/W0%→R100%/G↓/B↑/W0%→R↓/G↑/B100%/W0%
R↓/G↑/B0%/W0%→R0%/G↓/B↑/W0%→R0%G0%/B↓/W↑
R↑/G0%/B0%/W↓
R0%/G100%/B↓/W0%→R↑/G100%B0%/W0%
R100%/G↓/B0%/W0%→R100%/G0%/B↑/W0%→
R↓/G0%/B100%/W0%→R0%/G↑/B100%/W0%
RGBW
White 1
White 2
White 3
White 4
White 5
White 6
White 7
White 8
White 9
White 10
White 11